Part 12 – Horizon View 8.0 RDSH Server Farm Installation
![]()
In this blog, we will explore RDSH sessions brokered by Horizon View. Rather than creating a blown desktop for a user, we can just use Microsoft remote desktop services which has a set of licensed users who can connect to it simultaneously be managed fully by Horizon View.
RDSH WorkFlow
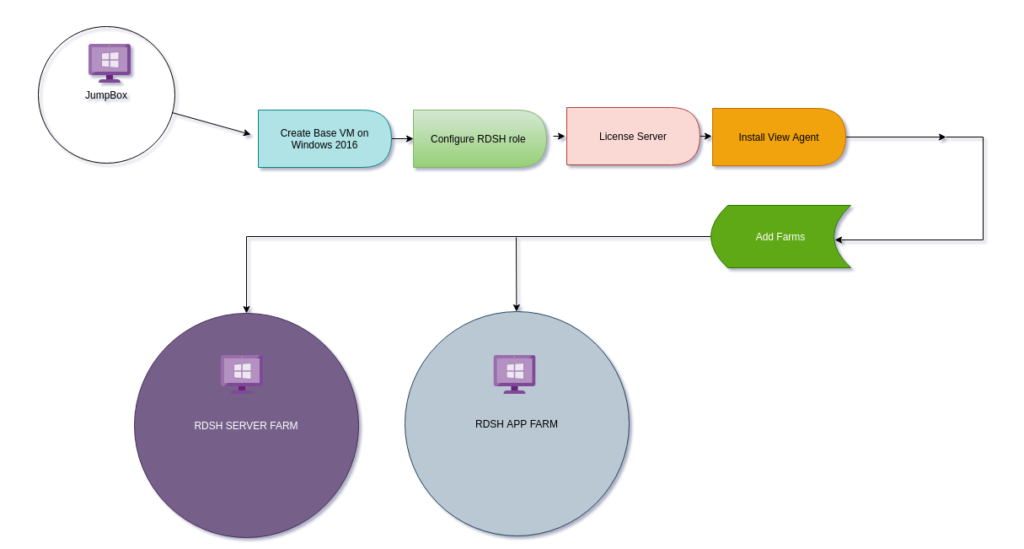
Prerequisites for RDSH Server
- Microsoft RDSH License
- VM must be AD Joined
- Domain User with Administrator rights
- View Agent must be installed
Step 1. I’ve deployed two VM’s as shown

Step 2. Login to the VM and open Server Manager as shown
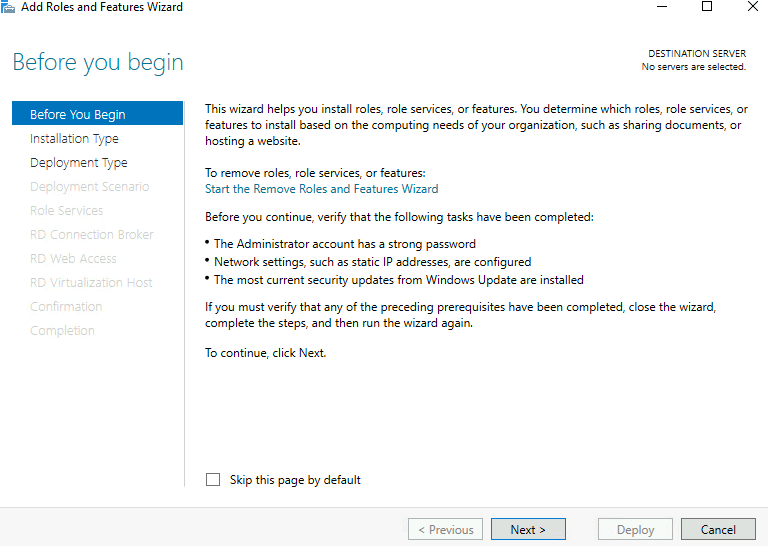
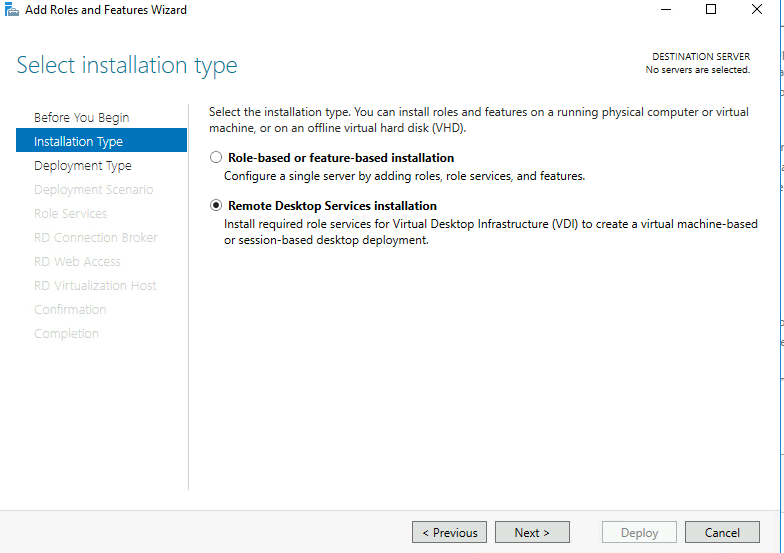
Step 3. Choose remote Desktop Services Installation
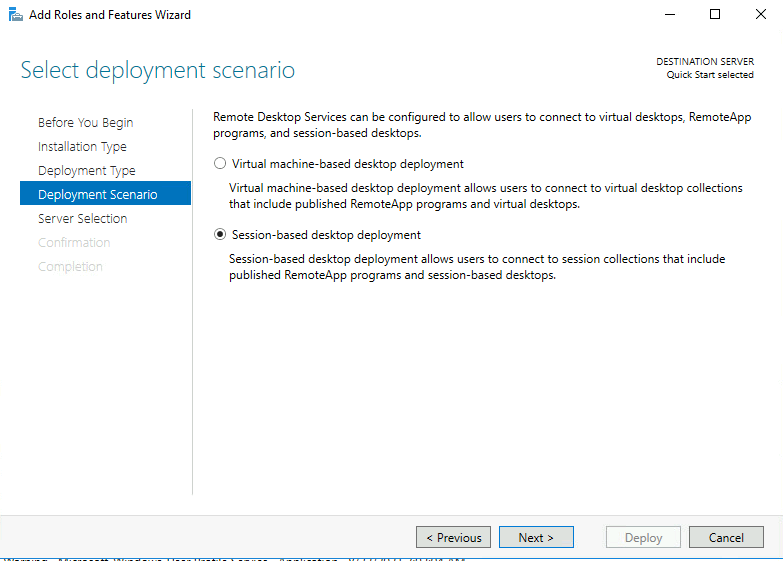
Step 4. Choose the session-based desktop deployment
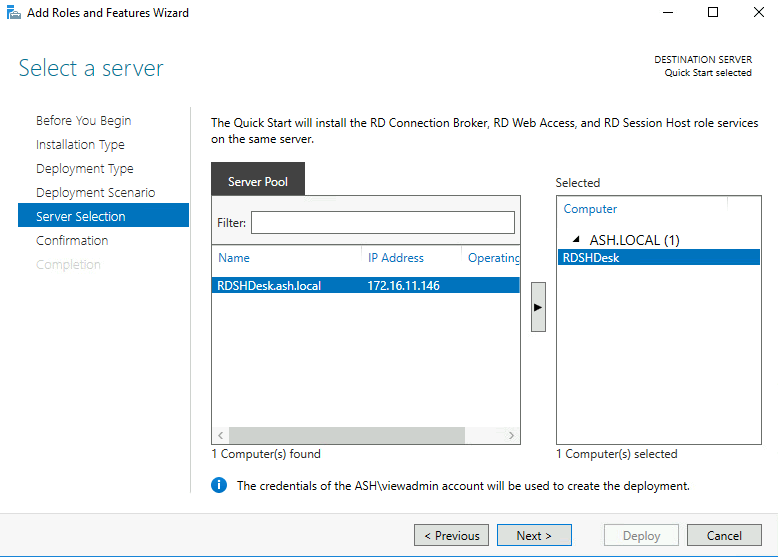
Step 5. Choose our rdsh server from the list
Step 6. Choose Broker, Web-Access and Session Host and Click Next to proceed

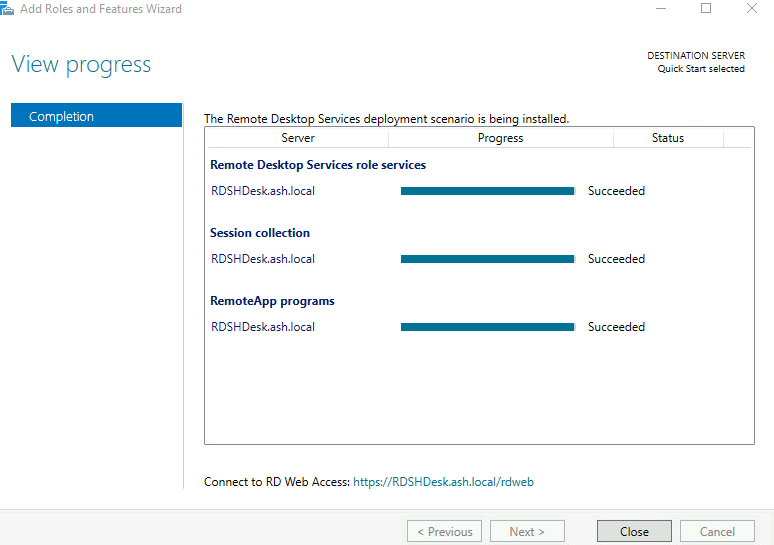
Step 7. On completion, reboot the VM
Install Horizon View Agent
Step 1. Launch the horizon view agent software we downloaded earlier.
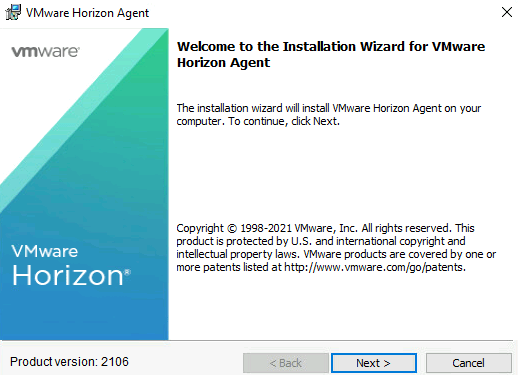
Step 2. Click Next to continue

Step 3. We will now enter our horizon view connection server address here and Cllck Install

Step 4. Reboot the VM after the software is installed.
RDSH Horizon View Configuration
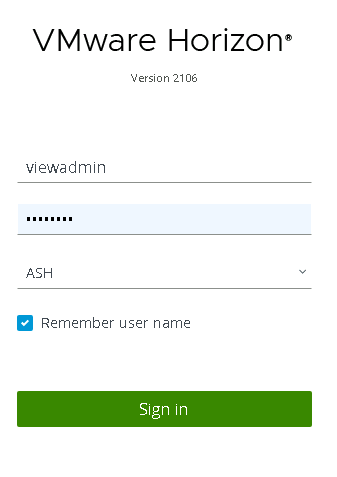
Step 1. Login to VMware Horizon Administrator console as our administrator user.
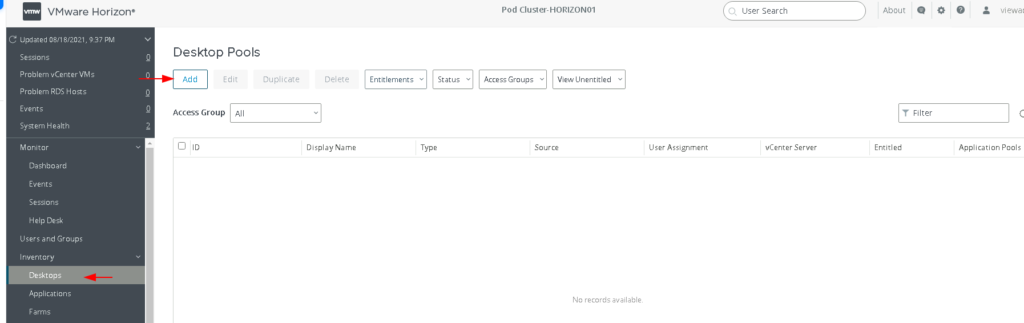
Step 2. Go to Catalog > select Desktop Pools > Click Add
Step 3. Choose RDSH Desktop Pool and click Next to proceed

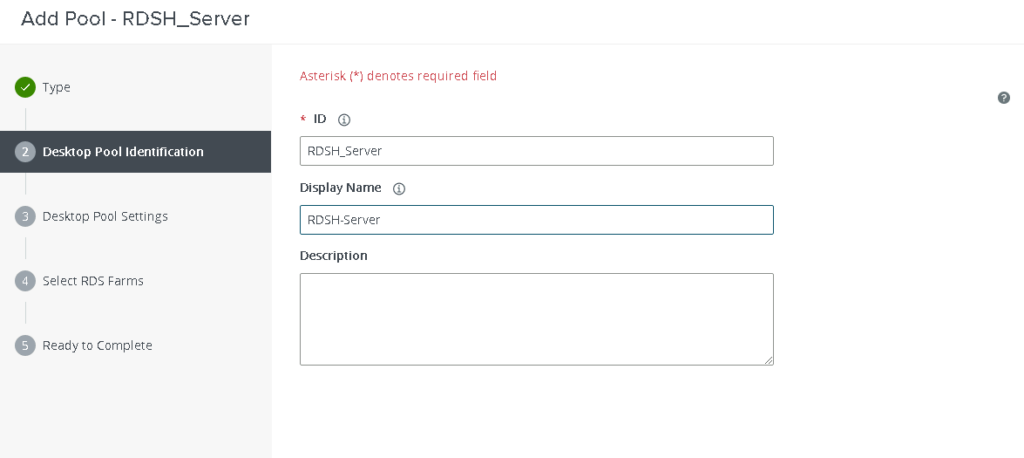
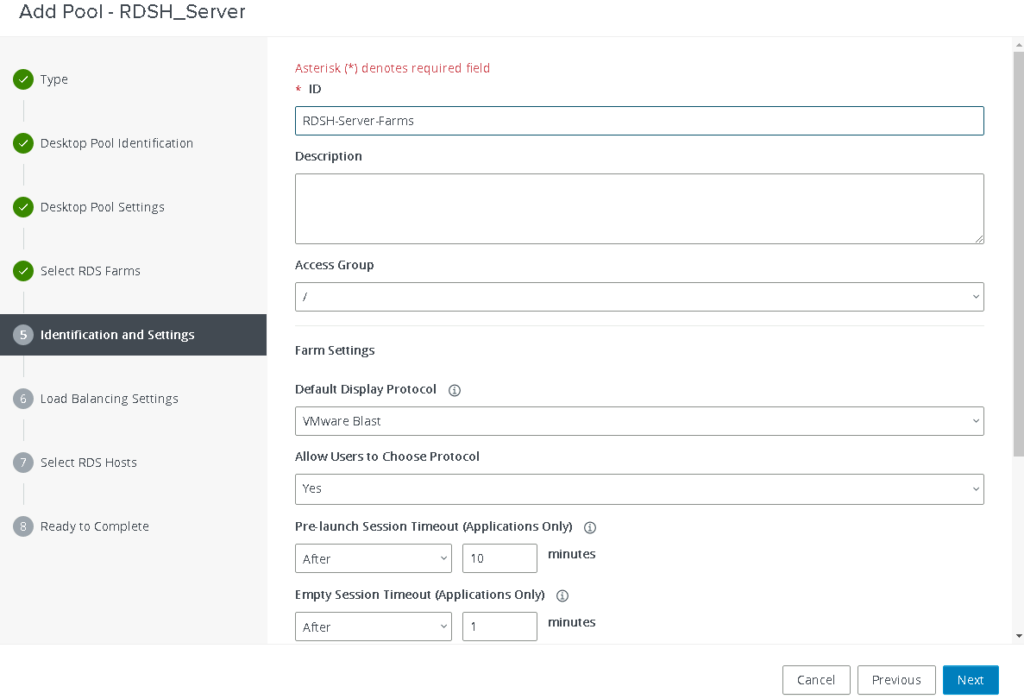
Step 4. Provide an ID, Display Name for the pool then click Next.
Display Name will be visible to our end users so pick something meaningful as RDSH Server
Step 5. We will now choose the template we created in our previous blog.

Step 6. Specify the location on our vCenter where this VM needs to be deployed to

Step 7. Ensure all these settings are applied correctly. We will be using Blast protocol to connect to our View desktops. VMware Blast is available only for Windows 10 Enterprise edition. Enable also the HTML Access option (requires the Blast protocol) to allow access via browser. Click Next.
- Default Display Protocol: VMware Blast (Options are available “Microsoft RDP, PCoIP and VMware Blast“)
- Log off Disconnected Sessions
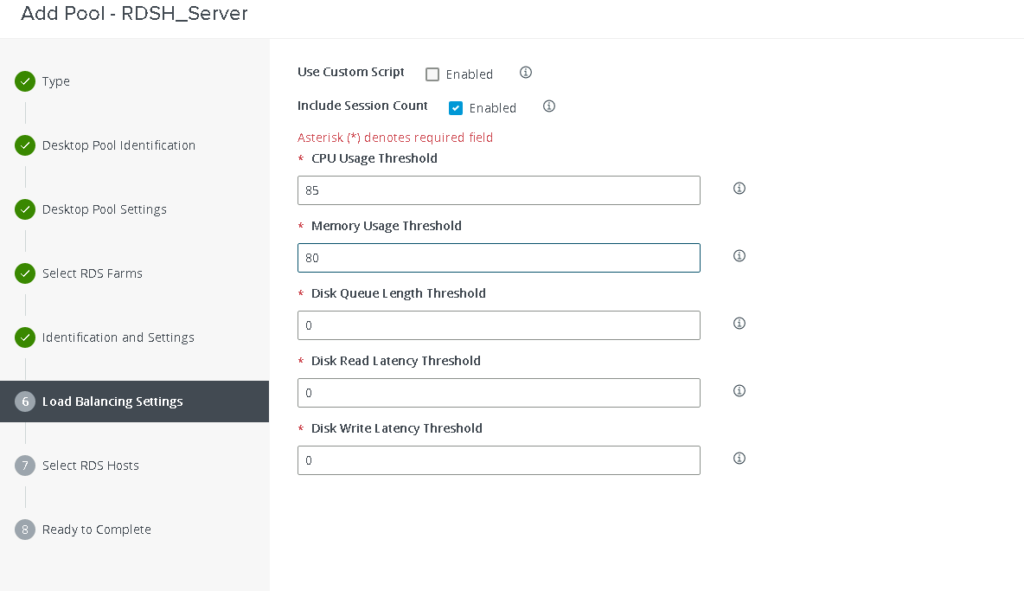
Step 8. In previous versions of Horizon View, we had to tweak these settings in the registry in order for Horizon view to capture load on the server but this is no longer the case now. I’ve added my load balancing thresholds over 80 % across the compute on the RDSH VM.
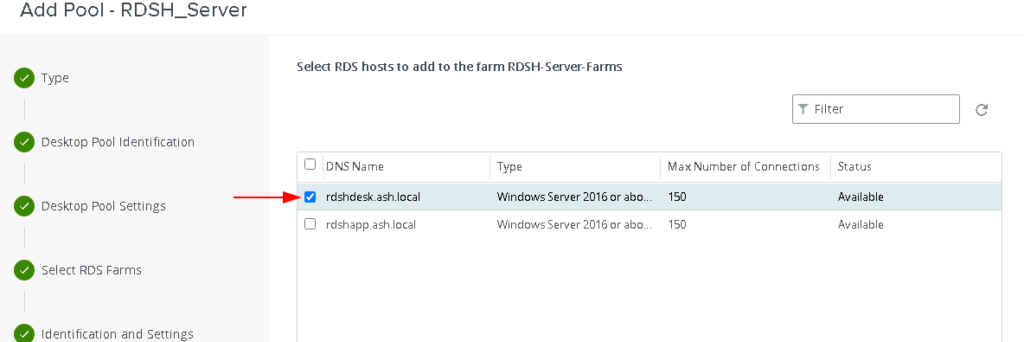
Step 9. We will now pick the RDSH Server we prepared and Click next
Step 10. Review all settings and click Finish to complete our configuration

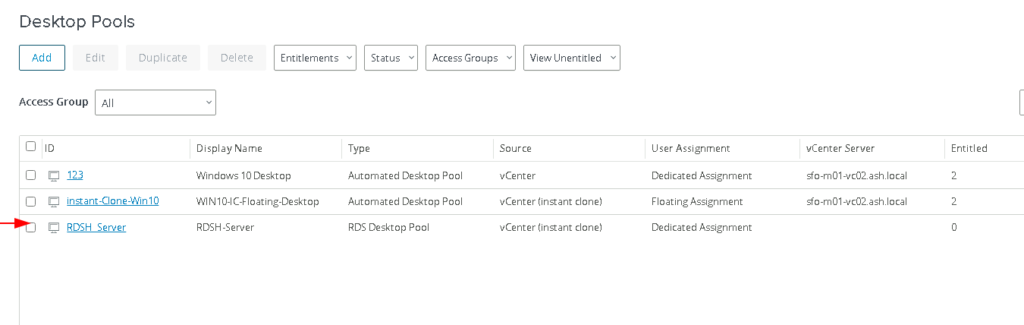
Step 18. The created RDSH Server pool is shown
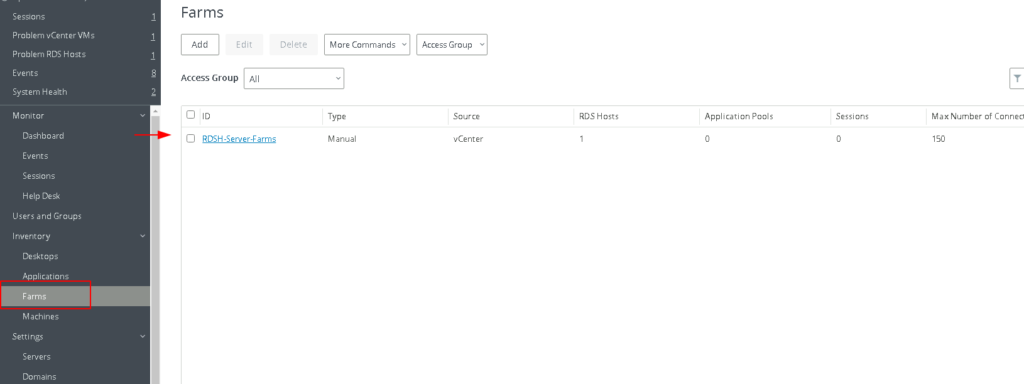
Step 19. We can now see RDSH Server farm is now available
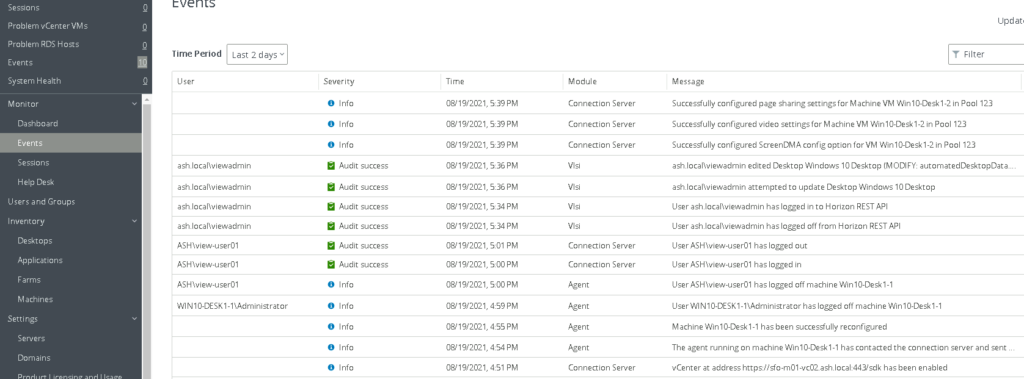
Step 20. The events tab will provide you with recent activities on the VM’s being provisioned
Assigning Users a VDI Desktop
Our desktops are ready but for users to connect to the desktop, we will need to grant them permissions.
Step 1. Hover over to Desktop Pool Section and Click on Entitlements
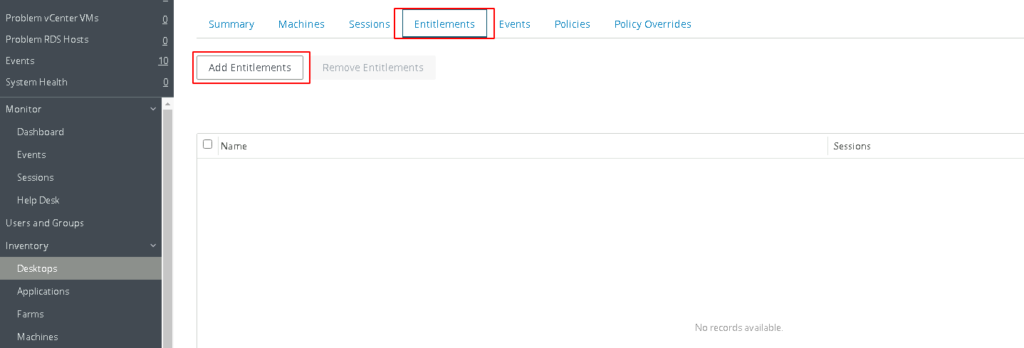
Step 2. Click on Add Entitlements and search for our user we added earlier

Step 3 Preview the screen to verify if our user has been added

Accessing VDI Desktops Users
In order to access the VDI Desktop, users can log in to a browser window or via a client on their laptop and type in the name of our connection server.
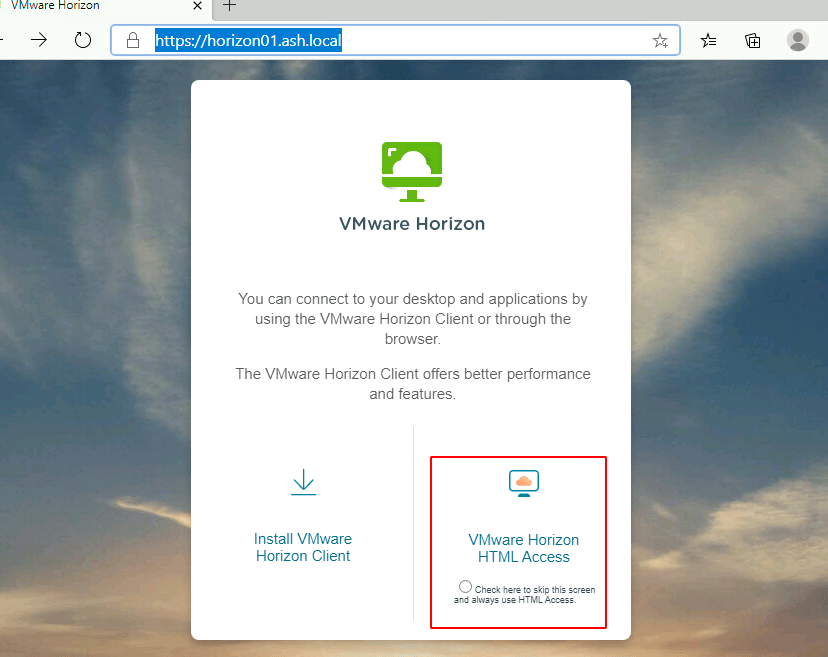
VMware Horizon HTML Access
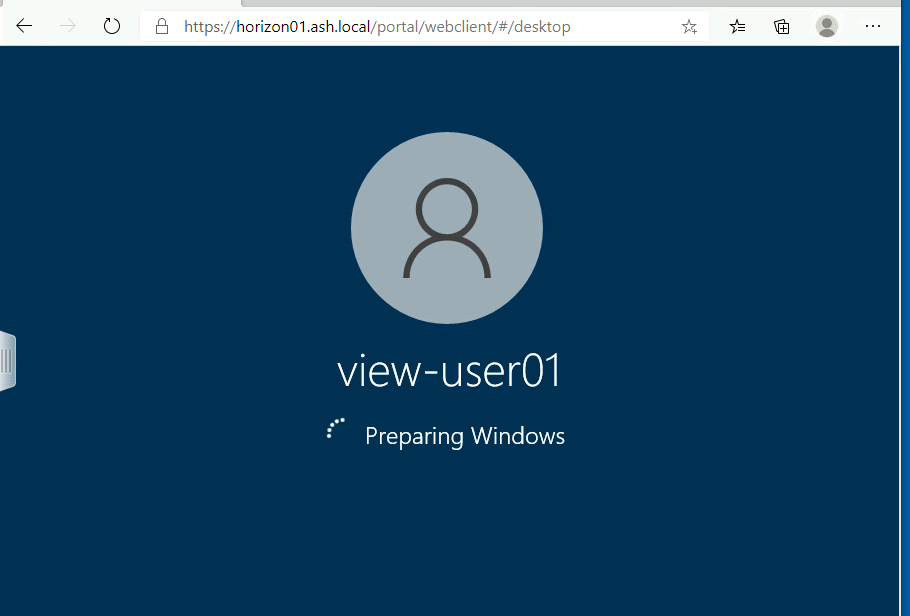
HTML access is via VMware’s Blast protocol. In order for us to connect all we need to do is to launch a browser a punch in our Horizon View UAG / View Security Server / Connection server as below

Double click on the desktop machine icon.

VMware Horizon Client
You could also install a client version on your laptop and connect to the VDI farms.
The easiest way to install the correct agent for the horizon environment is by accessing the web UI of our Horizon View UAG / View Security Server / Connection server https://horizon01.ash.local and download the Horizon client and install it.

By default, this will take you to vmware.com to download the latest horizon client but our administrators can force you to download from a fileserver URL as soon as you click the above option. We will cover it in our next blog.