
vRops can be used for performance monitoring of our hybrid cloud environment -It provides built-in dashboards to do capacity planning, trend analysis as well as health alerts across all the VMWare products which are integrated into vRops.
Prerequisites
It’s always a good idea to do your research before installing or upgrading vRops Along with reading the release notes, verifying the VMware compatibility Matrix of ESX, vCenter
Here are the relevant web links
- vRops and vCenter Server Compatibility Matrix
- vRealize Operations Sizing Guidelines
- vRealize Sizing Tool
The following are the high-level steps required for our vRops deployment.
- Forward and Reverse Look up zone needs to be setup for our new vROPS appliance
- NTP Server is required.
- Verify compatibility matrix
- Verify vRealize Sizing Tool and Sizing Gudeliness for the vRops version
- Connect vCenter
Network Topology of Lab
Our network topology is set up as below


Management VM Sizing Requirements
Since we have deployed it in our lab, we have deployed it with bare minimum settings.
| VM | Version | vCPU | Memory GB | Storage | Quantity |
| vCenter | 7.0 U1 | 2 | 10 | 100GB | 1 |
| vRops-Master | 8.4 | 2 | 10 | 50GB | 1 |
vRops Licensing and Editions
vRops needs to be licensed before we can use it.
Standard: Allows management of vSphere only.
Advanced: Adds VMware Cloud (AWS / Azure/GCP) functionality, 3rd party operating system monitoring and health dashboards.
Enterprise: All the advanced features plus integration with application and database, third party management packs etc ( for eg: Storage array monitoring packs, Cisco etc)
vRops Sizing
Pick the vRops version from the Sizing tool – Choose the number of vCenters, ESXi hosts, Storage used etc that needs to be polled by vRops and the sizer will recommend the size of our vRops deployment.
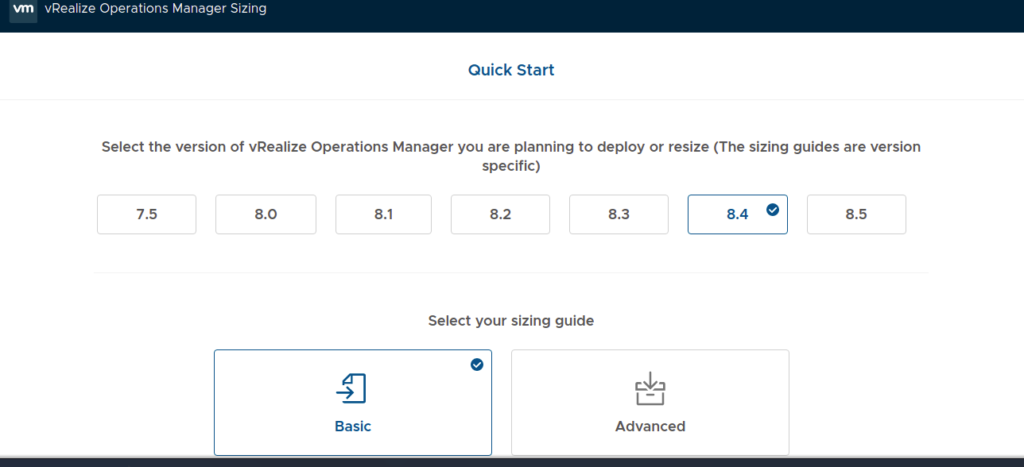
To maintain a low footprint, we pick the smallest vROps available for our lab.

Deploying the VMware vRops Appliance
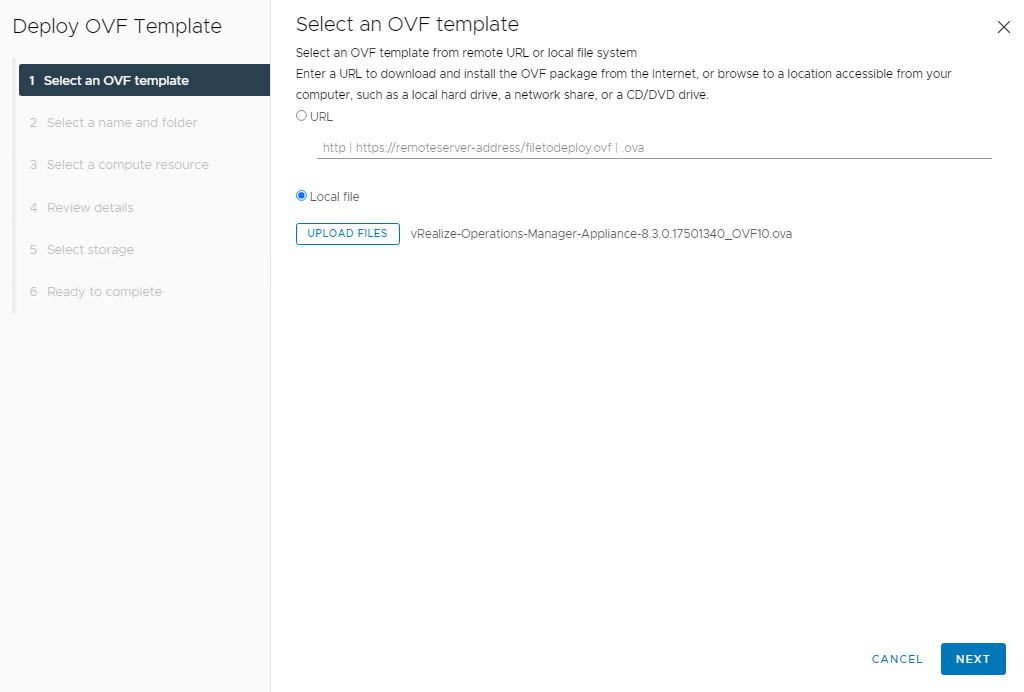
vRops comes packaged as an ova file, login to the vCenter and browse to the vRops OVA file downloaded from VMware.com
Launch the ova deployment wizard from vCenter

.
Select deploy VM from OVA file and choose the OVA downloaded
Give the vRops appliance a name

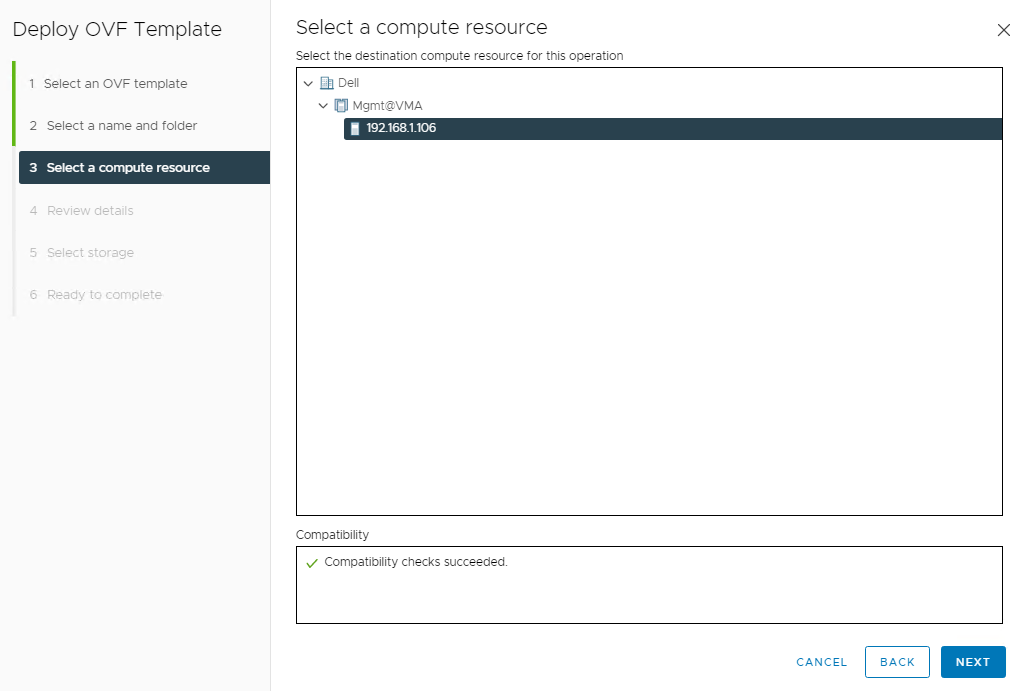
Choose the cluster to deploy the VM to
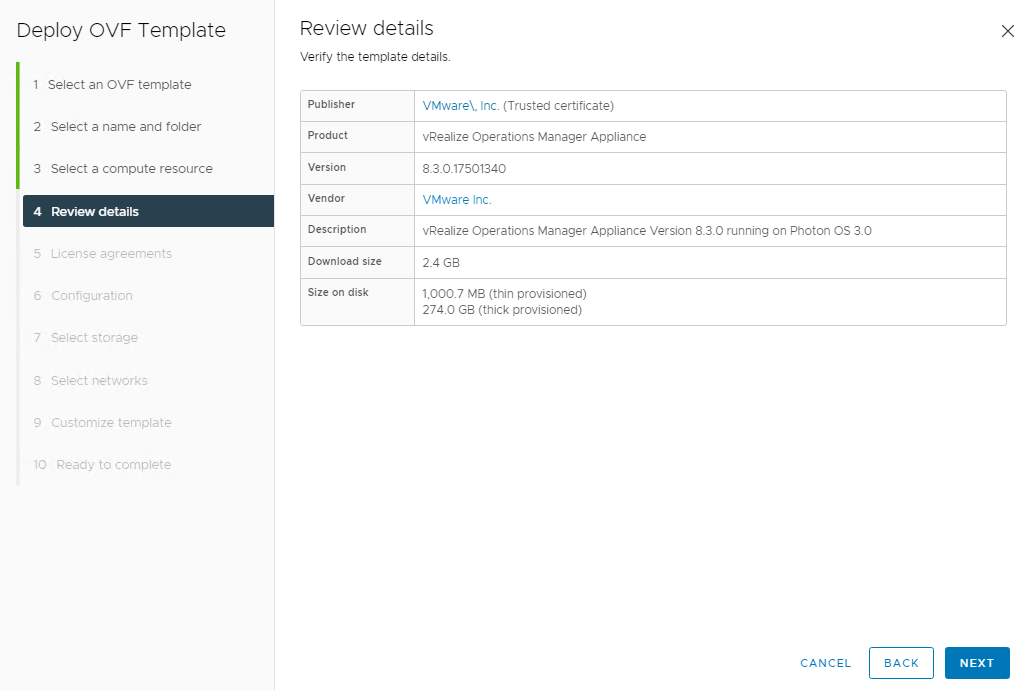
Review the details page and click next to proceed
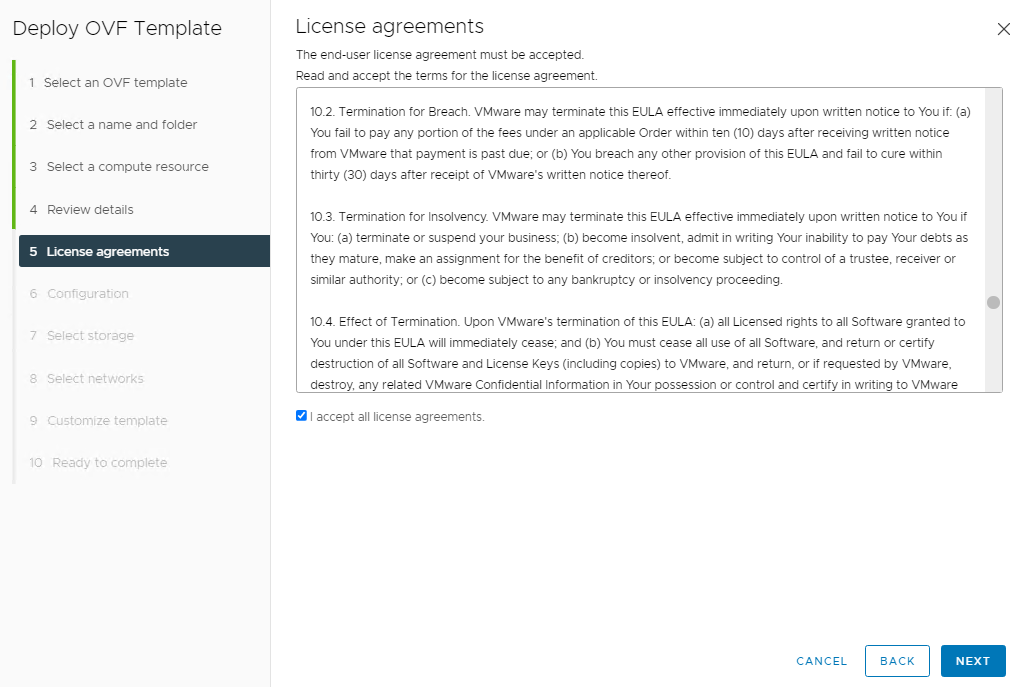
Accept the license agreements
Depending on what our sizer recommended, we need to pick the appliance size

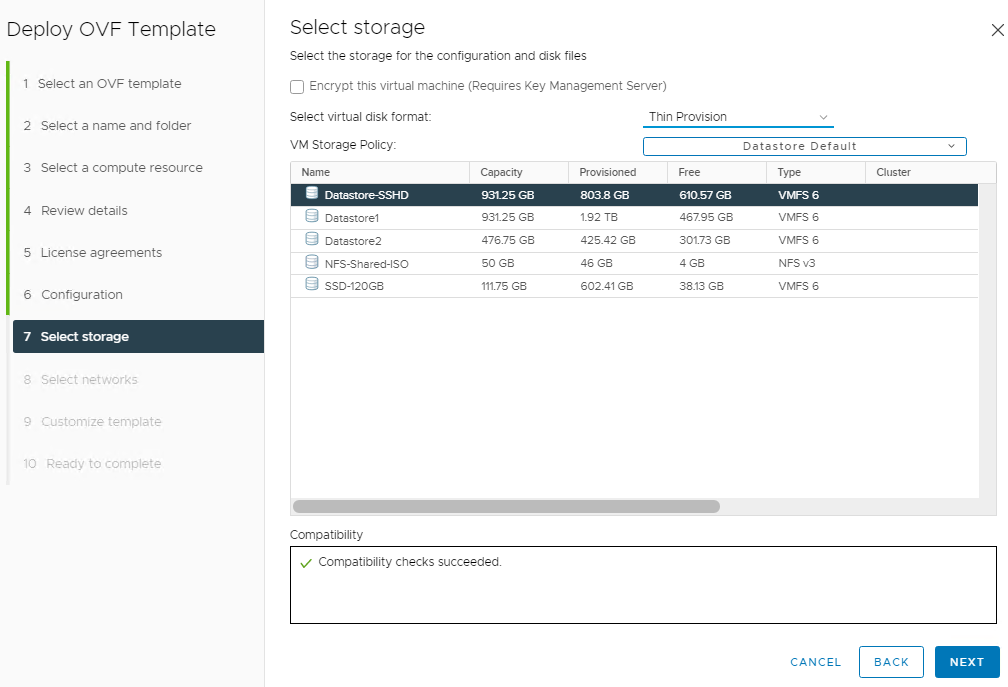
Select the virtual disk format as thin disk and choose datastore location and click Next.
Select the management portgroup from the destination network dropdown and click Next

Review the settings and click finish to start the deployment.
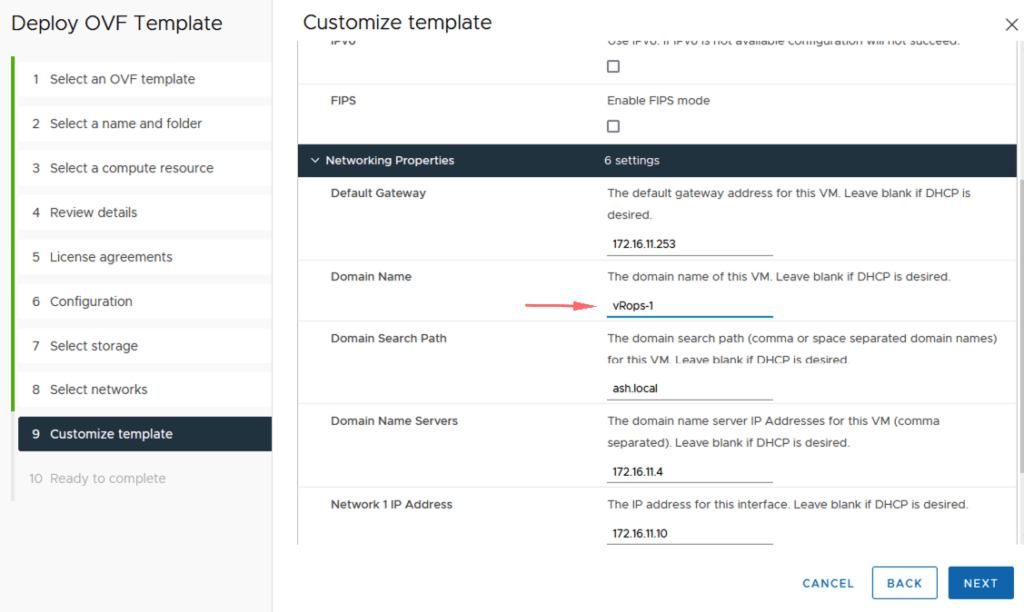
- Domain Name – Give the VM name
- Domain Search Path – Give the DNS Name
- DNS Servers
- Domain Search Lists
- Network 1 IPv4 Address
- Default IPv4 Gateway
- Network 1 Netmask
- NTP server list
Click Finish to complete the installation

The OVA should start to deploy and once done, power on the VM.
Launch a web browser and connect to the vrops management address via https://vROPSIP
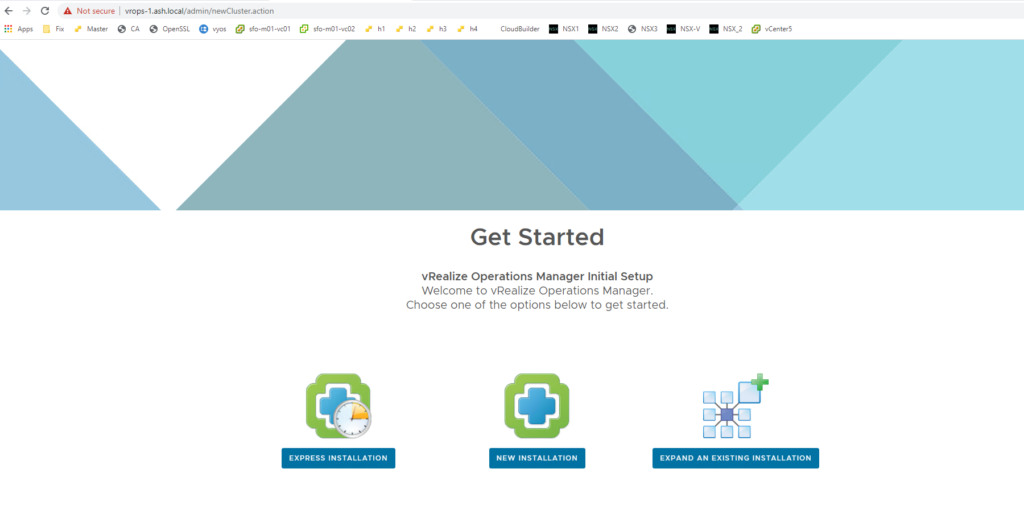
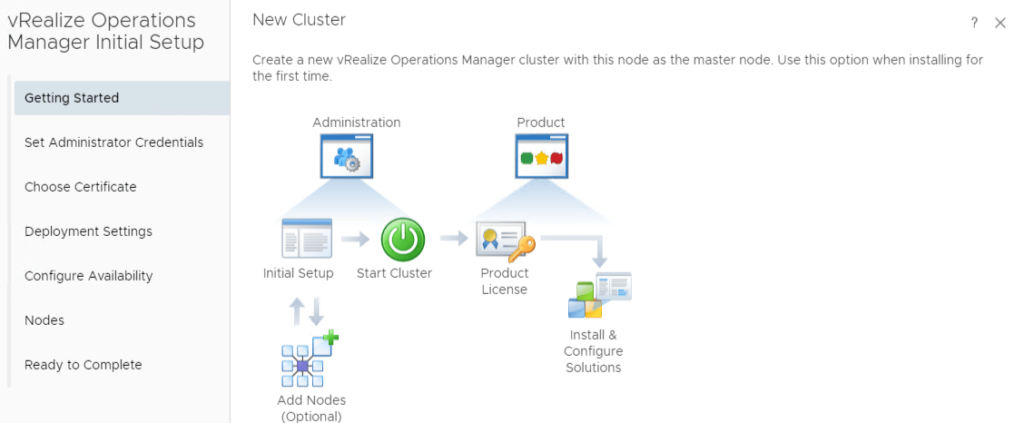
Select either express or new installation. We will be using the new installation
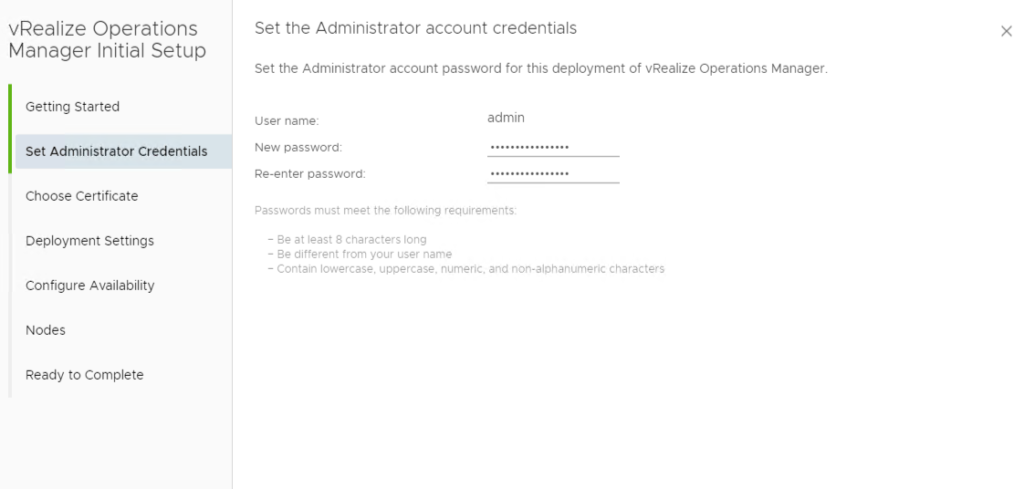
The user name is admin and the password needs to be set here
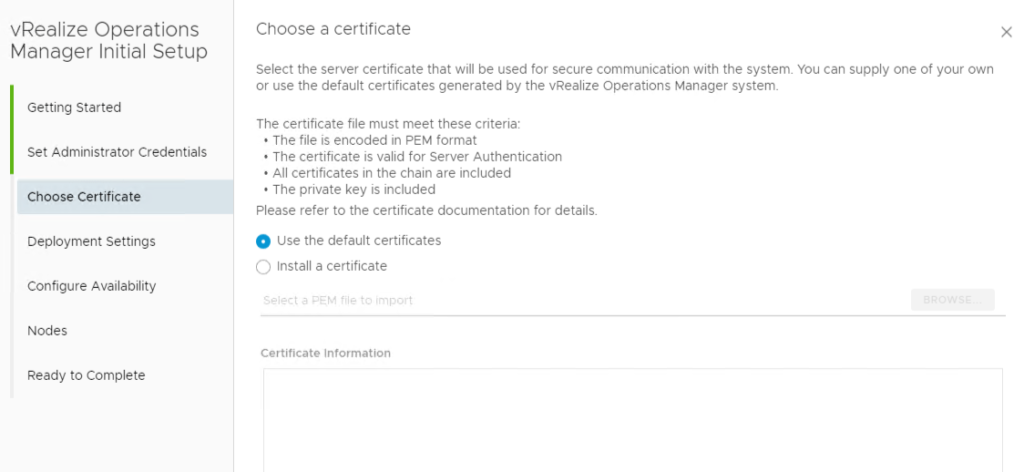
Choose the default certificate for now, we will change this later
Choose a name for the Master Node and also provide an NTP Server

We are going to skip this for now and we will look to add additional nodes in our next blog
Skip additional node section for now

Click Finish to complete the installation
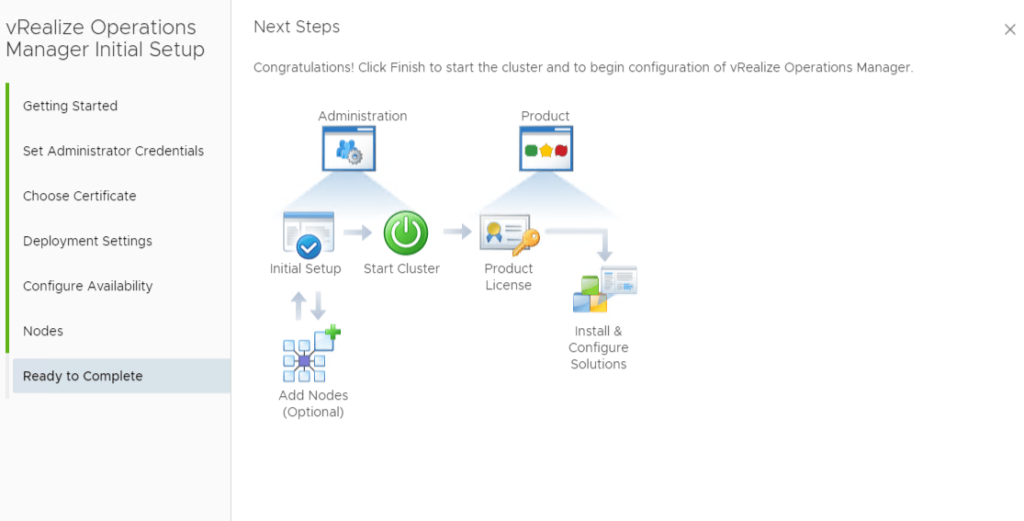
Login to vRops appliance via https://vrops-1.ash.local/admin/login.action
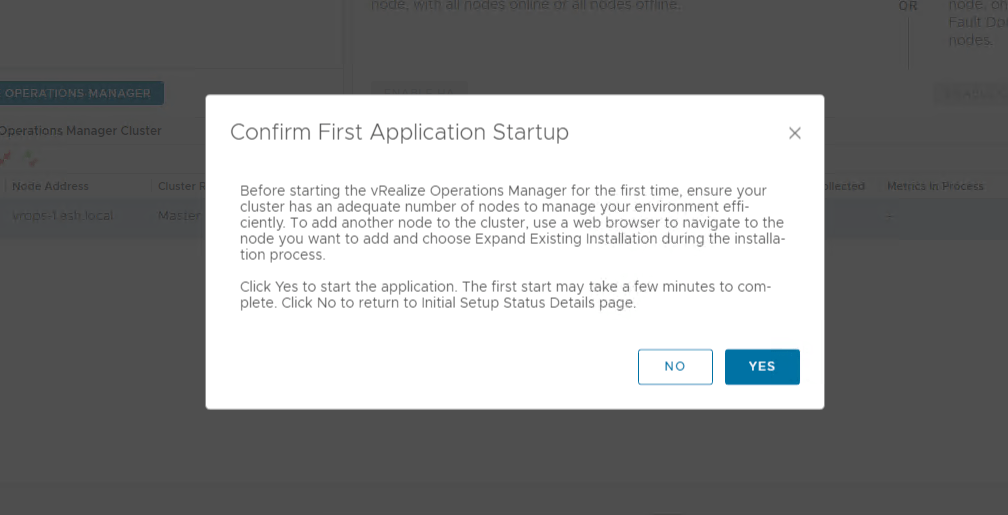
Click on Start vRealize Operations Manage. We will now need it to give around 20 minutes for vROps cluster status to come Online.

The vRops cluster before becoming online will install all the basic dashboards, api etc so be patient.

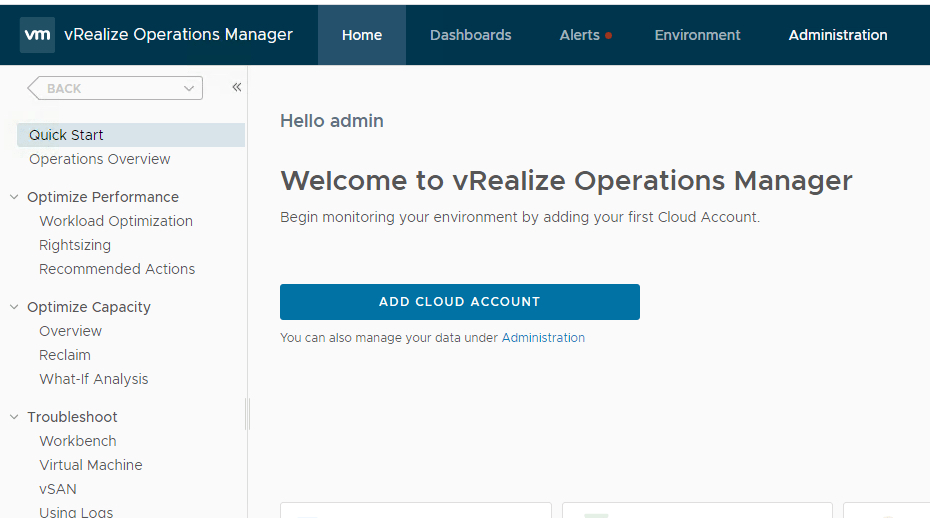
Once the cluster is online, we can now login to vRops UI
URL to log in will be https://vrops-1.ash.local/admin/login.action. Punch in your admin/password created earlier


Accept the license aggreement

We are going with an EVAL license for now.
Click Yes to proceed
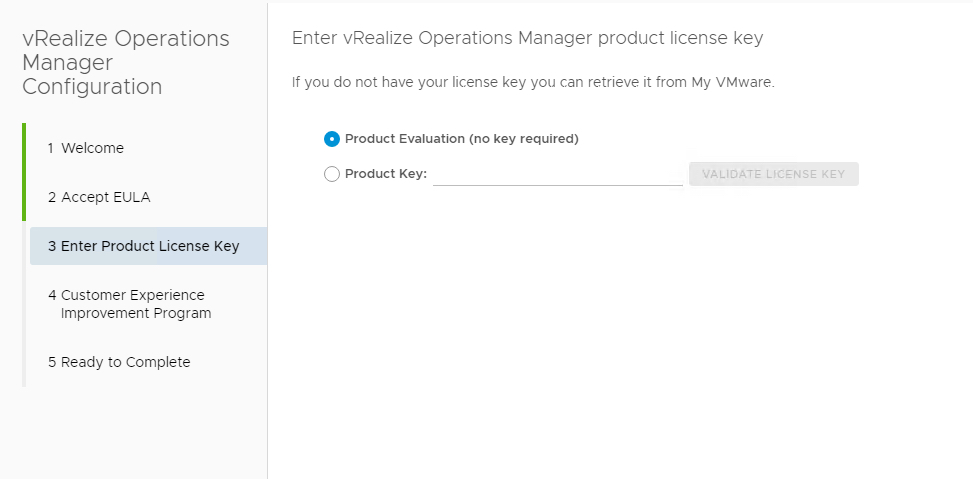
Enter your product key or use the evaluation.

You can join customer experience or untick to not take part.

Click Finish to complete.
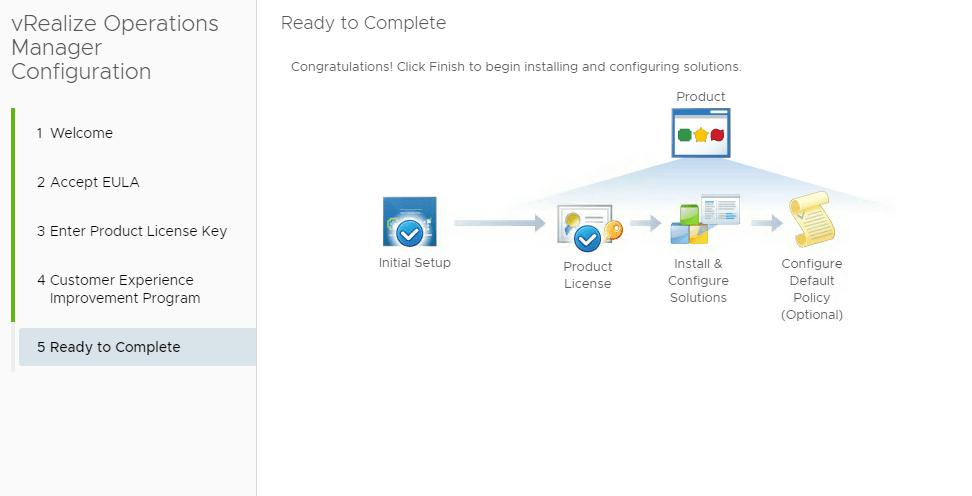
vROps is now fully installed.
https://vrops-1.ash.local/ui/login.action
In the next blog, we will connect to the vCenter Server, NSX Manager, configure Active directory integration and build some dashboards.