In this blog, we will take a look at the options available for us to expand an RDM disk.
A Raw Disk Mapping (RDM) is a traditional way of presenting a LUN directly from a SAN to a virtual machine. These presentations were the de facto standard in old SANs rather than creating virtual disk files on a shared datastore, these mappings are direct from SAN and thus were believed to show better performance than using shared datastores before flash offerings became widely available. These mappings also known as pass-thru RDM expose the physical properties of the mapped LUN to the guest operating system
Blog Series
- Create/Add a Raw Device Mapping (P-RDM) to a VM Cluster
- SQL Server Failover Cluster Installation
- Expand a Virtual and Physical RDM LUN
- How to Set Up and Configure Failover Cluster On Windows Server 2022
Expansion of a VM Disk Configured as Physical RDM (No Reboot Required )
The expansion of a VM Disk configured in Physical RDM is a very straightforward process and for the most part, the VMware Administrator doesn’t need to do anything. The Storage Admin will just do the lun extension and the Windows Administrator will just expand the VM Disk from the OS as usual.
For that, we will first need to determine if the VM is configured as Physical RDM or a virtual RDM by checking the properties of the VM.
In this example, we have a 500GB disk mapped as an RDM in physical compatibility mode. We will need the following info for us to resize this disk.
- Physical Lun ID and the NAAI ID
- Disk File
- The SCSI controller that’s mapped to this disk
- Datastore the disk resides in.

If you double-click on the Green Block as highlighted above, this will open up a new ID. The info we need is the LUN ID & the NAAI ID and this is info a Storage Administrator would need to expand the lun.

Now, this is a laborious process to go through so I usually do a PowerShell code to get this data out quickly
Run this Powershell command to get the disk layout of the first VM
 Set-PowerCLIConfiguration -InvalidCertificateAction Ignore -Confirm:$false
Connect-VIServer vcenter01.ash.local
Get-VM <VMName>| Get-HardDisk -DiskType "RawPhysical","RawVirtual" | Select Parent,Name,
     @{N='SCSIid';E={
         $hd = $_
         $ctrl = $hd.Parent.Extensiondata.Config.Hardware.Device | where{$_.Key -eq $hd.ExtensionData.ControllerKey}
         "$($ctrl.BusNumber):$($_.ExtensionData.UnitNumber)"
      }},CapacityGB,DiskType,ScsiCanonicalName,DeviceName,FileName | out-gridview
The output will appear as shown which has all the info we need.

Expand the RDM LUN from the SAN Side
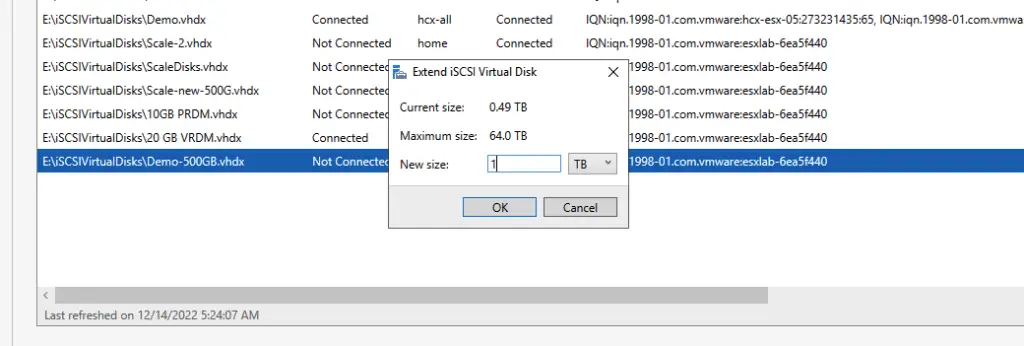
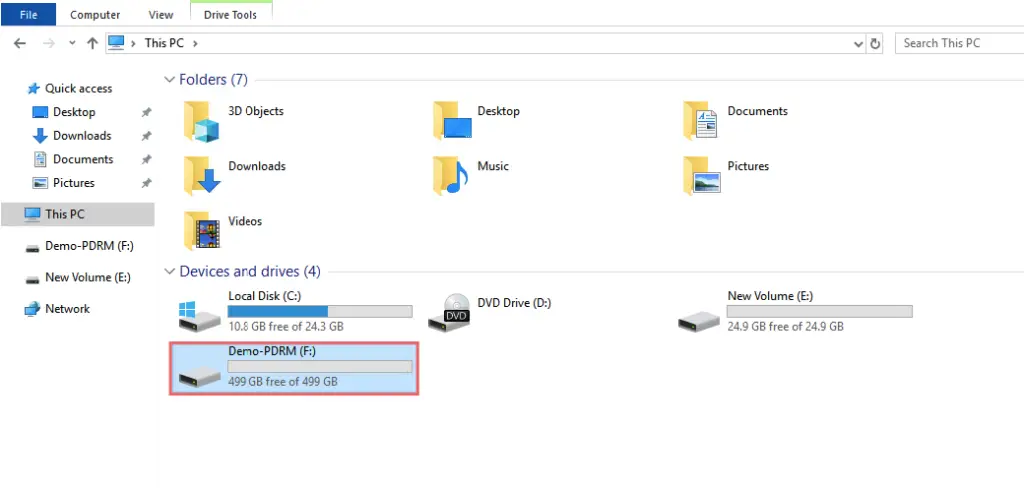
Rescan the adapters.

Log in to the OS and we can see the unallocated space
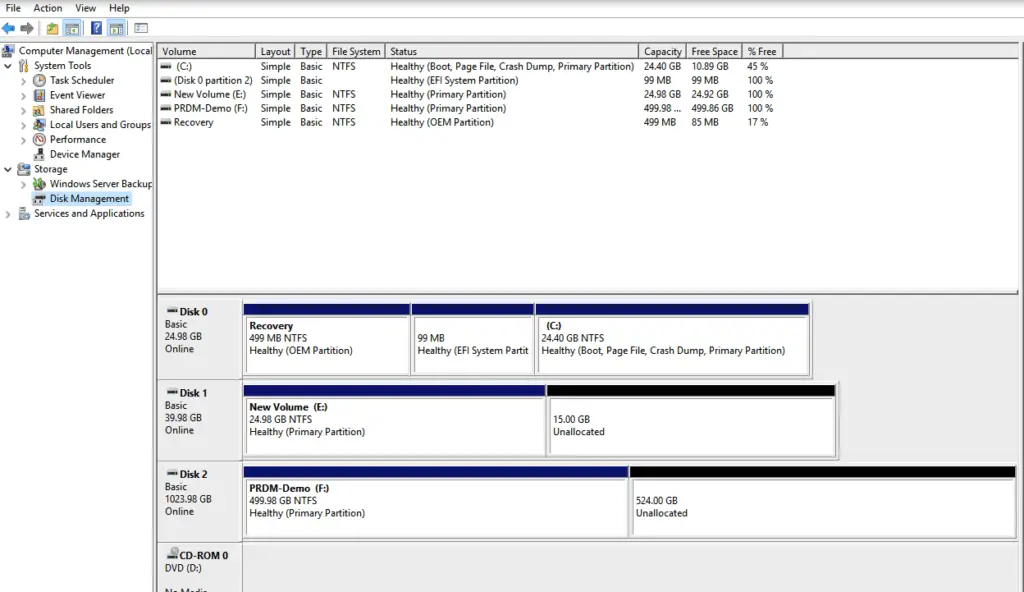
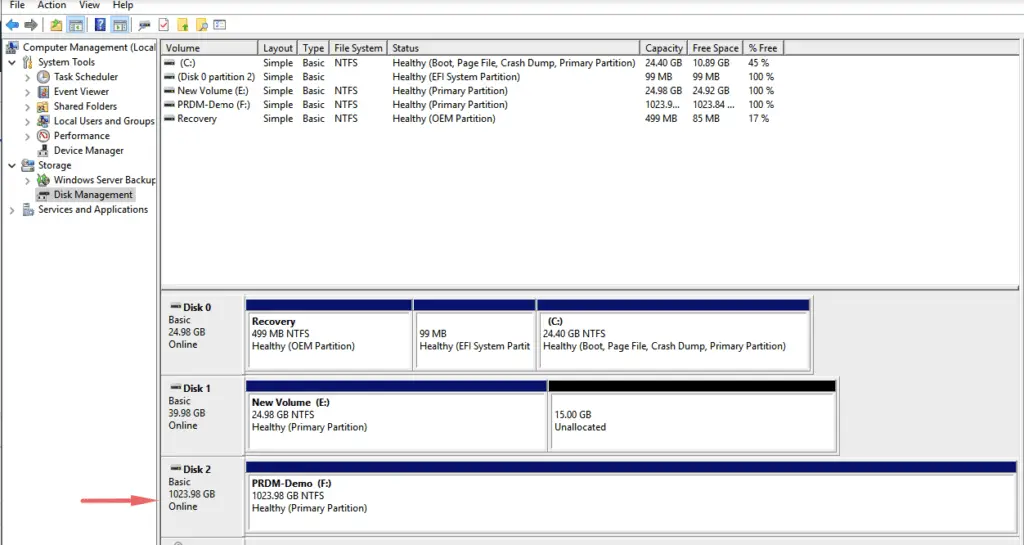
Just expand the disk as usual

That’s it then and we are done expanding the disk.
Expansion of a VM Disk Configured as Virtual RDM (Reboot Required )
The expansion of a VM Disk configured in Virtual RDM is not a very straightforward process and this will need some involvement from the VMware Admin.
For completeness, I’m to attach a brand new disk and configure it fully and then extend the disk.
From the SAN, I’ll add new lun

From the SAN, i’ll attach this lun to all my ESXi hosts.

Rescan the adapters

Choose to add a new disk and choose RDM

Select the new lun that was added

Choose the following here
- Compatibility mode as Virtual
- Disk Mode as Independent- Persistent
- Virtual Device Node – Choose SCSI controller.

Be careful as you select these disk modes.

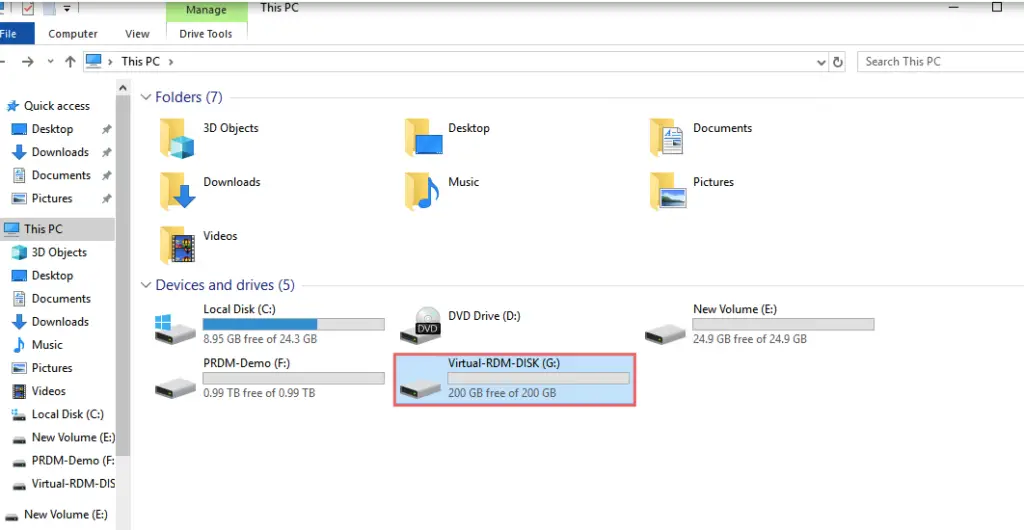
Once the disk is attached, it’s the usual process to add a new disk to the Windows OS.
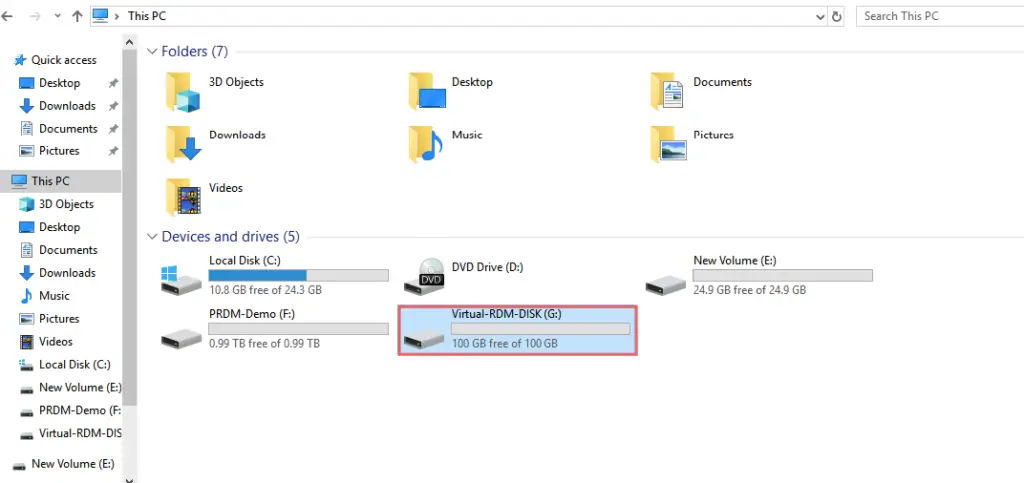
So here comes the fun bit now.
How to Extend the disk configured as Virtual RDM? (Reboot Required )
The expansion of a VM Disk configured in Virtual RDM is not a straightforward process and for the most part, the VMware Administrator needs to be involved. The Storage Admin will still need to do the lun extension and the Windows Administrator will just expand the VM Disk from the OS as usual so let’s see the process now.
This process does require rebooting the virtual machine.
We will first need to determine if the VM is configured as Physical RDM or a virtual RDM by checking the properties of the VM.

In this example, we have a 101 GB disk mapped as an RDM in virtual compatibility mode. We will need the following info for us to resize this disk so i’ve the powershell code to get the info out.

We will need the following info for us to resize this disk and this needs to be carefully done.
- Physical Lun ID and the NAAI ID
- Disk File
- The SCSI controller that’s mapped to this disk
- Datastore the disk resides in.
Power off the VM
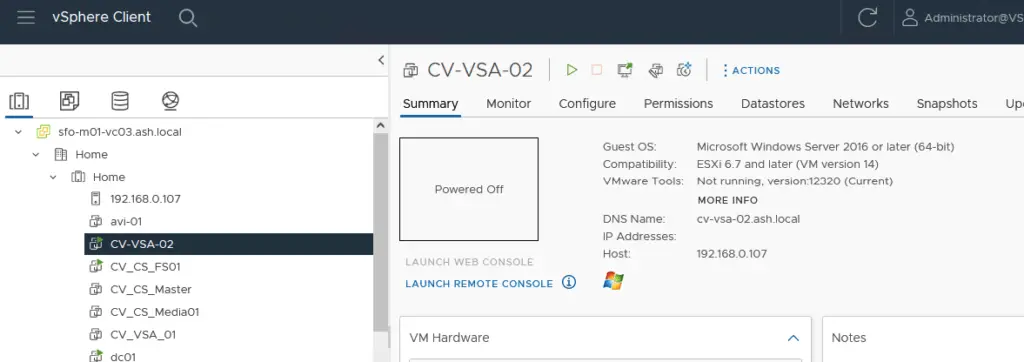
Remove the RDM from the virtual machine. Choose the disk to delete from VM Config. Even though it says it’s deleting everything it doesn’t do so because the real data is on the lun. I typically go with this option and later come and delete the file but the reality is this is actually a pointer file in the datastore.

This is the recommended option and it’s safe to stick to the option to delete all files from the datastore. Remove the RDM from the virtual machine along with the files. Even though it says it’s deleting everything it doesn’t do so because the real data is on the lun. I’ve tested it both ways so it’s fine to stick to any approach.

Expand the LUN from Storage Array

Rescan the adapters and verify if the lun has been extended
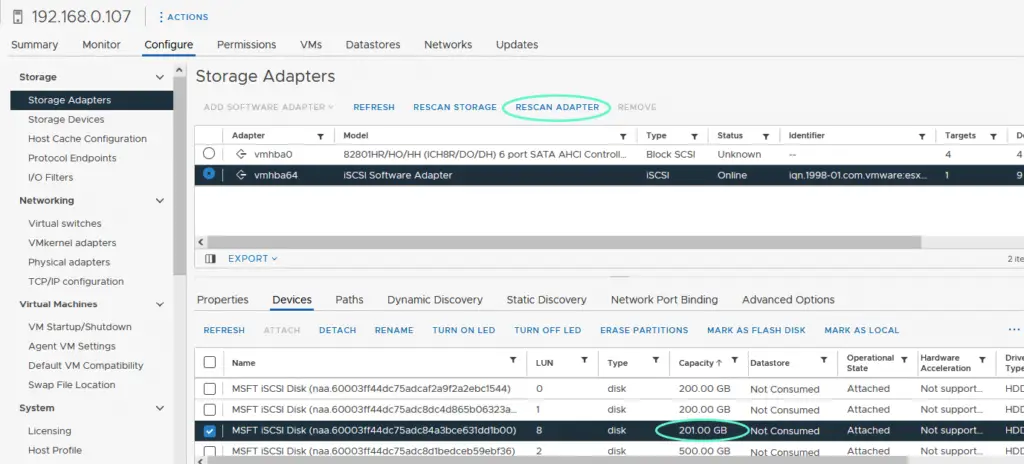
Once this is done, recreate the RDM mapping by going back to the VM > Edit Settings -> Add Hard Disk -> select RDM.

Choose the LUN

Ensure you select the same SCSI controller, SCSI ID, disk mode and ensure the compatibility type is set as Virtual

Power up the VM and go to the disk manager and this time, we can see the unallocated space added to the lun.
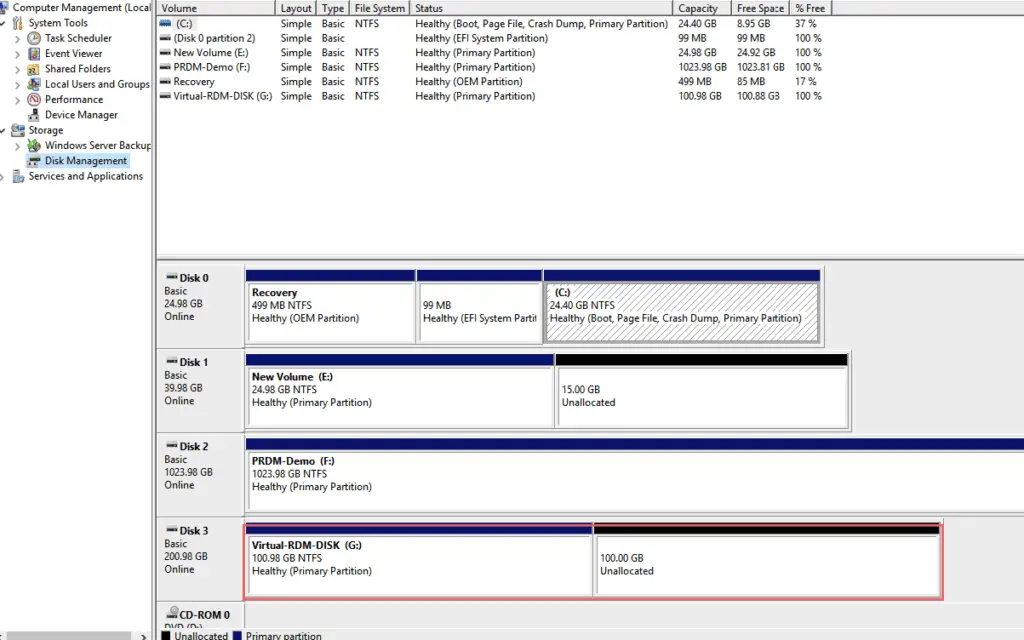
Extend the volume as usual.

That’s it then – We’ve extended the virtual RDM
Summary
The purpose of the blog was to show you how to extend the VM disks mapped via RDM in both virtual and physical compatibility modes. As seen in the blog, we will need to shut VMs down if the disk mapping is configured as virtual RDM mode whilst if it is configured as a physical RDM, we will expand the volume without taking the VM down.

