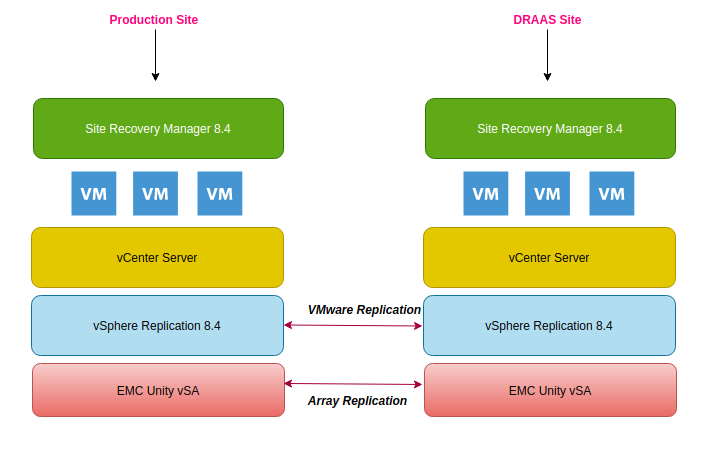
In this blog, we will deploy vSphere replication software in order for us to use VM level replication. This software will then hook up to the Site Recovery manager we deployed earlier which will help us to orchestrate the failover and failback for our protected VM’s.
Similar to the SRM deployment, this vSphere replication software is also deployed as a pair – One software will be our Production Site and another one will be deployed to our DR site.
Prerequisites
It’s always a good idea to do your research before installing or upgrading SRM. Along with reading the release notes, verifying the VMware compatibility Matrix of ESX, vDS, vCenter, and NSX-V is essential.
Here are the relevant web links
Summary of vRA Deployment
The following are the high-level steps required for our SRM deployment.
- Verify compatibility matrix
- Build ESXi hosts
- A special vmk port for vSphere replication
- Deploy 2 vCenter and connect ESX host to each vCenter
- Deploy vRA Manager via OVA.
- Link vCenter to vRA
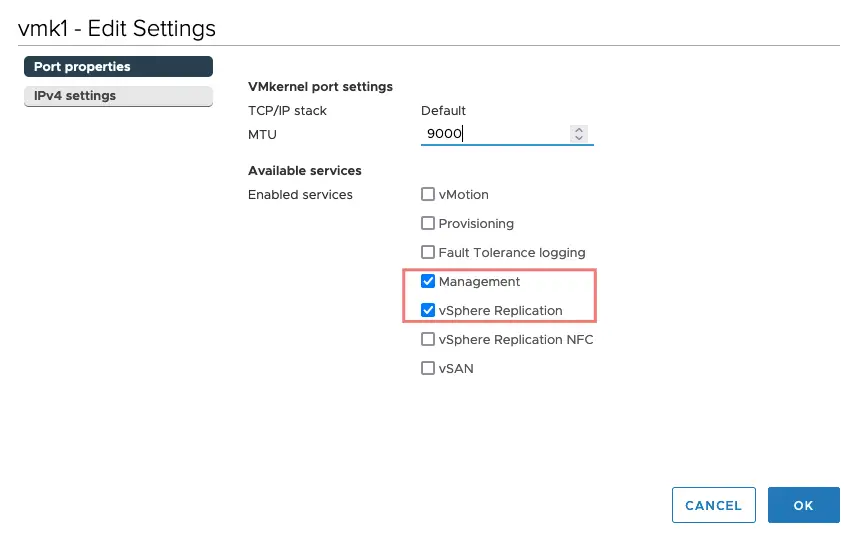
For vSphere replication to work, we will need to enable the vSphere replication service on our VMkernel adapter at both our DRAAS and Prod site. Typically in production, this will be a separate VMkernel port with just the replication traffic.
Step 1 – Go to the ESX host, Configure – Select VMkernel adapters
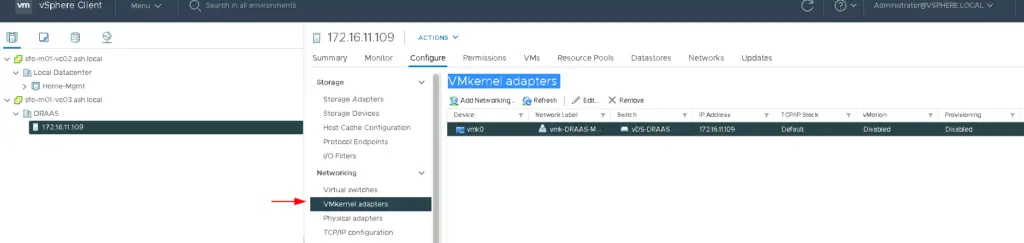
Step 2 – Edit VMkernel adapter and choose to enable vSphere replication traffic as shown
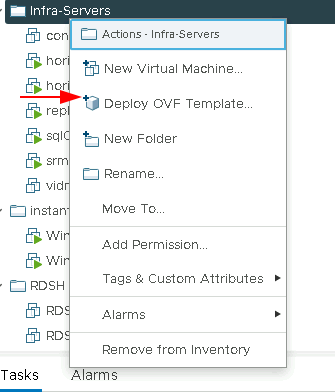
Step2. Log in to the vCenter and browse to the SRM OVA file downloaded from VMware.com
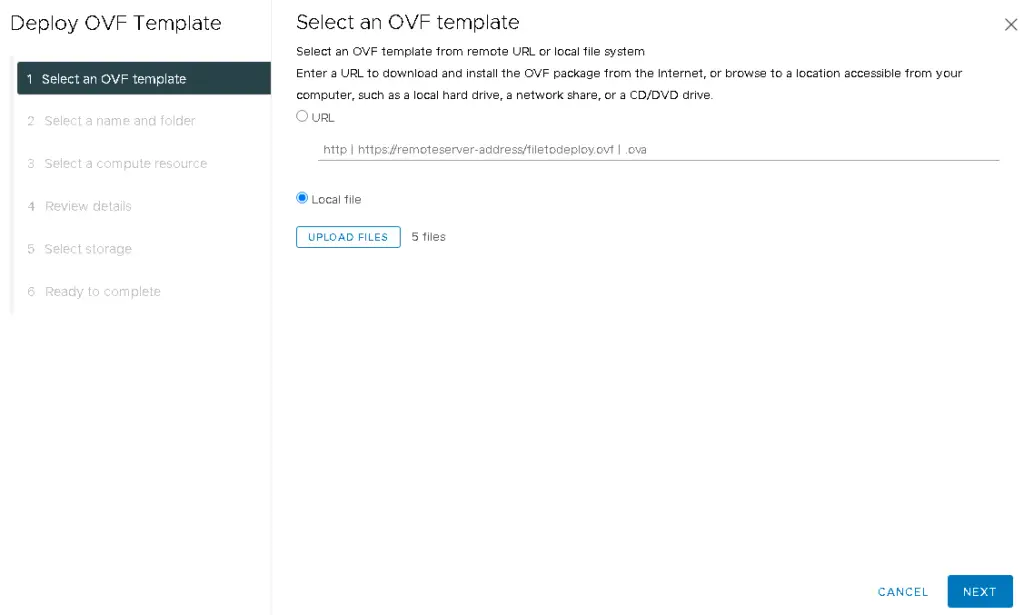
Step3.Select the option to deploy from a local file and click choose files.

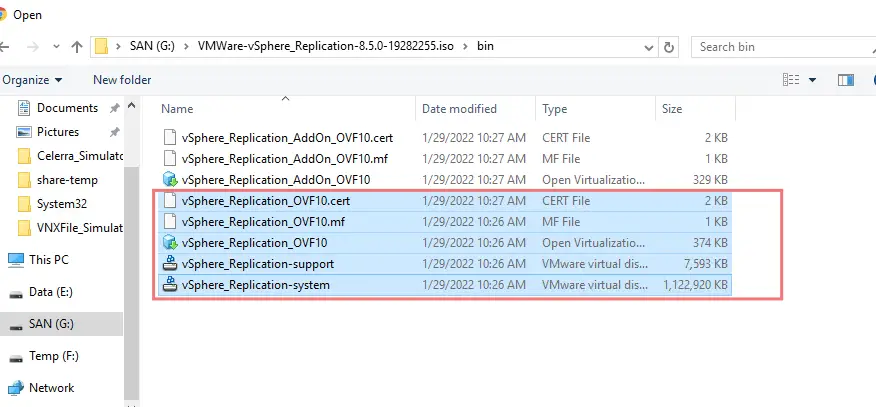
Step4.Select all the five files part of the vRA installer package and Click Open
Step5.Click Next to continue
Step6.Give the VM a name

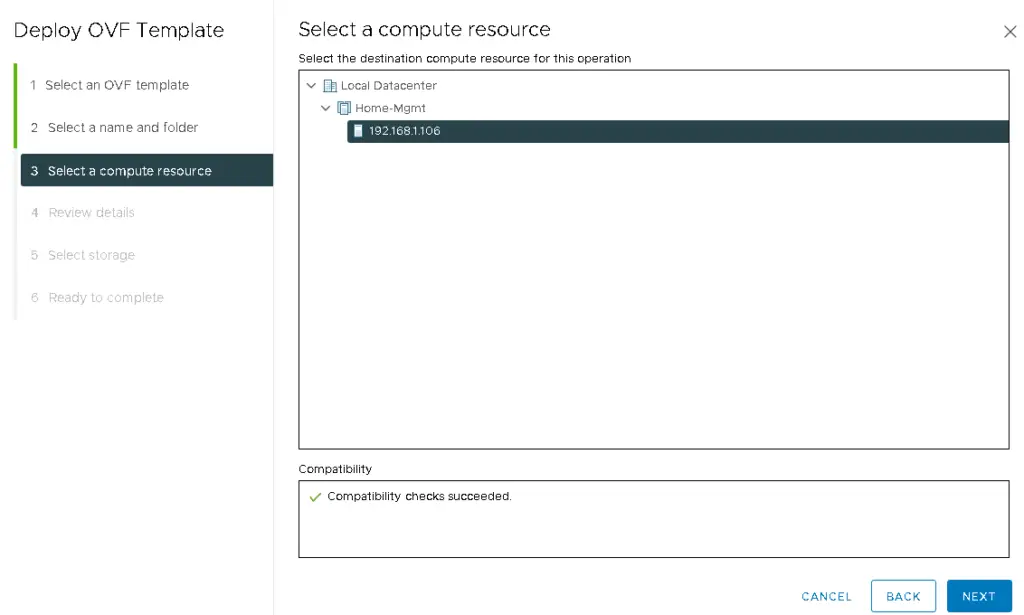
Step7.Under our cluster, select an ESXi host to deploy the OVF
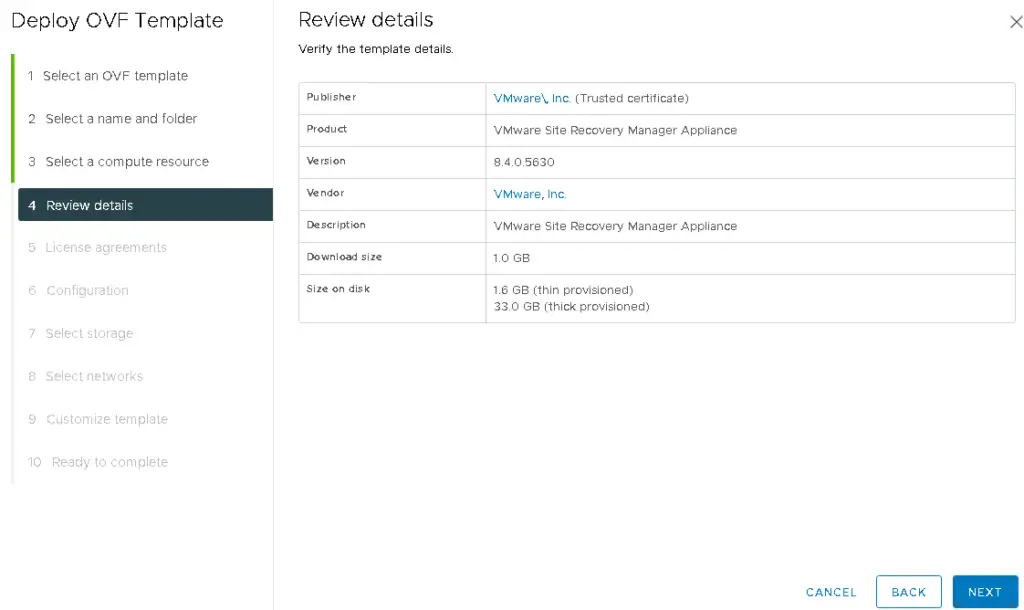
Step8.Review details and click Next
Step9. Accept the license agreement and click Next

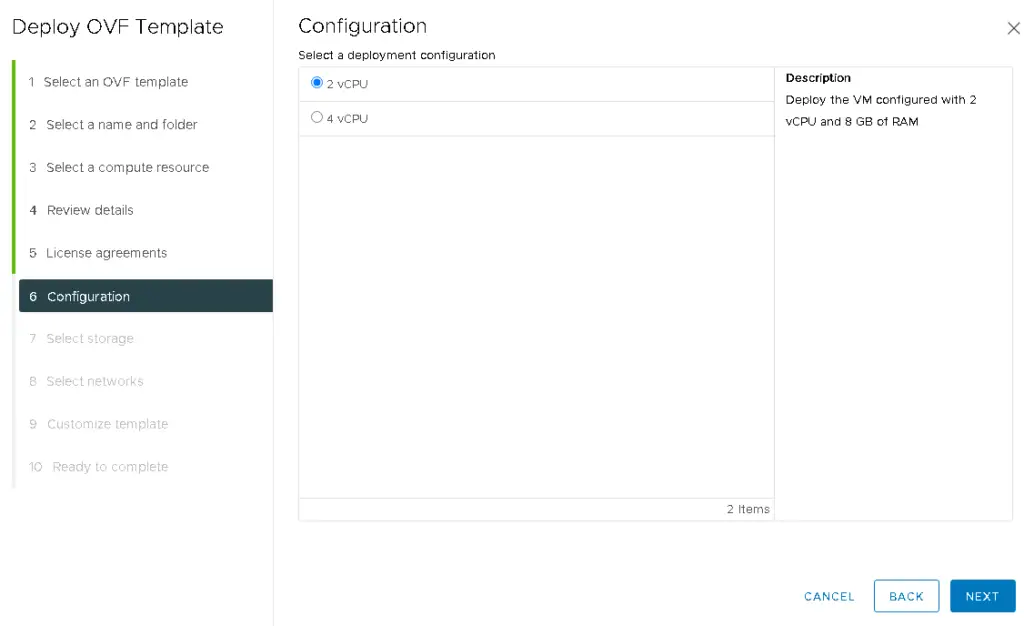
Step10.Choose the number of vCPUs and RAM required
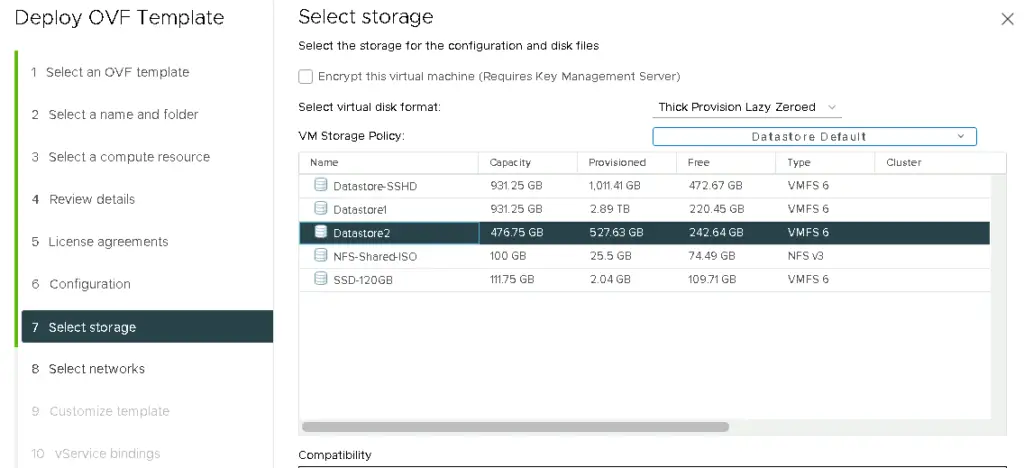
Step11. Choose the data-store to deploy the VM to
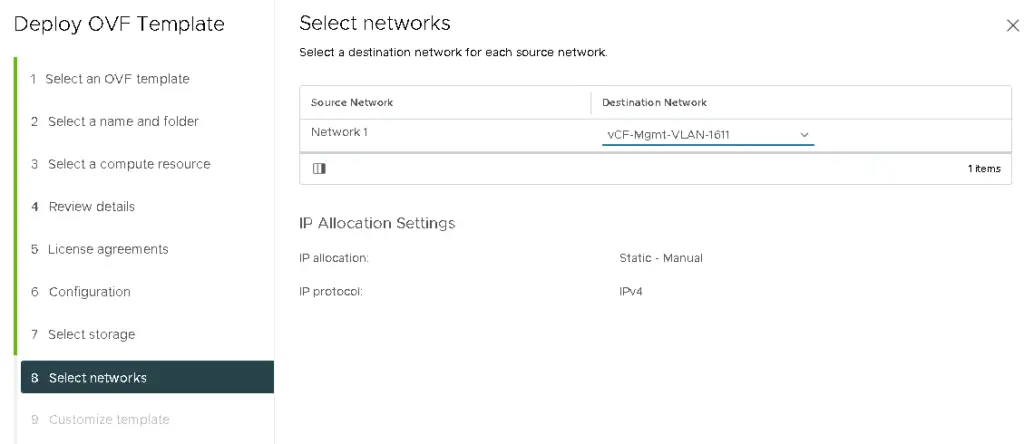
Step12. Choose the Portgroup to deploy the VM to
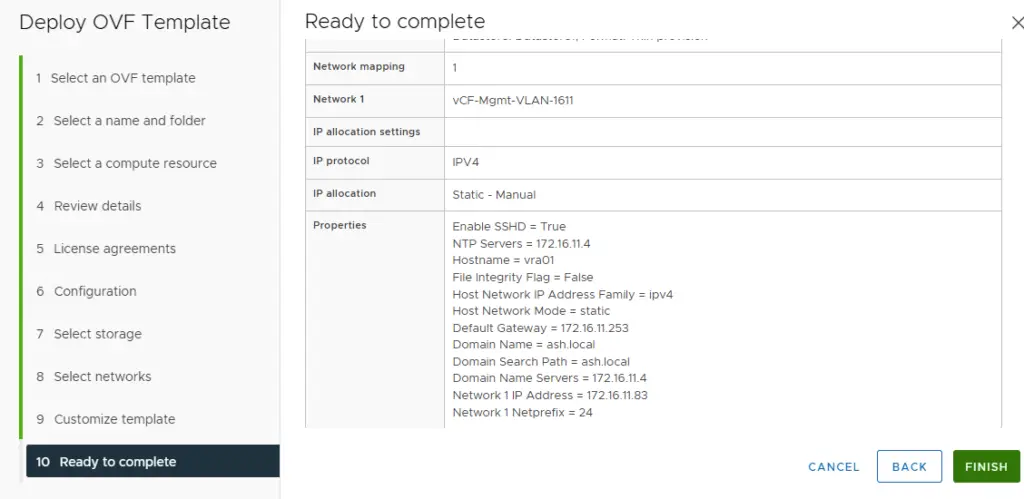
Step13. Provide all with these details and click Finish to start the deployment.
- Password
- Hostname
- Network 1 IPv4 Address
- Default IPv4 Gateway
- Network 1 Netmask
- NTP server list
- DNS Servers
- Domain Search Lists
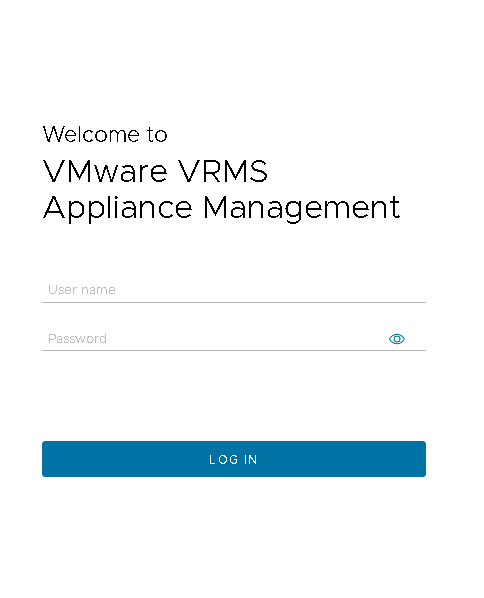
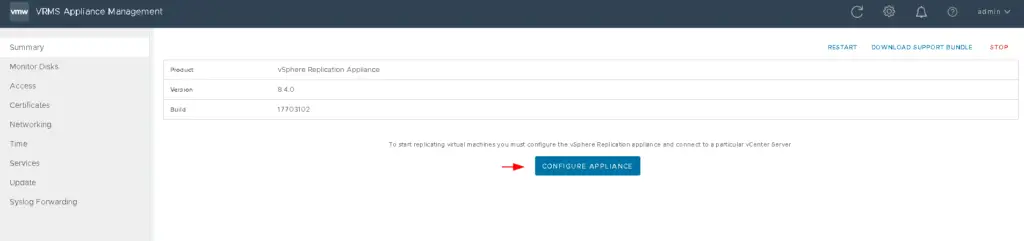
Step14. Once deployed, open the VAMI portal https://IP_address:5480 and login as admin/password
Step15.Change the timezone to your correct timezone.
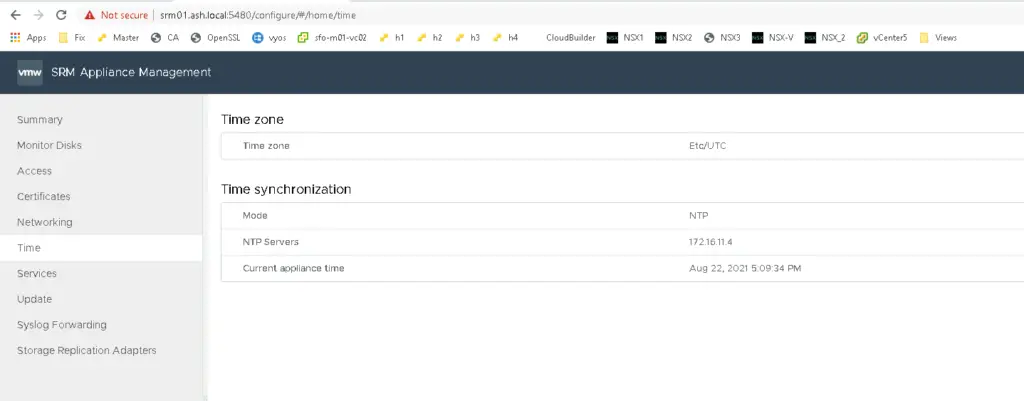
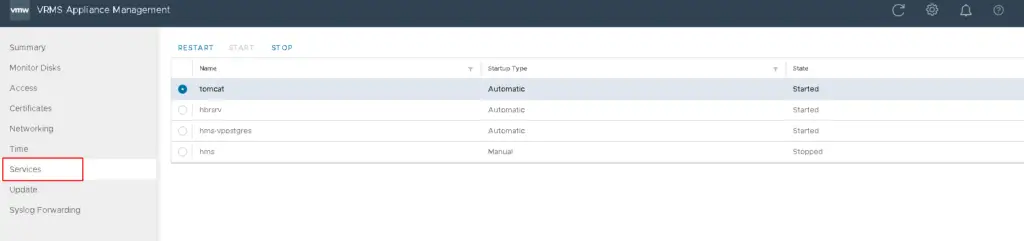
Step16.We can see all the services are started
Step17. Click on Configure appliance to configure vRA
Step18. Provide details of our vCenter here

Step19. Choose the primary vCenter here

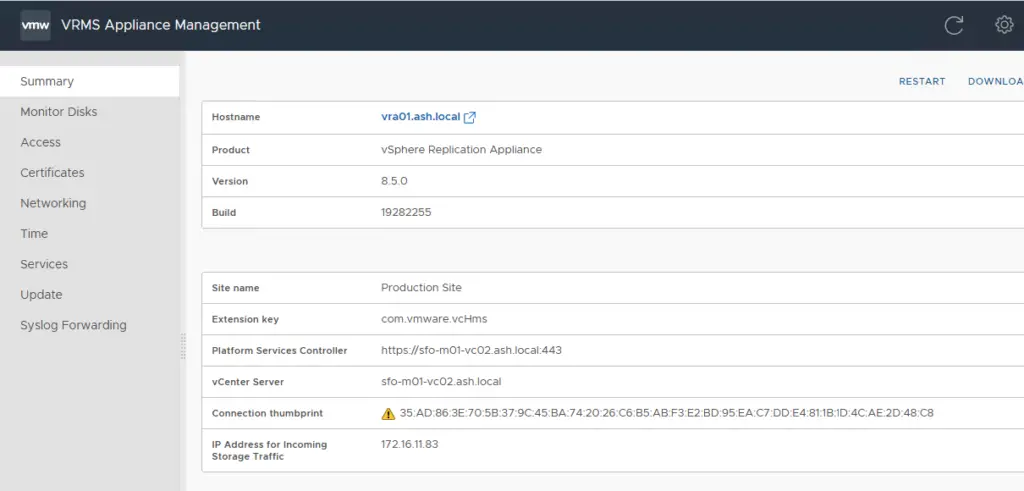
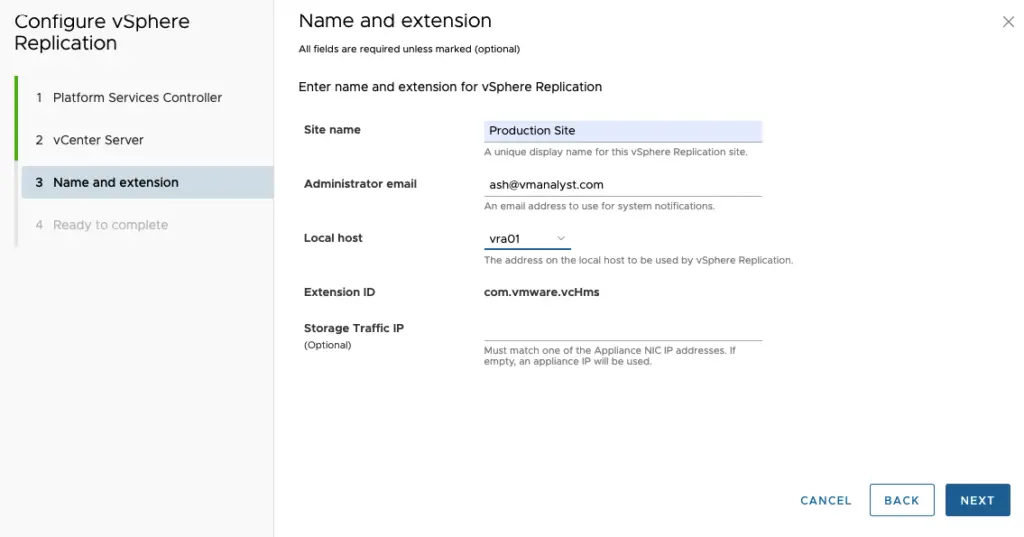
Step20. Give the site name some name such as Production Site. Enter the FQDN of the vRA server we created in DNS earlier.
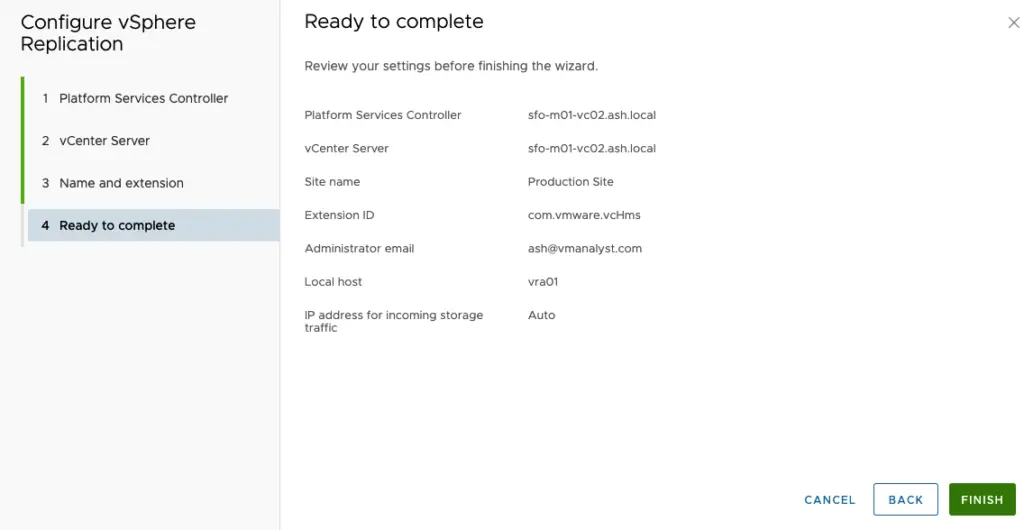
Step 21. Review and submit
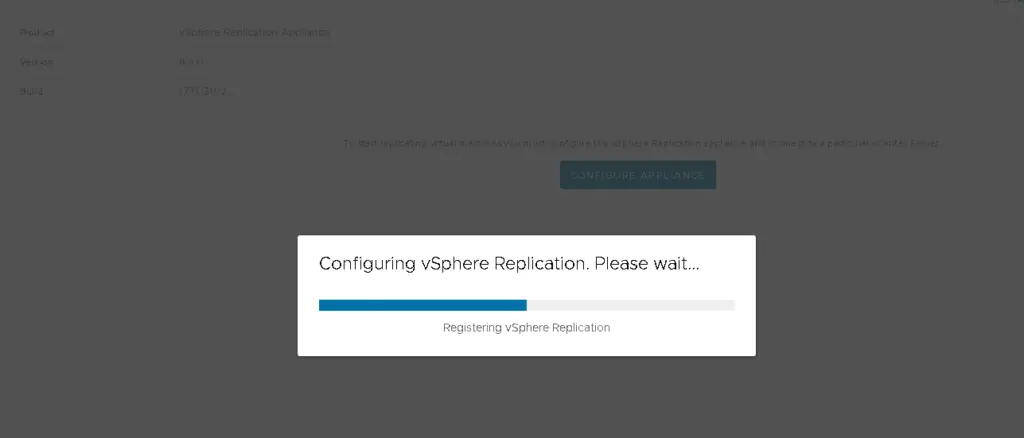
Step 22. The configuration starts and this will now take around 15 mins.
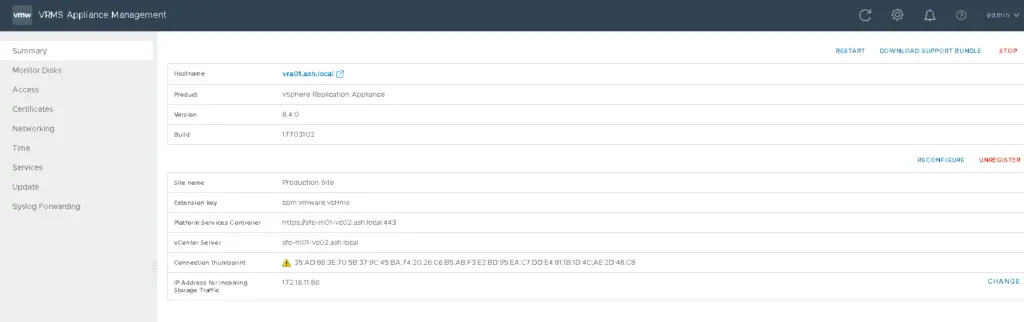
Step 23. vRA is configured successfully and we can now view all information such as the connected vCenter, and the site name we provided.
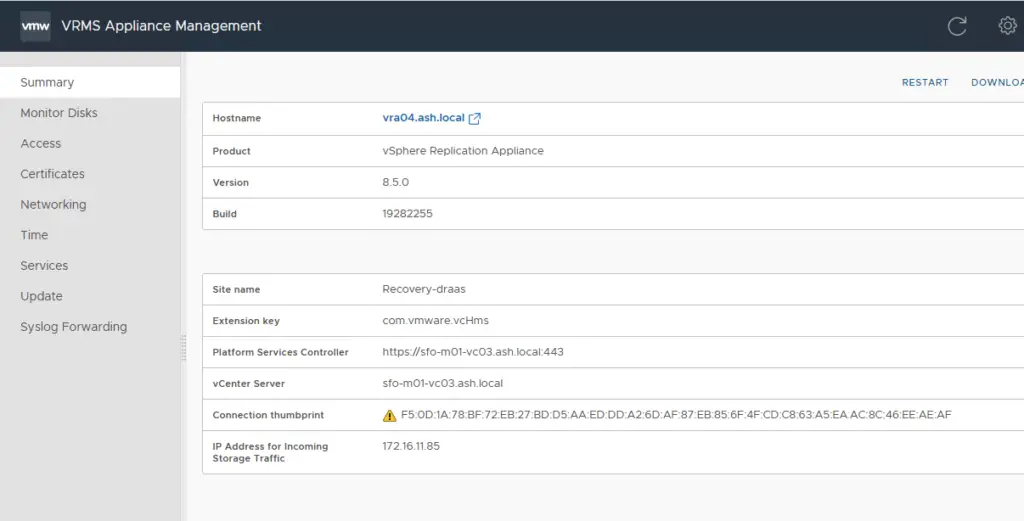
Step 24. We now need to repeat the same steps on the DR site. vSphere Replication is compatible with the N-1 version of the remote site. which means if your primary site uses vSphere replication 8.5 you can install vSphere replication 8.4 or later.
Once both replication appliances are configured this is how it looks like in my environment.