We had discussed the deployment of Lifecycle manager in my previous blogs during the vCF deployments so this is just a repeat activity with a focus on the latest enhancements.
vRLCM automates the following vRealize tasks.
- Installation
- Configuration
- Upgrade
- Patch
- Config mgmt
- Health checks
vRealize Operations Sizing Guidelines
What’s New in vRealize Suite Lifecycle Manager 8.6
The product has been renamed as VMware Aria Suite Lifecycle
- vRealize Orchestrator Lifecycle Management
- Improved vRealize Automation Enhancements
- VMware Identity Manager Clusters
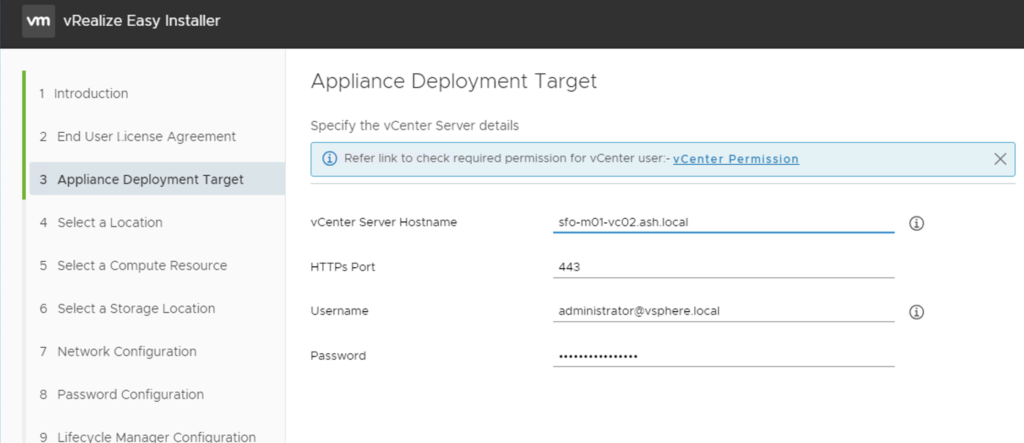
Installation Walkthrough
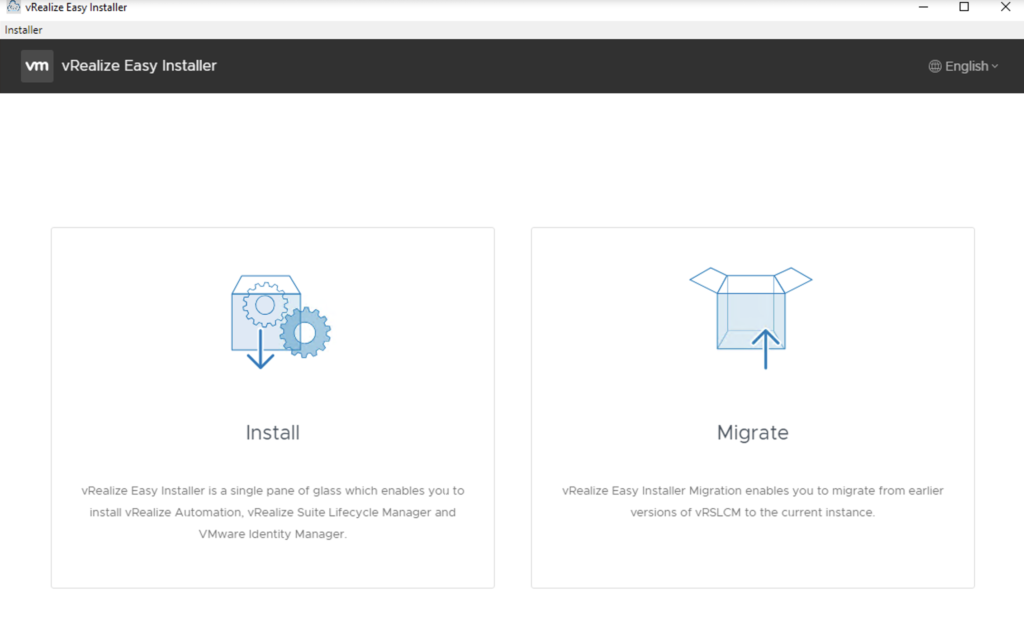
Download the vRealize Automation ISO file from the VMWare portal, mount, and run the installer file.
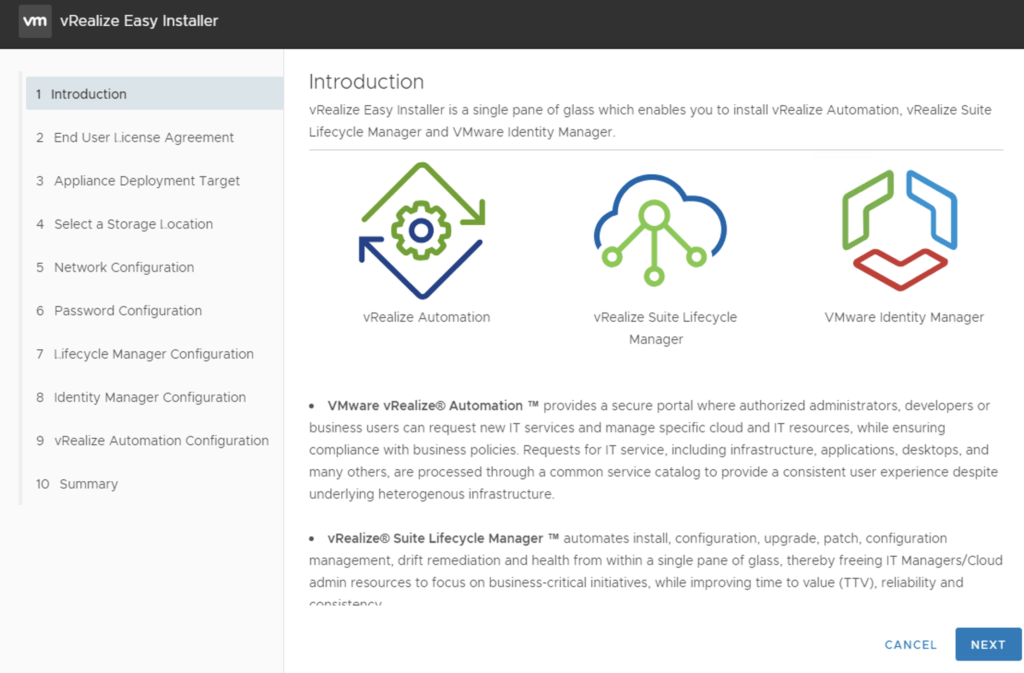
Click Next to continue
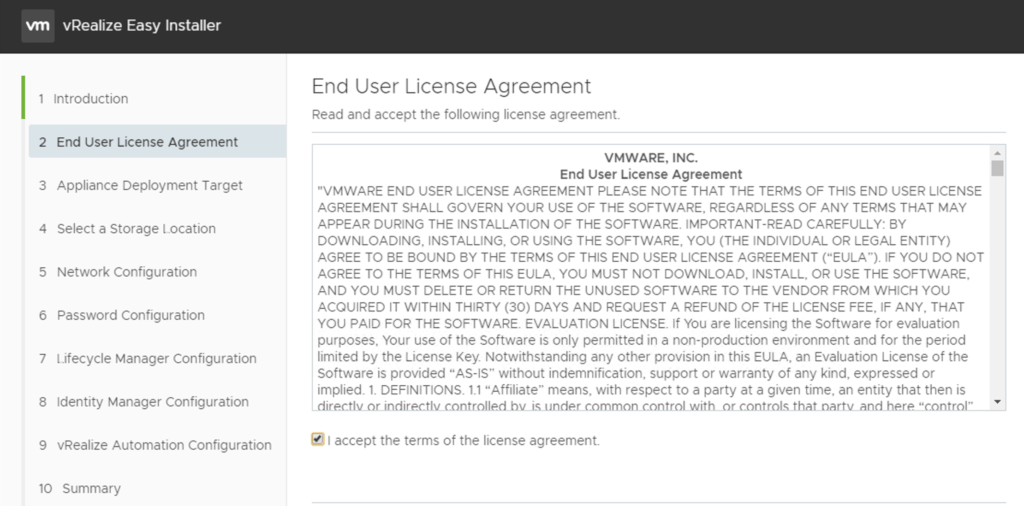
Accept the license agreement and click Next
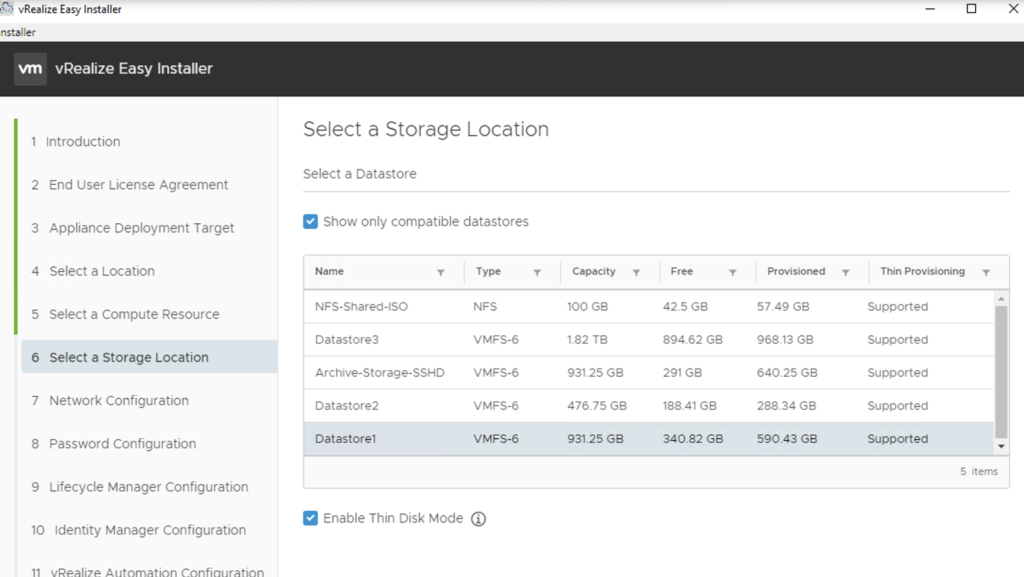
Select the virtual disk format as thin disk and choose datastore location and click Next.
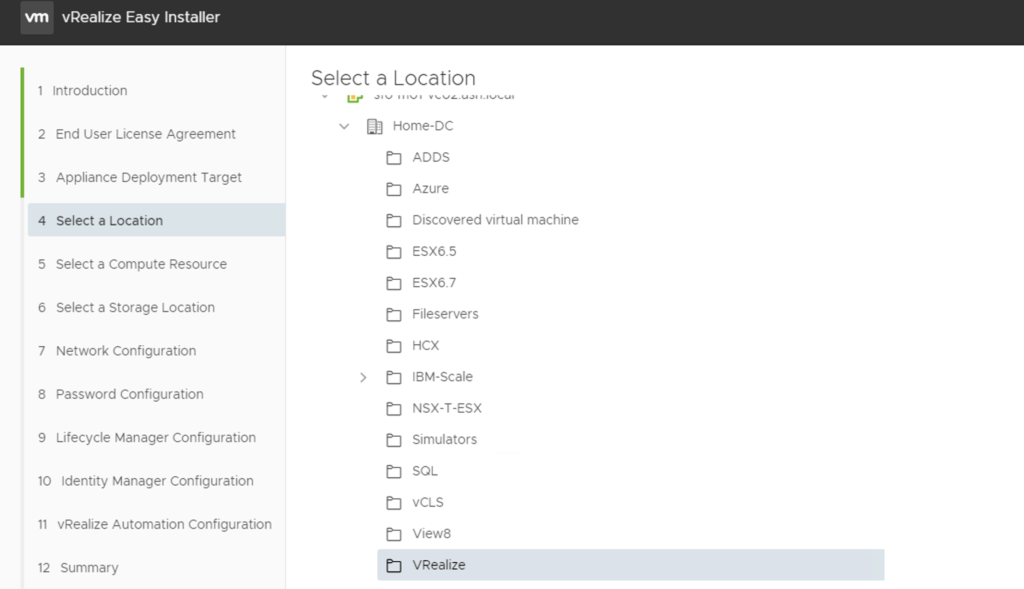
Choose the cluster to deploy the VM to
Select the virtual disk format as thin disk and choose datastore location and click Next.
Select the management portgroup from the destination network dropdown list.
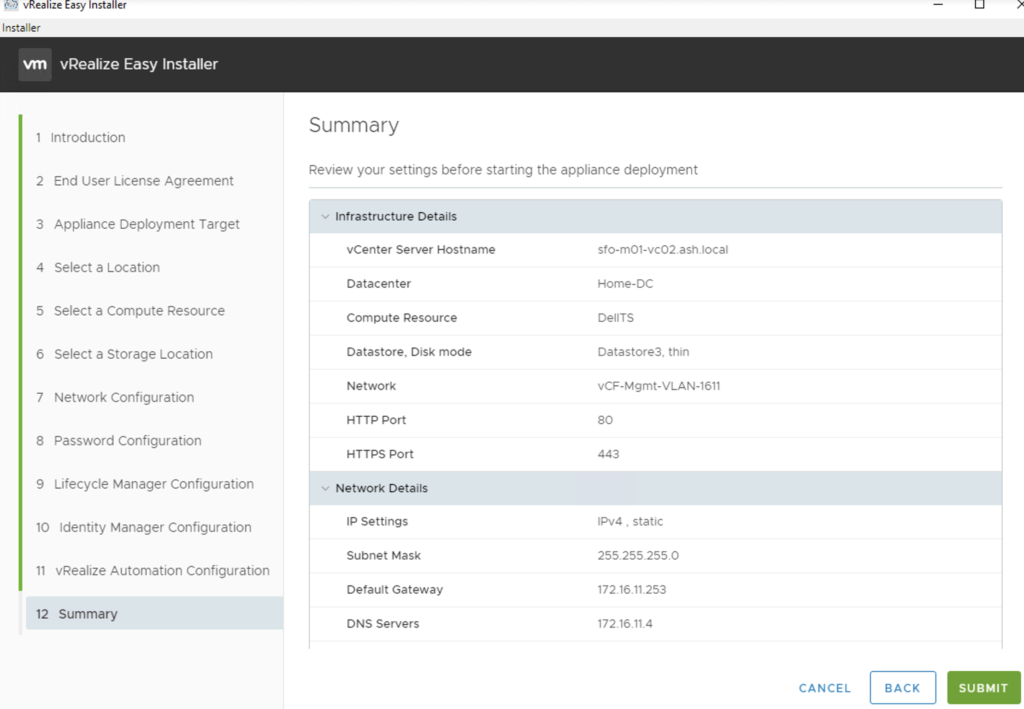
Review the settings and click finish to start the deployment.
- Hostname
- Network 1 IPv4 Address
- Default IPv4 Gateway
- Network 1 Netmask
- NTP server list
- DNS Servers
- Domain Search Lists

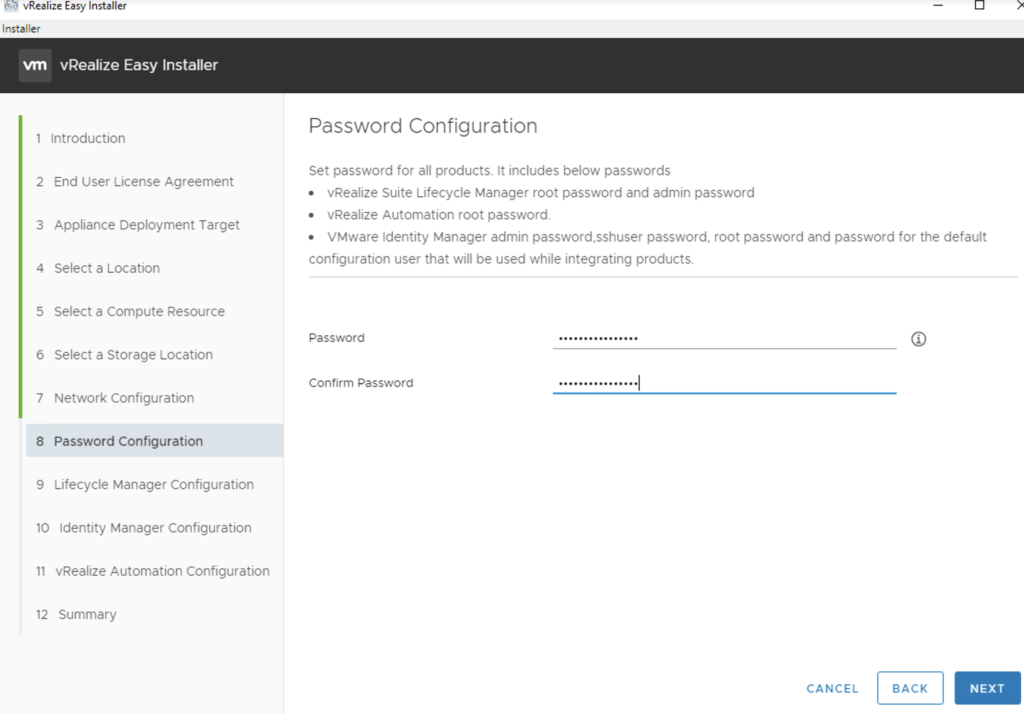
Enter passwords for the privilege mode user
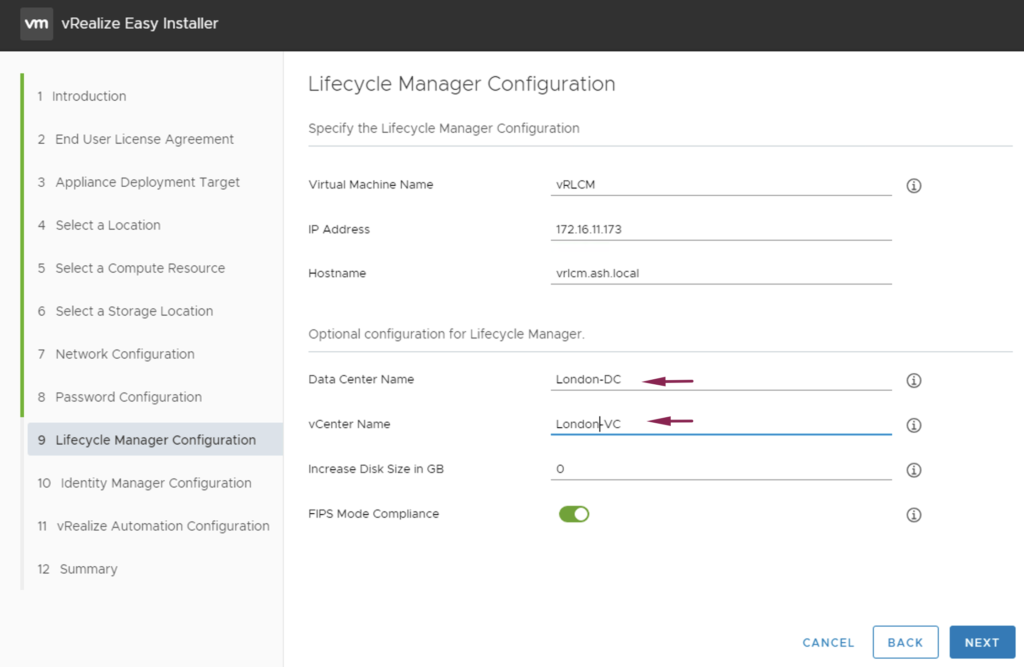
At the Lifecycle Manager Configuration page, enter the VM Name, the IP address, and the desired hostname
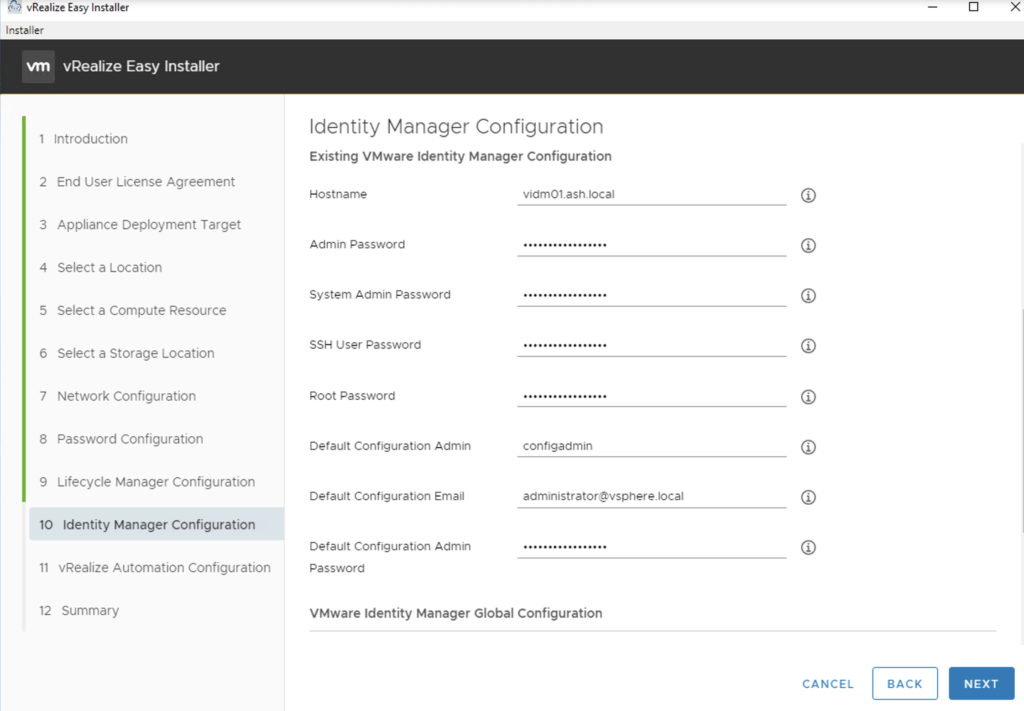
At the IDM config page, select the Install New VMware Identity Manager option. Give the IDM Appliance a name, IP Address, Hostname, and the default Configuration User, and optionally you may check the Sync Group Members to the Directory When Adding Group as well.
Click Submit to complete the installation
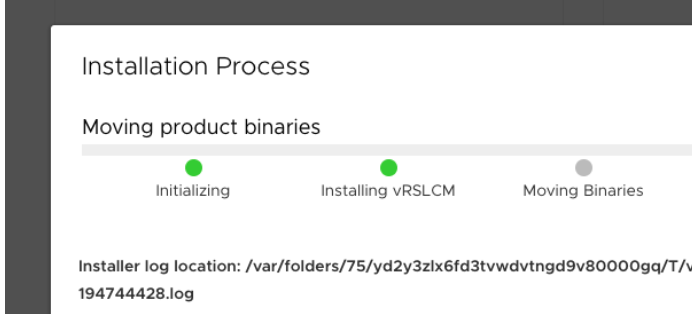
The installation will now start and will take a while to deploy all these components.
Deployment is now complete and you can now login.

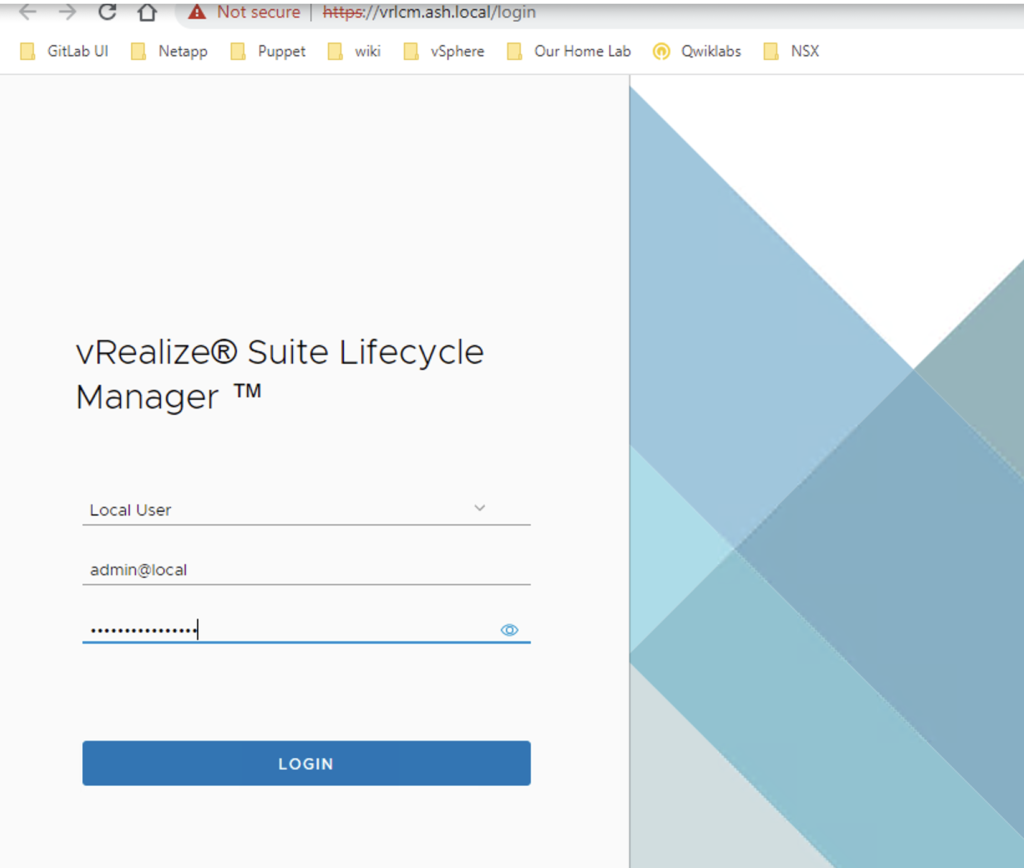
On the welcome screen, login as admin@local
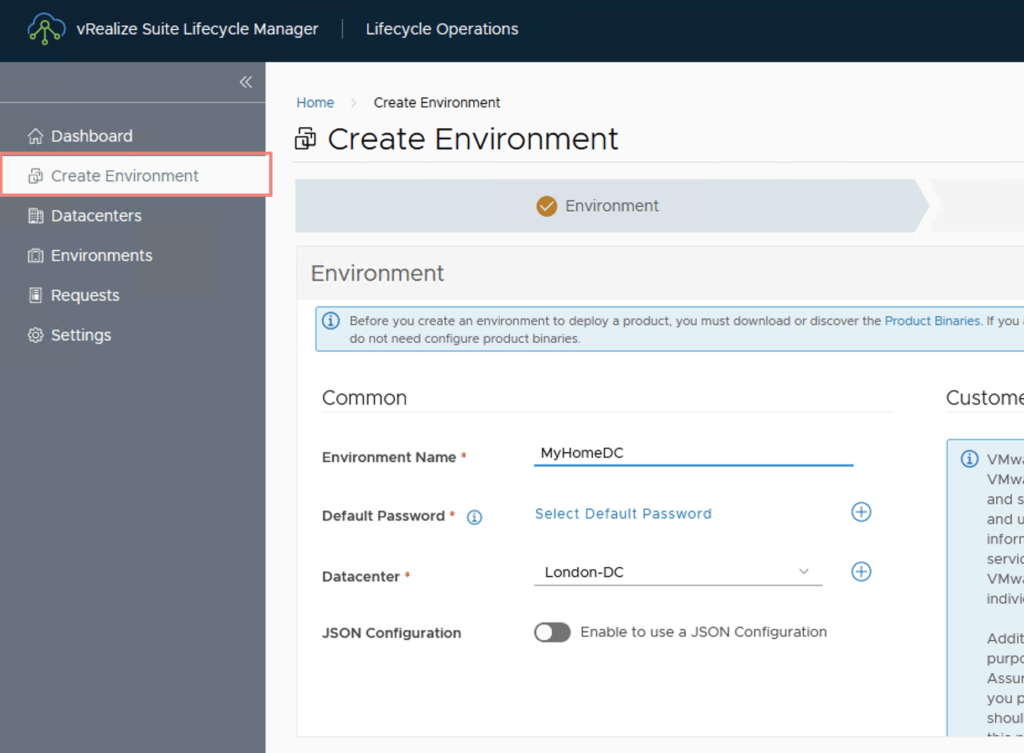
Once we are logged in, we will need to create an enviornment which is just a dummy name for your resources that you wish to hold under it.
Our enviornment is ready.
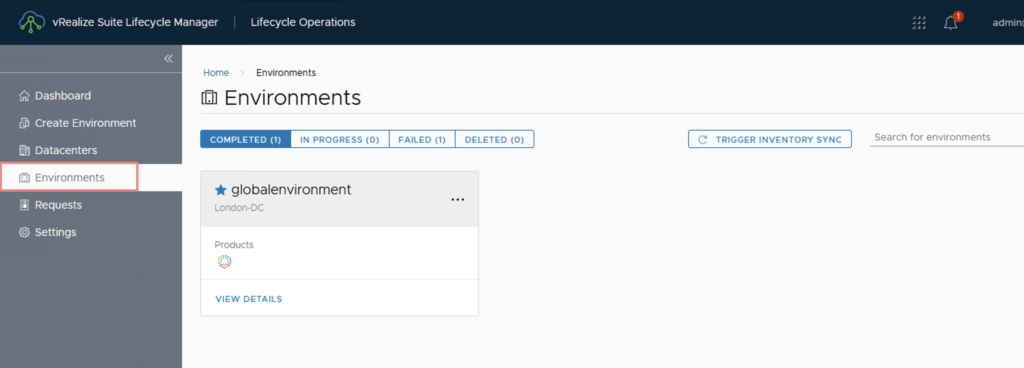
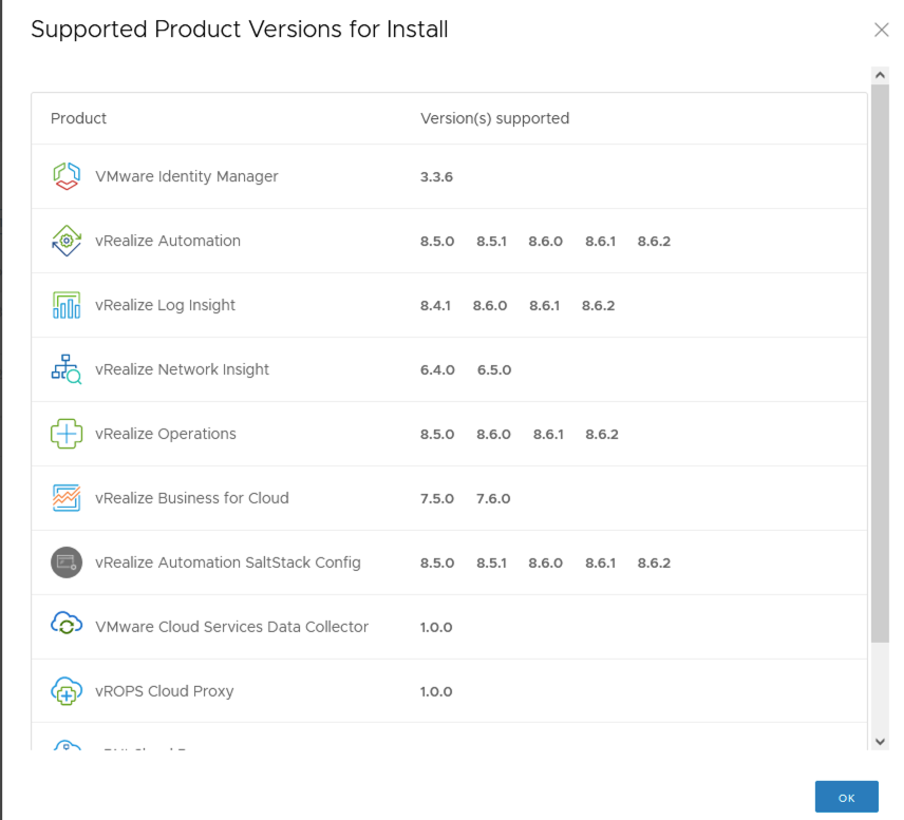
All these products can be deployed via the vRLCM