Continuing from our previous blog where we created a new VDS switch, we will now connect out ESXi hosts to the vDS and migrate all the networks across to it.
Blog Series
Standard vs Distributed Switch
A standard switch is the very basic switch that was created when ESXi was first installed. Typically this will be connected to vSwitch0 which is the first virtual switch ESXi creates as the OS is installed. You don’t need a vCenter to manage a standard switch. It becomes a big challenge to have the same configuration across the ESXi hosts using a standard switch-based approach.
A vDS on the other hand is controlled fully by the vCenter. The same network configuration gets pushed across to all our ESXi hosts thus maintaining uniformity across our vSphere estate.
To use vDS you will need to have an Enterprise or Enterprise Plus VMware license.
As a best practice, always remember to migrate one NIC at a time as a migration failure could leave your ESXi host inoperable.
We will now use a soft cutover approach to migrate one NIC at a time from the standard switch onto the vDS switch than doing it all in one go.
Handy Tip – If in doubt, always migrate your vMotion VMKernel adapter first before migrating Management NICs around. This step will ensure your networking is all intact at the physical layer and your VLAN tags are all set well.
What will happen if my vCenter server is down using vDS ?
vDS Switch is a switch on the vCenter and its bubble network. The vDS configuration is saved in three locations.
- The vCenter
- ESX Server gets a copy of vDS configuration from vCenter every 5 minutes.
- ESX Server maintains another local copy as well just in case vCenter is not available
So if your vCenter server has crashed for some reason, your VM networking will not be affected. You will not able to make any new changes etc from the switch level from the ESXi host directly by tweaking it if the vCenter wasn’t available at all.
Let’s review where these config files are on vCenter and ESXi host
vCenter stores the vDS Configuration in its own database and this can be exported and viewed.

Lets all review all these vDS configurations at the ESXi host level
1- You will need SSH service enabled
2- vDS cached database file is located in this path
ls -ltr /etc/vmware/dvsdata.db

3- To read the cached copy, we issue another command as shown

3- The third copy is available on the ESXi hosts under the location /etc/vmware/esx.conf

A Closer look at our Standard Switch Before the Moves
1 – As per the below info, we have 2 physical adapters on our ESXi and it’s connected to vSwitch0

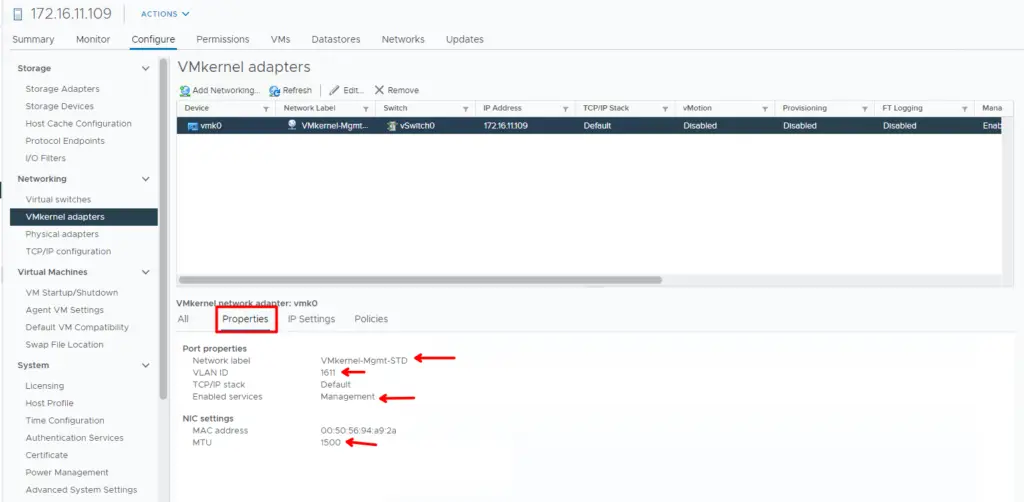
2- Navigate to VMkernel Adapters Section and Click on Properties
Make a note of the following
- Network label – This is actually the default portgroup of our management
- Note the VLAN ID
- Most importantly note the Enabled Services on the VMkernel port as there could be a chance multiple services are enabled
- Note the MTU value configured.
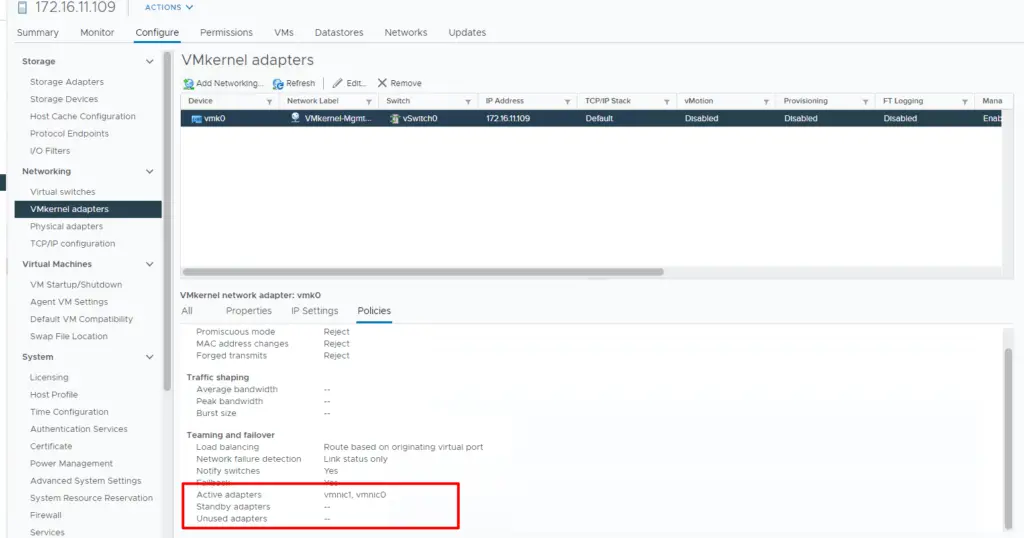
- From the policies tab, we will also need to note how the teaming and failover order ( Load balancing ) is set on the two physical adapters we have on the host.
3- Make a note of the Active adapters
4- Navigate to the Networking section and select our vDS switch

5- Right Click and Select “Add and Manage Hosts” and Click Next to Continue

6- Choose the option Add Hosts

7- Click New hosts and Click Next to Continue

8- The hosts to be added to distributed switch will need to be selected here

9- Add hosts and click Next to Continue

10- Choose a VMNIC and click Assign Uplink

11- Choose Uplink1 and Click Apply this uplink assignment to rest of the hosts.

12- Click Next to proceed. We arent moving our VMKernel adapters at this stage

13- Click Next to proceed. We arent also moving our VM’s to Distributed switch at this time

14- Review the Config and Click Finish

A Closer look at our vDS and Standard Switch After Single NIC Move
As we see we have moved one of our physical adapters from our standard switch to vDS Uplink 1

Back in the Standard switch, we see it still has the remaining physical adapter still connected to it along with our VMKernel adapters

Create a new PortGroup for VMKernel Traffic
In order to move the second NIC into vDS, we head back to the vDS
We will need a new port group to be created for the management vmkernel port. We will be using this portgroup for moving our VMkernel adapter

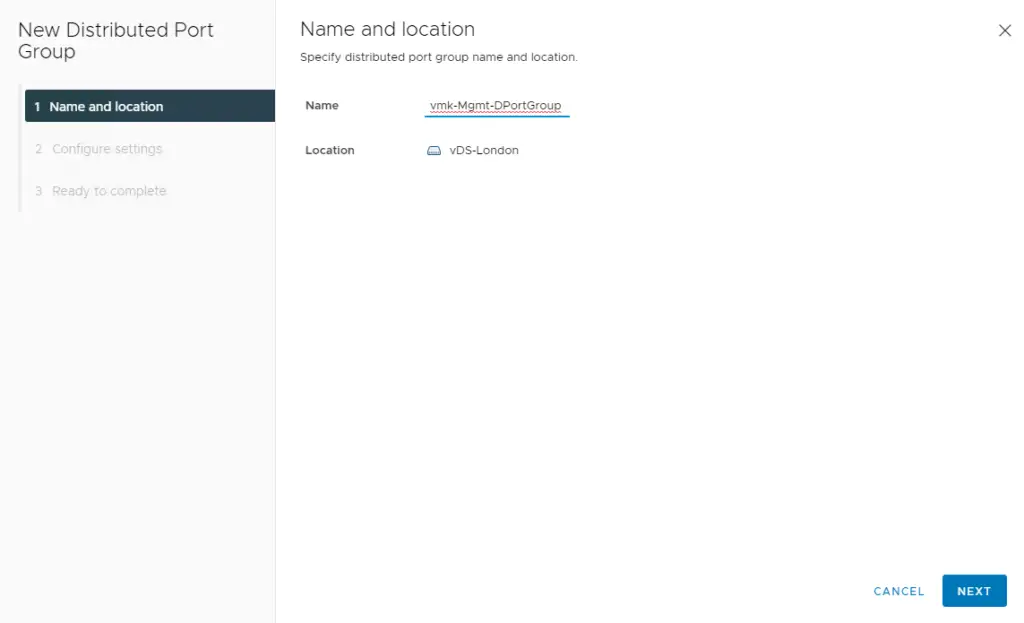
Choose the VLAN tag if we are using one

Review and finish the configuration
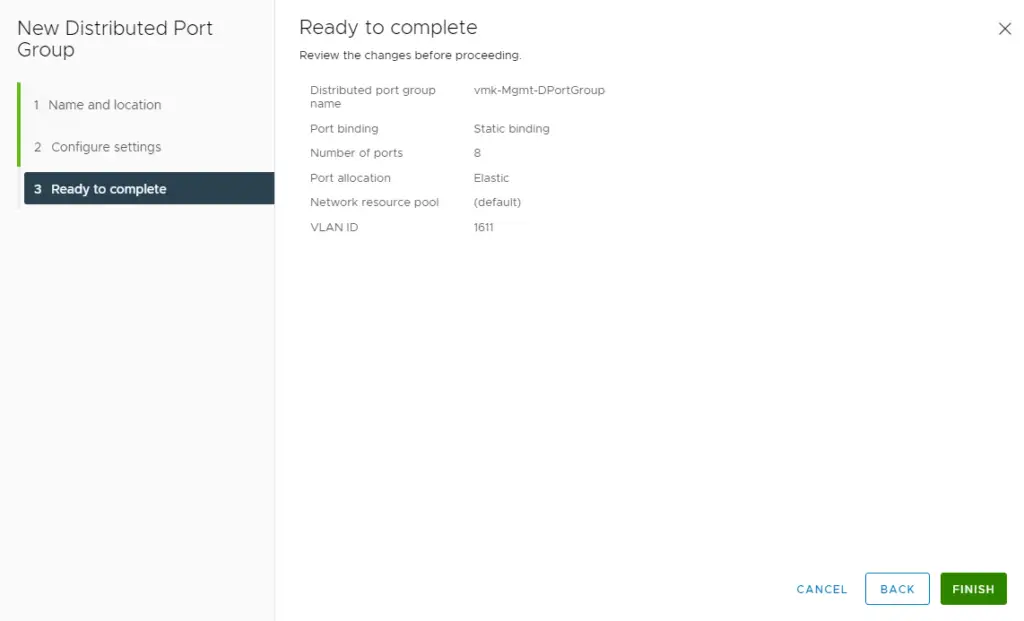
Once the port group is created, back on the VDS and this time we select the option as Manage Host networking instead of “Add Hosts”

Under the Select host’s tab – Choose Attached hosts

Choose all the ESXi hosts we added earlier

Click Next to proceed

Choose our second VMNIC and Click Assign Uplink

Choose an uplink and apply the same uplink assignment to the rest of hosts

Now our view will show as both our vNIC are connecting to our vDS

As both our VMNIC’s are on our Distributed switch, we must now migrate the VMkernel adapters

Migrate the Management VMkernel adapter to the Portgroup we created earlier

As seen the VMkernel adapter is thus moved over.

At this stage, we need to migrate all our VM network adapters onto DVSwitch Portgroup

Select the VM and Choose Asssign portgroup

Choose a port group as required

Our Network Card now shows its attached our Portgroup on our VDS

Review and Finish

A Closer look at our vDS and Standard Switch After Two NIC Moves
As we review the config, we now see both NIC’s are moved onto vDS
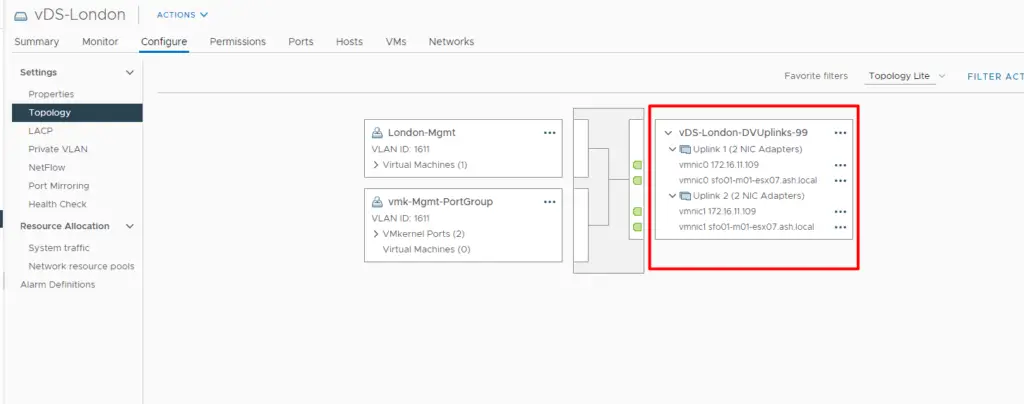
From the esx view, we will now have nothing connected to our Standard switch

Our VMkernel shows its connected to VDS-Mgmt-Portgroup

Both our NIC’s should show as its connected to vDS

