I’ve covered in depth the procedure to patch a vCHA-enabled vCenter appliance in previous blogs so this one is just a plain and simple vCenter 7.0 patch process with no vCHA offering. I’m going from v 7.0.1 to v 7.0.3 to plug all the potential security holes in my current vCenter thus this write-up would cover the process involved this upgrade will further lay the foundation for the upcoming vCenter 8. X upgrade as well.
Prerequisites for Patching Non-vCHA enabled vCenter 7.0
We will need to ensure the following tasks are done in the right order for patching the vCenter
- Single Sign-On administrator password
- vCenter must be enabled and healthy and no CPU exhaustion.
- One common bug is root password may have expired. If so, ensure you rotate the password prior to this upgrade.
- Ensure your vCenter Appliance UI is healthy from appliance mode UI as well.
- Ensure you backup your vCenter appliance.
- Snapshot your vCenter.
- Export of your vDS switch config
- Make a note of the ESXi host running the vCenter.
- Verify if the vCPU/vMEM is enough for the vCenter, if not increase it.
- If the vCenters happen to be in linked mode, you do need to check the compatibility matrix between them and also the additional components that may be connected such NSX-T, Zerto replication etc.
Patching Process
The total patching time for this will be around 60 minutes.
It’s always a good idea to do your research before upgrading or patching your vCenter. Along with reading the release notes, verifying the VMware compatibility Matrix of ESXi, vDS switches, vCenter, and NSX-T/V are essential just to rule out if the current topology has some existing incompatibility issues.
The write-up below covers the process to patch a vCenter deployed as VCHA Basic Deployment in vCenter 7.0.X.
Patching a vCenter with no Internet Access on it.
In some of the environments, there wouldn’t be a live internet connection from the vCenter environment to vmware.com and for us to do the patching we will need to download the correct version of the upgrade file.
Log in to the vCenter appliance mode as https://sfo-m01-vc02.ash.local:5480/#/ui/summary to show the version of vCenter

To download the patch from our vCenter, browse to the VMware Patch Download Center and search for our version of vCenter
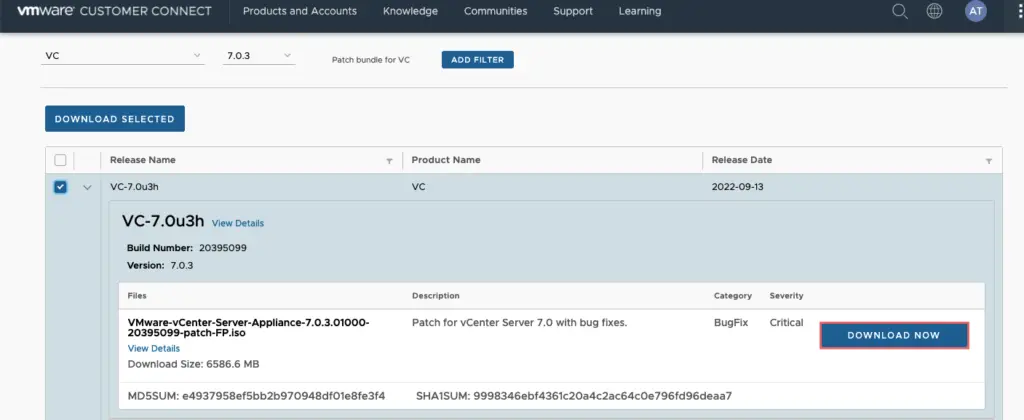
Upload the ISO file to a location to the datastore of your choice and mount it to the vCenter server
Establish ssh to the active vCenter as shown
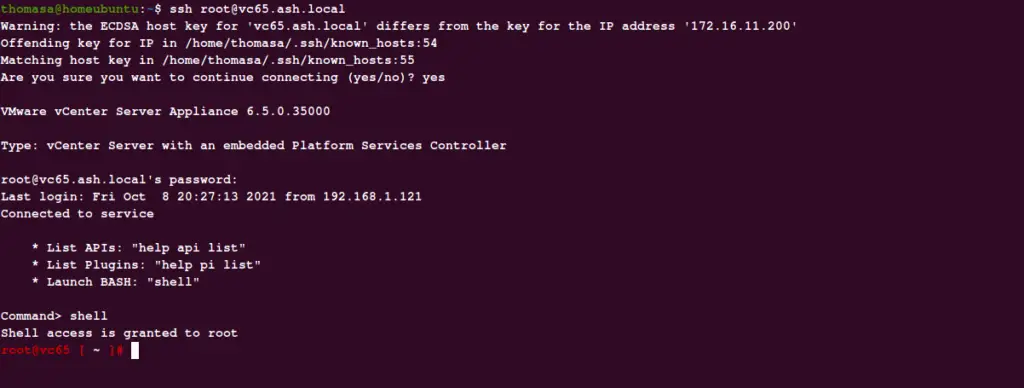
# software-packages install –iso –acceptEulas

Once the patching is done, disconnect the ISO drive from the VM and then run execute the reboot command from the shell.
# shutdown reboot -r “upgrade_complete”

Patching a vCenter with Internet Access on it.
This is a relatively simple process to get this done provided all the steps are followed correctly.
Log in to the vCenter appliance mode as https://sfo-m01-vc02.ash.local:5480/#/ui/summary to show the version of vCenter

Select the vCenter > Go to the Updates tab > Choose the vCenter you are looking to upgrade to > Generate a report
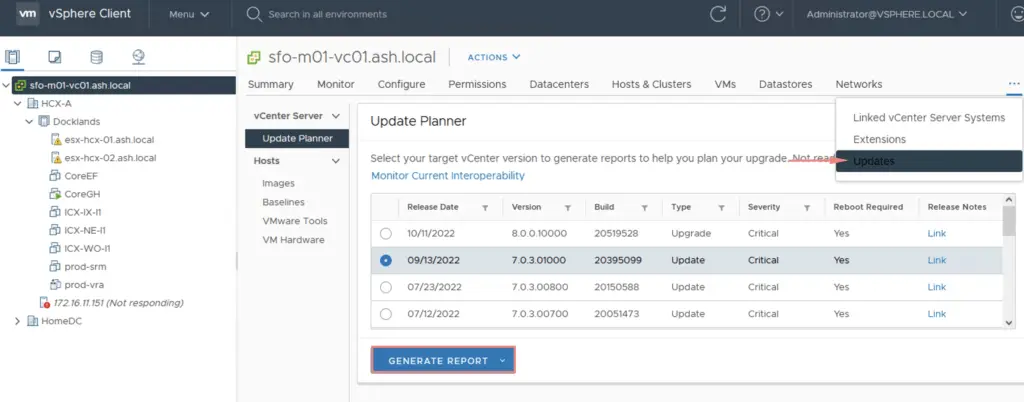
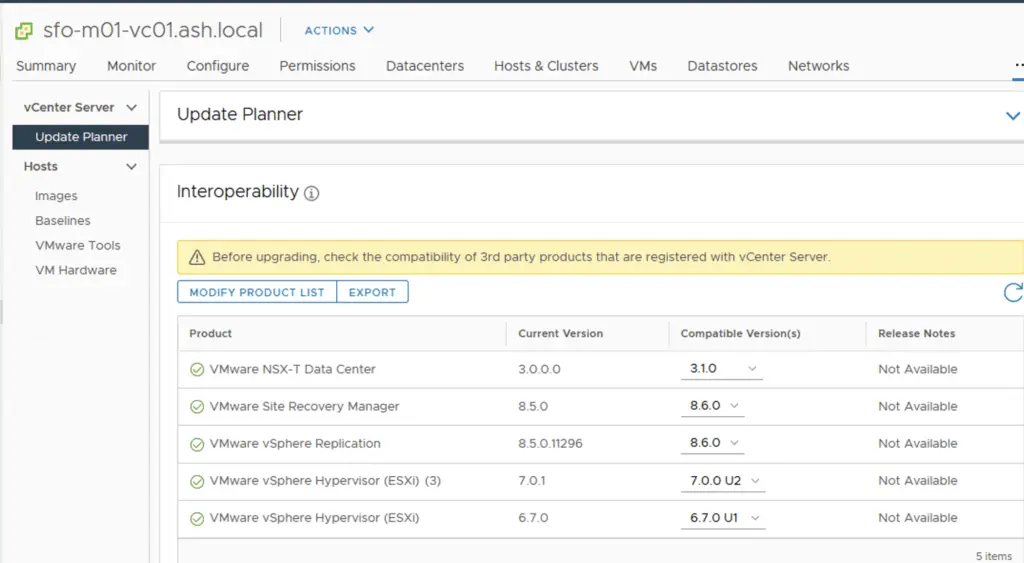
Run an Interoperability test to validate if all other software components presently installed on the vCenter such as SRM, NSX etc will be compatible with the new version of vCenter
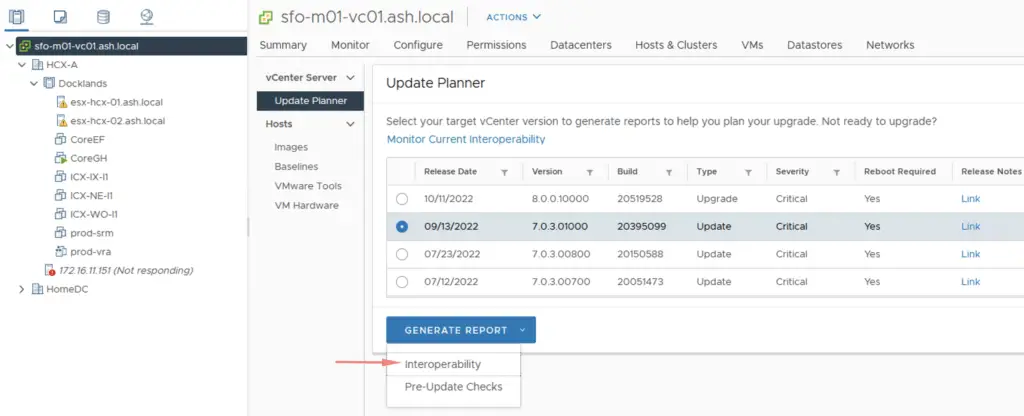
Our Interoperability test has come back clean so we are now good for this upgrade
Back on the Update planner, we can do a pre-upgrade check as well
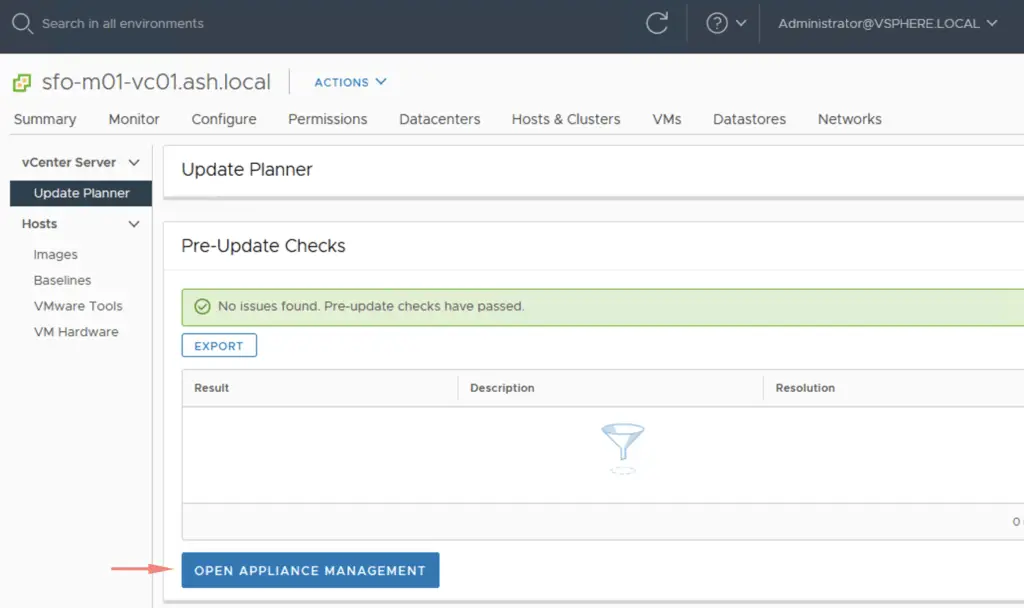
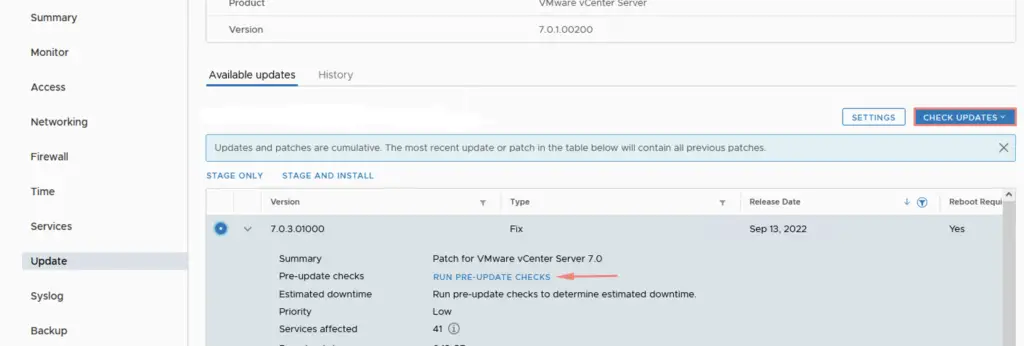
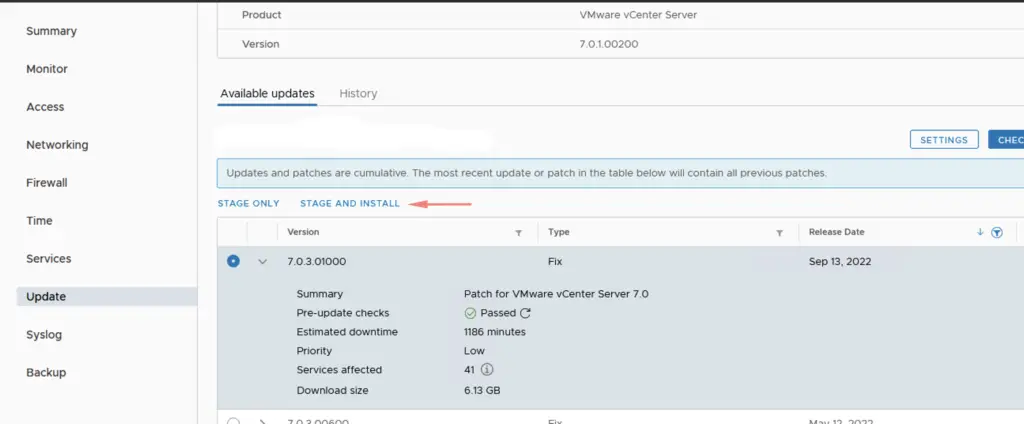
Once the pre-checks are through, go to the admin UI, check updates and you will able to see the patches available. You could also download the ISO file to a location to the datastore of your choice and mount it to the vCenter server to speed up this process.
Run a pre-upgrade check
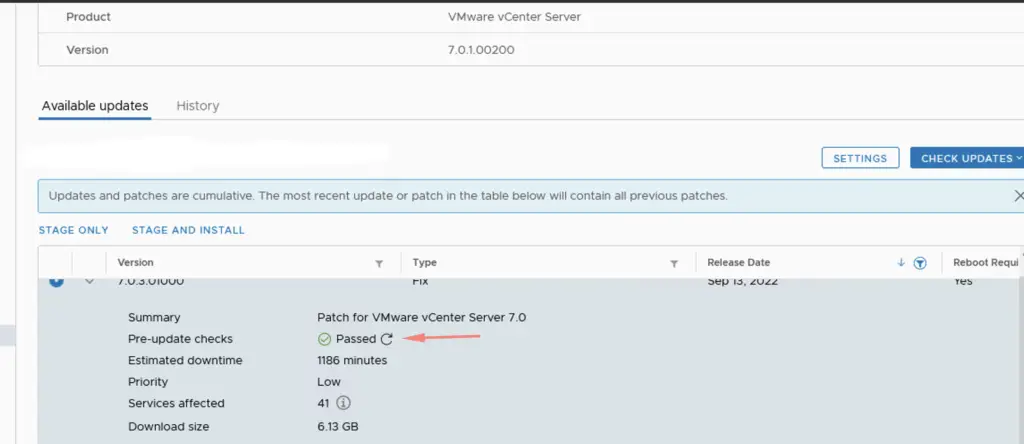
Pre-upgrade check has passed so we are now good for this upgrade
Click on Stage & Install
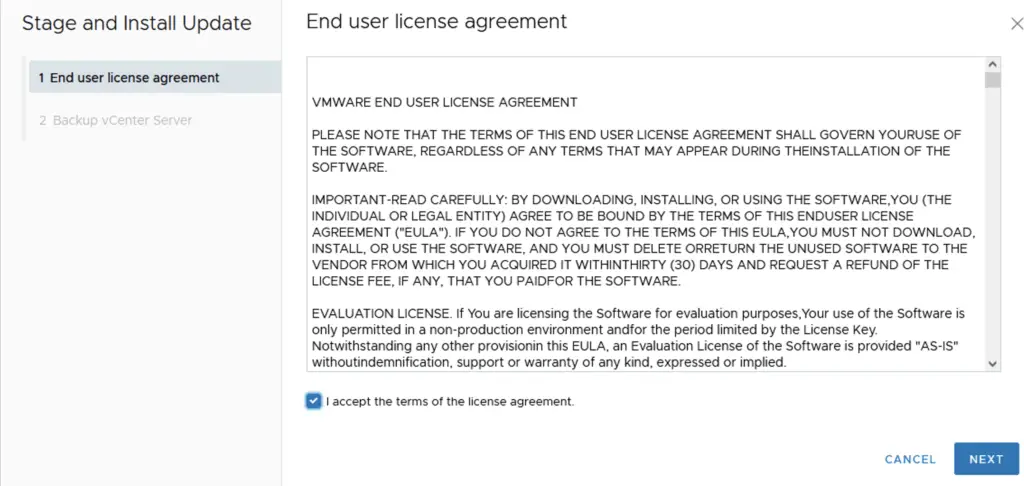
Accept the EULA
Click Finish to begin the upgrade
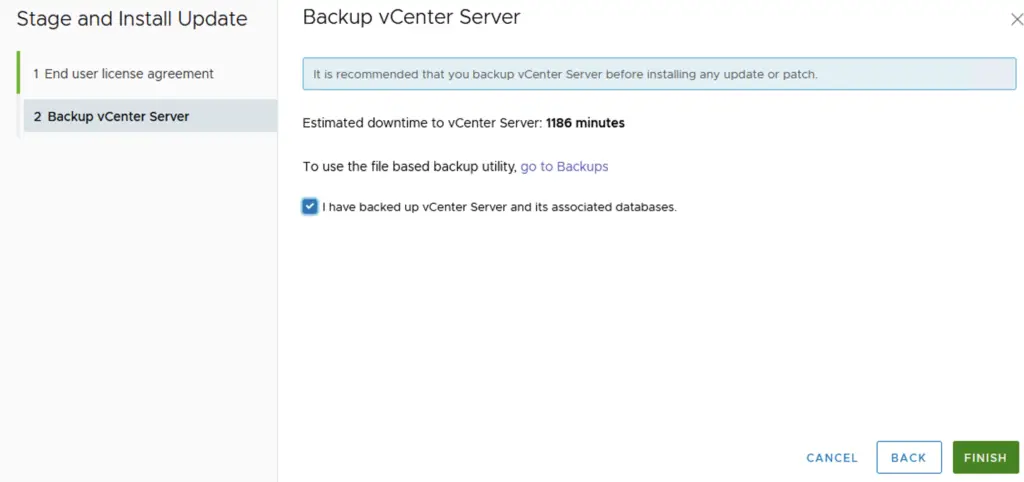
The total patching time for this will be around 60 minutes.
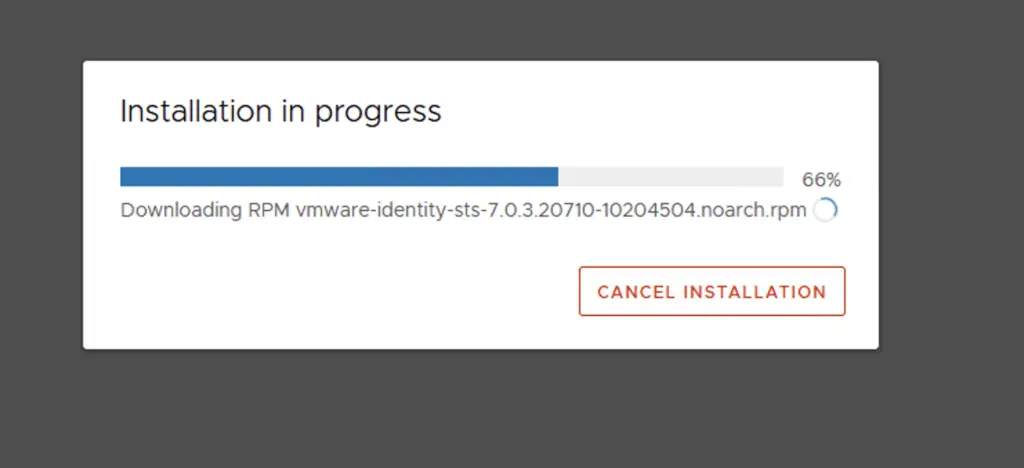
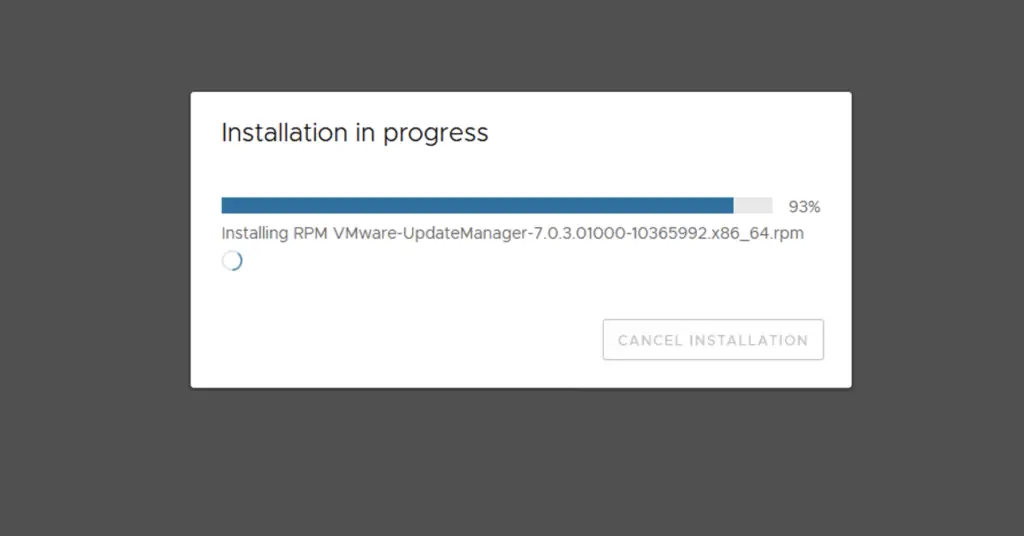
Upgrade workflow to vCSA 7.0.3
That’s it for this upgrade


