Implement Default VMCA Certificates (use Option 4 )
Prior to doing a certificate replacement make sure you do a vCenter clone and keep the clone copy ready just in case the certificate replacement doesn’t go well as planned. All you will then need to do is just shut down the failed vCenter and power on the cloned vCenter.
Certificates issued with Option 4 aren’t trusted outside the vSphere environment and are regenerated and issued by the VMCA and stored by the vSphere Endpoint Certificate Store (VECS).
This facility is used when implementing custom CA certificates with AD CA is not an option
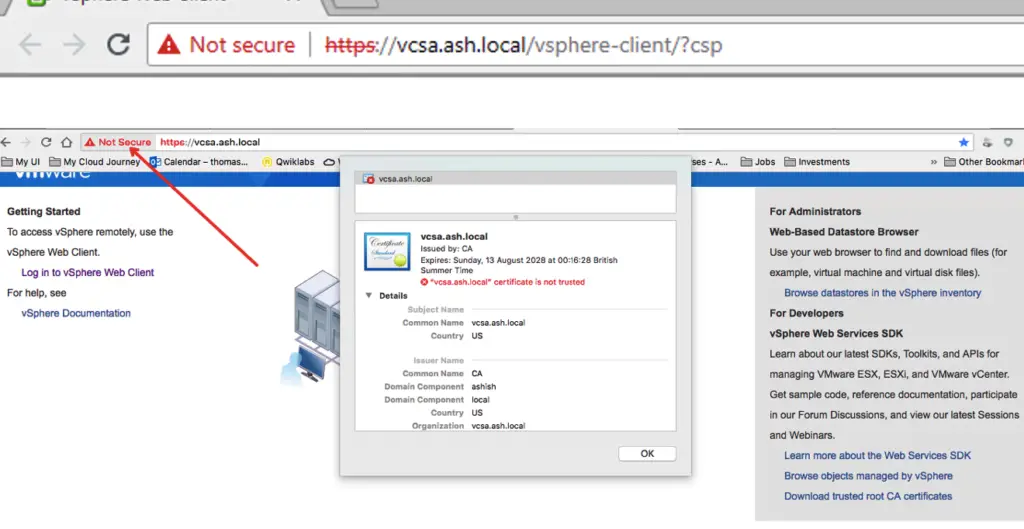
As seen the certificate is not trusted so we will use a VMware generated cert to make URL trusted.
We could regenerate a new VMCA root certificate by launching the vSphere Certificate Manager and executing the following commands:
- /usr/lib/vmware-vmca/bin/certificate-manager

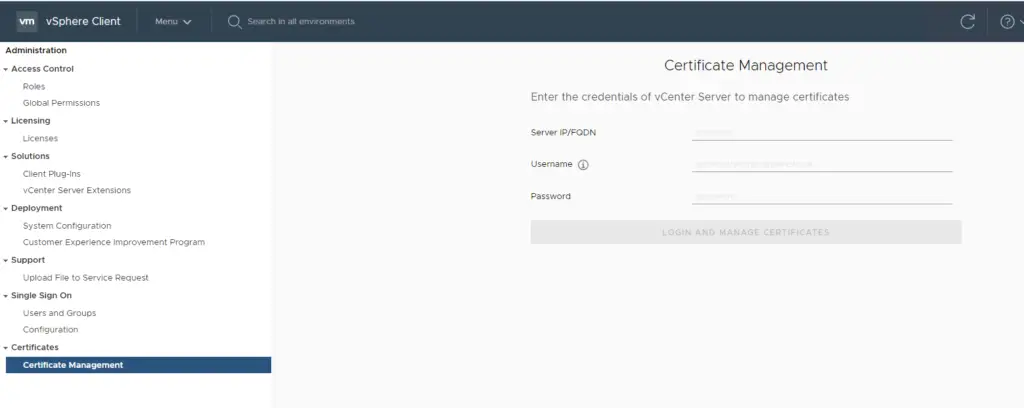
The same can be done via the vCenter UI by logging into the vCenter > Administration > Certificate Authority > Regenerate VMCA Root

In this demo, I’m just to use the default root certificate available and proceed

Download the Trusted root ( CA certificate)

It will download a file and we need to change it to zip format

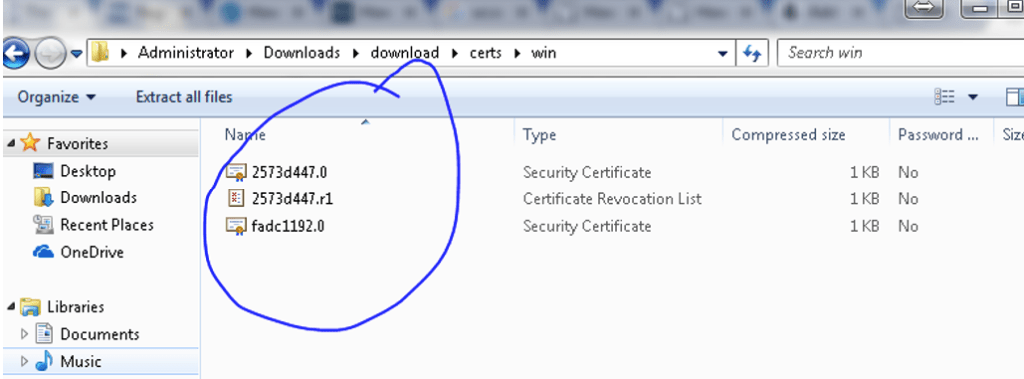
Extract the contents and we will be having these files.

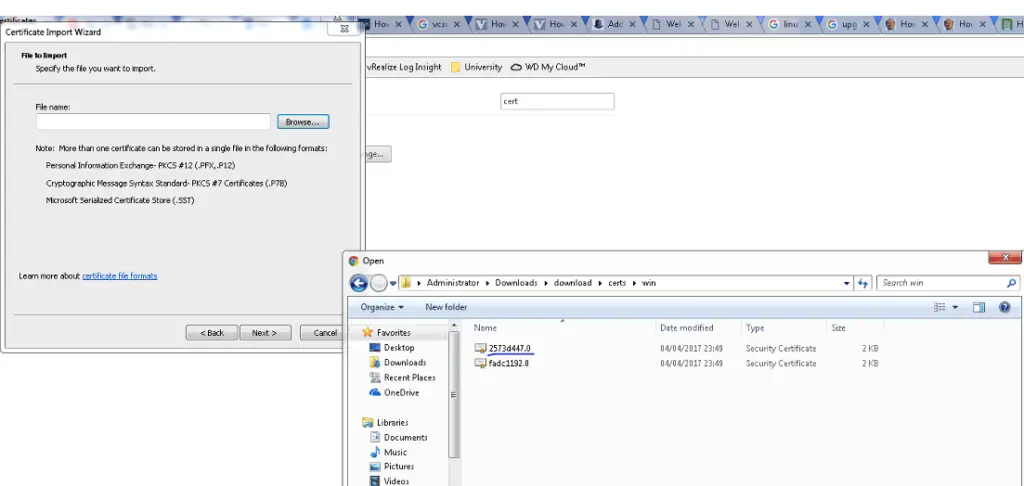
Login to your jumpstation & launch Google chrome, search for Certificates in the Chrome tab – Go to Trusted Root CA Auth and import the file as shown

Choose the cert file

Accept the cert file

Our cert generated by vCSA is now imported

Our HTML UI will no longer show the privacy bar and our browser is accessing the URL via a trusted cert


