With AppStacks, applications and data can be bundled into read-only containers called AppStacks and assigned to our AD Groups, Users etc and thus apps can be easily packaged and delivered.
Create Packager VM
Step 1- For us to package an application, we will need a special VM so I’ve installed a Windows 10 VM.
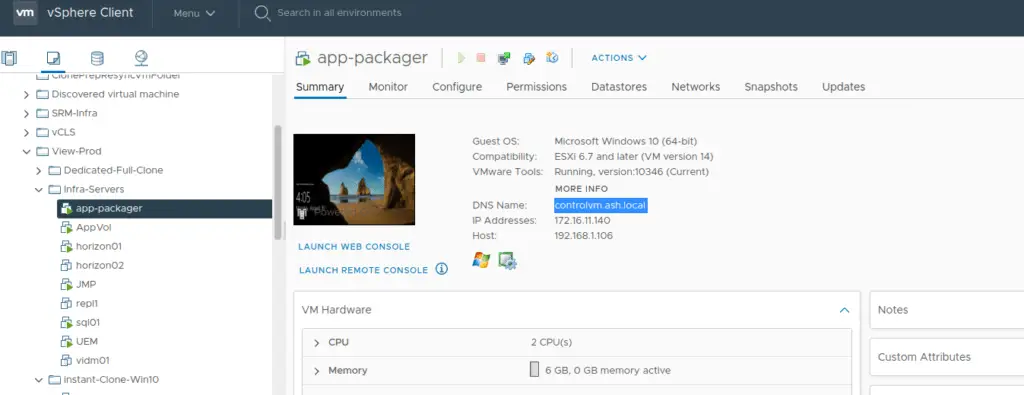
Step 2- Install the AppVol agent, VMtools and Horizon View Agent on this VM

Create AppStacks
Step 3- Go to Applications> Create

Step 4- Give our application a name eg: Camtasia and choose to Create a package
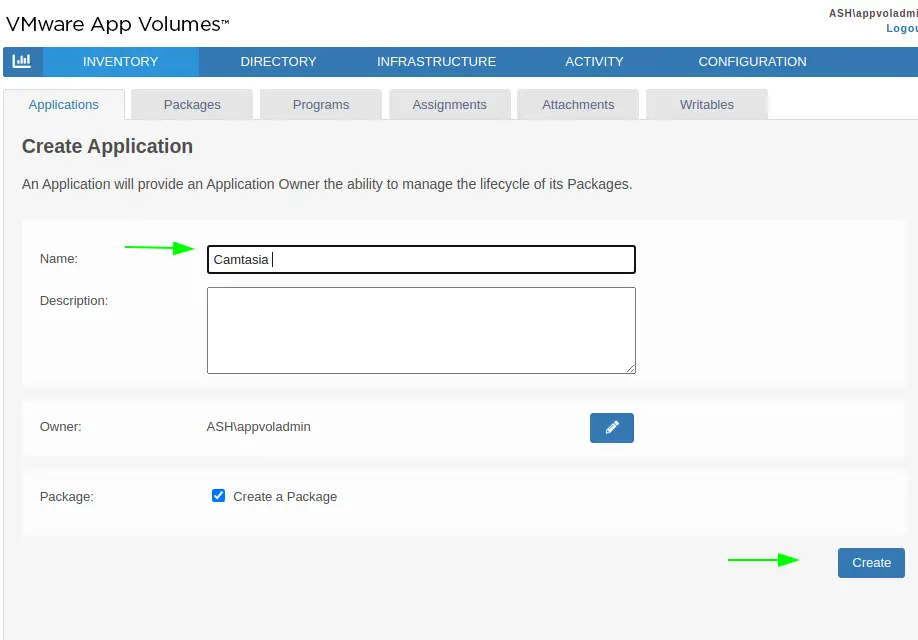
Step 5- Click Create to create the application.

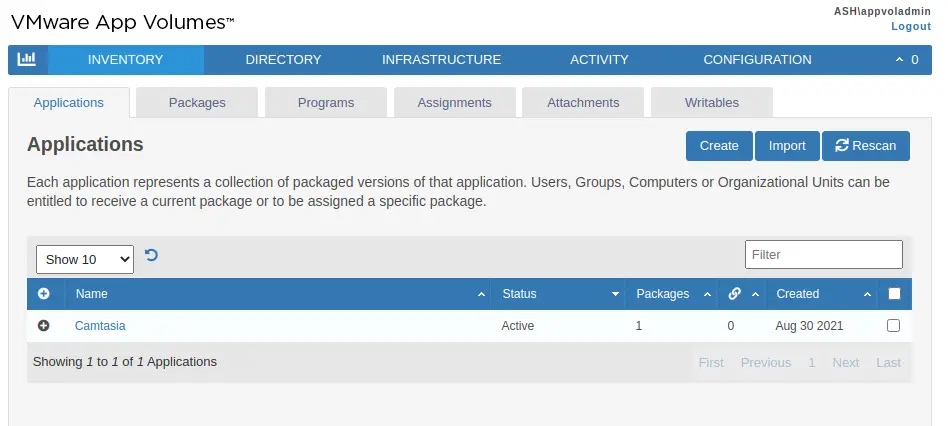
Step 6- Our application container is now Ready but we will now add some software packages under this container.
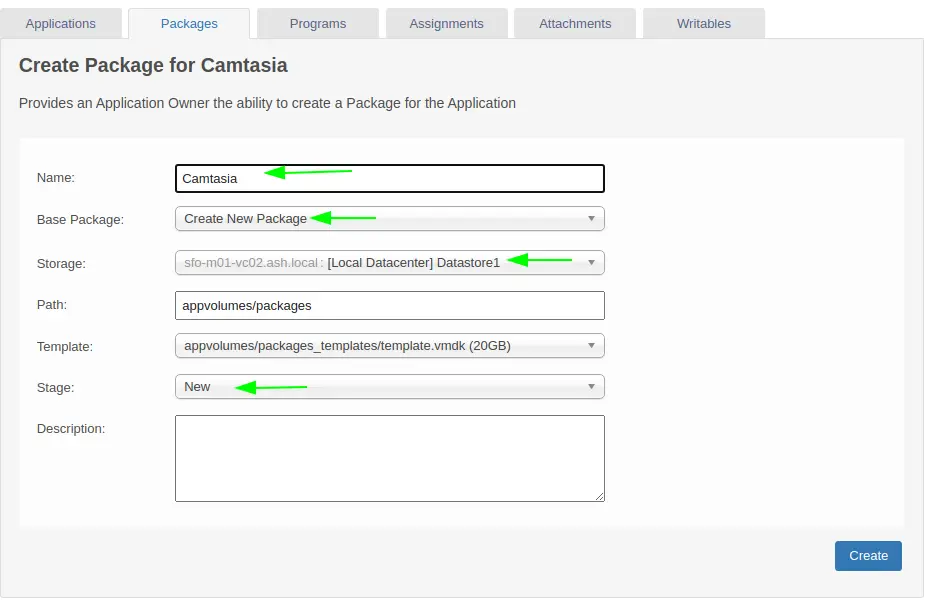
Step 7- Give our package a name and choose to Create
Step 8- Choose the option to perform tasks in the background

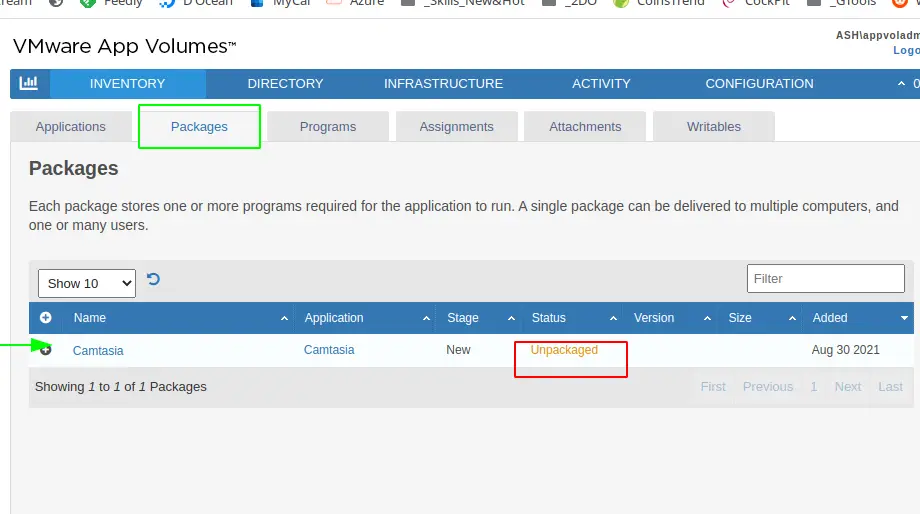
Step 9- The package is being created and it says package is Unpackaged

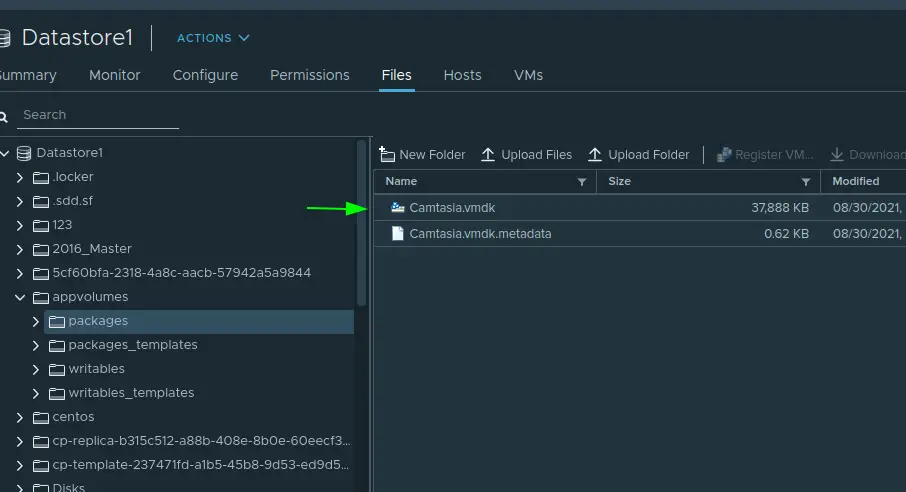
Step 10- We can now see in our datastore that a Camtasia.vmdk file is now created under our Appvolumes > packages
Step 11- Click the Package button to begin the packaging procedure.

Step 12- Now here we will provide our packaging machine details we created earlier as controlvm.ash.local or use the Search button to list all available machines with AppVol agent we can use as a packaging VM
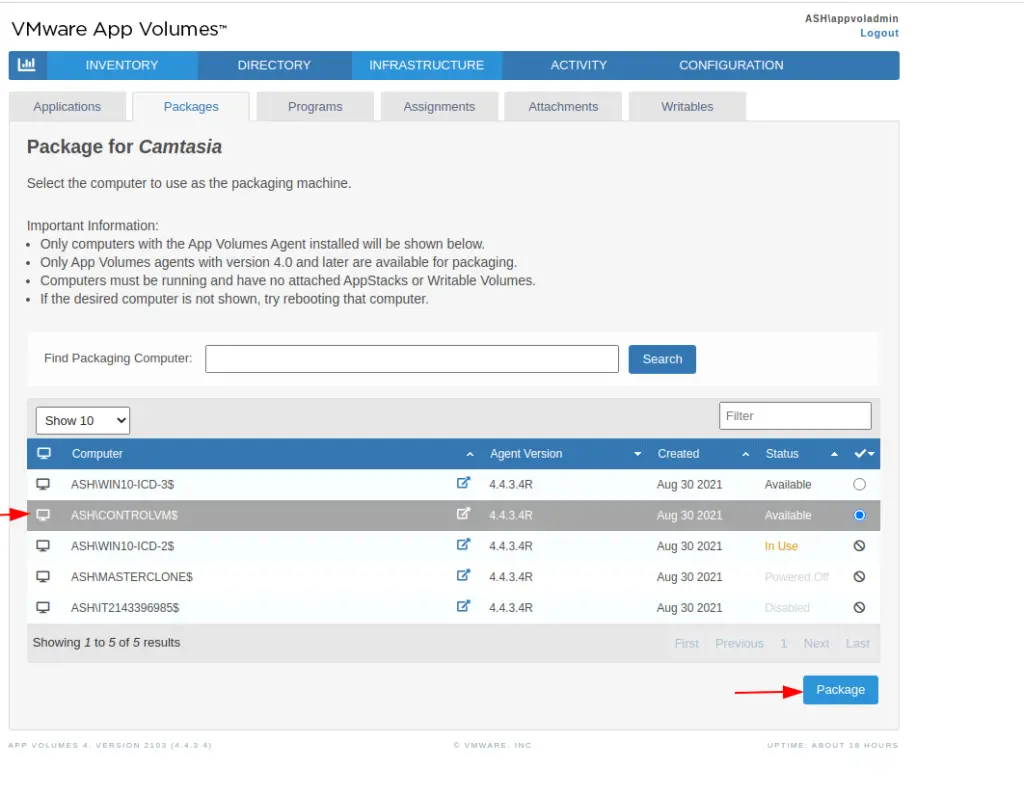
Step 13- Click Start Packaging.

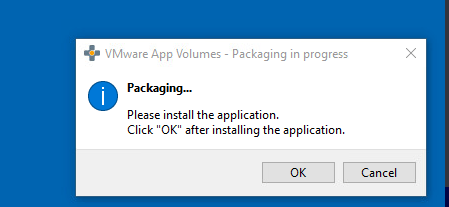
Step 14- We will now see this screen on our packager VM
Package the Camtasia application
The Camtasia application will need to be installed on the packager VM and the AppVol agent install on the VM will capture all the installation files, registry paths etc of the app. During the procedure, the application will be packaged by the VMware App Volume agent.
Step 15- Download the Camtasia application on our packager VM

Step 16- When ready to install our app, click OK

Step 17- We will now need this as it is until the installation of the application has been fully completed.
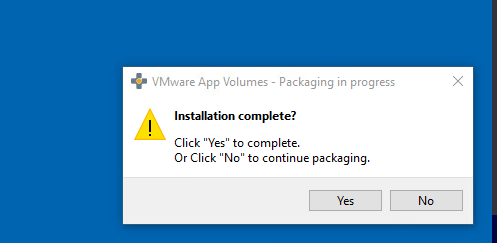
Install the Application to deploy on our Packaging VM
Step 18- Install the Camtasia software as usual
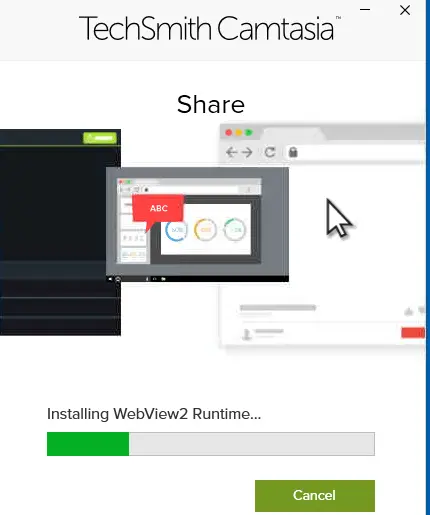
Step 18- When done, click on Finish to exit to the wizard

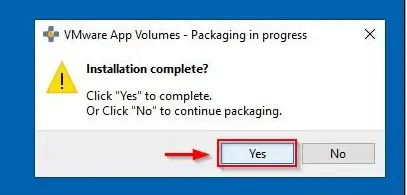
Step 19- Once the application has been installed fully, let’s Click Yes in the window to complete the packaging operation as shown
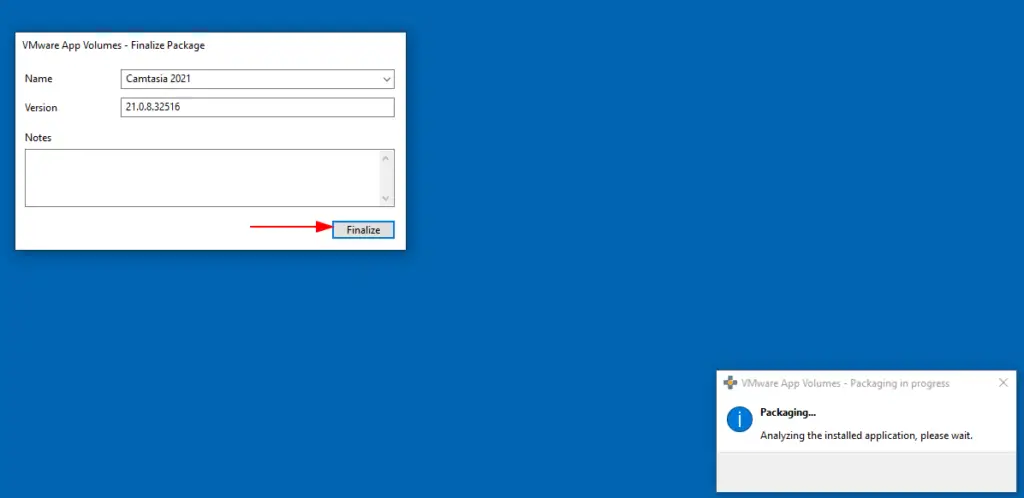
Step 20- Click Finalize to complete our packaging procedure
Step 21- We will now need to reboot our packaging VM to finish up the packaging process.
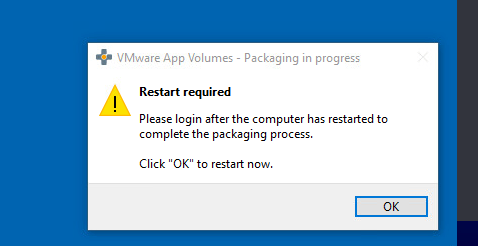
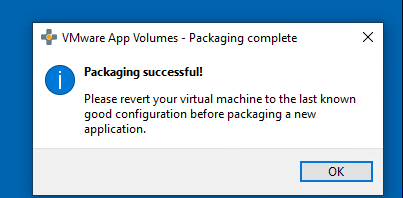
Step 22- Log back into the system and wait until you see the result of the packaging process. Click OK.
Attach AppStacks to AD User
Step 22 – Login to our App Volume Manager and go to Programs Section as shown. The program is now available as a catalog and is now ready to be assigned.

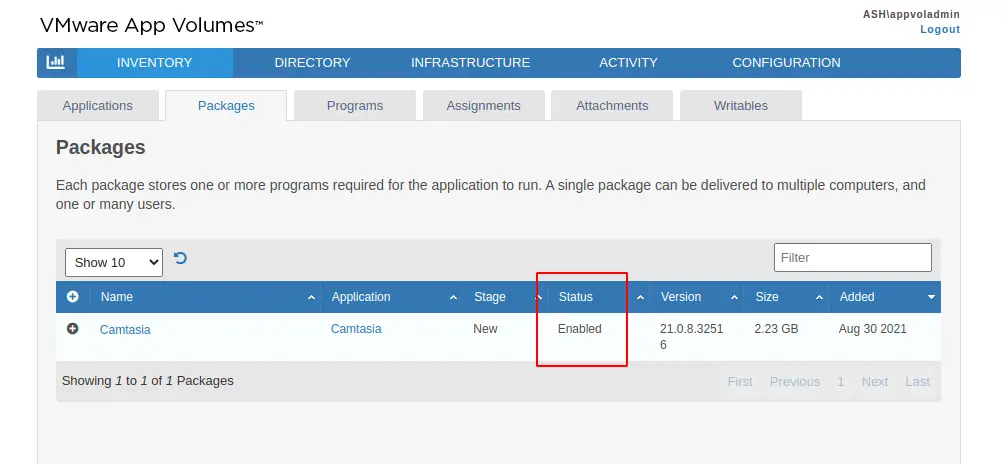
Step 23– Under our packages section, we can now see the Status is Enabled
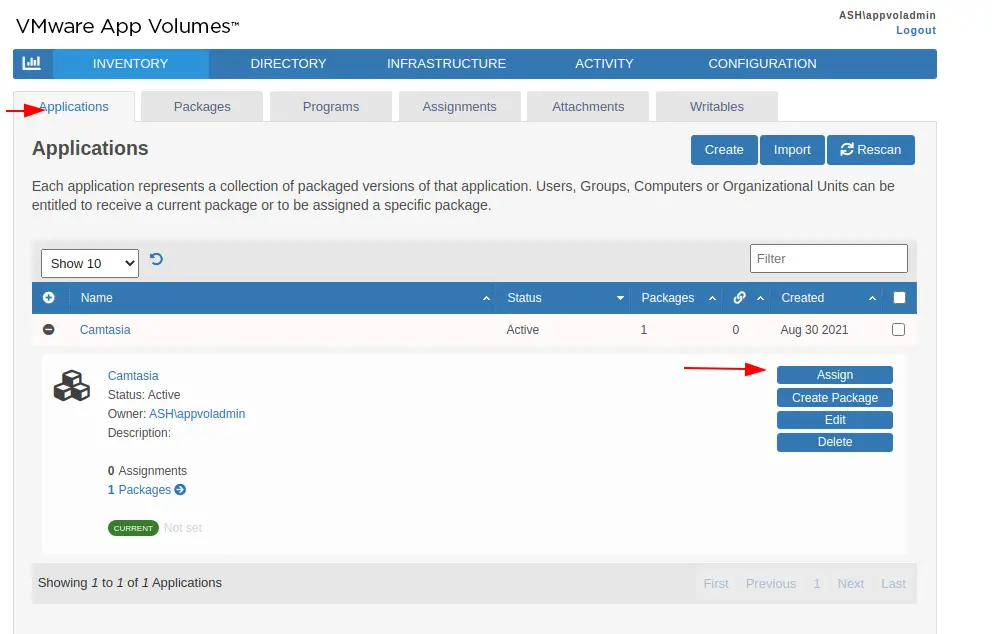
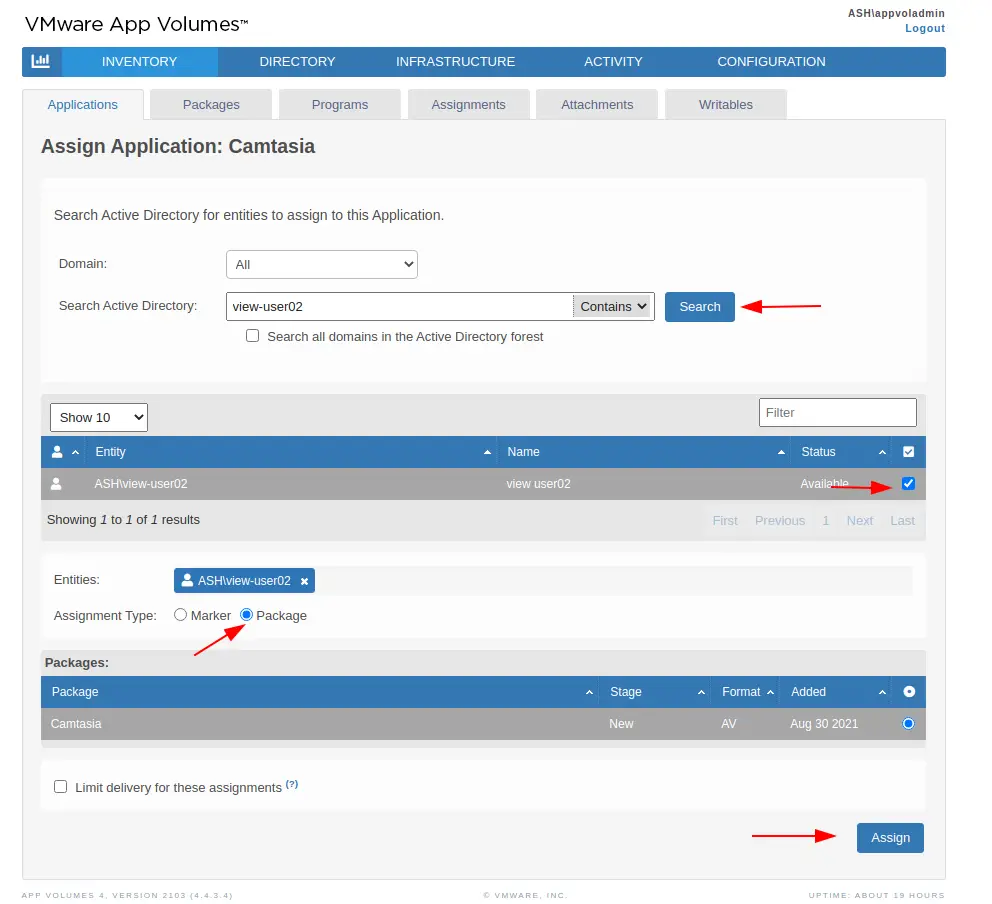
Step 24– To assign the application to our AD user. Go to Application > Choose Application > Assign
Step 25– Search the AD for our user view-user02 and select Package as our Assignment Type and Click Assign
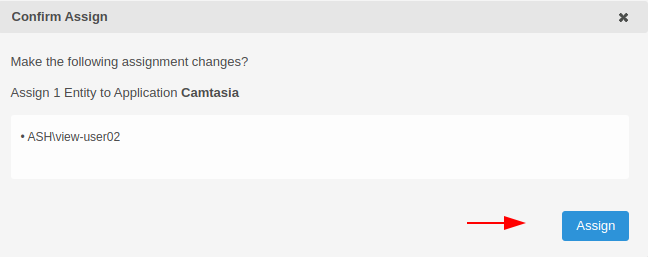
Step 26– Click Assign
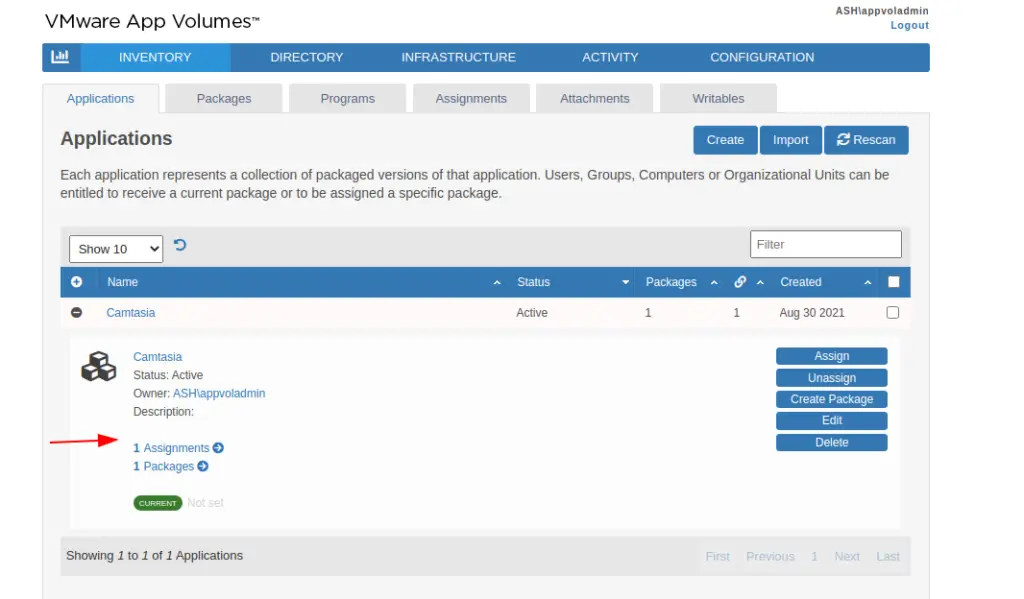
Step 27– The application is now packaged and assigned to our view-user02
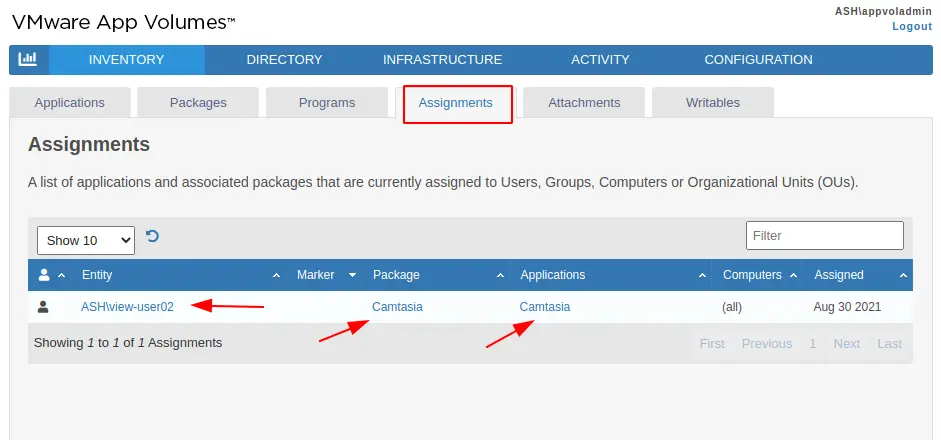
Step 28– Under the Assignment tab, we can see the assigned packages to our view-user
Test the configured AppStacks
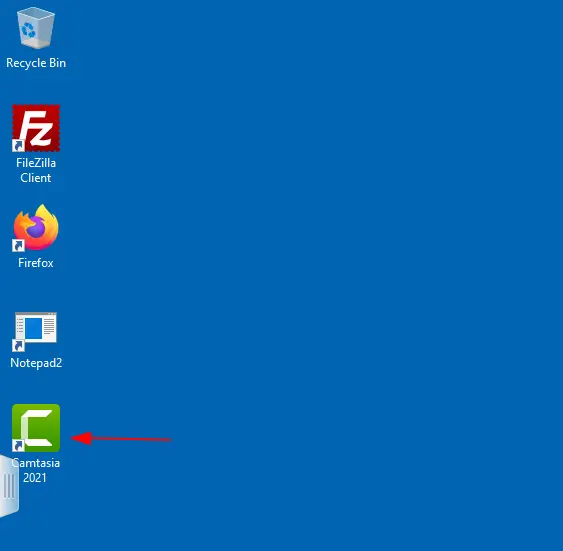
If we now establish a session to our Horizon View Desktop as view-user02, we should be able to see Camtasia available on the users desktop
In the next blog, we will configure our JMP server to integrate with our AppStack. JMP Server has been replaced as Multicloud Assignments (Part of Horizon Subscription) in Horizon 8

