VMware Dynamic Environment Manager (DEM) or User Environment Manager ( UEM ) is software from VMware designed to manage user’s profiles for a user in a VMware Horizon environment. It’s a modern approach of just time delivery of user data and apps to users desktops. With VMware Dynamic Environment Manager the management of user’s profiles is more much easier and offers several options to customize the user environment.
UEM attempts to reduce the time needed to log in and Direct Plex is the one that helps to only launch an application when the user clicks it.
What’s User Data?
It’s a collection of personalised settings on a users desktop such as his screensaver, apps, configuration settings in apps for eg: ( Word files will have macros ) etc that are essential for a user to do their job. These user settings such as desktop data typically in the past used to be provided to the user as he logs in via Microsoft Roaming Profiles and later by VMware product called Horizon Personna Management. Now, all this data is fully managed by DEM and it improves user experience by using far fewer IOPS than roaming desktops.
How are User Data Managed in the Past?
User data can be managed via

Microsoft Roaming Profile – Users content will be on a remote file share and copied across to the users desktop as he logs in via a different desktop. This became a problem when the user has lots of files on the desktop and will create boot storms
Horizon Personna manager– We only transfer changed files to make the user experience better.
DEM – Using DEM, we will only transfer stuff that is most important for a user. All other apps etc gets loaded as the users click on an App. DEM thus realizes the possibility of a Just in time platform (JMP) so we can keep on with non-persistent desktops rather than keeping full-blown desktops available to a user all the time to reduce the boot storms. DEM makes login as fast as possible when they login to many machines, it’s just to improve quick access and It won’t load all apps etc even though it appears to the user that everything is loaded well.
Summary of DEM Deployment
The following are the high-level steps required for our DEM deployment.
- Horzon View enviorment should be up and running
- An exisiting Instant Clone Desktop Pool must be present.
Management VM Sizing Requirements
Since we have deployed it in our lab, we have deployed it with bare minimum settings with a Microsoft Windows Server Operating 2016 System.
Primary Site
| Server | VM | Version | vCPU | Memory GB |
| jmp01 | Jump Server | 2016 | 2 | 8 |
Install the Dynamic Environment Manager Console
Step 1- DEM is downloaded as separate software and won’t come with the Horizon bundles. You can download it from vmware.com

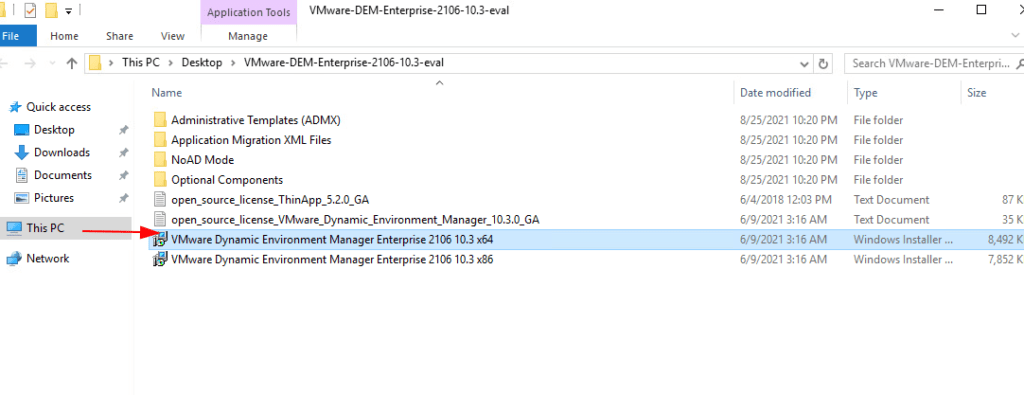
Step 2- Click on the X64 installer and Click Next to proceed
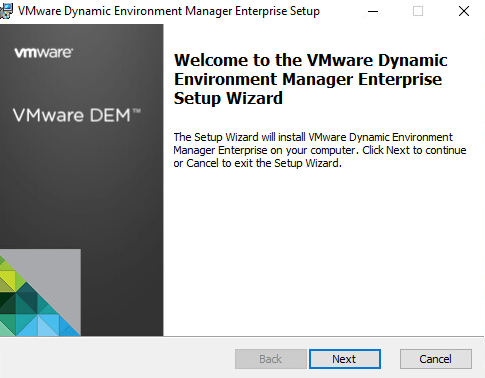
Step 3- Accept EULA and click Next

Step 4- Choose the location to install the software to
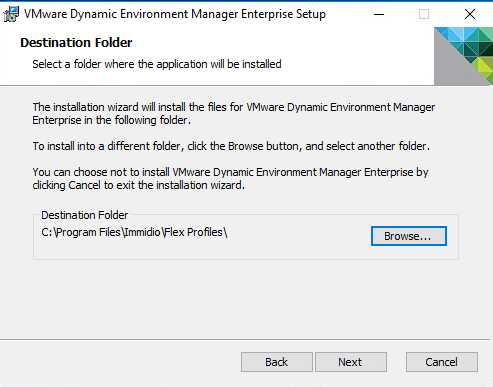
Step 5- Choose Custom setup type
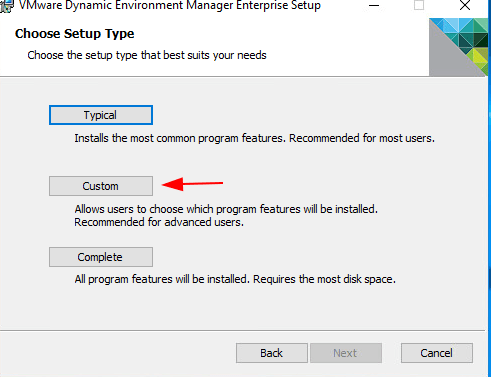
Step 6- From the installation menu, we will now disable the VMware DEM FlexEngine from the list and enable the DEM Management Console only.
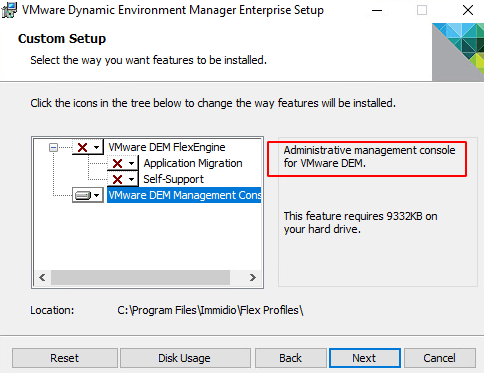
Step 7- Click Next to continue, we will choose to deploy UEM on our on-prem
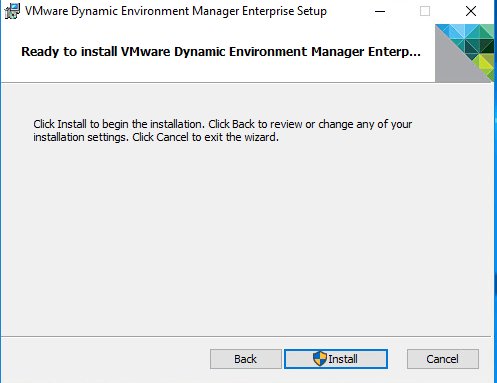
Step 8- Once the installation is completed, click Finish
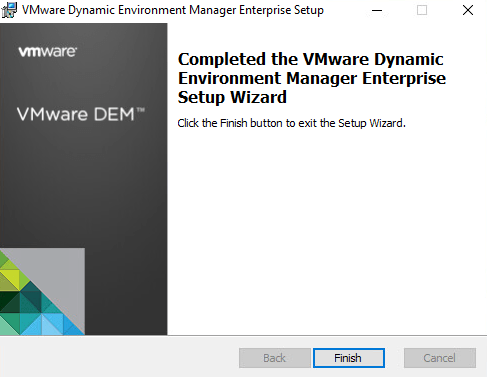
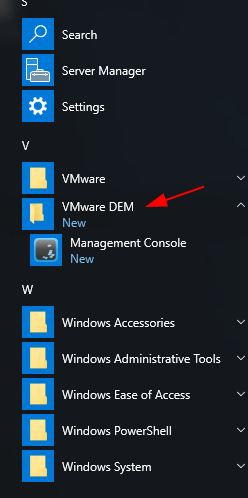
Step 9- Launch the UEM Management Console
