High-level Steps for our Golden VM
- Download a supported Windows 10 Image
- Install Windows 10 on our vCenter
- Choose Network card as VXNet3
- Enable CPU/vMemory Hot add
- Disconect floppy drive
- Install VMware Tools
- Connect VM to Domain to get the dll files
- Download the Fling here and run OS optimizations
- Install View Agent
- Install Apps if any ater OS optimizations
- Clean up temp files if any, empty recycle bin, turn off windows OS updates, browsing history
- Turn off Windows Updates
- Release IP
- Shutdown VM
- Snapshot VM
Creating our Golden VM
I’ve downloaded a supported Windows Image and uploaded the ISO file into a datastore
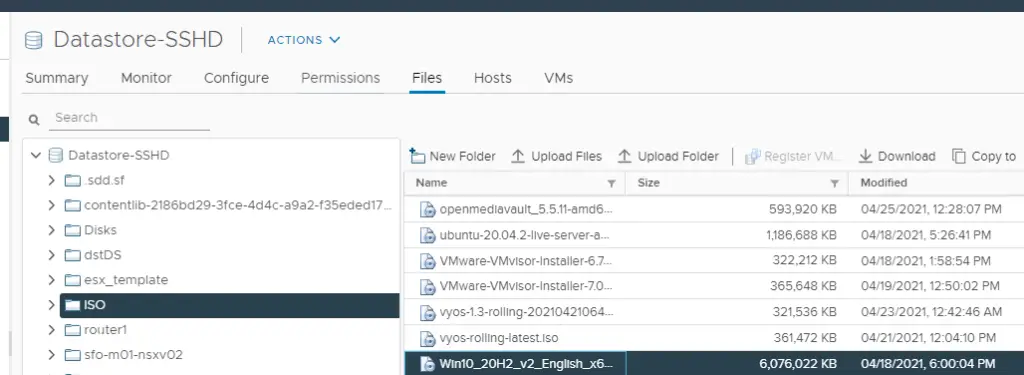
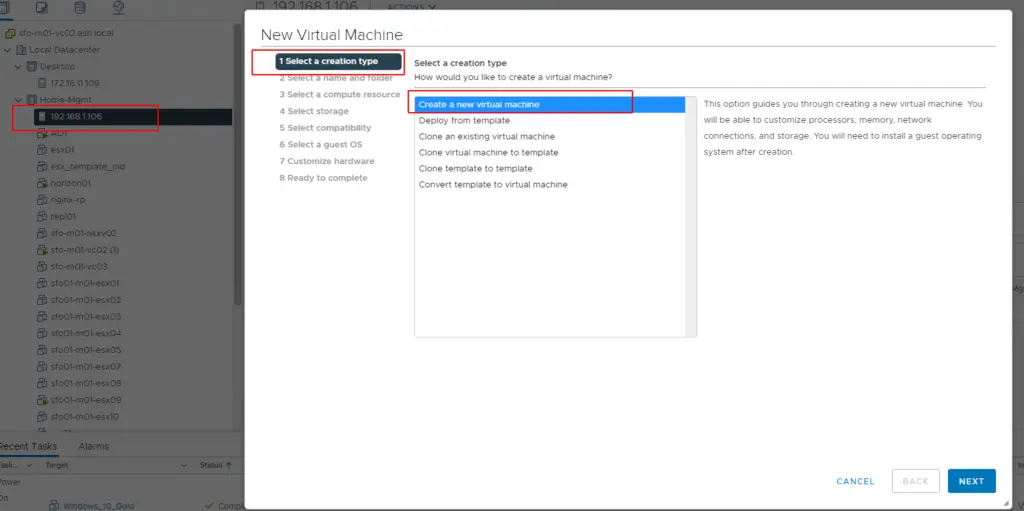
With the OS image now on our datastore, we will spin up a Windows VM as per normal process
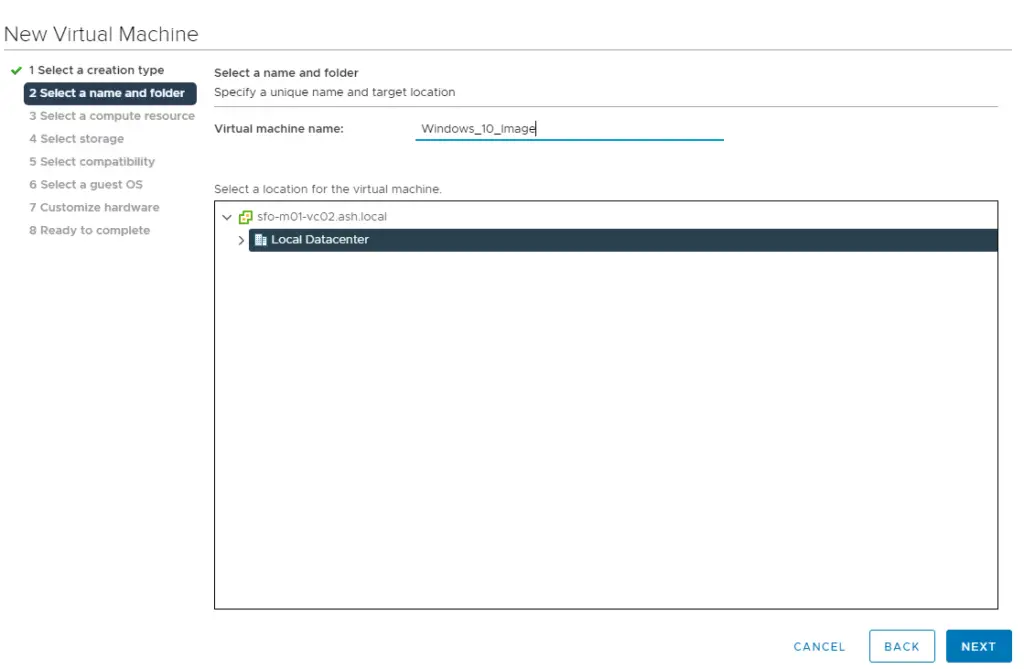
Give the VM a Name
Give a location to deploy the VM to
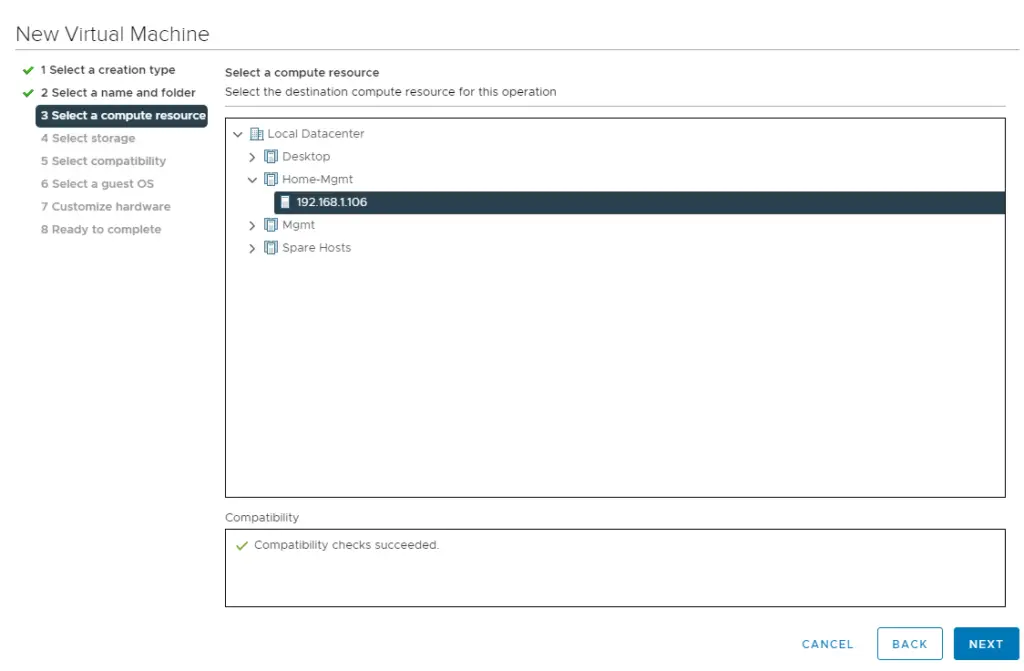
Choose the datastore to deploy the VM to
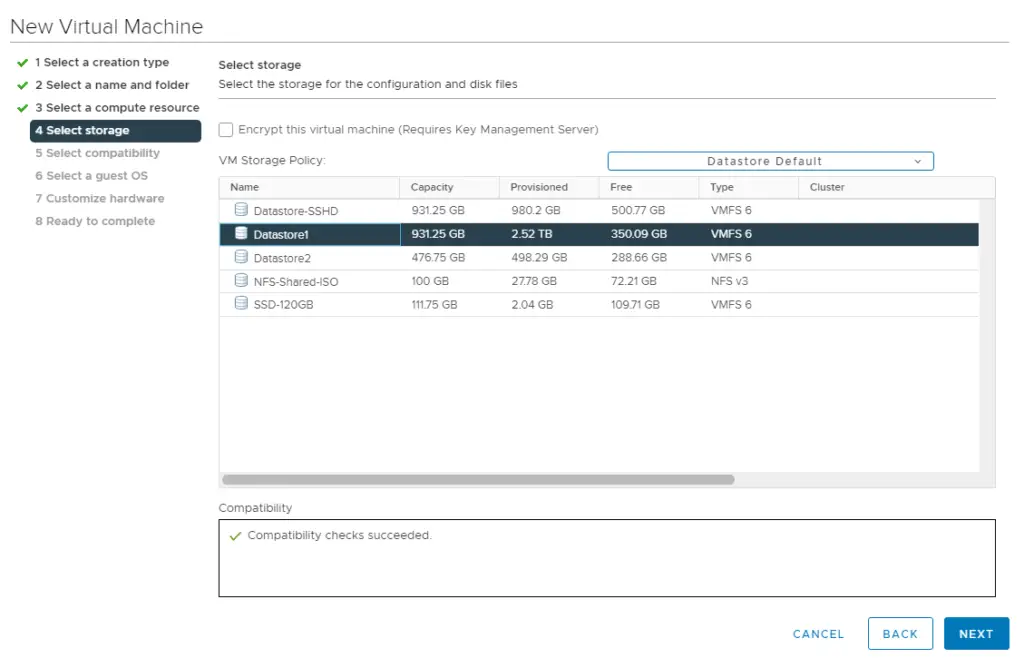
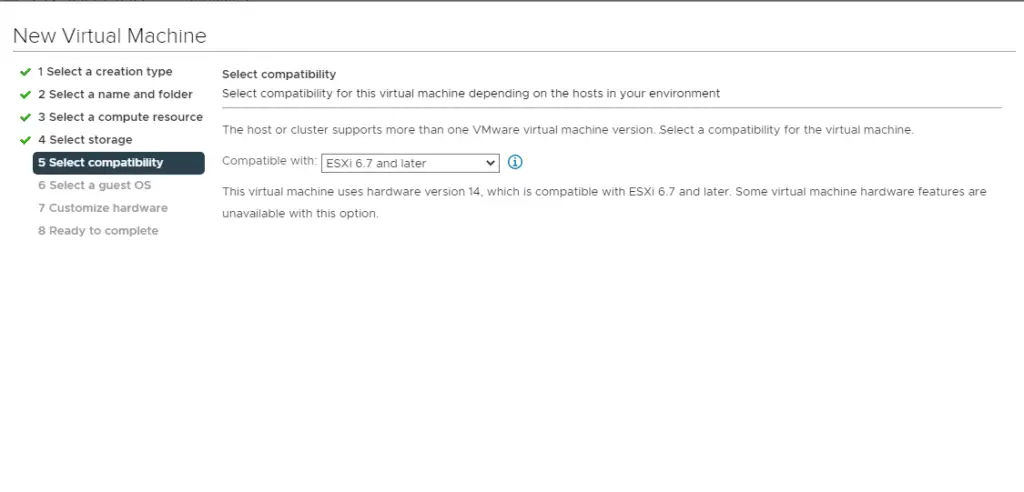
I’ll select the compatibility to my VM hardware
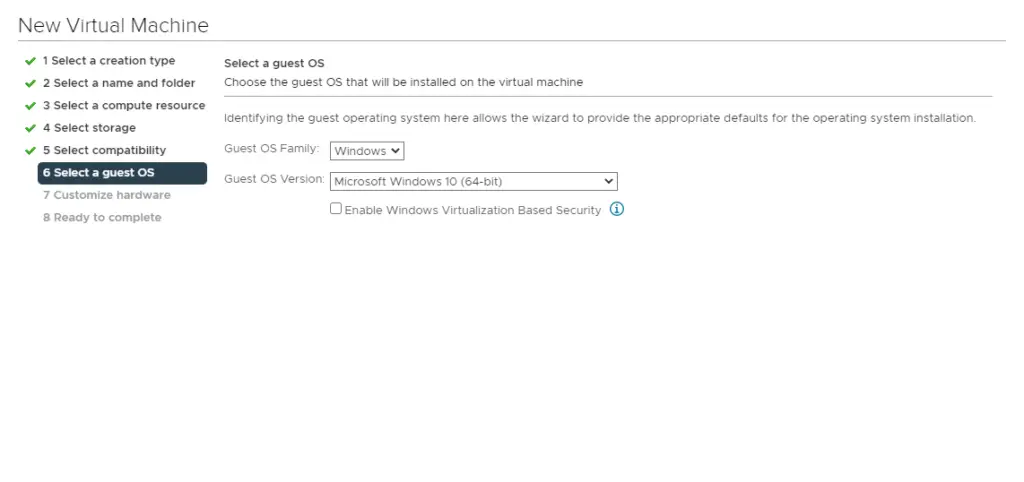
As we are deploying a Windows 10 VM, we will select the Guest OS version as Windows 10
Ensure we select network adapter type as VMXNET3
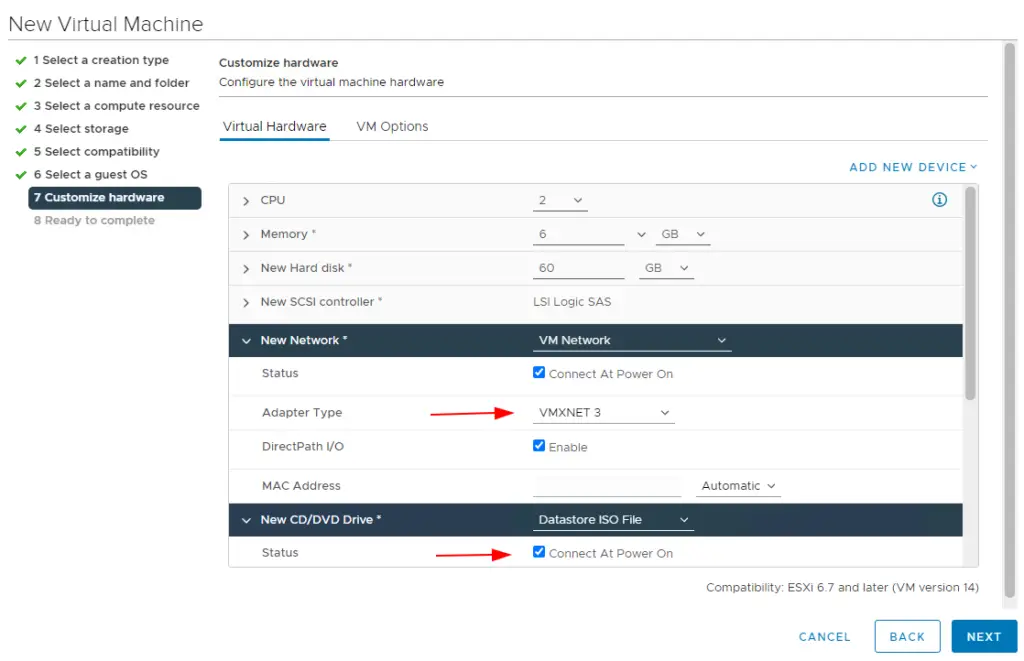
Once the ISO is mounted, click finish
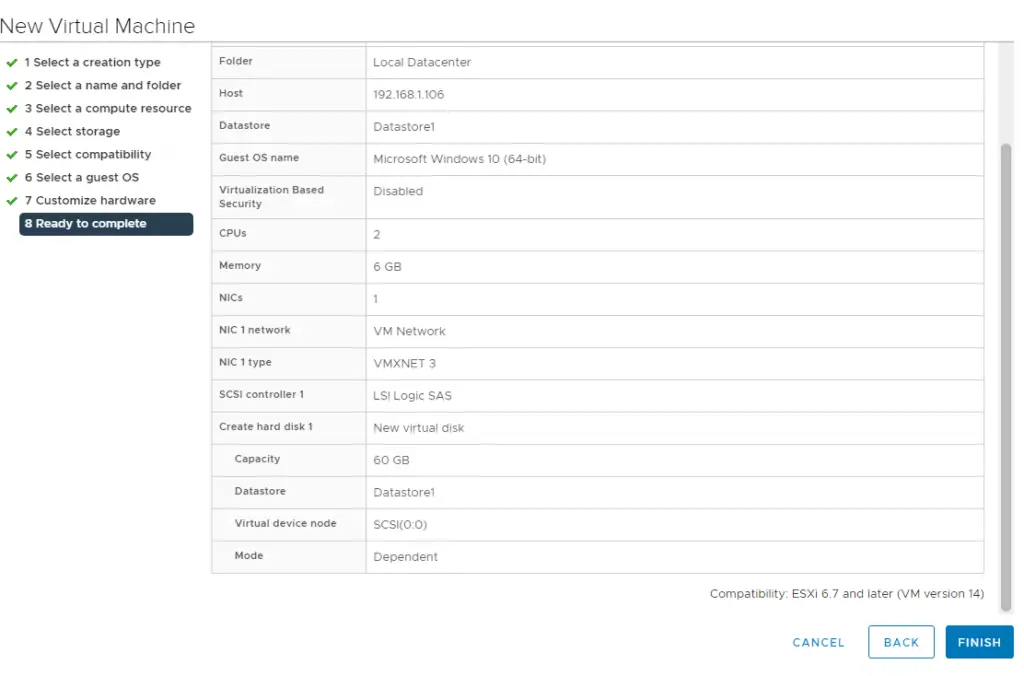
Open the VM settings and Enable Force BIOS setup from Customize hardware tab.

Customizing the BIOS
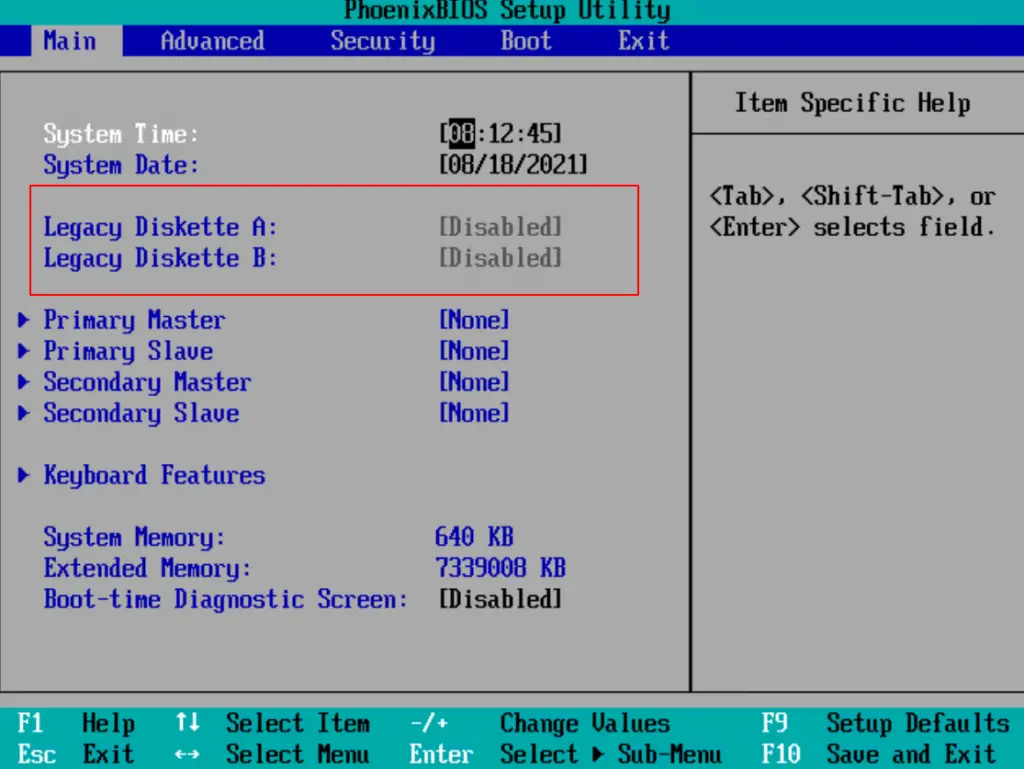
Once newly created VM boots up, from the BIOS screen select Main tab and all the Legacy Diskette A/B to disabled
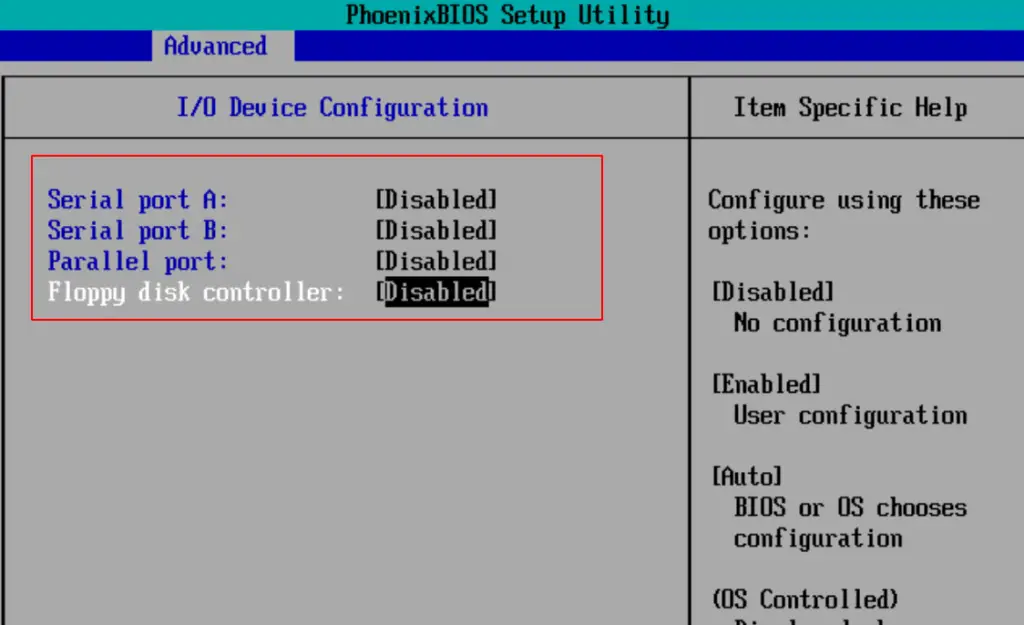
From the Advanced tab, let’s also disable all I/O ports under I/O Device Configuration.
Save BIOS configuration and continue to boot the machine and proceed with default Windows 10 OS installation as usual.
Install VMware Tools
Once the VM has been fully installed, we will add VMtools to it. In order to install VMtools, Right-click on VM > Guest OS > Install VMware Tools.
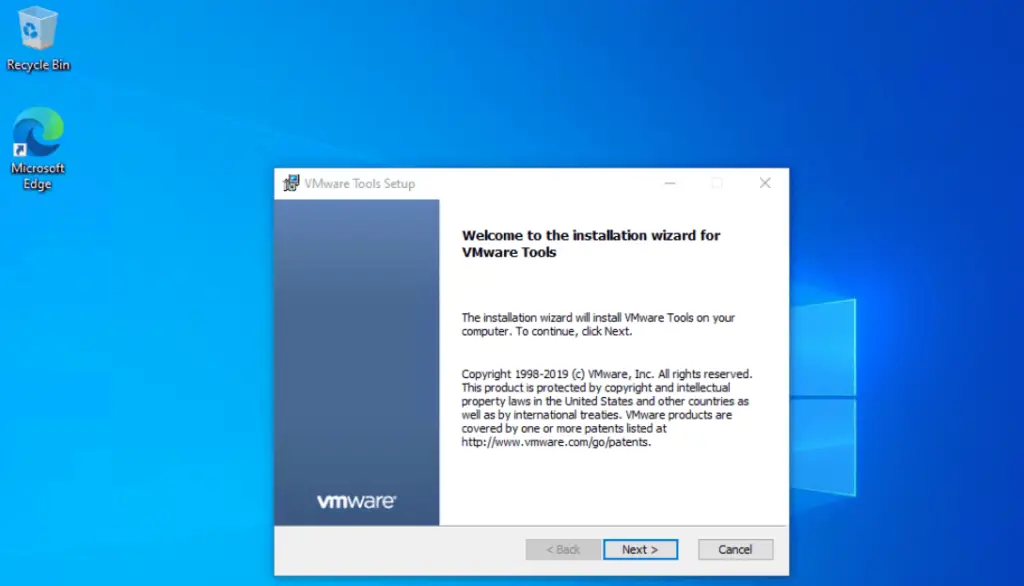
Once VMware tools installation is completed, reboot the virtual machine.
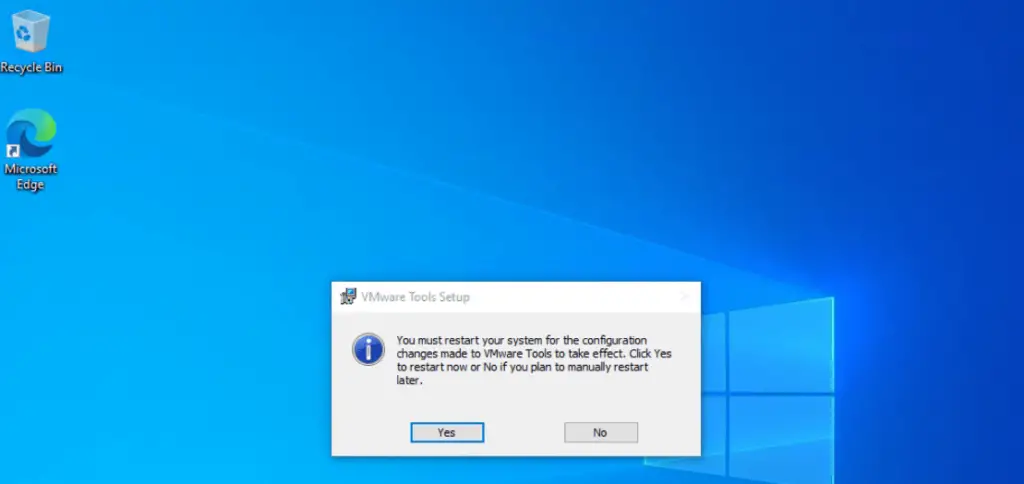
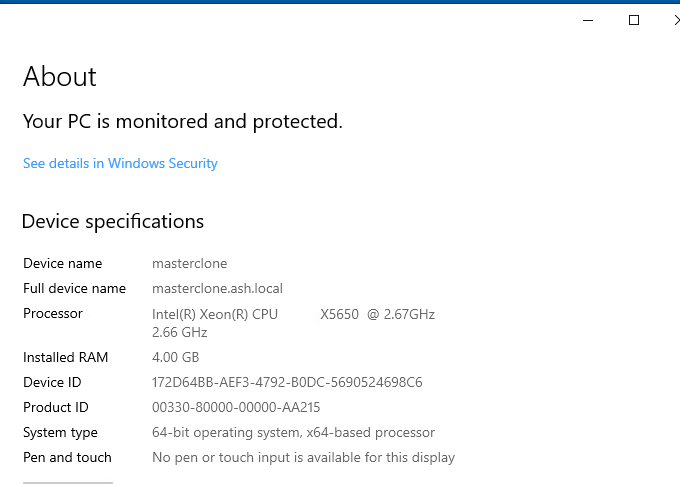
Connect VM to Domain
Optimize the OS
If you are not using IPv6 make sure you are disabling it and IPv4 should be in DHCP.

Optimize VDI Master Image using VMware OS Optimization Tool

A Windows OS was always designed for physical workloads like laptops thus there are plenty of services on it we don’t need for VDI, With more services and features, we will need to provide additional resources such as CPU/memory etc.VMware optimization tool can be used to easily disable unnecessary services and features to improve VDIperformance.
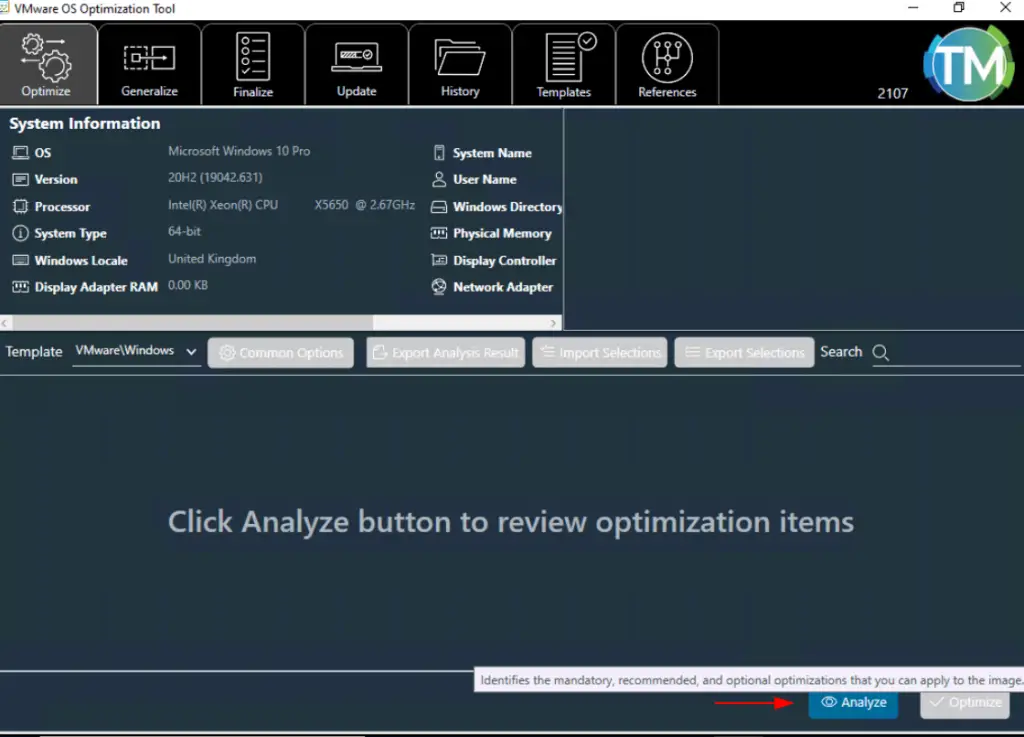
I have downloaded and opened the OS Optimization tool on the newly deployed Windows 10 VM. Open the tool and Click Analyse
Click on Optimize
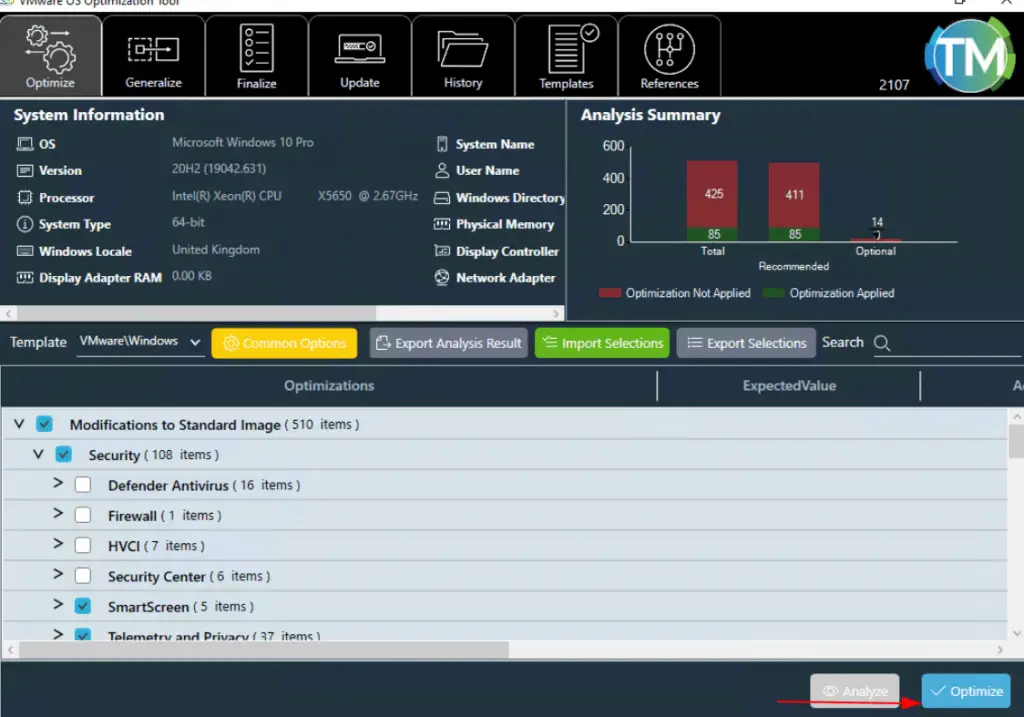
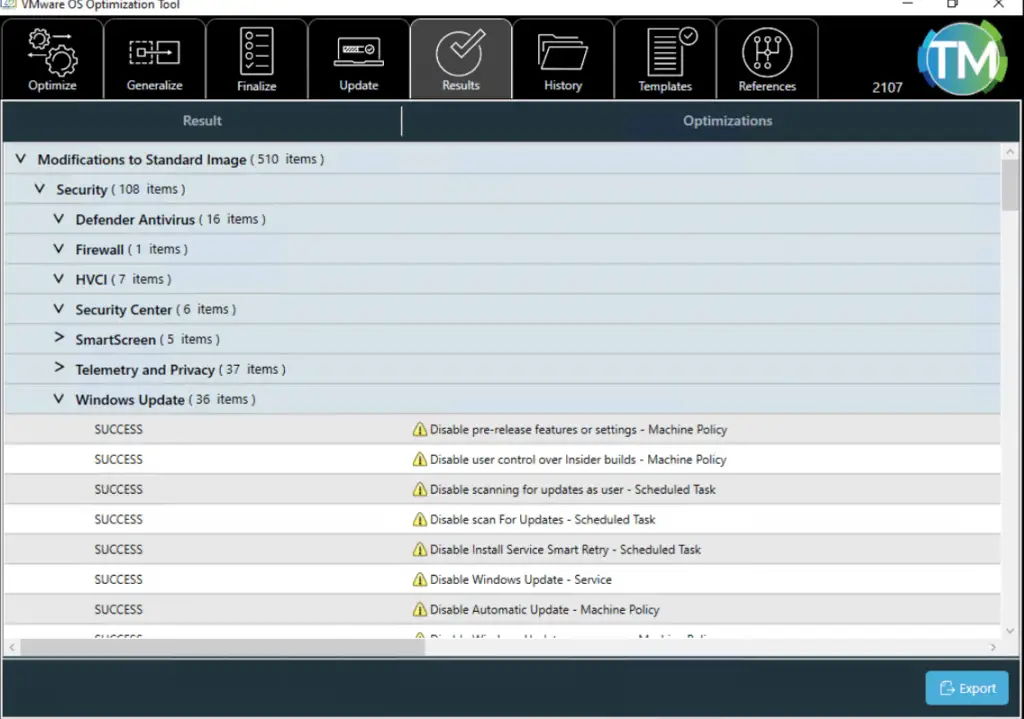
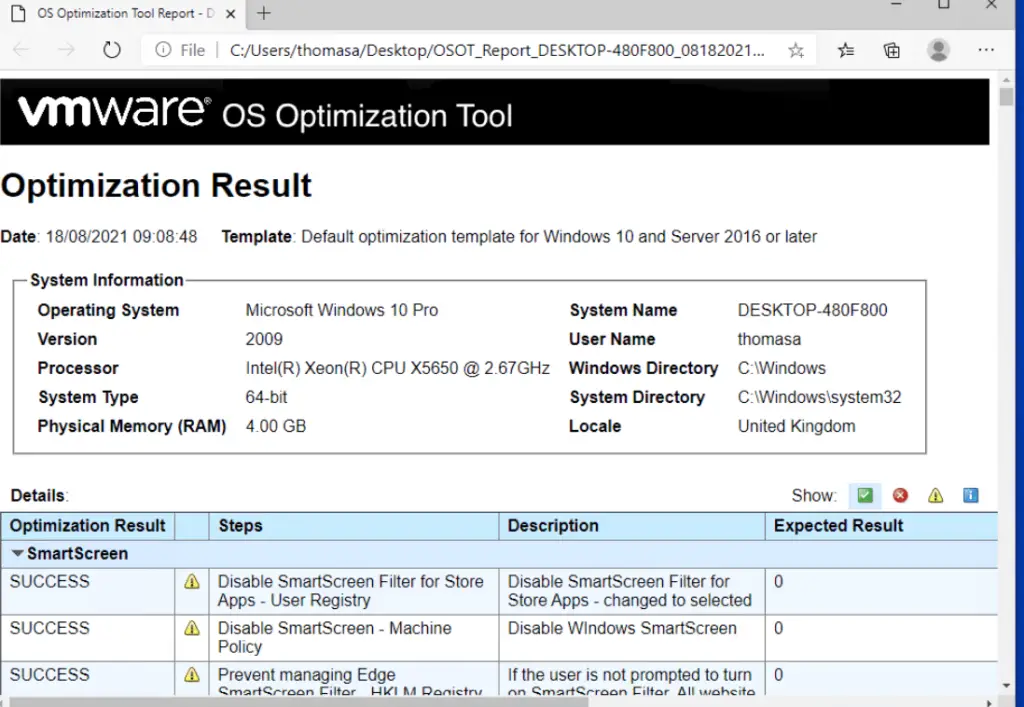
At the end of optimization, we will be getting a report suggesting what all services are disabled on the VM.
Install Apps
Once the OS is installed, we can go for installing additional apps if any. Most of our apps are going to be provisioned with AppStacks but for now, we will just install basic apps.

There are few more tweaks we need to do from our control panel to optimize our Windows 10 VM which are all related to power settings. By default Windows 10 systems goes into sleep mode if the system is not in use for a while. Even though this is good for laptops as it increases its longevity, it’s, however, an odd feature for VDI so we will turn it off here.

VMware Horizon Agent Installation
Horizon View Agent on virtual machines is needed so our connection server can communicate with them. Installation of view agent is a straightforward process
Launch the view agent software we downloaded earlier and choose to run as Administrator

Accept EULA and click Next.

Select IPv4 as the network protocol, click Next.

Click Next.

Enable Remote desktop capability so we can access this machine over RDP

Click Install

After Horizon Agent installation, reboot the virtual machine.

Clean up Image
After the reboot is complete, we will need to ensure we clear logs from Event Viewer and remove any unnecessary kinds of stuff like the software we downloaded etc from the system

Release IP address
Open cmd and use ipconfig /release command to release our DHCP provided IP

Turn off Windows Updates
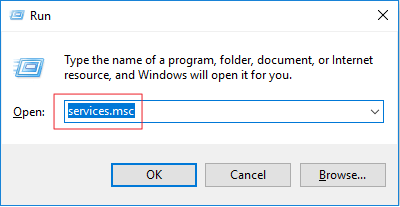
Open cmd – type services.msc and press Enter.
Scroll down to Windows Update, and double-click it.
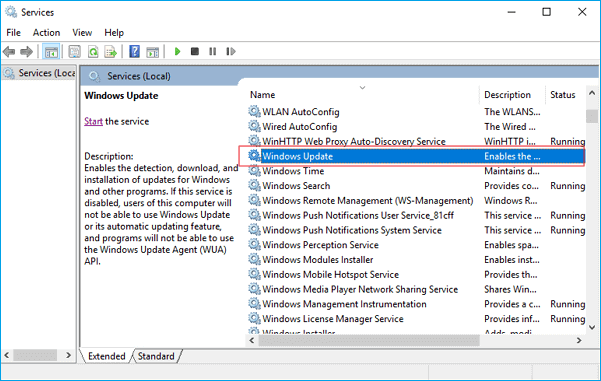
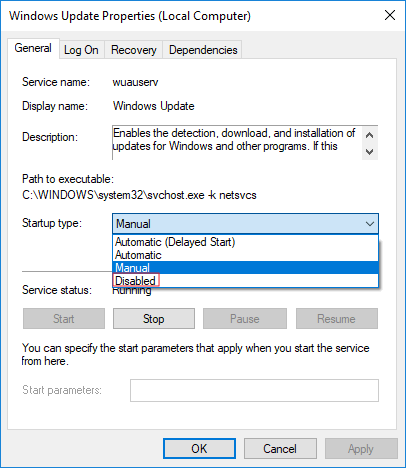
In Startup type, select “Disabled”. Then click “Apply” and “OK” to save the settings

Empty Browsing History
Verify if RDP is enabled

We will now Empty Recycle Bin as well as it may have software we downloaded and move there post-install.

Verify all required configurations, and shut down our VM

We will now create a clone of this VM which then becomes a new VM with a new GUUID, we will use this clone for our instant clones. We will also create a snapshot of the base image which we are going to use for dedicated desktops ( full-blown images ).
Clone VM
We will now clone this VM so we can later use this for our linked clones

Give the clone a name

Run through the wizard and finish the config
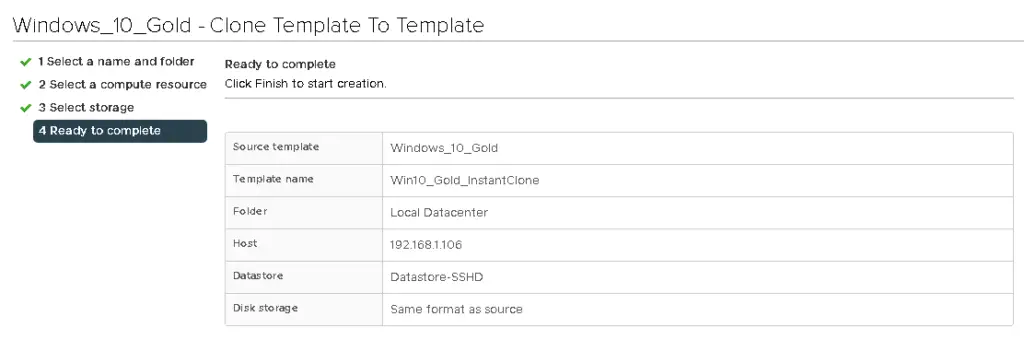
Create a VM Template
We are going to use our base Image for building all our VDI desktops so we will create a template.


Now that we have a master template and guest customizations in place, we are ready to create our View Desktop Pool

