vCenter HA eliminates a single point of failure of our vCenter by enabling the vCenter in a cluster mode. The process to deploy vCHA is vCenter 7.0 is slightly different.
The vCenter HA Prerequisites
- At least 3 hosts are required for an ideal vCHA deployment.
- All the 3 VC ( Active – Passive – Witness ) should be kept on different datastores.
- A dedicated network for vCenter HA network – Ideally on a different subnet
- DRS must be enabled.
- HA must be enabled and working.
- Datastore clusters are not supported by vCenter HA deployment, pick a standalone datastore.
- Network latency between nodes should be under 10 ms.
- 3 free static IP’s are required for the vCHA network.

The vCenter HA Configuration
3 VM’s form the vCHA cluster configuration
- Witness Node – Act as a quorum node just to prevent a split-brain scenario
- Active Node – runs the active instance of vCenter Server
- Passive Node – runs the standby or passive instance of vCenter. The purpose of a passive vCenter is to take over the role of an Active vCenter in case our primary vCenter comes in inoperable.
Configuring vCenter HA
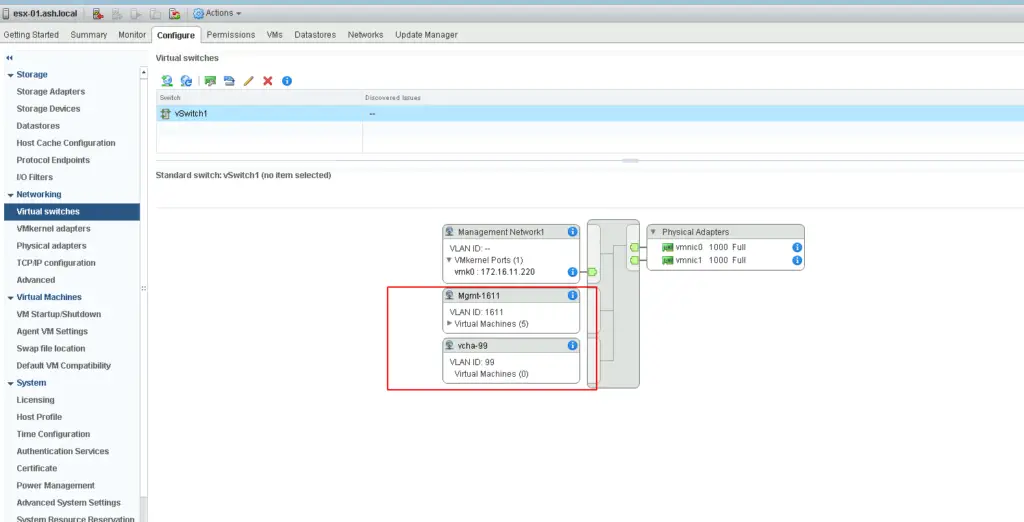
Define a new portgroup on vLAN 99 on the standard switch and name it vCHA -99 this will be our vCHA HA network.

We can now move ahead with the vCenter HA configuration.
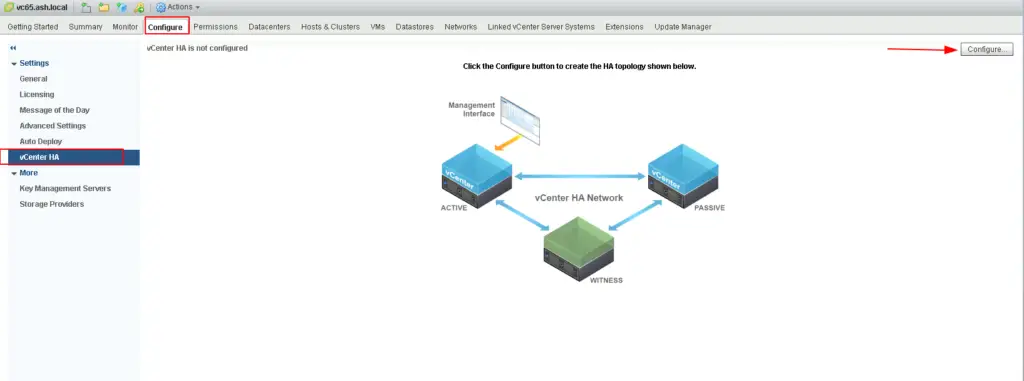
In the vCenter HA section click Set up vCenter HA button and click Configure to begin the VCHA deployment.

The easiest way to set up vCHA Is via the basic configuration and this the common deployment.Choose the configuration type as Basic.

vCHA 99 is our vCenter HA network and our primary interface is the management portgroup of our current vCenter so we will give it an IP. The subnet we add for vCHA network should be different than the management subnet.

In the deployment configuration window for Passive vCenter we will need to assign the same config we did as above. The network adress

Review all settings and click Next to continue

When the configuration settings have been verified, click Finish to proceed with the deployment.

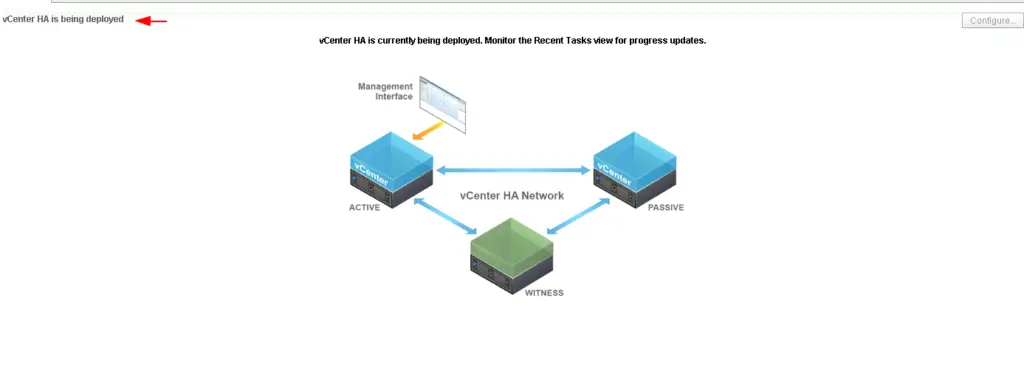
We will now see the vCHA has begun the configuration and we will see two new VM’s being deployed on our vCenter

The witness and the passive vCenter gets deployed as shown

The deployment of the Passive and Witness nodes takes around 10 mins to complete and once done, we can see the status on the vCenter HA config pane

Note the IP address assigned to the Passive node is the same IP of the primary vCenter and this Passive vCenter stays ready to failover in case our primary vCenter goes down.
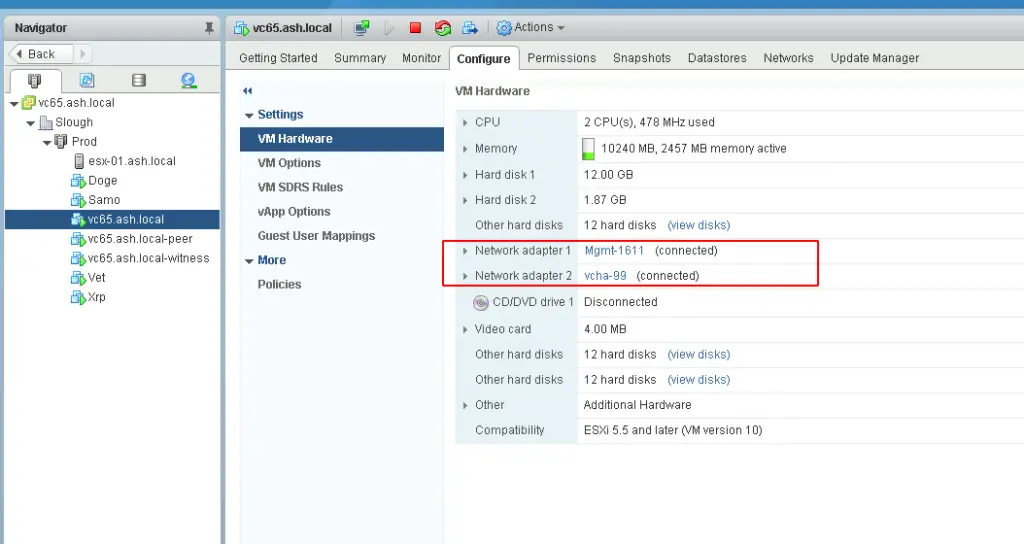
A closer look at the vCenter network config
Primary vCenter has 2 NIC connected – Management and vCHA network

Passive vCenter has 2 NIC connected – Management and vCHA network

Witness vCenter has 2 NIC connected – Management and vCHA network

Monitoring the Status of vCHA
The status of vCHA replication can be monitor from the Monitor > vCenter HA tab.

Summary
In this exercise we have shown you how to enable vCHA on an esx cluster. In the next post, we will attempt to patch the vCenter in HA config

