
We initially started with just a master node and now I have a few data centers so I will now need a much bigger vROps environment to monitor the entire estate let’s expand our vRops and when it’s done, we will hook it up to our vRealize Lifecycle manager.
Prerequisites
Read vRealize Operations Sizing Guidelines
Ensure that you have read the vROps Sizing Guide prior to expanding your vRops cluster. Input all your existing vCenter environment into this one and also ensure the projected growth is as well accounted for.

If you are going to add a node, make sure it is the same size as the existing nodes. A quick check in the vSphere client will help you see how the existing nodes are sized. Try not to mix and match your node sizes or versions in a cluster as this go unsupported.

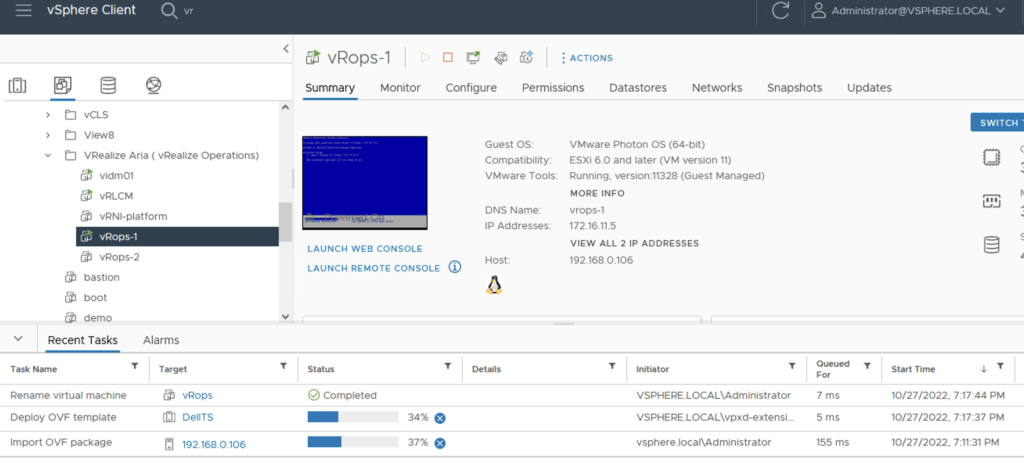
We will download the same OVA version we have on the master and deploy the OVA as usual.
Deploying a data node to the vRops cluster
Open https://fqdn of the second node in the browser and select expand an existing installation.

Click Next to continue

First, we will add the second node as a data node, and once successful will get the option to enable HA and configure replica.
Provide the following info
- Node name – vrops-2.ash.local
- Node type – data
- Under the cluster information, provide the master vRops node IP and Click validate

Here we will provide the admin password for our first node or master node

Click Finish

The cluster expansion process with take some time

Click Finish adding new nodes

Click OK and proceed

Both our nodes are now up and running and our cluster is healthy.

In the next blog, we will convert this data node to a HA master node.