
In this blog, we will connect our vCenter and NSX-T to our NSX-ALB.
Login to AVI UI and navigate to Infrastructure > Clouds > Create > vCenter to create an association with our vCenter

Give the vCenter a name

Choose the vCenter IP/ FQDN and connect with the vCenter credential we created in the previous blog.
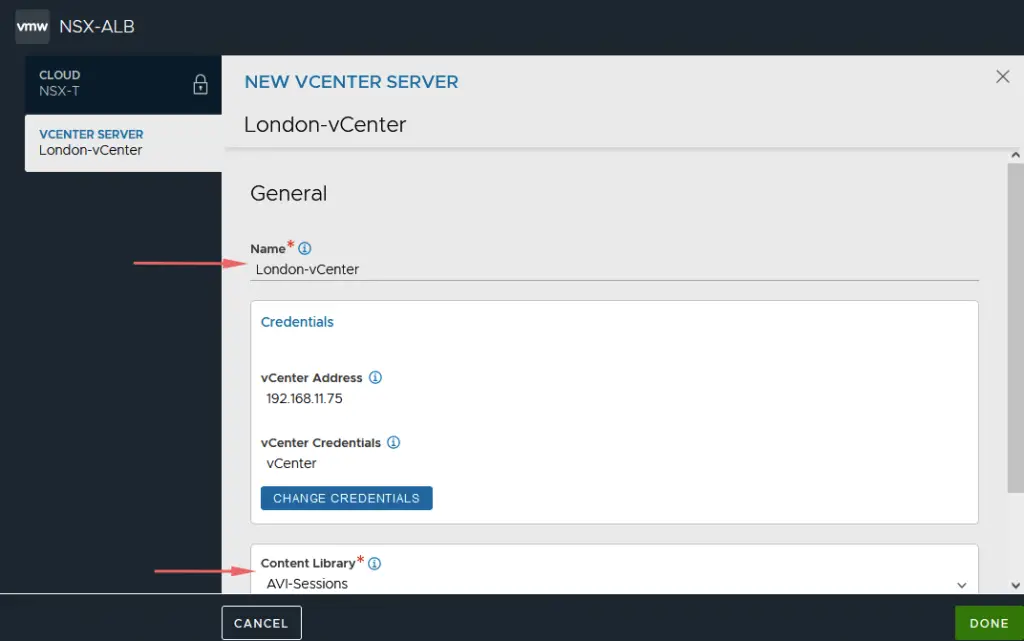
After a successful connection, you will get to choose the content library that you created earlier.

Choose the management network to deploy the AVI SE VM’s.

Choose Static IP address assignment

Optionally choose a DNS resolver and Click Save

After a few minutes, our vCenter connection is ready.

Attaching NSX-T to AVI
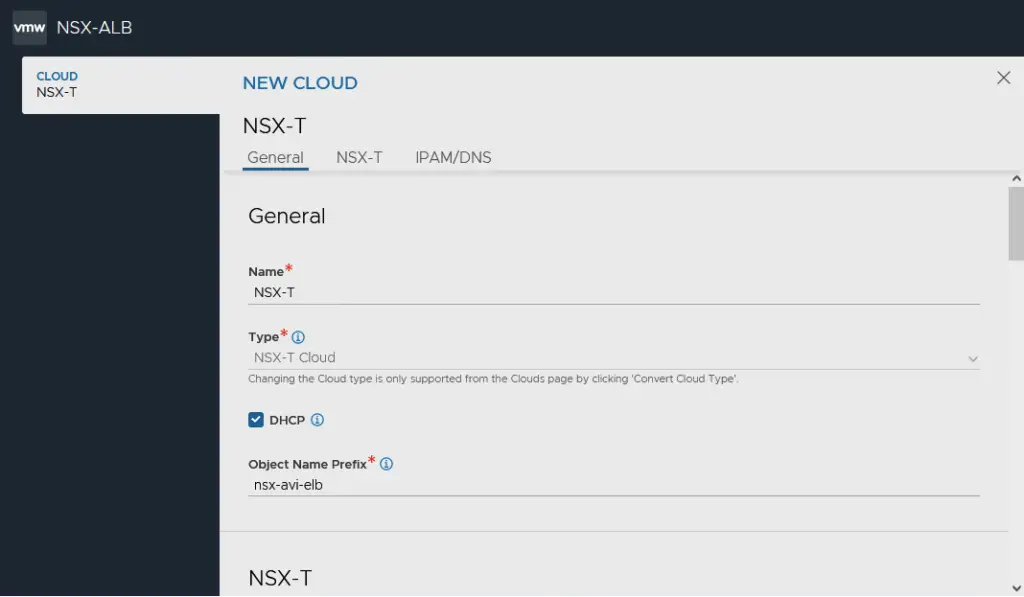
Login to AVI UI and navigate to Infrastructure > Clouds > Create > NSX-T to create an association with our NSX-T.
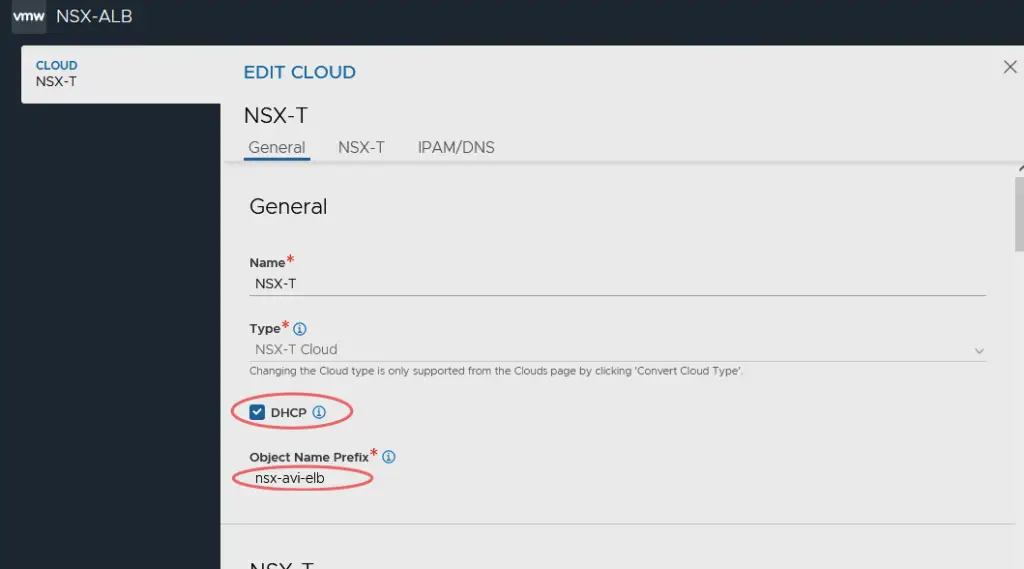
Give the NSX-T Cloud a Name.
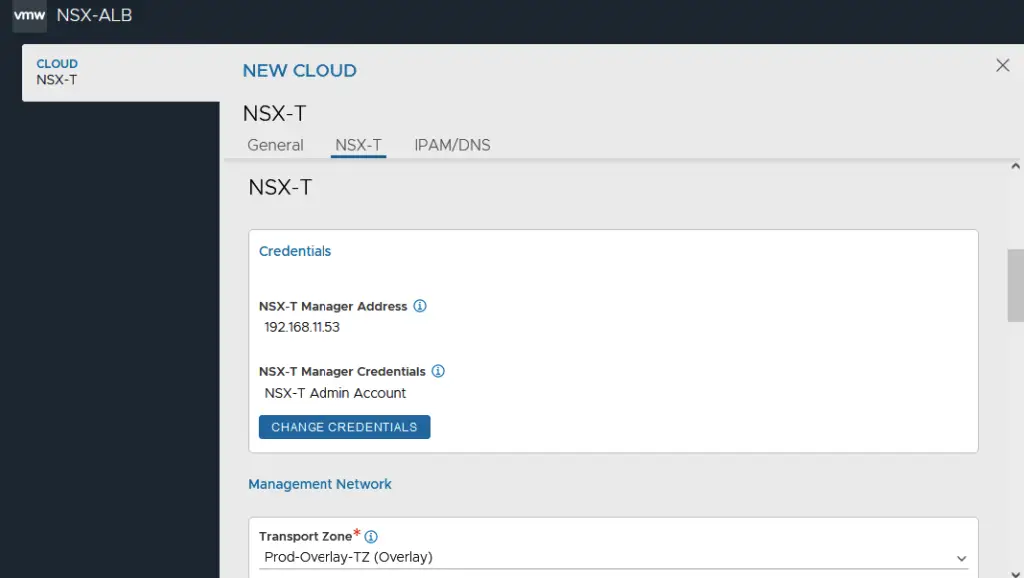
Choose NSX-T IP and connect with the NSX-T credential we created in the previous blog.
Ensure DHCP is selected and specify an object prefix name for the AVI objects that are to be created.
Under the management network, we will pick our transport zone as the Overlay zone and the segment AVI-SE-MGMT and then the Tier 1 router that’s connected to the edge node

For the data network, choose the transport zone as the Overlay, the logical router as T1 and the segment AVI-SE-DATA-VM

Click on Add to add our London vCenter to NSX-T from AVI
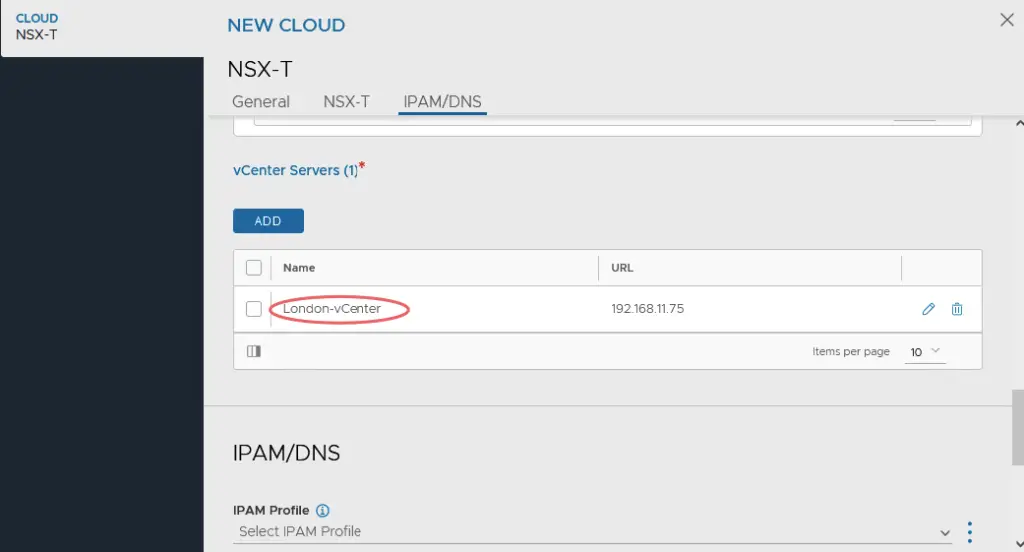
We won’t be using IPAM so just Skip and Save

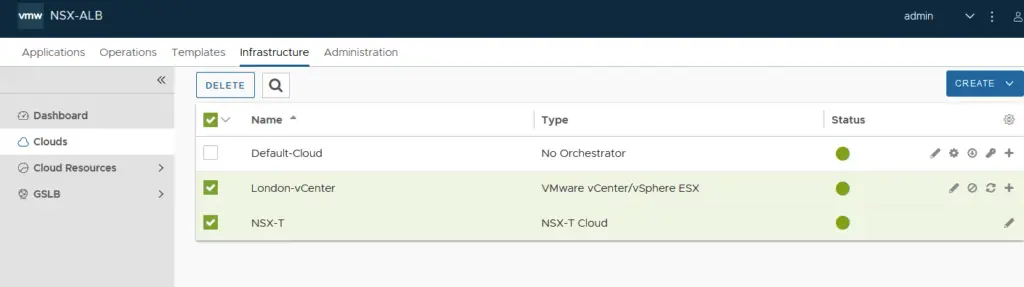
Our NSX-T and vCenter Cloud is now created
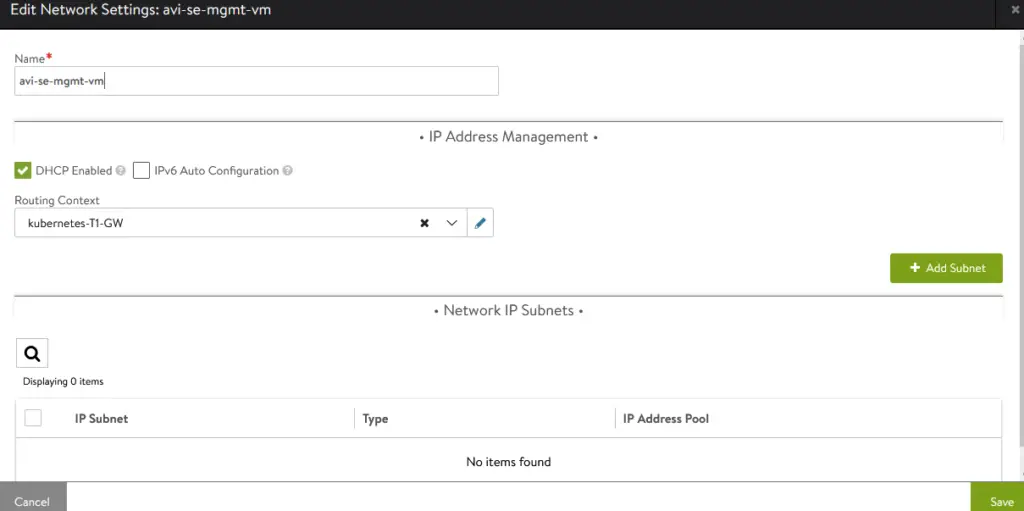
There is one more step to do – Navigate to Infrastructure > Network and select the NSX-T Cloud that you created earlier and enable DHCP across our AVI management and AVI Data segments.

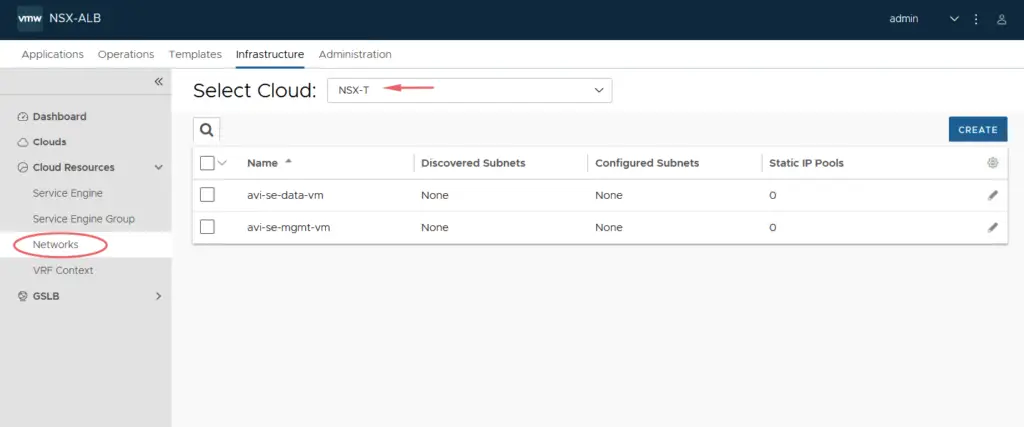
Under these networks, I’ve got NSX-T distributing IPs from the DHCP so we will enable it here. Ensure the routing context is changed to our T1 router.

We will repeat the same for our management as well
That completes all the tasks to integrate AVI to NSX-T and vCenter.