Commvault uses an agentless approach to back up VM’s inside our vCenter and this is done via a VSA Proxy Appliance that acts as a data mover (access node). These nodes are responsible for quiescing the VM’s via the chosen transport node and ultimately acts as a data mover to move these backups to our backup repositories.
Protecting VMware Workloads
I’ve added our vCenter administrator account under Virtualization > Hypervisors. We will need to create a role group on our vCenter and give the account administrator rights on the vCenter so Commvault can initiate backup/restore tasks. For this demo, we will just use our administrator account to log in.

Deploy Commvault VSA Proxy
The VSA agent is installed on a Windows Server OS that can perform backup and restore operations for a specific hypervisor platform. Since we have deployed it in our lab, we have deployed it with bare minimum settings following the Sizing Guide
| VM | vCPU | Memory GB |
| Extra Small | 2 | 16 |
| Small | 4 | 12 |
| Medium | 8 | 4 |
| Large | 12 | 4 |
| Extra Large | 16 | 4 |
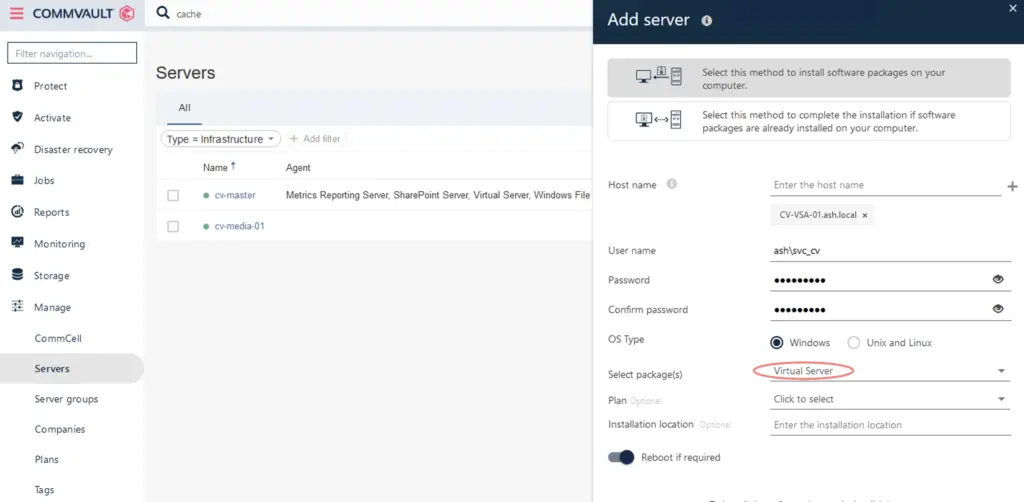
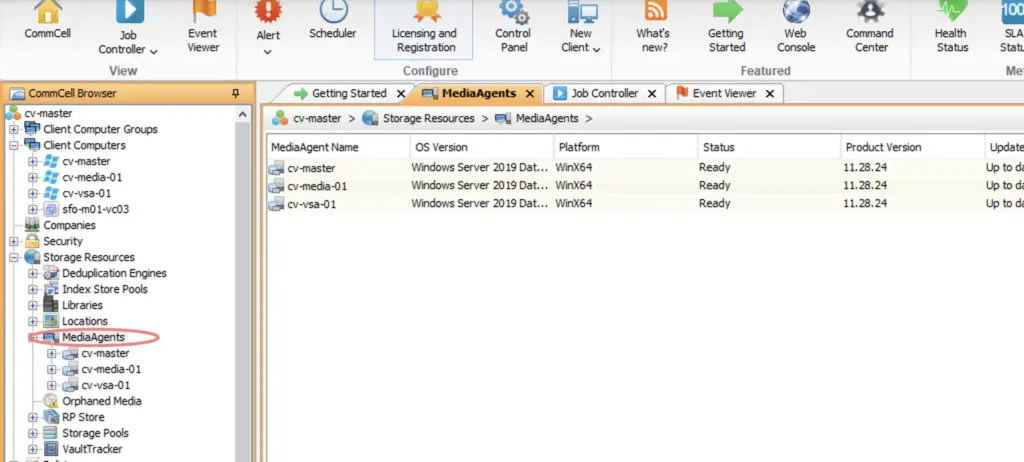
1- We could deploy the VSA proxy on any Windows Server Editions and here I’ve got a Windows 2019 VM we can install the media agent on. Go to Servers > Add Server > Select package to add a virtual server
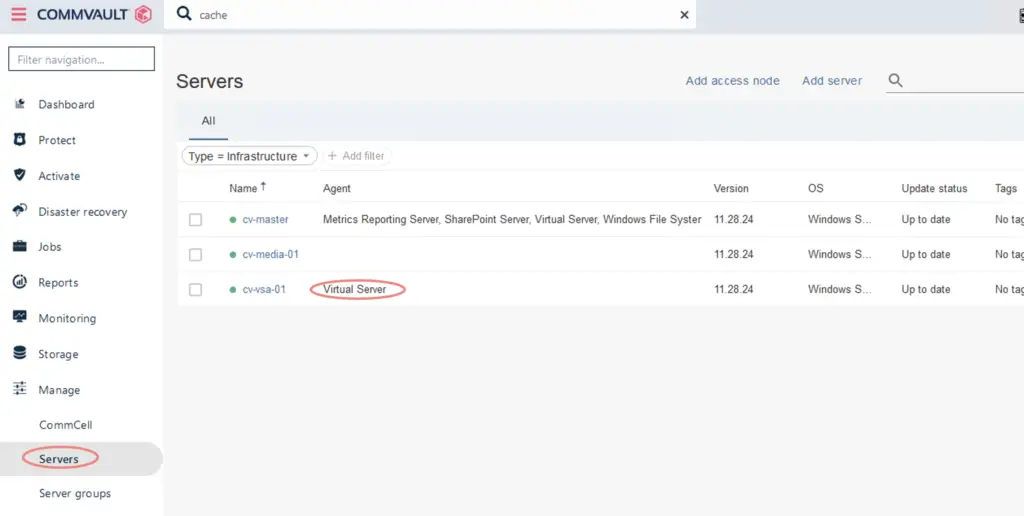
2- Our virtual proxy is ready.
3- We should now be in a state to back up our Virtual machines inside our vCenter.
Transport Modes for VMware
The following transport modes are available in VMware.
| Type | Used Case |
| Hot Add/ NBD | Virtual Server Agent and MediaAgent are installed on a virtual machine running on the host with access to the data store. The Virtual Server Agent writes over the network to a remote MediaAgent. |
| NBD SSL | Used for encrypted data transfer. |
| SAN | In SAN mode, all data stores are also mapped to a physical host other than the ESX and this host will have virtual Server Agent and MediaAgent installed on it. Using FC zoning, a zone is established between this physical server and the tape storage/disk storage unit thus backing up over the SAN. |
Linking Commvault VSA Proxy to our vCenter
Our vCenter and vSA proxy is added to our Commvault however we should establish a logic to connect these two and this happens under the properties of the vCenter we added. Choose the Domain Admin AD credentials we plan to use to connect to our vCenter once the role is added to our vCenter.

Under the access nodes tab, choose the VSA

The VSA has been linked to our vCenter

Creating VMware Backups
Once the vCenter has been added, right-click the vCenter under client computers > Create new backup set . A backup set is basically a folder under which we have a few clients.

Give the backup set a name for eg: HCX_Nodes and choose the storage policy to which the jobs should be targetted to

Associate it with a schedule policy we created earlier

Our HCX Nodes Backup set is defined and from here, we will choose the option to Create a New Subclient

Give the subclient a name. This will be a group of VMs eg: Active Directory Servers. Under transport mode, we will leave the option as Auto so the data mover can pick up the correct traffic type.

Under the Content tab > we will pick the VM we wish to backup

Our VM has been picked up for backups

Under the Storage device tab, we will pick the Storage Policy

Finally under Activity control – Enable the backup

Enable CBT for VMware-based backups so it just sends changed files *.ctk block files post the initial full backup to the storage.

Our subclient is now ready

Click on the Schedules to see the time at which the policy will be triggered.

As expected, we have a full and incremental backup planned to run as per the scheduled time.

Should we wish to run a one-off incremental backup, we can click on Backup and run a quick backup

Choose the backup type as full and job initiation as Immediate

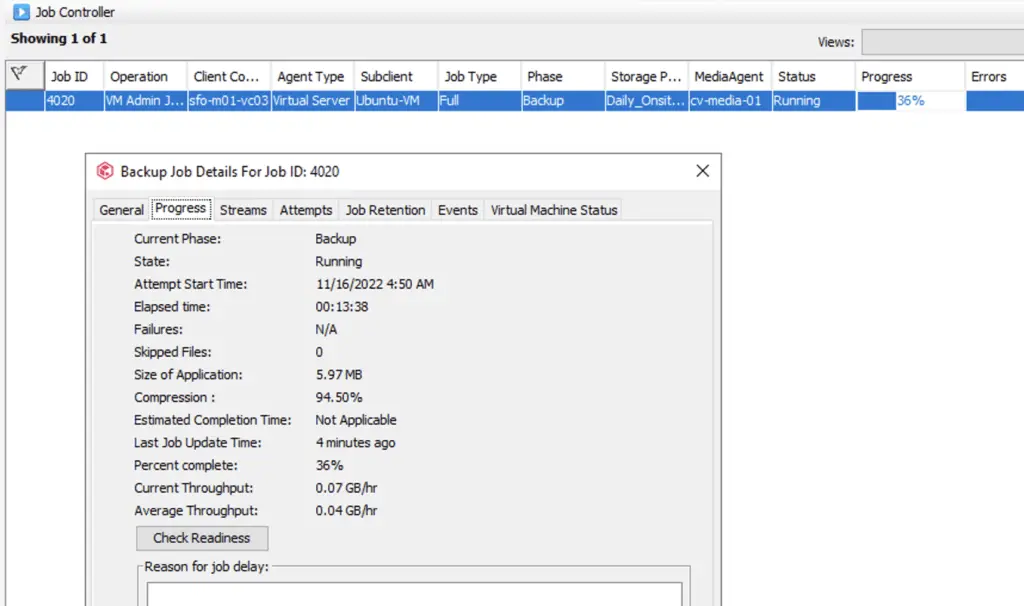
Status of backups can be viewed from the job controller
