

In this blog, we will prepare our Golden image which we will use for our AVD deployment.
High-level Steps for our Golden VM
- Provision and Start a VM
- Install Apps
- Stop VM and Snapshot the OS disk
- Start VM
- Perform Sysprep
- Ensure VM is stopped and deallocated
- Capture the VM
Creating our Golden VM
Step 1- Follow the usual process of creating an Azure VM
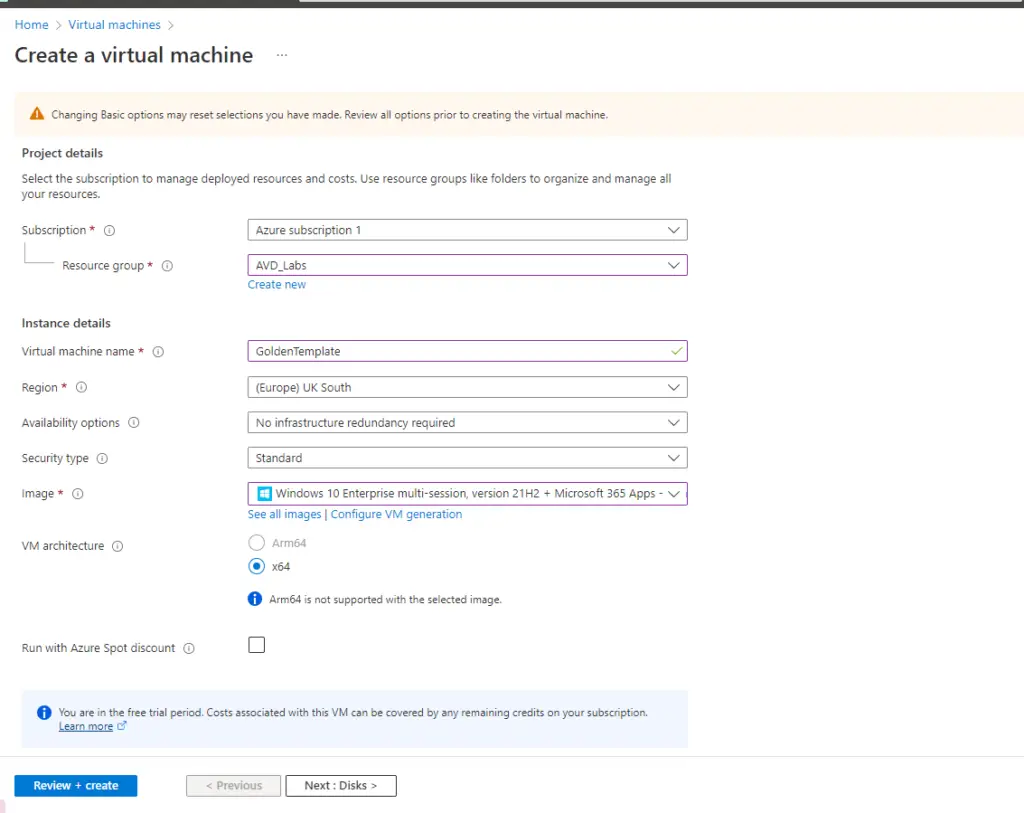
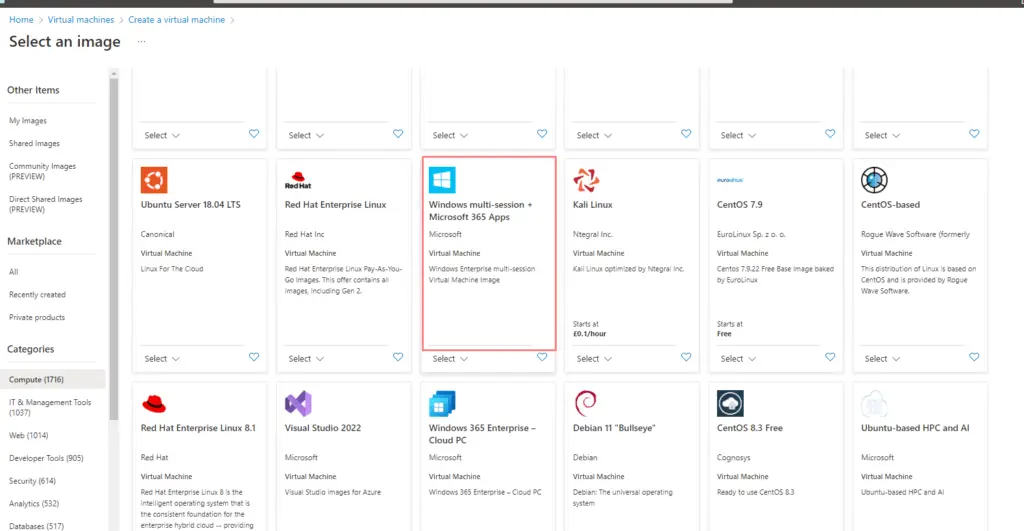
Step 2- Ensure the image we choose is set to Windows multi-session
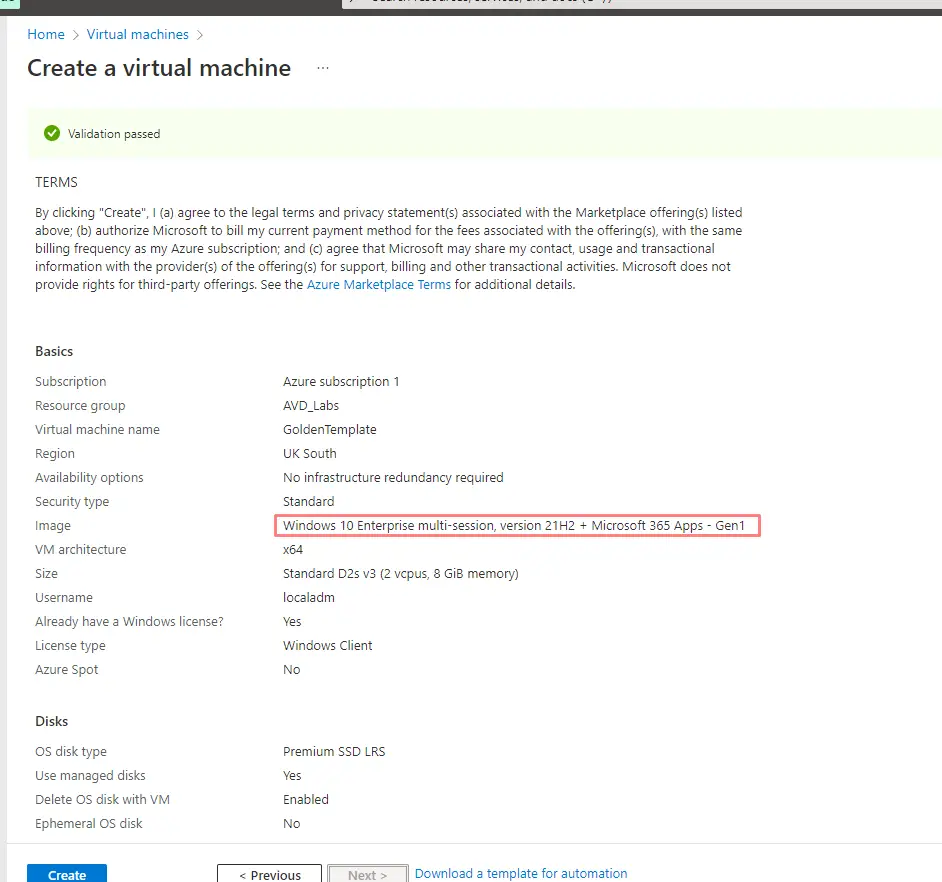
Step 3- Review and create the VM
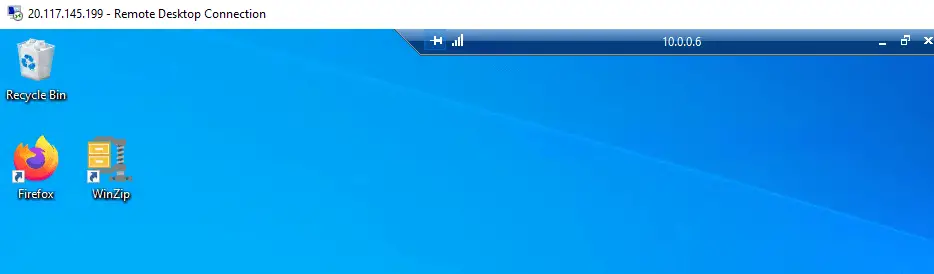
Step 4- Install apps needed on the VM eg: Firefox, Winzip
Step 5- Stop VM
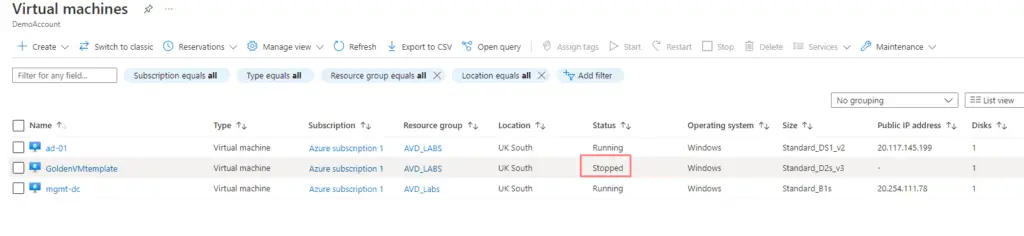
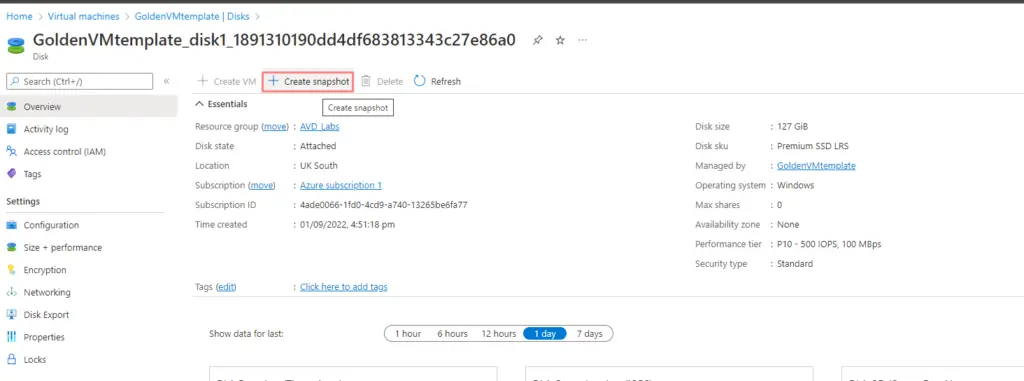
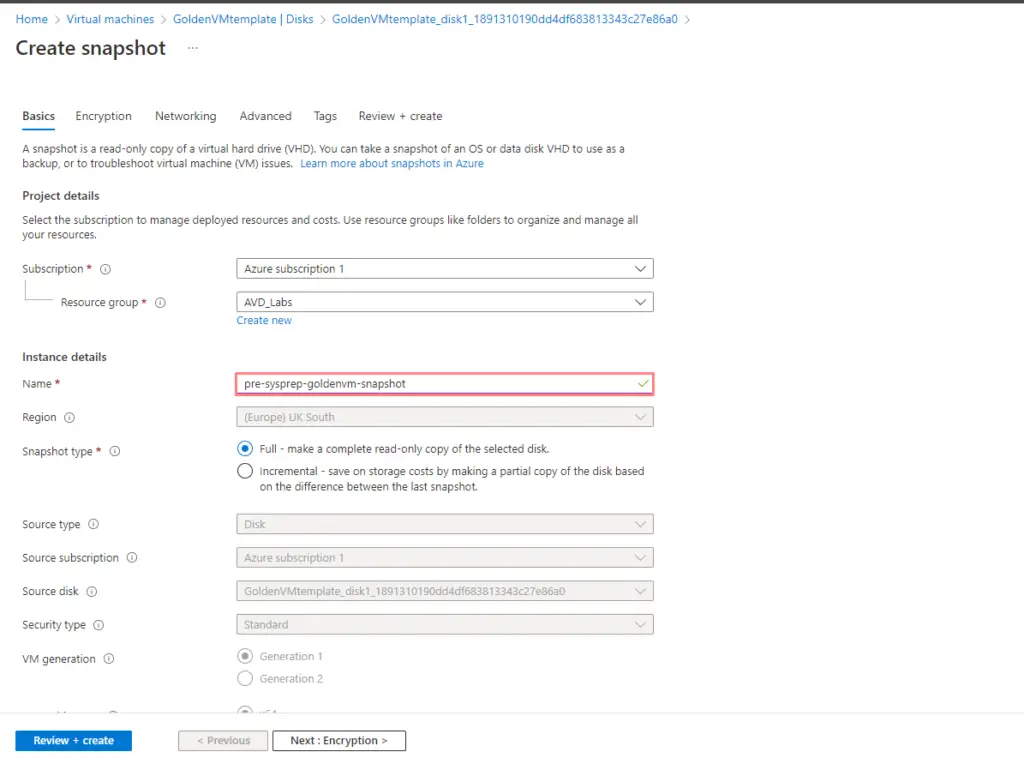
Step 5- Snapshot disk and give the snapshot a name
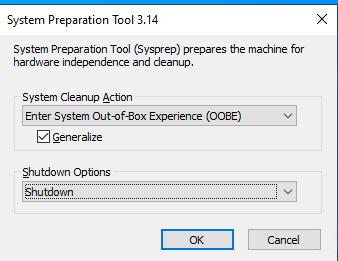
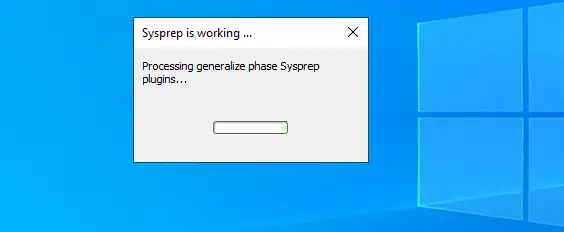
Step 6- Start the VM and run Sysprep with Generalize and Shutdown
Step 7- Wait for the VM to finish Sysprep and once done the VM will shutdown
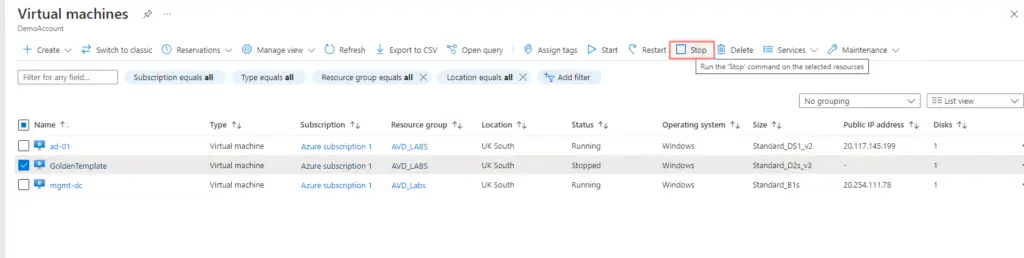
Step 8- Once VM is now stopped from the OS end, we will need to shutdown the VM from the Azure portal so it deallocates from the hardware blade it is on
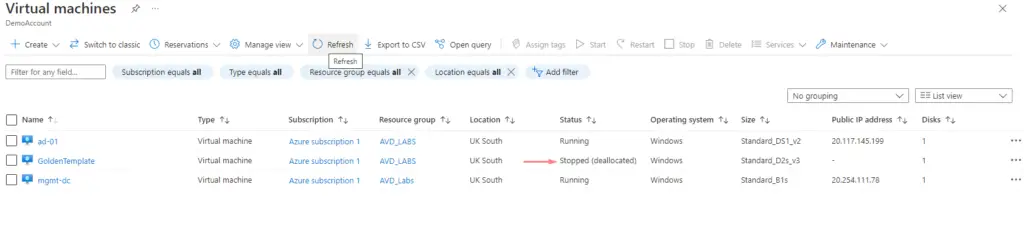
Step 9- Our VM is now deallocated and ready for image creation
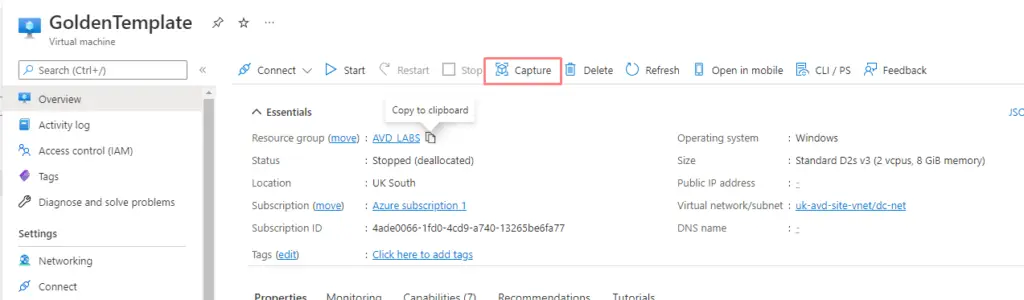
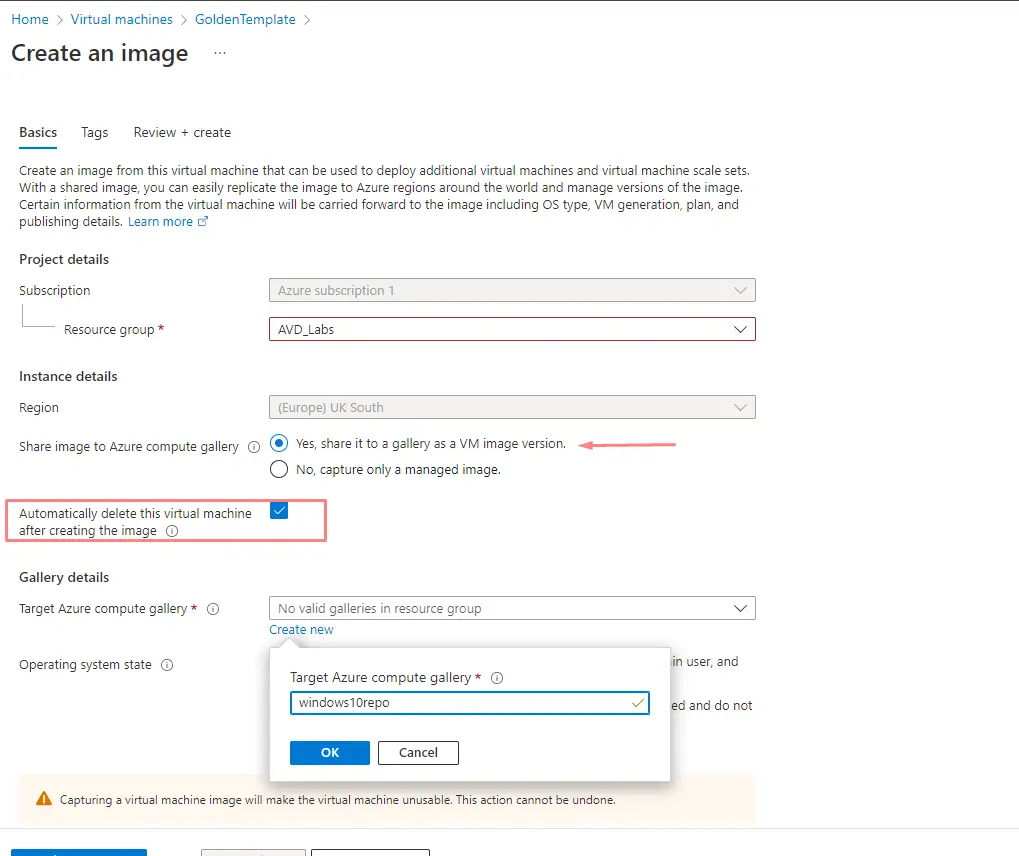
Step 10- Go to VM and choose to capture the VM
Step 11- Give the gallery a name. I’ve chosen the option to delete the VM post the capture as it’s no longer required and we can easily create a new VM from the snapshot.
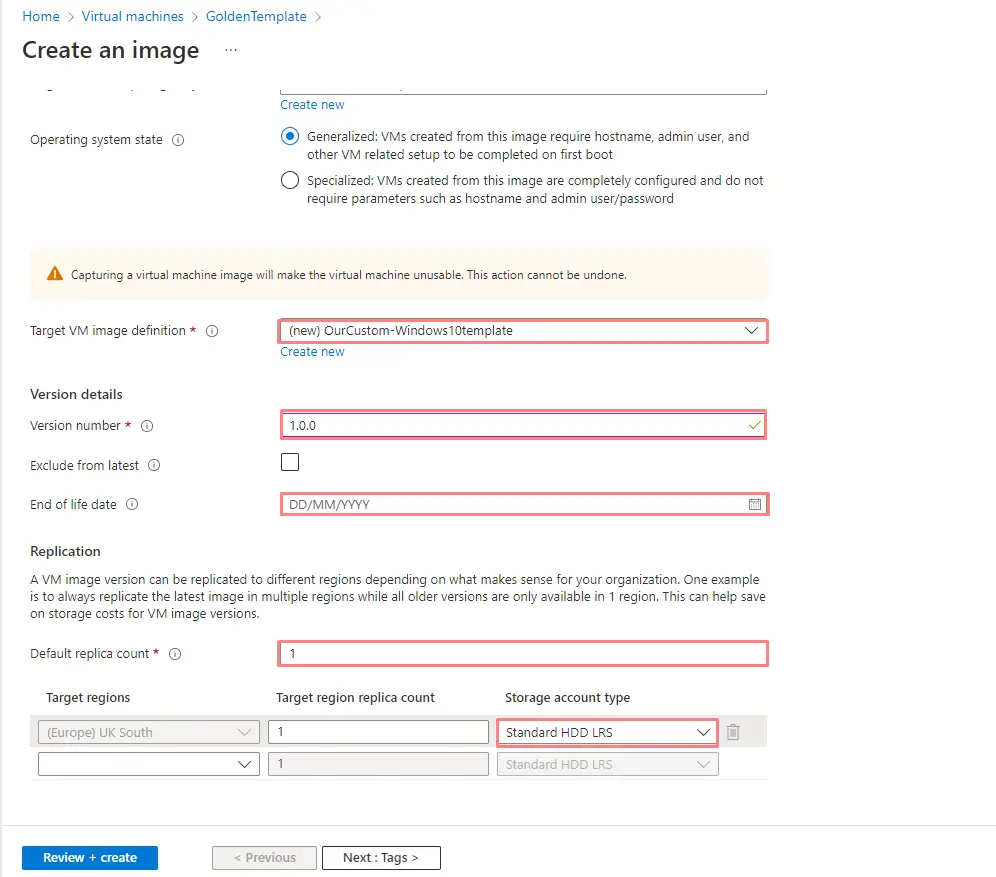
Step 12- Give the VM Image defnintion a name
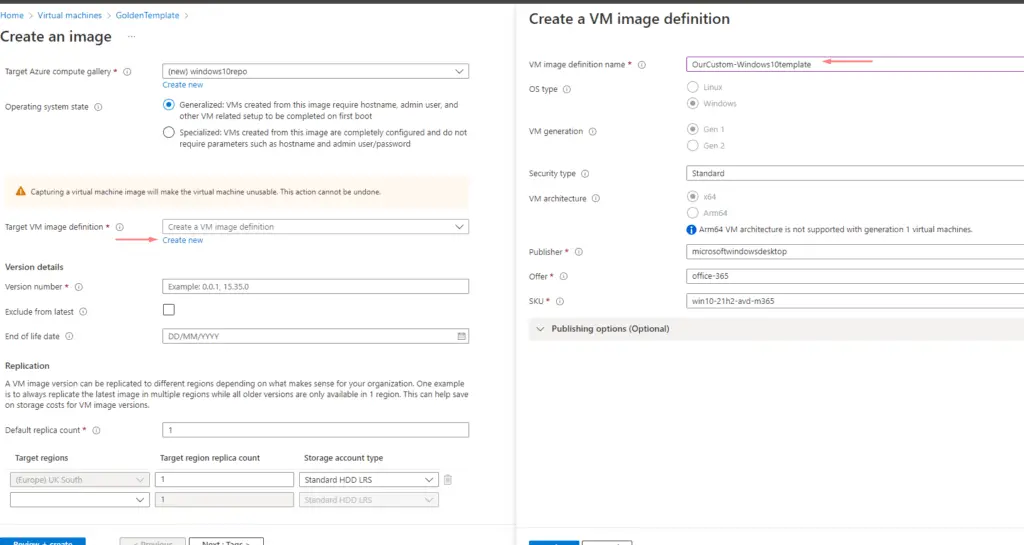
Step 13- Give the version number as some value and under replica we choose “1” because we don’t need that image to be replicated to multiple AZs. Choose the disk type as needed – SSD will be better for IOPS.
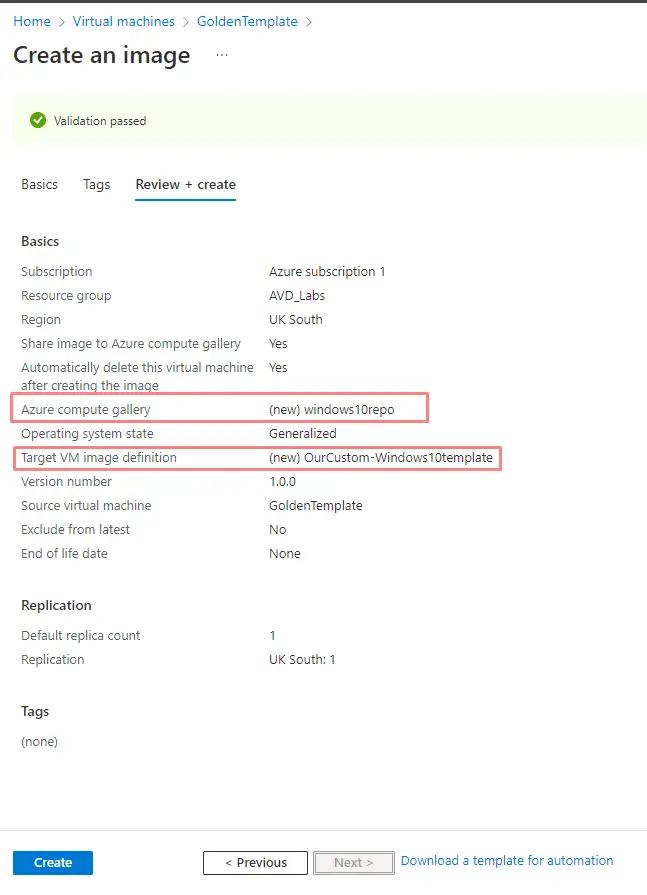
Step 14- Finally review and create the image
Step 15- Monitor the deployment status
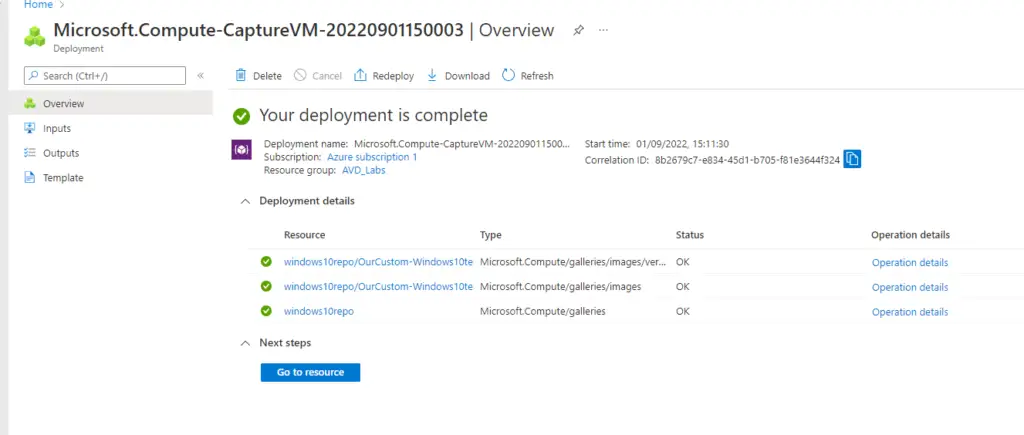
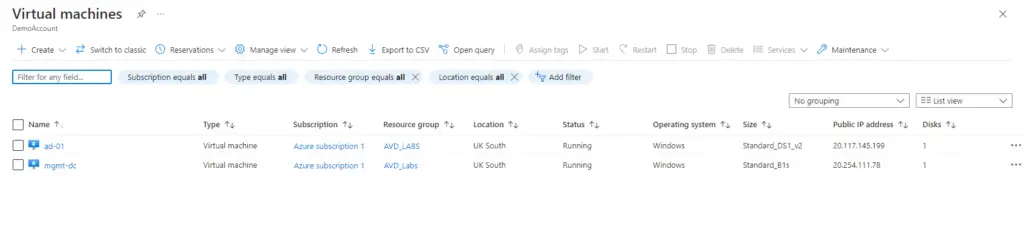
Step 16- Once the deployment is complete, our Golden VM is deleted because we chose the option to delete
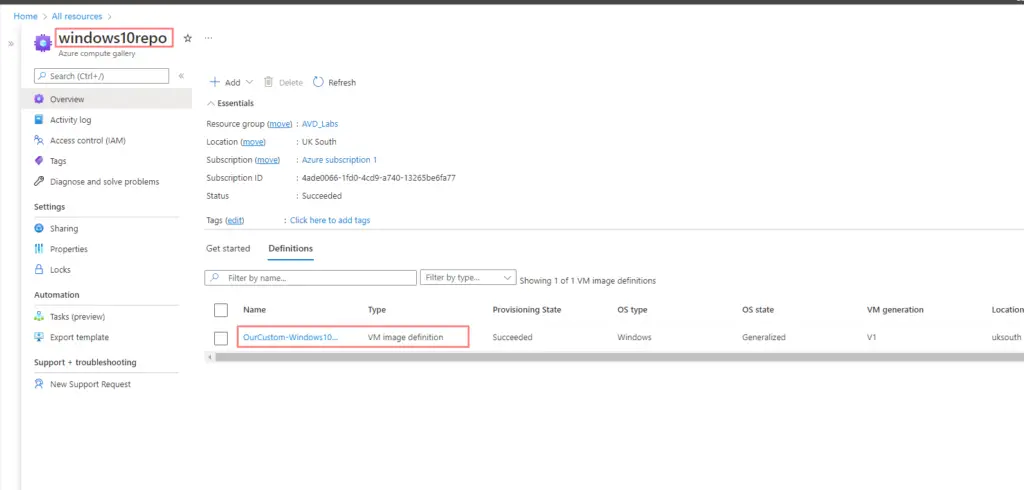
Step 17- Under all resources, go to the compute gallery
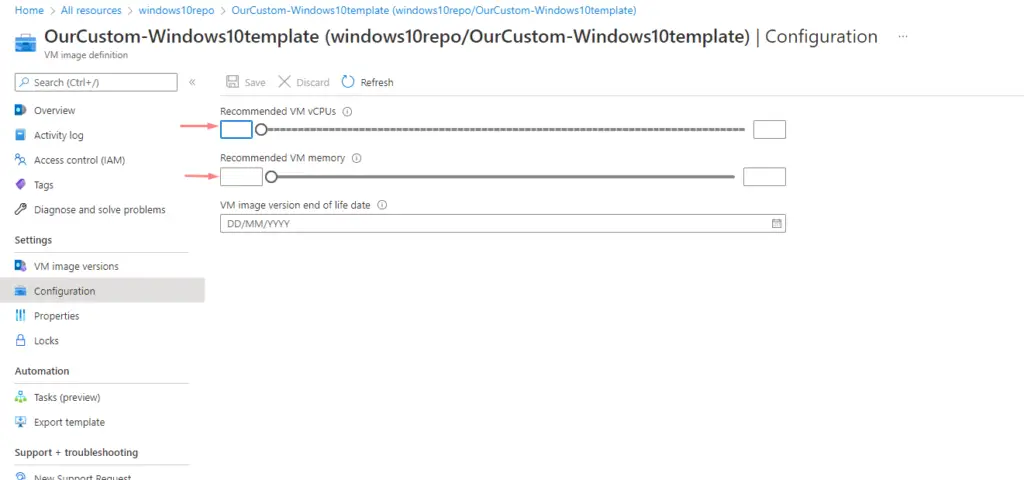
Step 18- If needed, we can choose to customize the CPU and memory.
Gold Image for AVD Deployment – Refresh
In order to refresh the image, all we need to do is to create a managed disk from the snapshot we created earlier
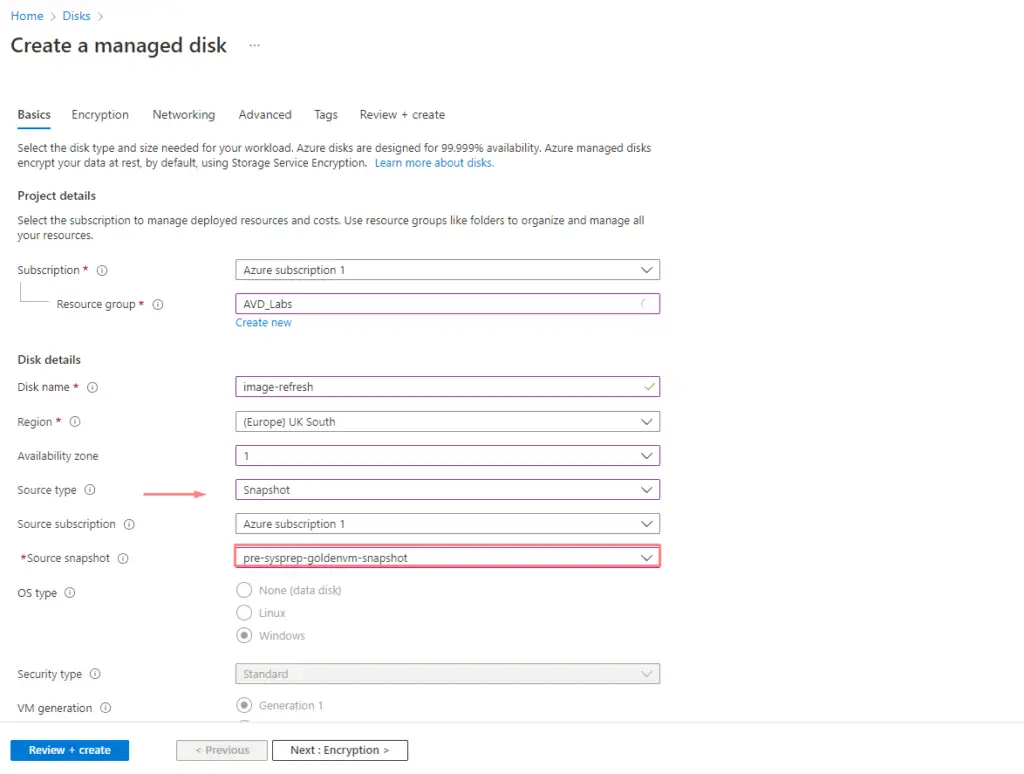
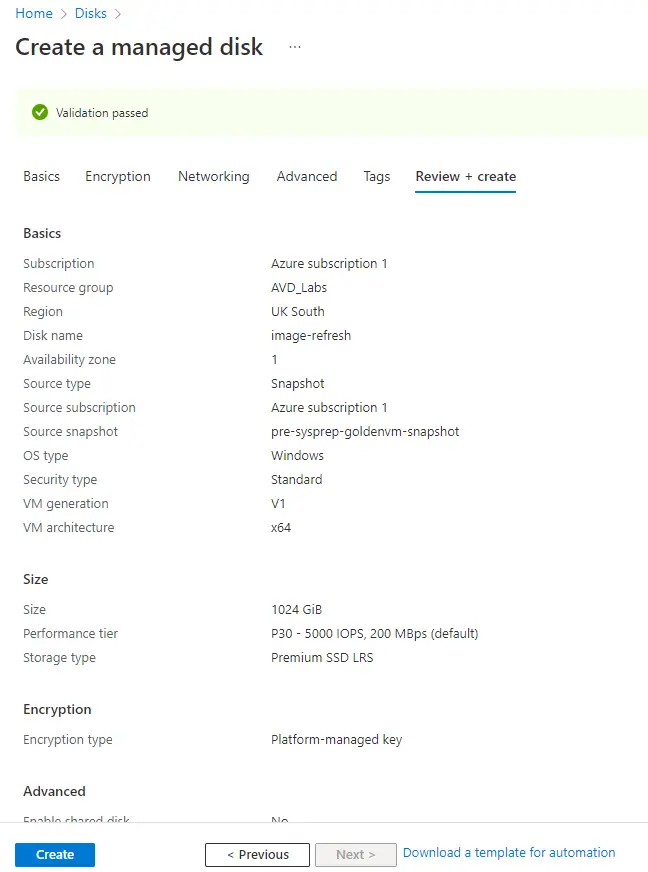
Create a new VM from the snapshot image as per Working with Data disks snapshot
Then follow the process below
- Install Apps
- Stop VM and Snapshot the OS disk
- Start VM
- Perform Sysprep
- Ensure VM is stopped and deallocated
- Capture the VM