We will discuss how to set up Microsoft SQL Database for JMP Database and Event Database.
In my lab, I am going to configure Microsoft SQL Server 2016 64-bit express edition on top of a standalone Windows 2016 Server
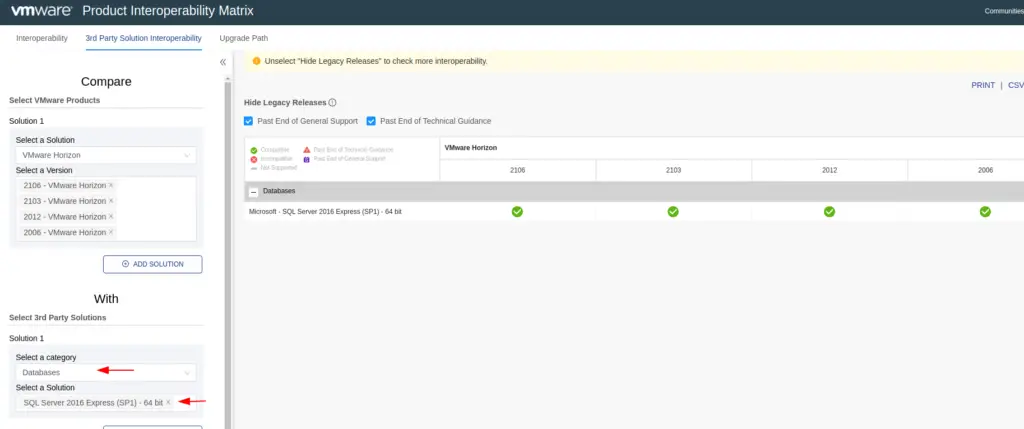
See the VMware Product Interoperability Matrixes to verify if the database is compatible. http://www.vmware.com/resources/compatibility/sim/interop_matrix.php.
For Solution/Database Interoperability, after you select the product and version, for the Add Database step, to see a list of all supported databases, select Any and click Add.
| VMware Horizon 2106 | VMware Horizon 2103 | VMware Horizon 2012 | VMware Horizon 2006 | |
|---|---|---|---|---|
| Microsoft -SQL Server 2016 Express (SP1) – 64 bit | Compatible | Compatible | Compatible | Compatible |

Install SQL Express 2016
Step 1. Download SQL Express 2016 Express edition and open the exe file

Step 2. From the selection tab, choose the Custom deployment

Step 3. Leave settings at default and continue

Step 4. Accept the license agreement and continue

Step 5. Click next to continue

Step 6. Untick the option R Services ( In-Database) and continue

Step 7. Selected default instance ID: “SQLEXpress”, verify instance name and click Next to continue.

Step 8. Under service account configuration, Select default and click “Next” to continue.

Step 9. In the Database Engine Configuration tab, Select Mixed Mode and set a password for the SA account, add the current user (domain user) to the SQL server administrators field. Click “Next” to continue and proceed with SQL Server installation.

Step 10. Choose Install

Step 11. SQL 2016 express is now configured on our VM

Install SQL Express 2016 Management Studio
Step1. Once the SQL server is fully installed, let’s install the SQL management tools as well. Click on the highlighted option

Step 2. Leave settings at default and click Install

Step 3. Reboot the VM

Managing SQL database with SQL Studio
Step 1. Once the VM has rebooted, we can launch SQL Management Studio for our Installed programs.

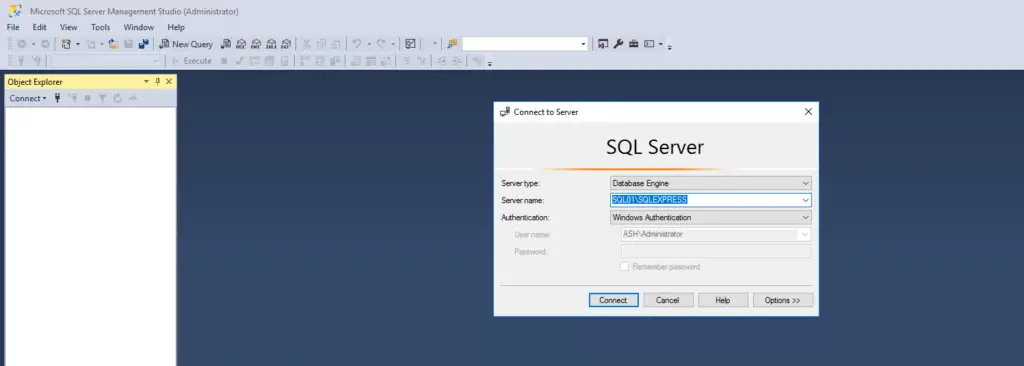
Step 2 . Connect to the SQL Server Database with the username and password. Back in the install series, I had added ASH\administrator to manage this database. If this option was not chosen we will now be logging in via an SA account

Step 3. All our default databases are shown here.

Step 4. We will now create two databases with these properties
| SQLDB | Purpose | User | Permissions |
| jmp | Jump Database | jmp | dbo_owner |
| eventsdb | View Events Database | events | dbo_owner |
Step 5. Right-click Database then click New Database

Step 6. Let’s create our eventdb database and the user event. Give the database a name

Step 7. Select the desired Recovery model, and click OK.

Step 8. Drill down to Security, right-click Logins then click New Login

Step 9. Enter a Login name, select SQL Server authentication and enter a password. Change the drop-down menu of Default Database to our new database. In this section, uncheck the box next to enforce a password policy.

Step 10. On User Mapping select the eventsdb database we created above, give it db_owner permissions then click Ok

Step 11. Our database and user is now ready for use

Step 12. Ensure also permissions to connect to database are granted and login is enabled

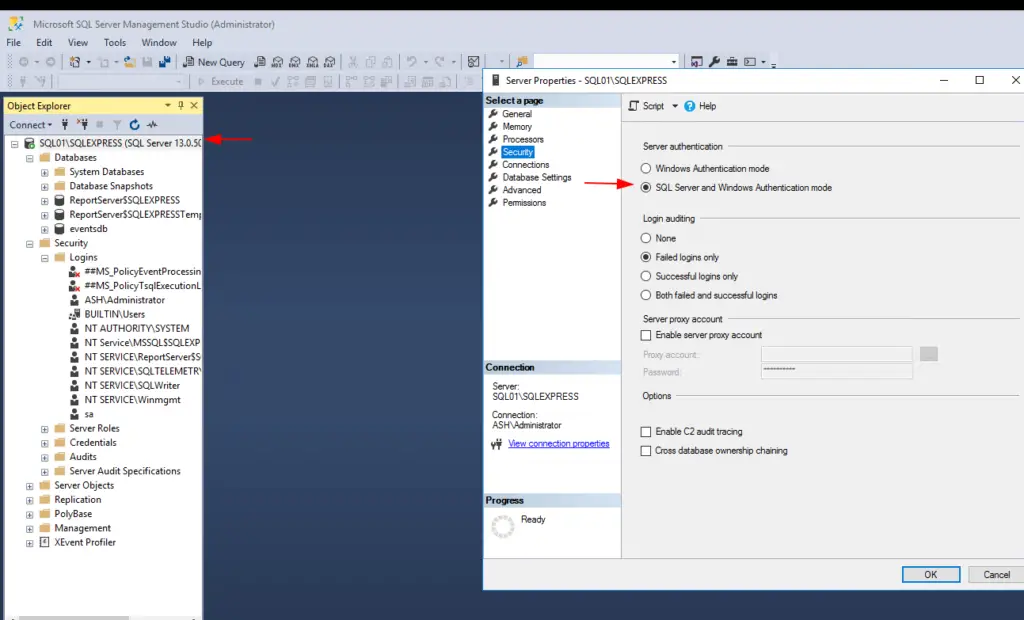
Step 13. Only SQL Server authentication is supported, Click Properties > Security page and let’s ensure it’s enabled on our SQL Server

Step 14. Repeat the same for the other jmp database as well.

Tweaking SQL Express Configuration Manager
You can skip this process if you are using the enterprise version of SQL but as we happen to be using SQLExpresss we got to do some more tweaks before we accept traffic and can connect to the database from our applications.
Step 1. Let’s Open SQL Server Configuration Manager and Enable TCP/IP protocol.

Step 2. Open TCP/IP Property and make sure the TCP port is configured as 1433 across all IP1-IP7 and Click OK . In Azure, set it to the private IP Address

Step 3. Restart SQL Server Service from “SQL Server Configuration Manager”

Step 4. An optional step to add firewall rule on port 1433 SQL

With this, we have now completed a full installation and configuration of our SQL Express server and we will now integrate all our apps into these databases.

