In this series, we are going to cover the deployment of CommVault.
Prerequisites
Here are the relevant web links
CommVault Lab Setup
Since we have deployed it in our lab, we have deployed it with bare minimum settings and these are the VM’s
| VM | Version | Compute |
| CS_CV_01 | Master Server | 8 vCPU 32 GB vRAM |
| CS_CV_02 | Media Server | 8 vCPU 32 GB vRAM |
| CS_FS_01 | File Server | 2 vCPU 4 GB vRAM |
| Ubuntu | Ubuntu | 1 vCPU 2 GB vRAM |
| CS_EX_01 | Exchange Server | 4 vCPU 10 GB vRAM |
| SFO-M01-VC01 | vCenter Server | 2 vCPU 12 GB RAM |
| CS_VSA_01 | vCenter Proxy Agent 1 | 2 vCPU 6 GB vRAM |
| CS_VSA_02 | vCenter Proxy Agent 2 | 2 vCPU 6 GB vRAM |
Licensing Commvault
Commvault needs to be licensed before we can use it.
Deploying the Commvault OVA Backup Appliance
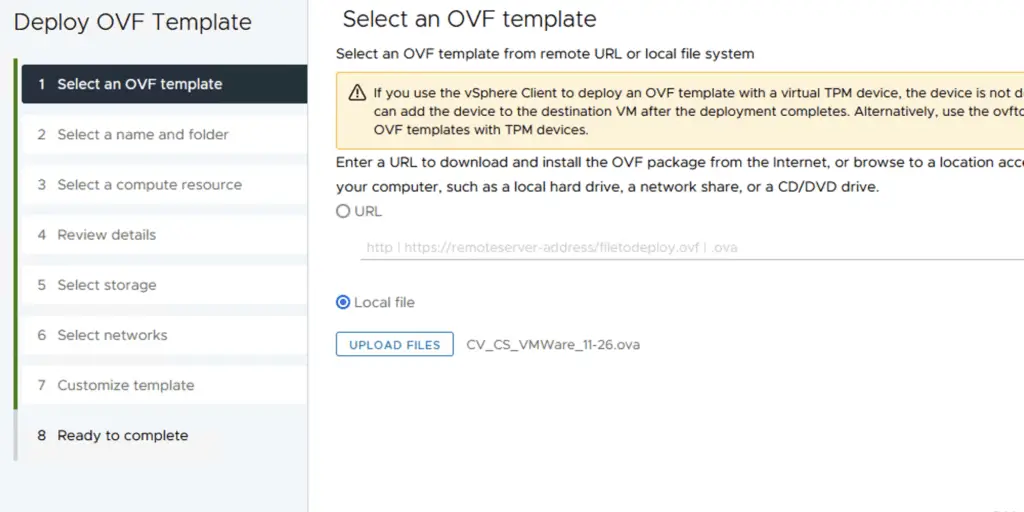
CommVault virtual edition comes packaged as an ova file and that happens to be a very simple way to deploy a fully functional Commvault environment. Log in to the vCenter and browse to the CommVault OVA file
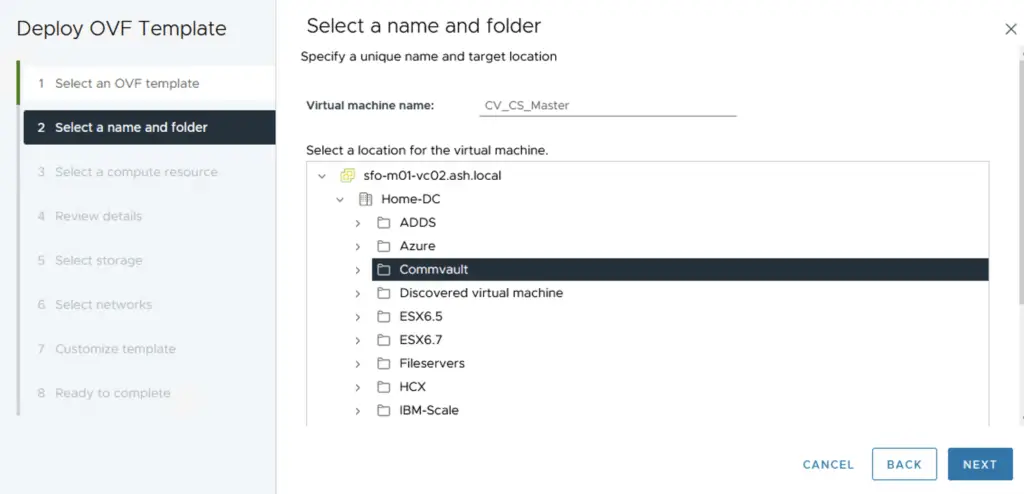
In the Next screen, provide the VM with a name
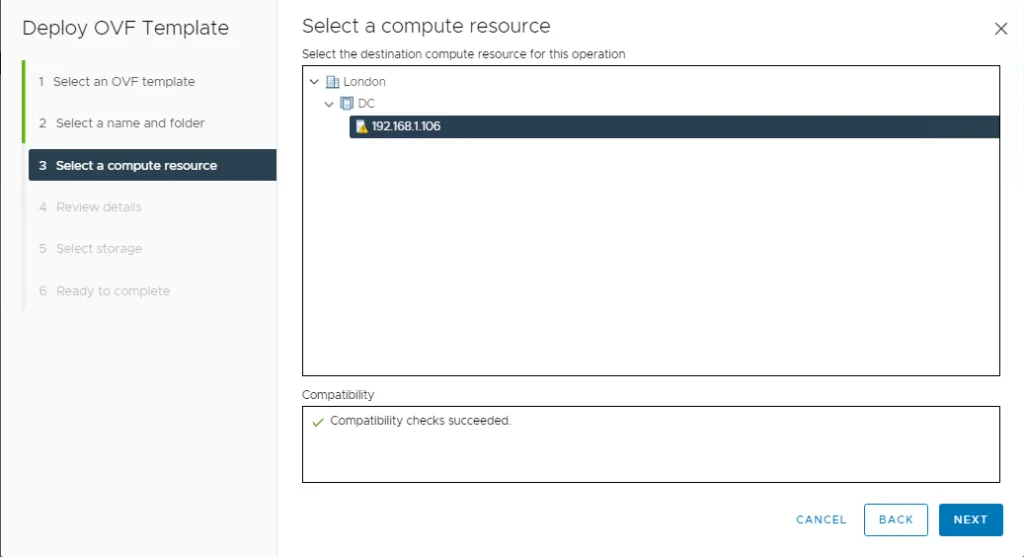
Choose the cluster to deploy the VM to
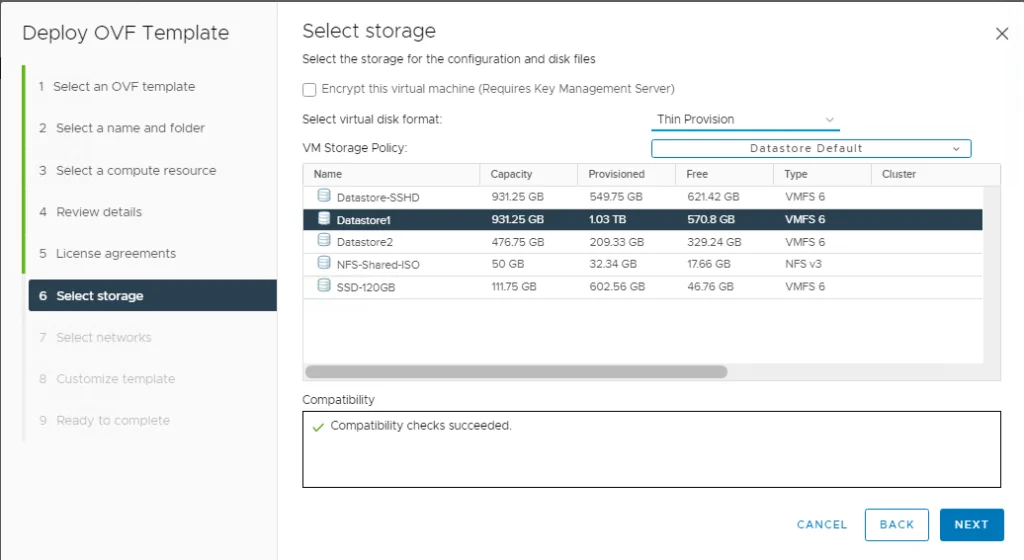
Select the virtual disk format as thin disk and choose datastore location and click Next.
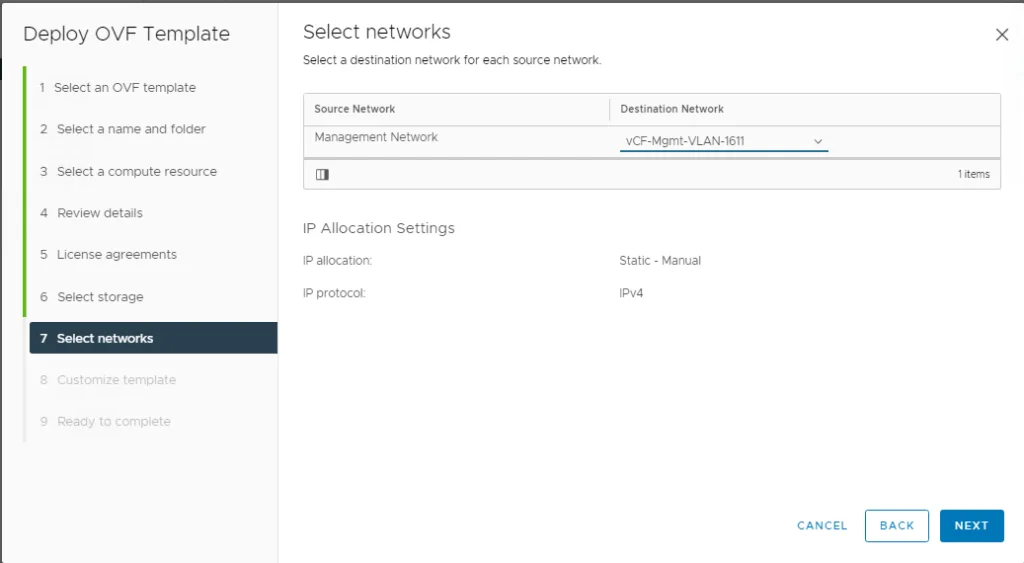
Select the management portgroup from the destination network dropdown and click Next
Review the settings and click finish to start the deployment.
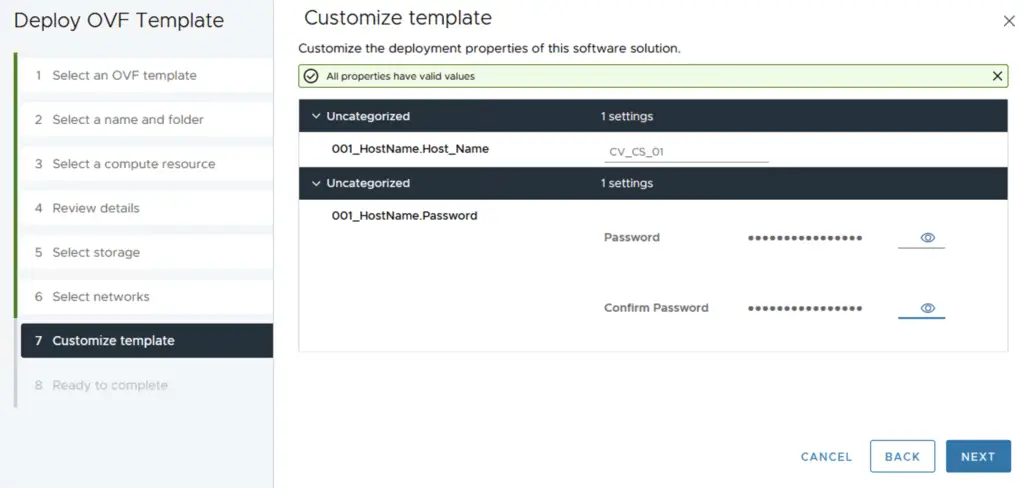
- Hostname
- Enter password for privilege mode.
Click Finish to complete the installation
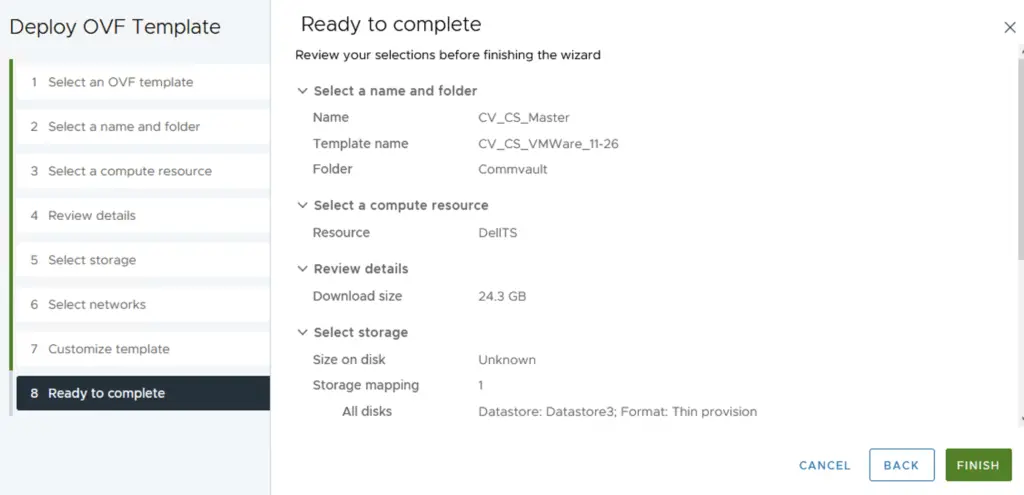
The ova should start to deploy and once done, power on the VM. Commvault does all the initial configuration for us and we will be left with a working Commvault ready to use.
Deploying Commvault Backup on a Windows VM
This method is typically the one users are typically familiar with so we just download a Windows Server OS and install Commvault software on top of it.
Once the installer is downloaded from the software center, run the executable file to download all the packages we need.

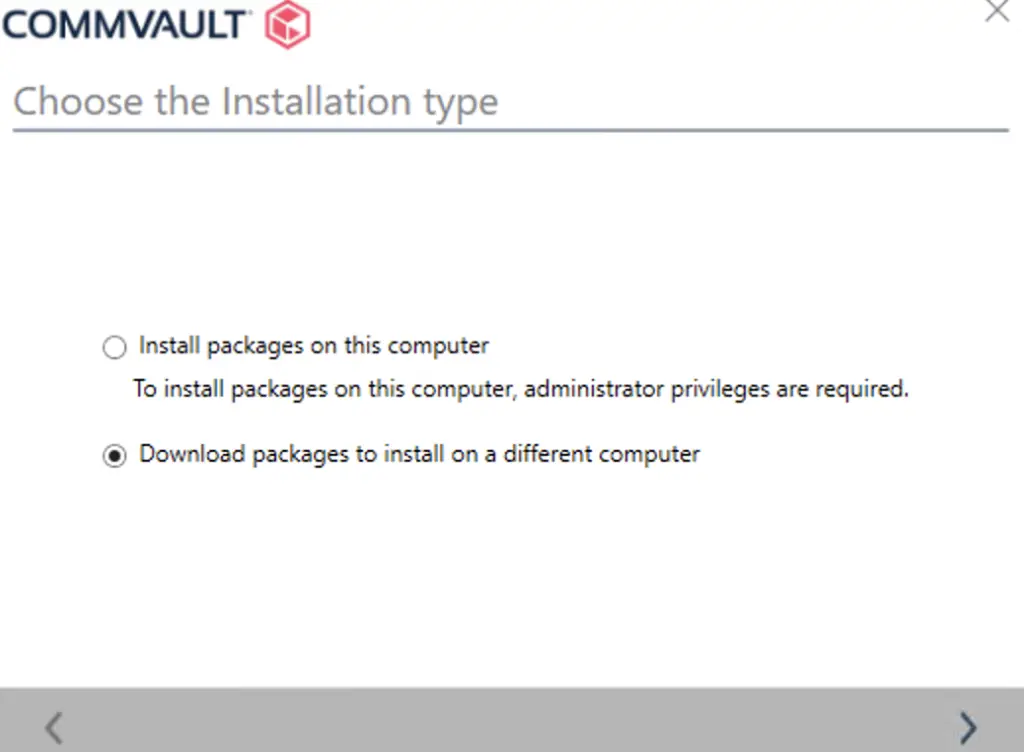
Choose the option to download packages
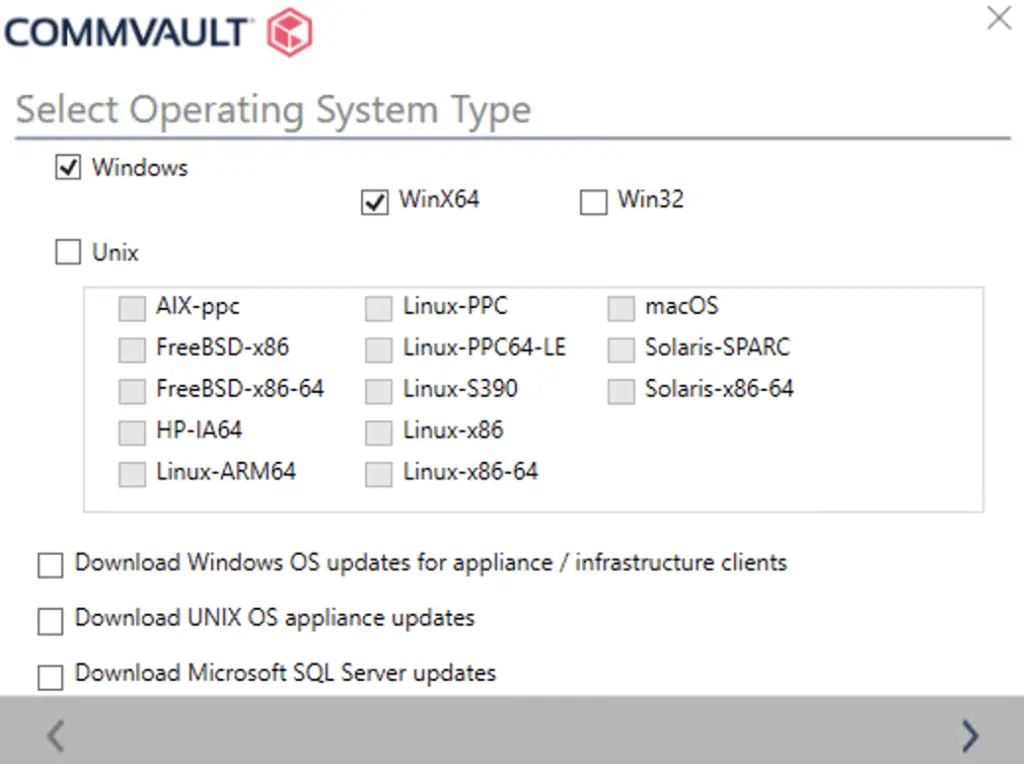
We will pick the X64 version
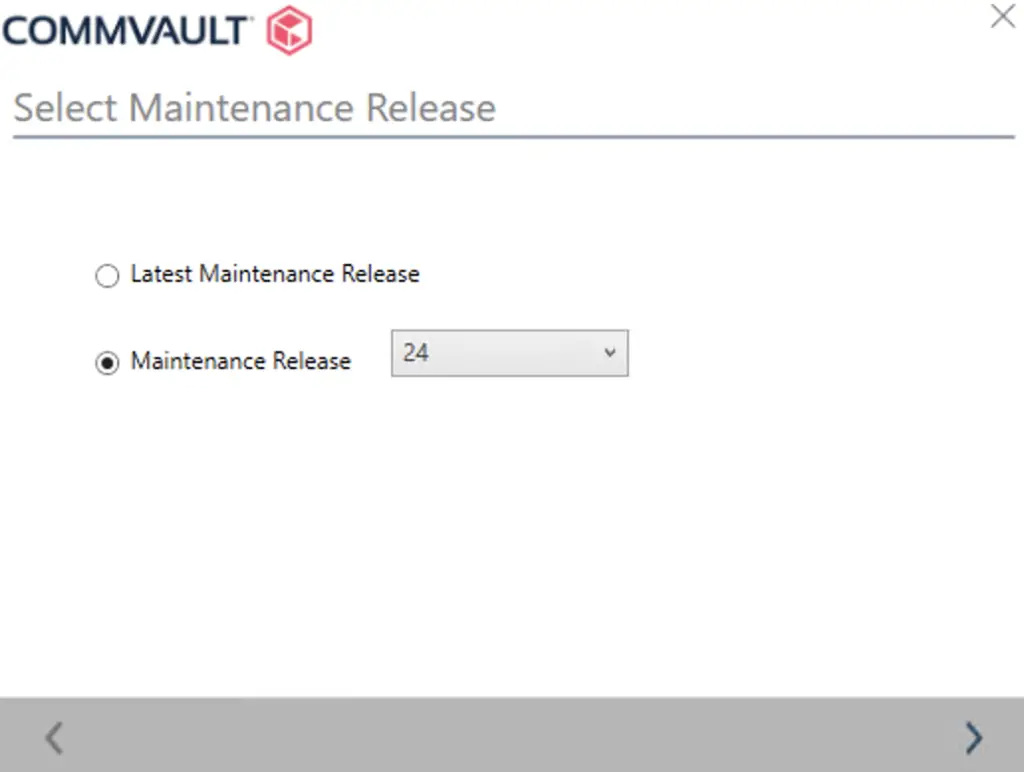
Choose the release to download
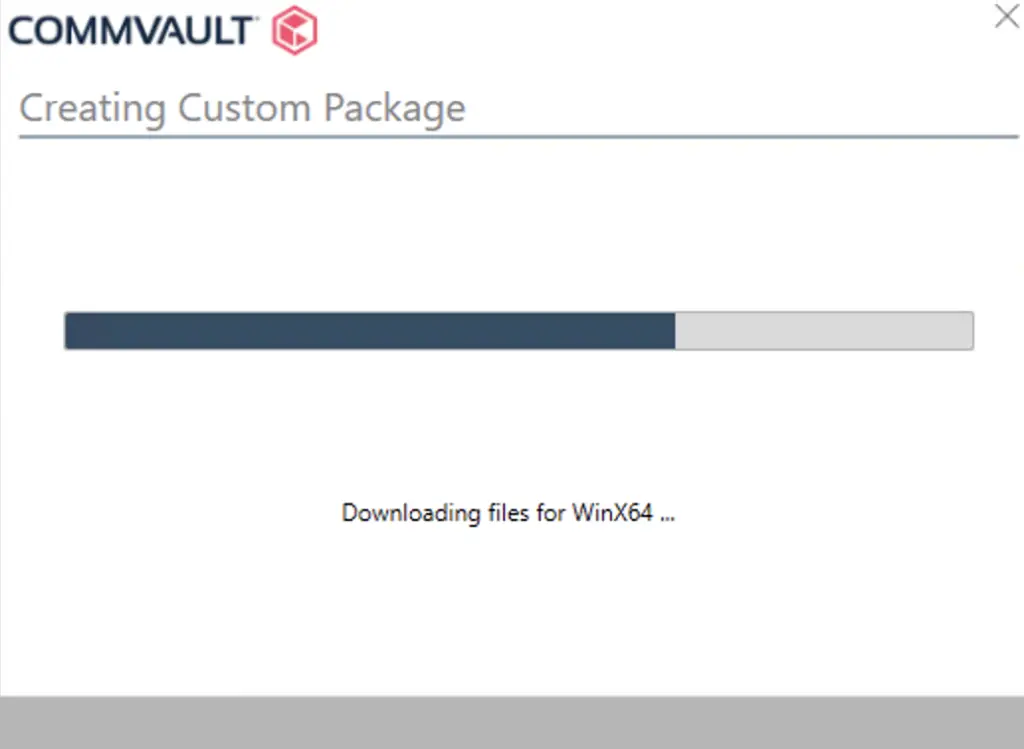
I’ll now download the full media kit

The download is about 15 GB approx so this will take a fair amount of time.
All our packages are now downloaded
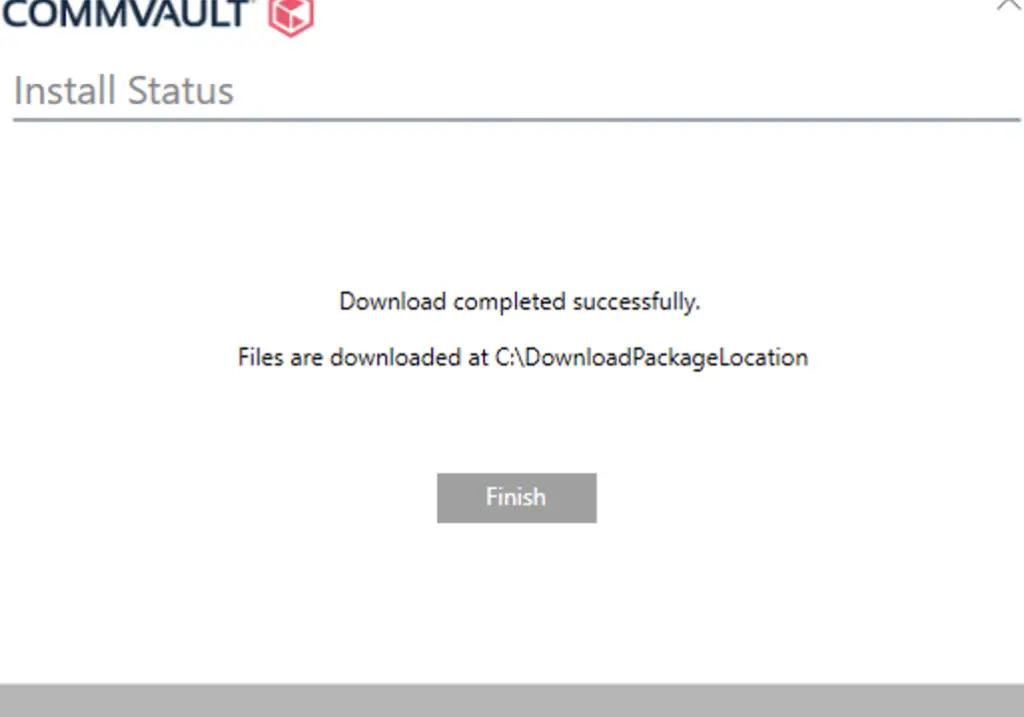
Install the executable file

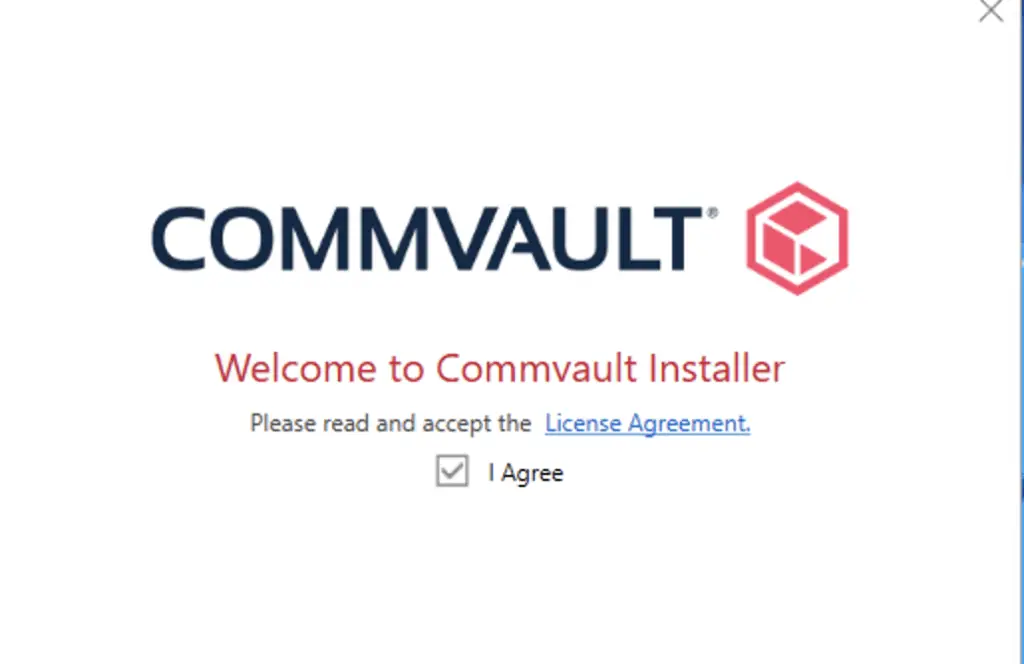
Accept the EULA

Choose the option to create a new CommCell enviornment

You could either go for an All-in-one configuration which is effectively a master/media server and all its supporting packages all in one server or you could go with a distributed configuration as shown below where we can separate the webserver, console, media agent, access nodes etc into separate servers.

Choose the location to install the software to

Choose the location to install the Index Cache. This is the placeholder for storing all our backup metadata that are used to perform backups and restore operations.

Choose the location to install the MSSQL Database to
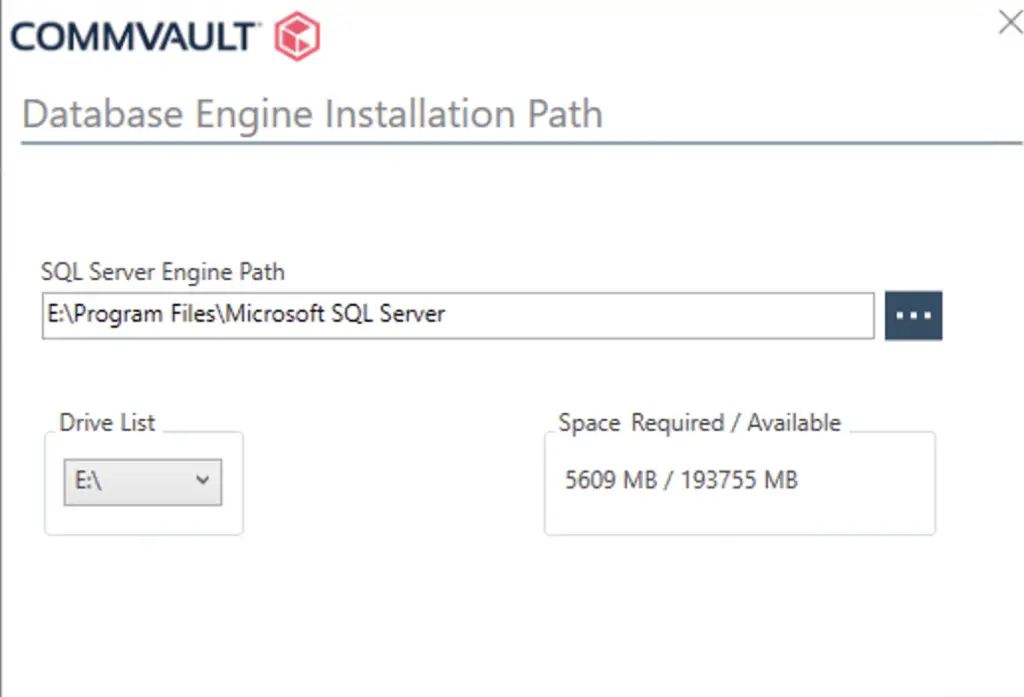
Choose the location to install the CommServ DB

A summary of all our configurations is stored in this DR path so pick a network location to hold these files.
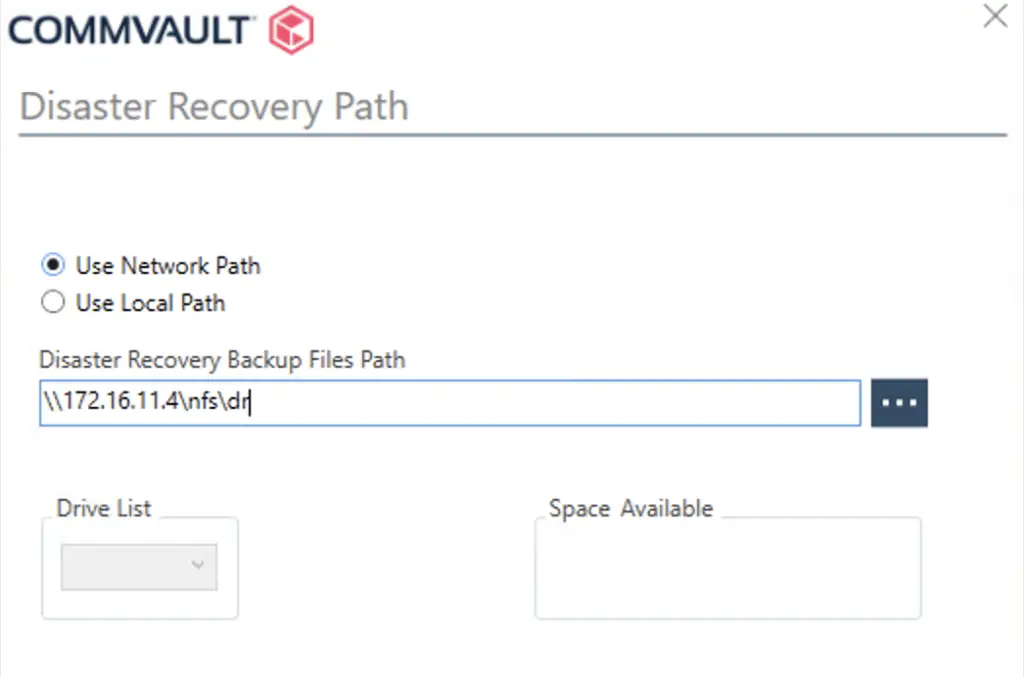
Provide the credentials for the network path

Should you wish to use Granular restore technology to restore Exchange mailboxes we need IIS as well so we will leave it checked.
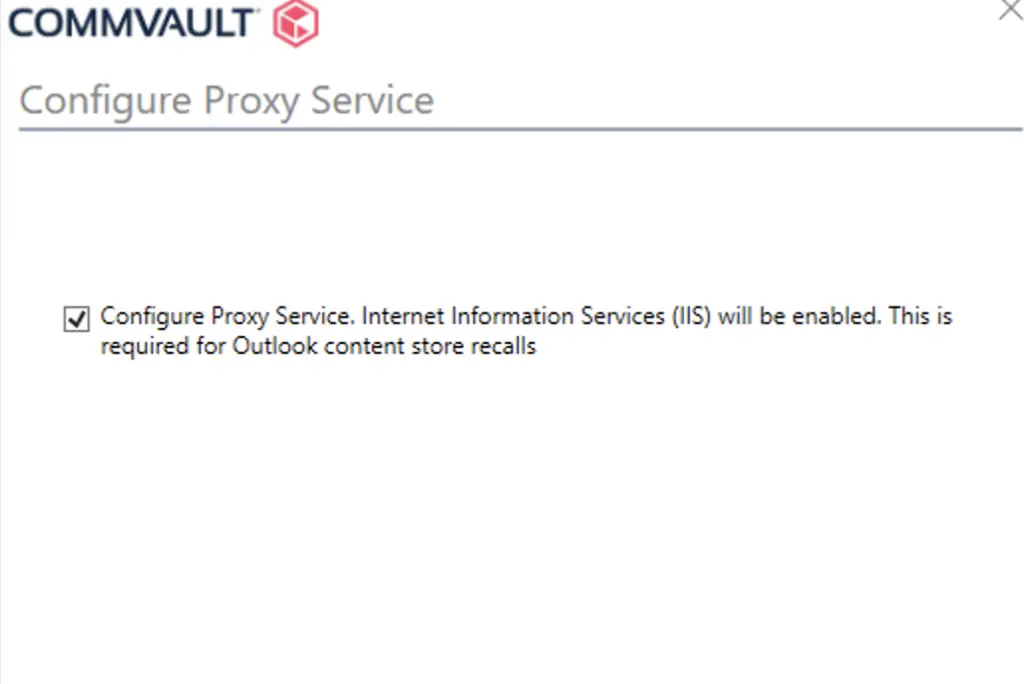
Review everything and click on finish.

The installation will take around 20 minutes or so

Give the master server a name

Since its our first install, we will choose the option to create a new database.

Wait for the services to startup.

Once deployed, these are the services we should see on our VM
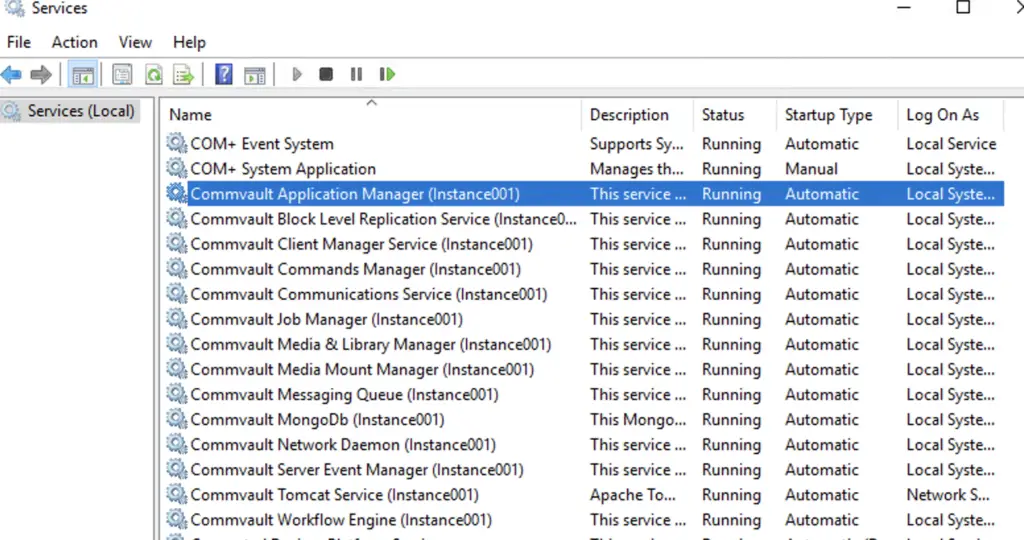
Open Commserv console from Start menu and log in with the account we provided earlier.

If you are very new to Commvault, it’s probably best to start using the Command Center UI for all further configurations

On prompt, login as usual.

At the welcome screen, accept this is a eval license
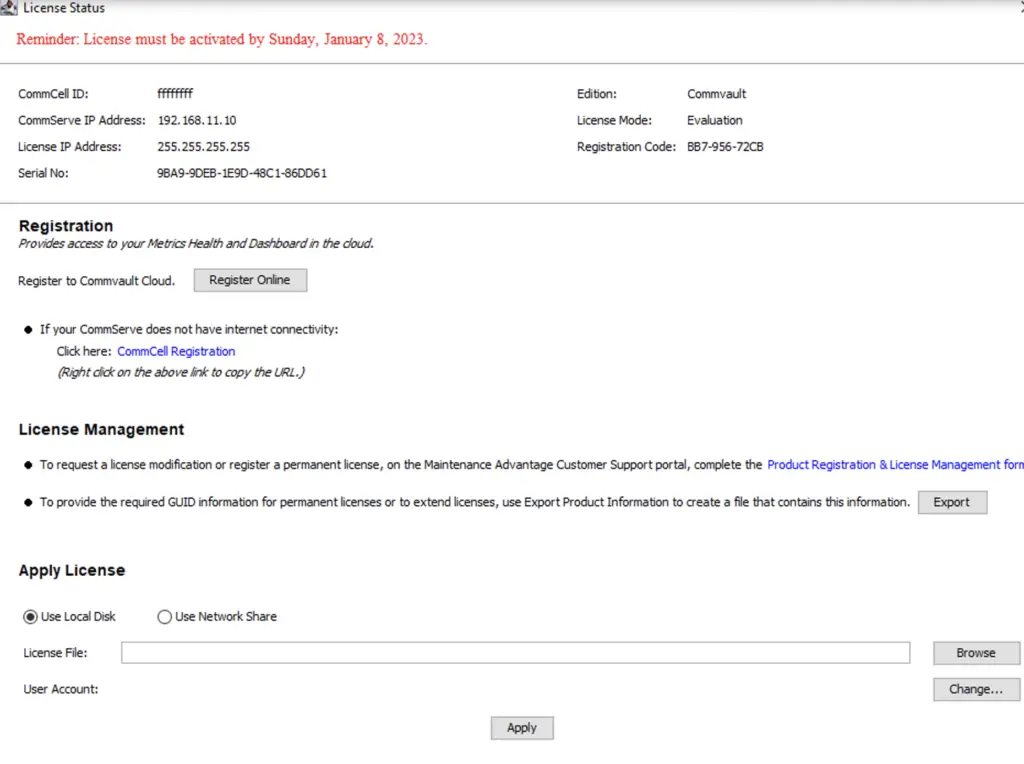
We could choose all further configurations either from here or via the Command Center UI
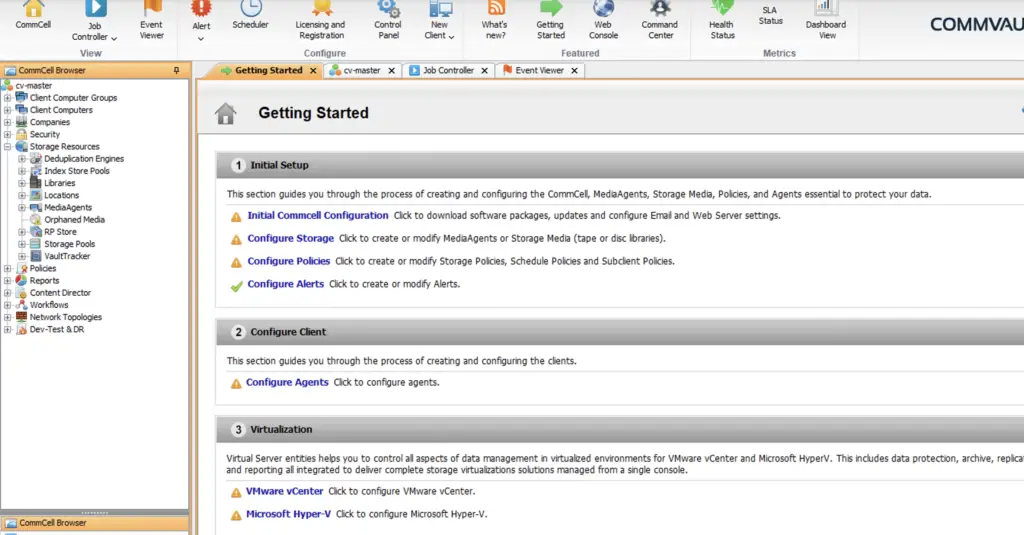
Even thou it’s an eval, we do however need to register this product before we can use it.

In the next blog, we begin our design of Commvault.

