
With the basic foundations now in place, we can now deploy the VMware Data Services Manager (DSM) appliance and prepare vCenter for database lifecycle automation. This section walks through the full installation workflow, user creation, plugin validation, and the initial infrastructure policy required for DSM‑managed deployments.
Deploying the DSM OVA
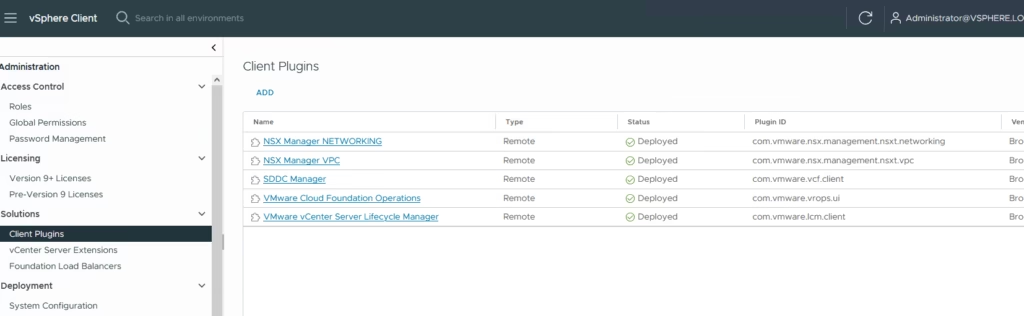
In vCenter, open Administration → Solutions → Client Plugins and select ADD.
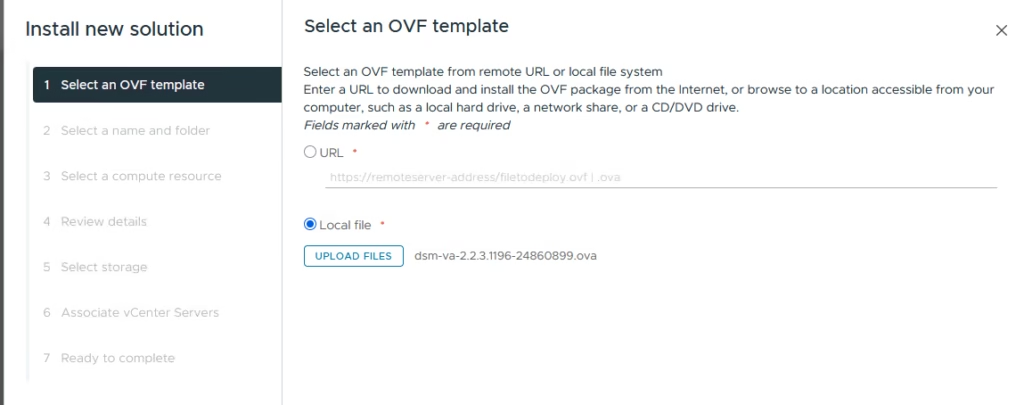
Click Upload Files, and select the DSM OVA.
Provide a name for the DSM appliance
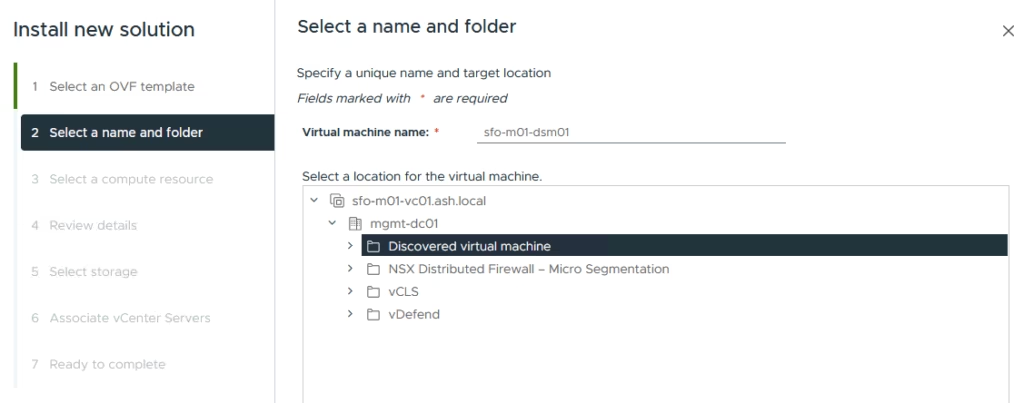
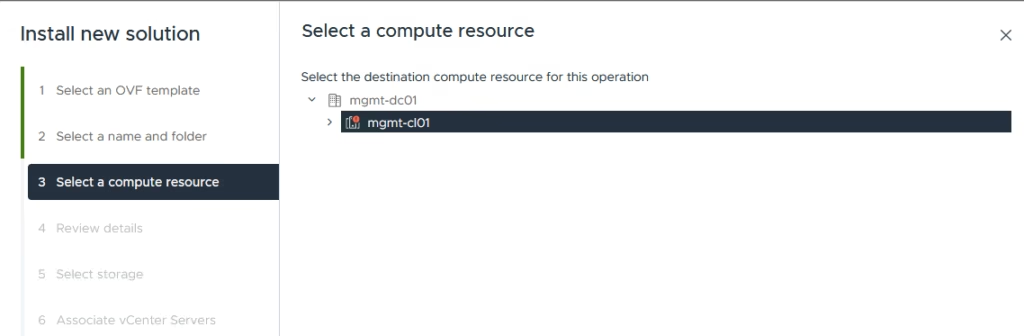
Select a compute resource to deploy the VM to
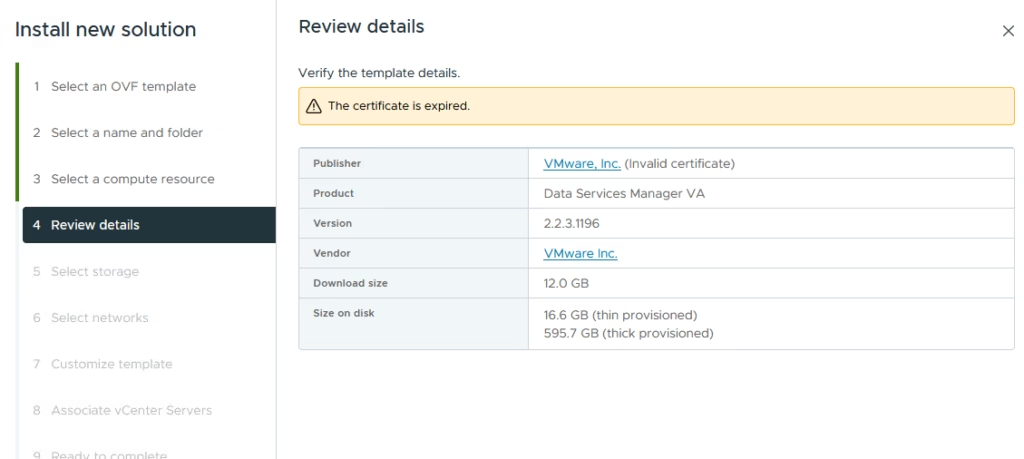
Accept the certs and click Next
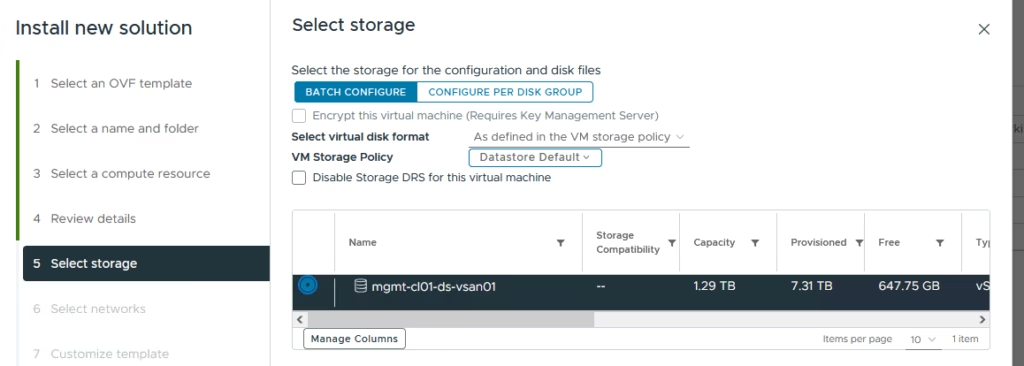
Select the storage where the VM needs to be deployed to
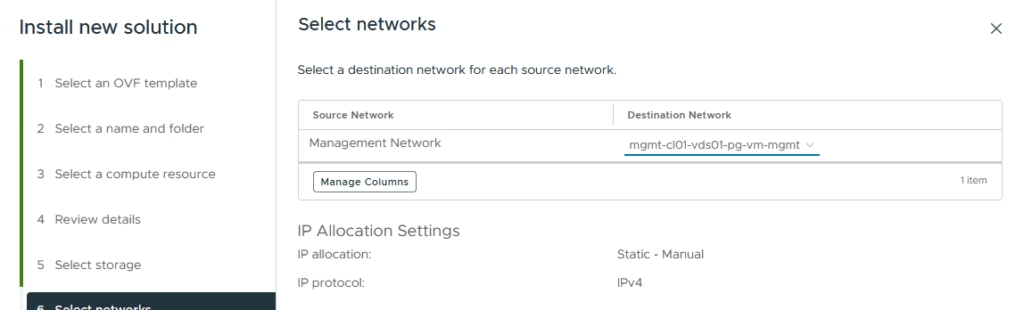
Select the management portgroup and click Next
Provide the following:
- vCenter hostname
- vCenter SHA‑256 thumbprint
- vCenter hostname
the SHA 256 thumbprint can be obtained by running
openssl s_client -connect localhost:443 2>/dev/null | openssl x509 -noout -fingerprint -sha256

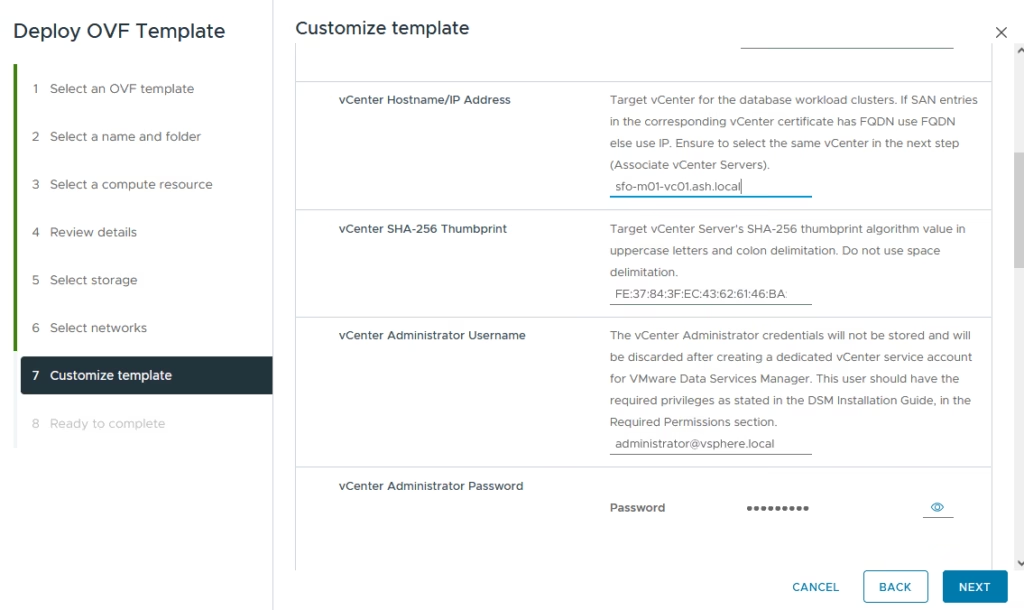
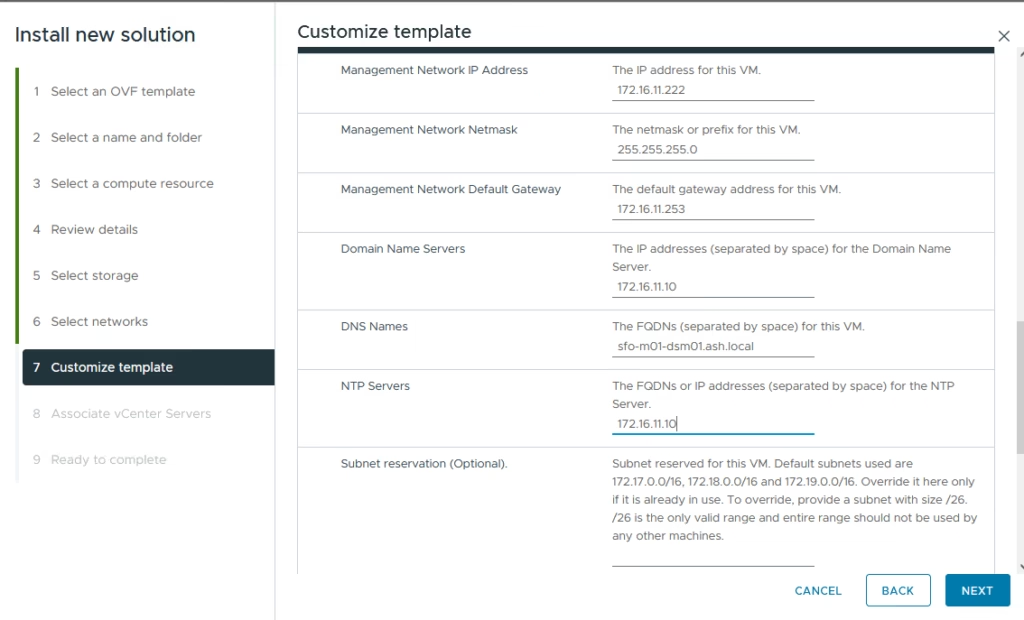
Provide the vCenter credentials and also the network settings
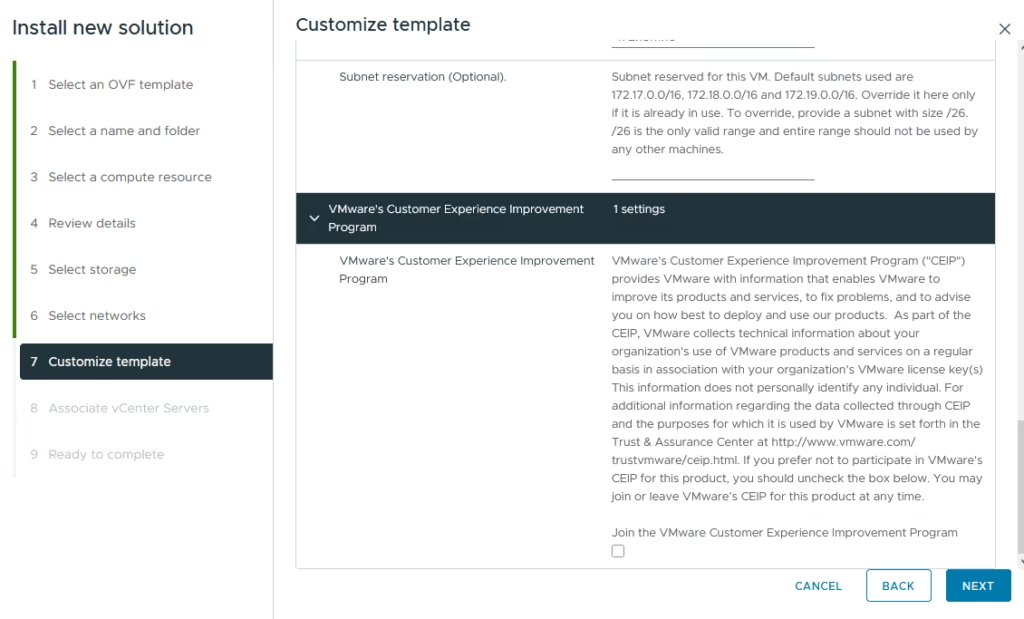
Ignore CEIP for the time being
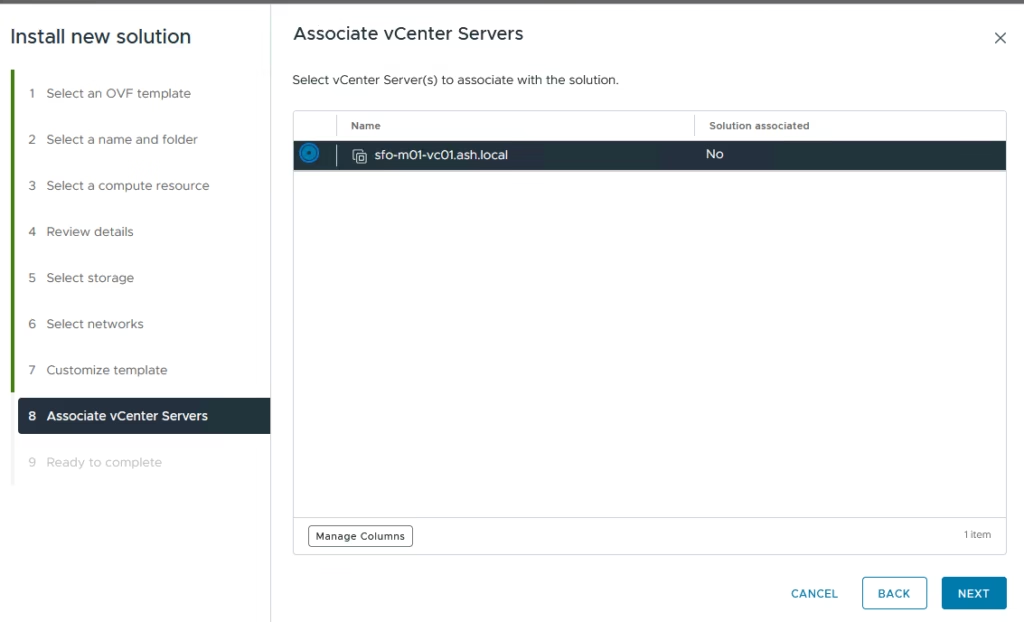
Select the vCenter instance to associate with DSM
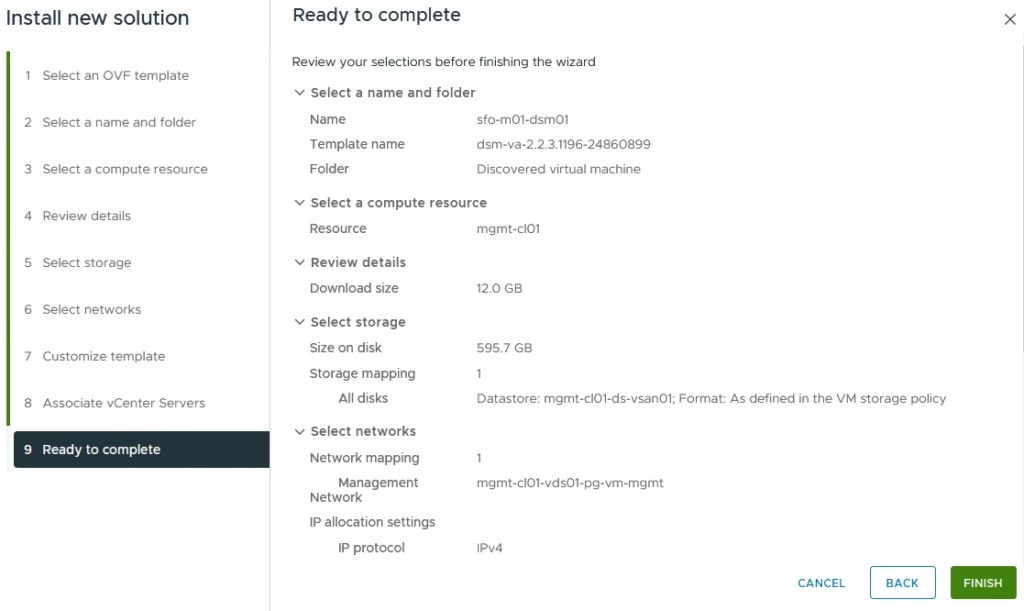
Review all parameters . The DSM appliance will now deploy and power on.
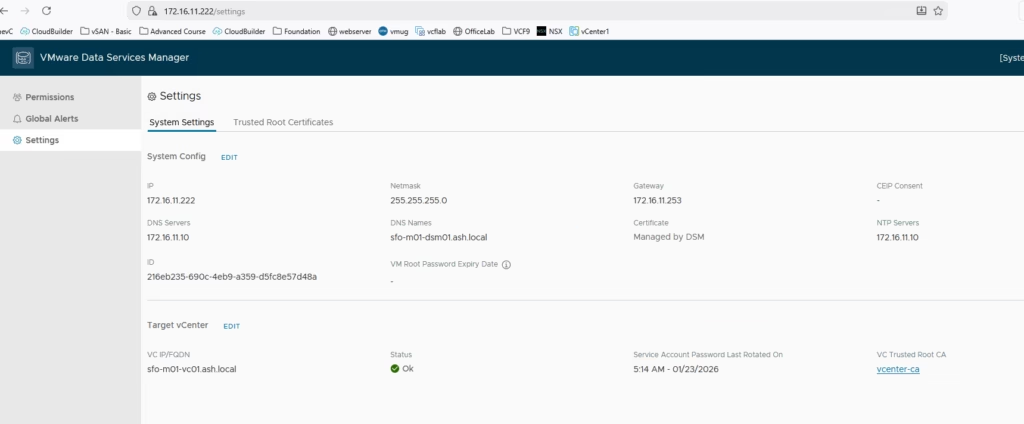
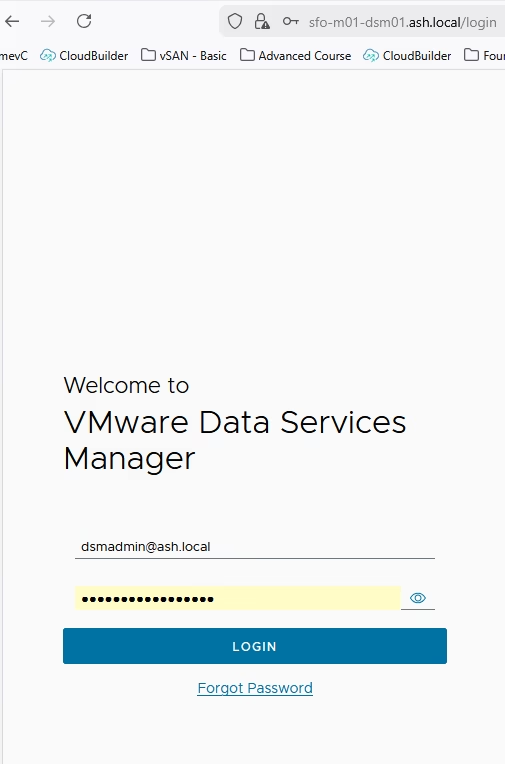
Login to the DSM UI as root/password
Before integrating DSM with VCF, we’ll create the users required for administration and self‑service.
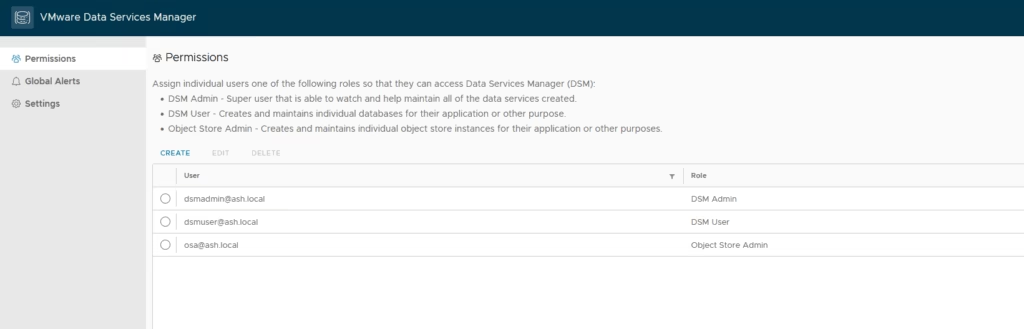
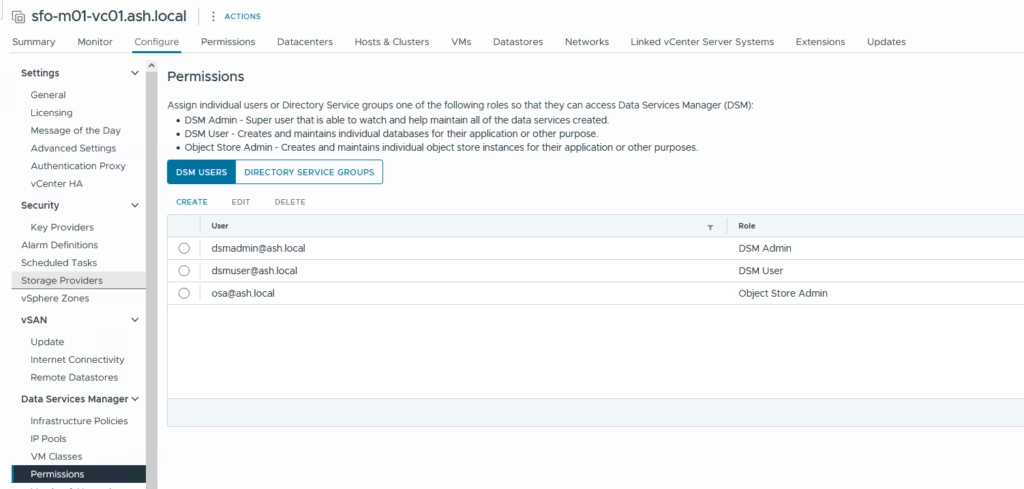
In the DSM UI, create the following users and these users will appear later when assigning permissions to infrastructure policies.
- dsadmin — DSM administrator
- dsmuser — general user for database provisioning
- osaadmin — object storage administrator
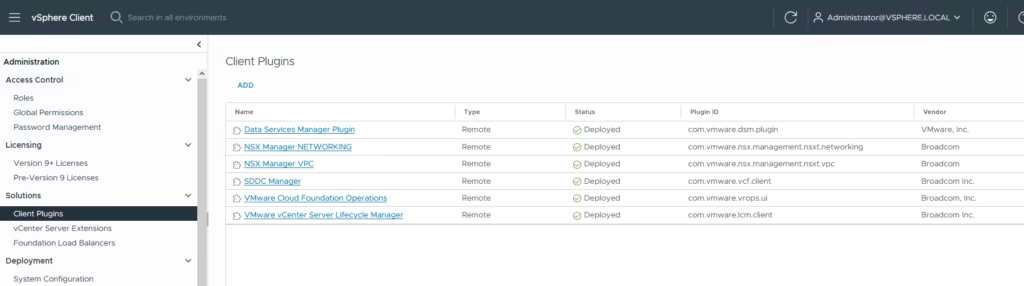
Return to vCenter and confirm that the DSM plugin is registered and in a healthy state. This ensures DSM can manage infrastructure objects and deploy database clusters.
Use the dsadmin account to perform infrastructure configuration tasks inside DSM
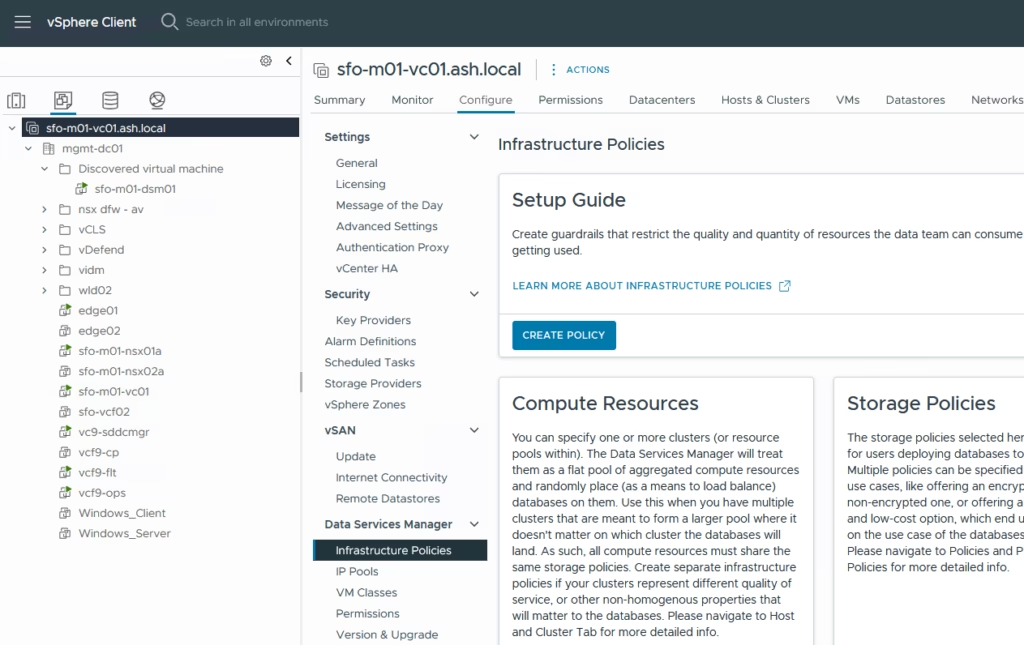
Creating an Infrastructure Policy
Infrastructure Policies define where DSM can deploy databases — compute, storage, networking, IP pools, VM classes, and folders.
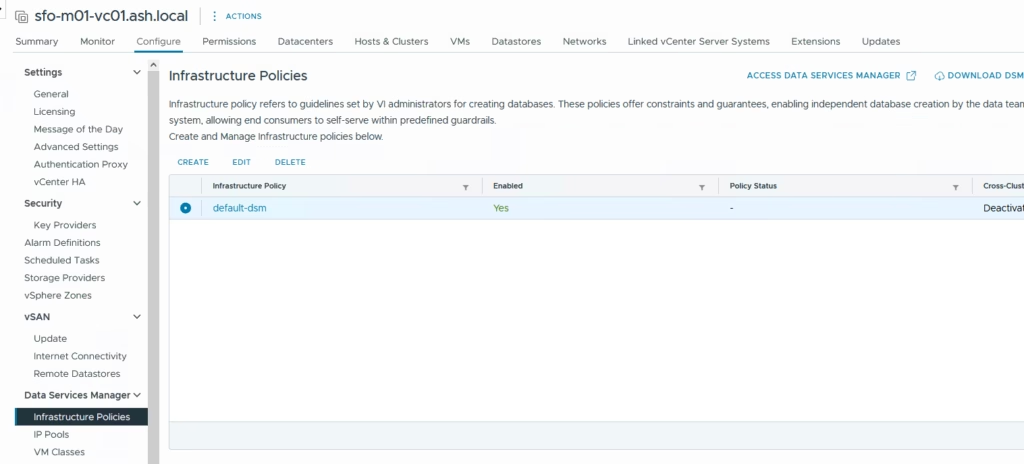
Navigate to Data Services Manager → Infrastructure Policies from the vCenter → Configure tab
Define a name for the Policy and enable the infrastructure policy

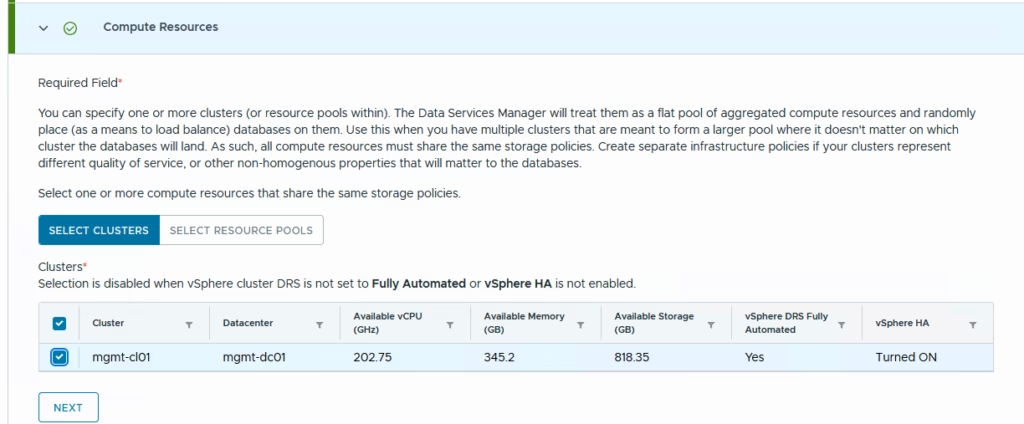
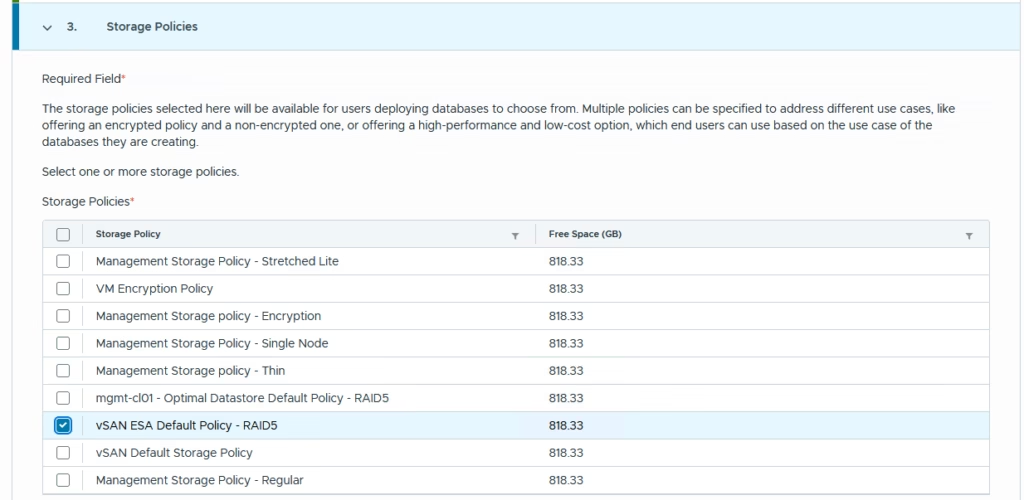
Select one or more compute resources that share the same storage policies
Choose a storage policy as vSAN ESA RAID 5 as its as ESA cluster
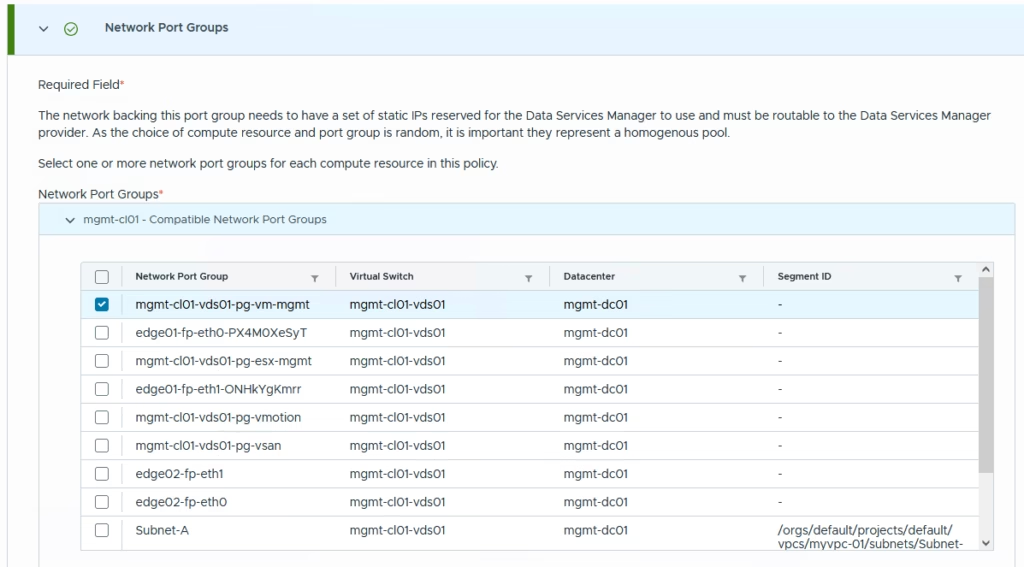
Select the network port group so i’ve picked up the management portgroup here.
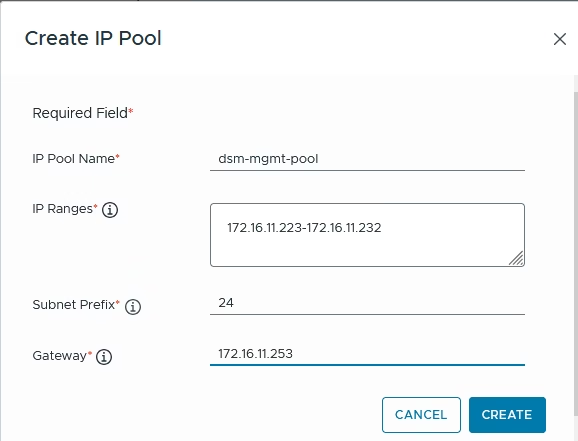
DSM requires a significant number of IP addresses for its internal components . Total required: 18 IP addresses so define an IP Pool name and the Pool settings. Click NEXT
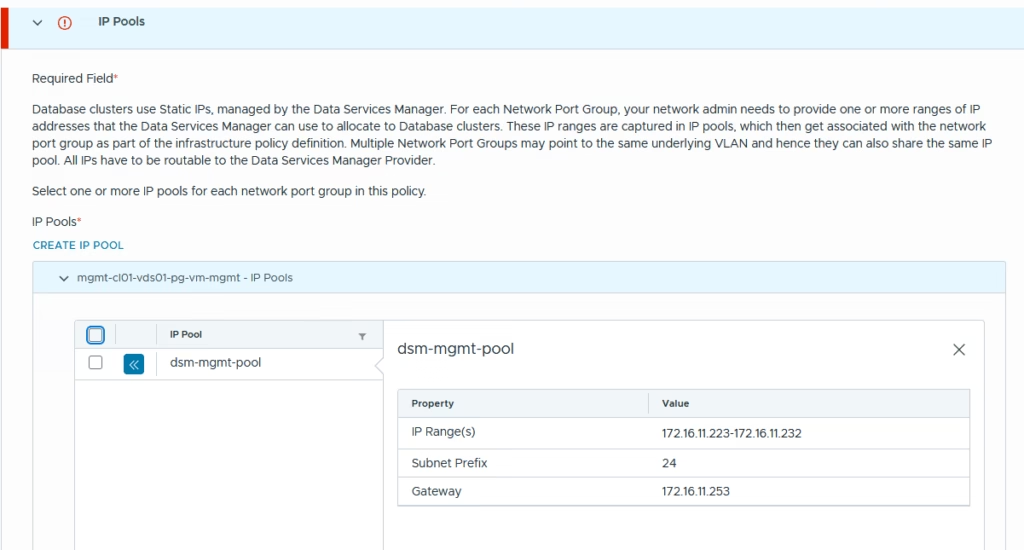
Select the newly created IP Pool
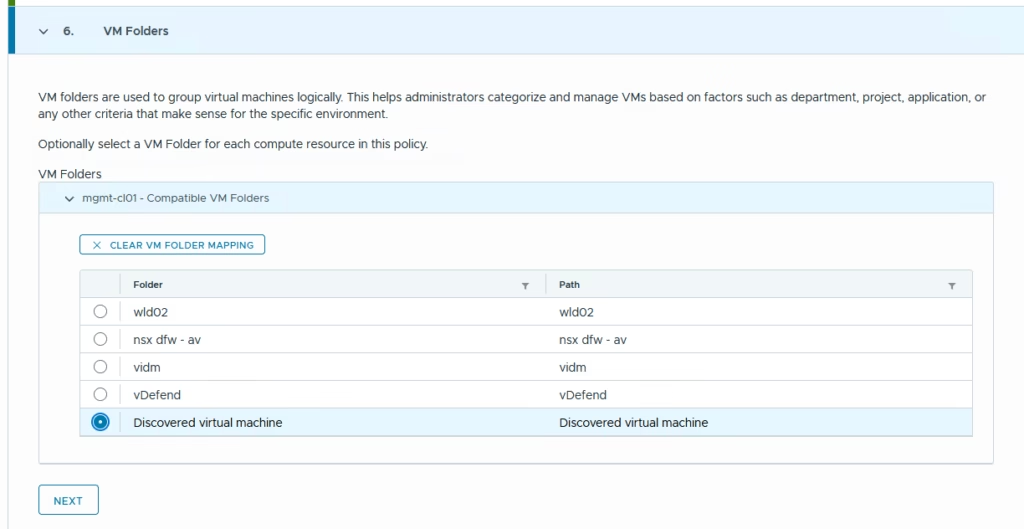
Select a VM Folder
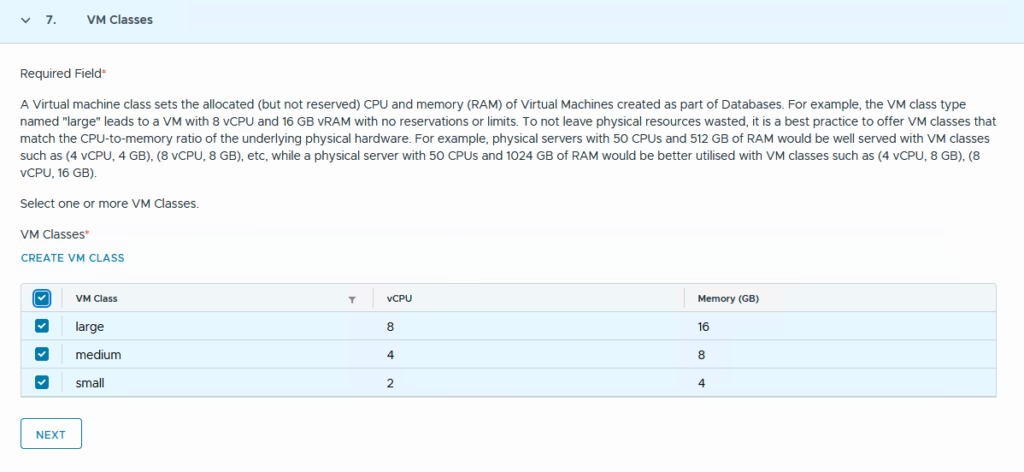
Select one or more VM Classes and click Next
Review all settings → CREATE POLICY

You should now see the completed policy listed under Infrastructure Policies.
The users created earlier (dsadmin, dsmuser, osaadmin) will also appear here for assignment.
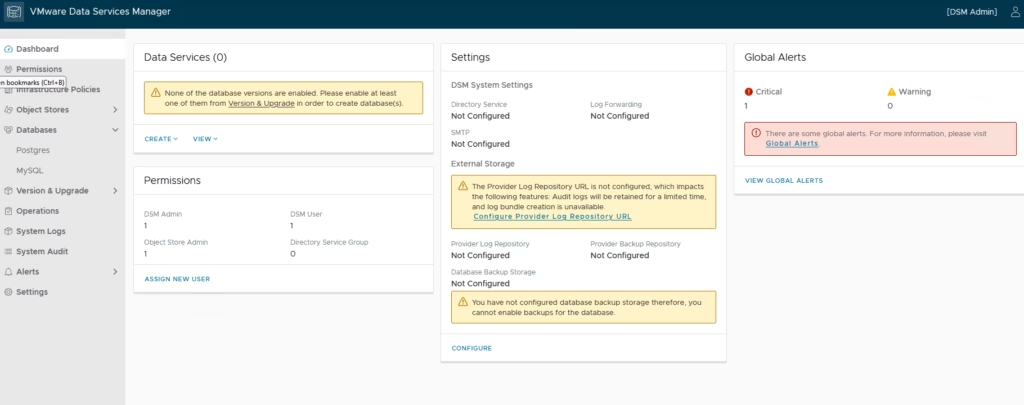
Enabling Database Versions
DSM supports multiple data services, but in VCF 9.1 so we need to enable which all versions we need

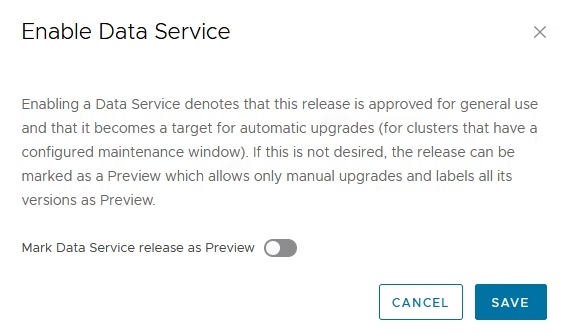
Navigate to Version & Upgrade → Postgres > Click ENABLE to pick a certain version
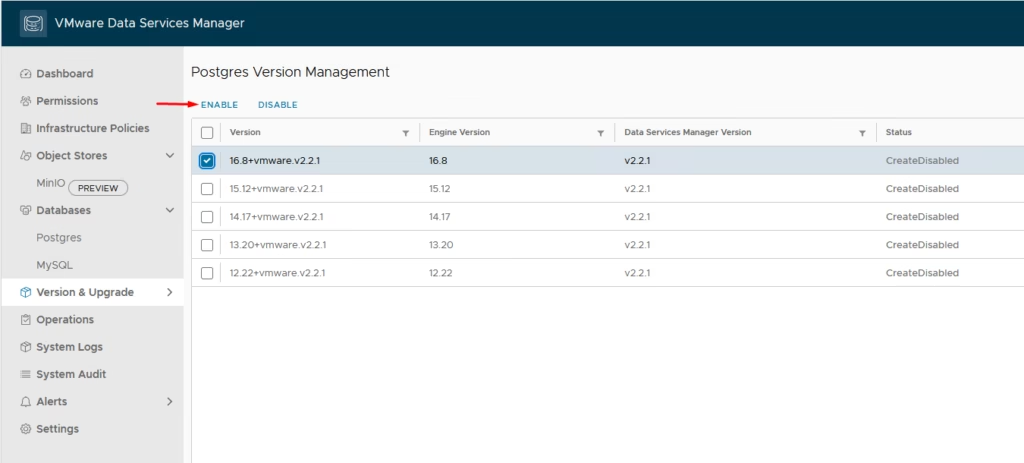
Confirm by clicking SAVE
Check the Status of the enabled version
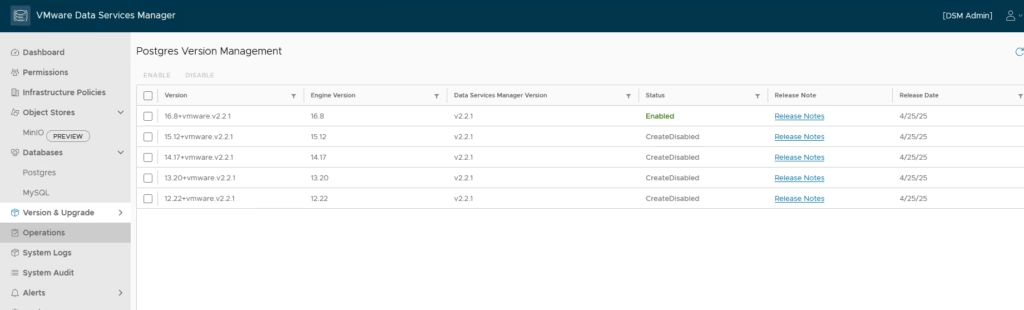
This makes the selected Postgres versions available for self‑service provisioning.
At this point, DSM is fully deployed, integrated with vCenter, and configured with an infrastructure policy capable of provisioning database clusters. In the next part, we’ll walk through deploying your first Postgres database using the VCF self‑service interface.