What are VMware App Volumes?
Applications can be packaged and delivered or removed dynamically to virtual machines by attaching/removing a VMDK file to the Instant Clone VM just as you add a new hard disk on a typical VM using a product called AppStacks.
The packaged applications thus mapped to VM are called AppStacks. Rather than installing, upgrading apps on our desktops with the use of App volumes it helps us to separate the application lifecycle which otherwise had to be done via the virtual machine.
With the use of an inbuilt feature called Writable Volumes, it’s also possible for users to be granted permission to install their own apps if needed. All application settings, config files, user profiles etc thus created by users are stored in this writable volume.
To install App Volumes, we will need an SQL server to connect the App Volumes database.
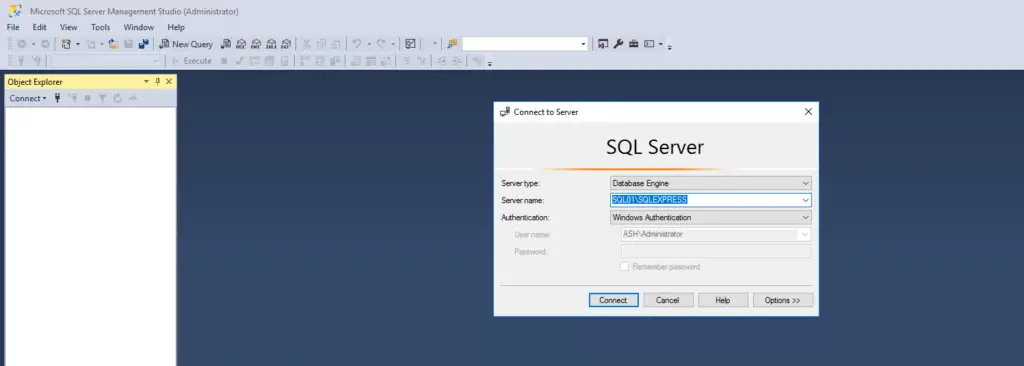
Step 1. Let’s launch SQL Management Studio to create a new SQL database for our App Volumes to use
Step 2 . Connect to the SQL Server Database with the username and password. Back in the install series, I had added ASH\administrator to manage this database. If this option was not chosen we will now be logging in via an SA account
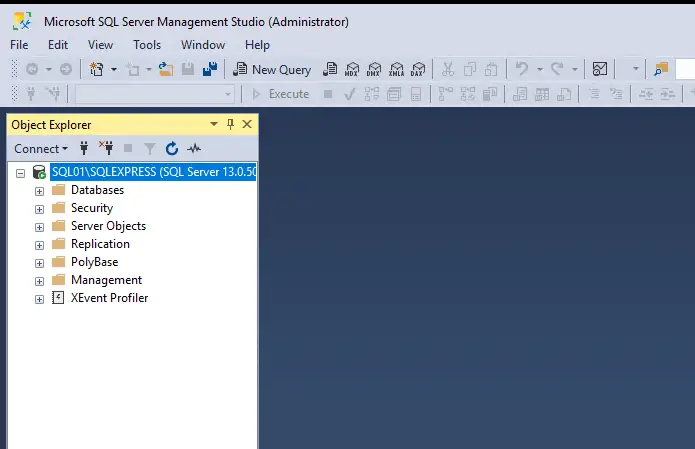
Step 3. All our default databases are shown here.
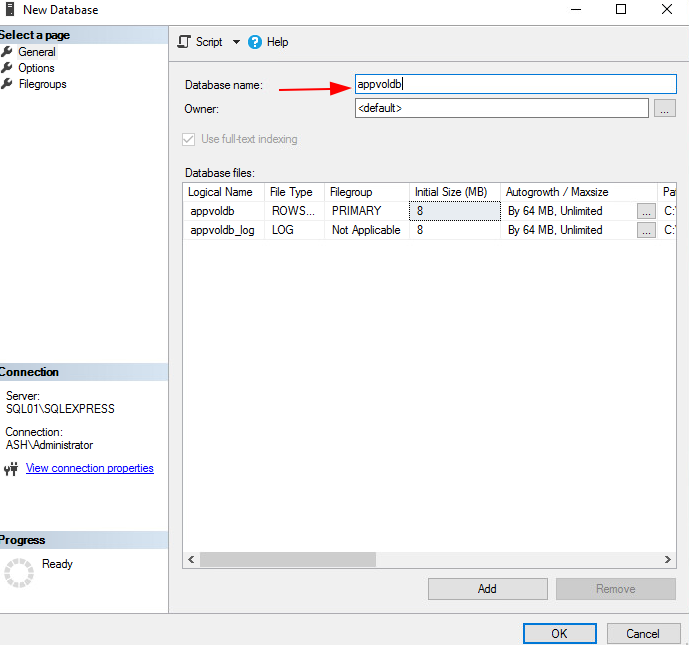
Step 4. We will now create one database with these properties
| SQLDB | Purpose | User | Permissions |
| appvoldb | Appvol Database | jmp | dbo_owner |
Step 5. Right-click Database then click New Database

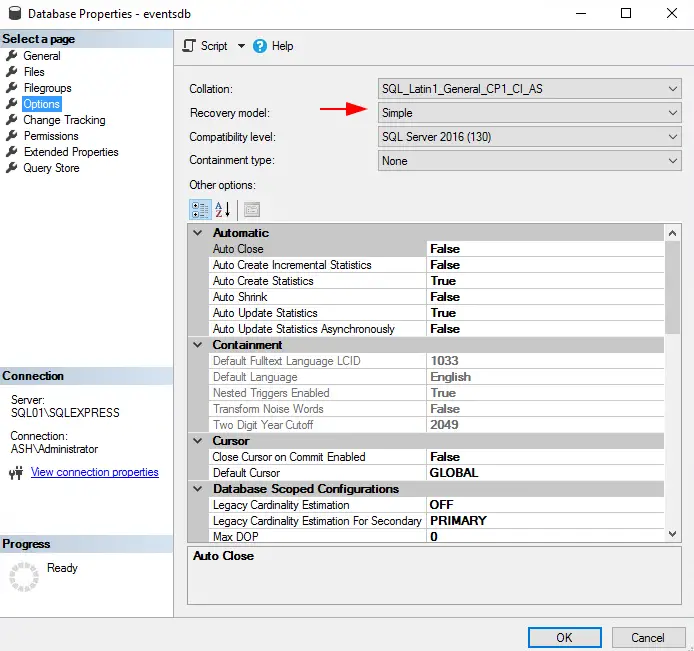
Step 6. Let’s create our eventdb database and the user event. Give the database a name
Step 7. Select the desired Recovery model, and click OK.
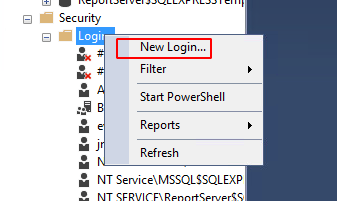
Step 8. Drill down to Security, right-click Logins then click New Login
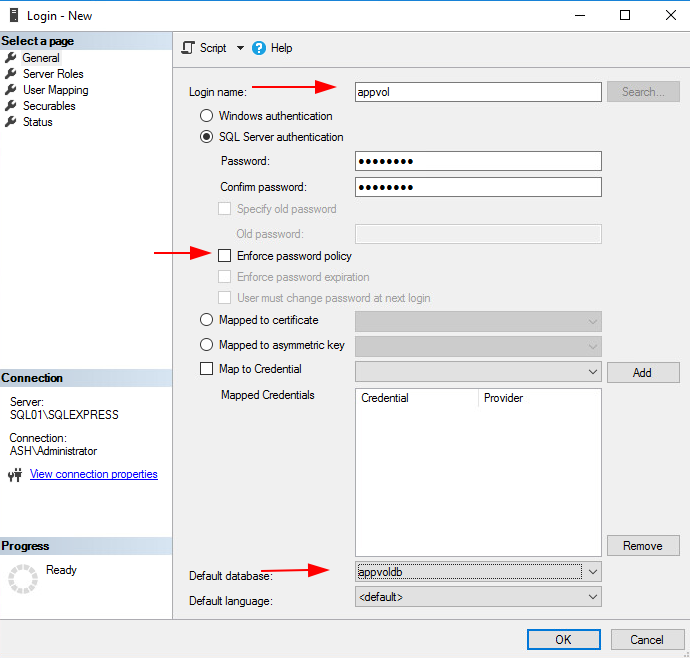
Step 9. Enter a Login name, select SQL Server authentication and enter a password. Change the drop-down menu of Default Database to our new database. In this section, uncheck the box next to enforce a password policy.
Step 10. On User Mapping select the eventsdb database we created above, give it db_owner permissions then click Ok
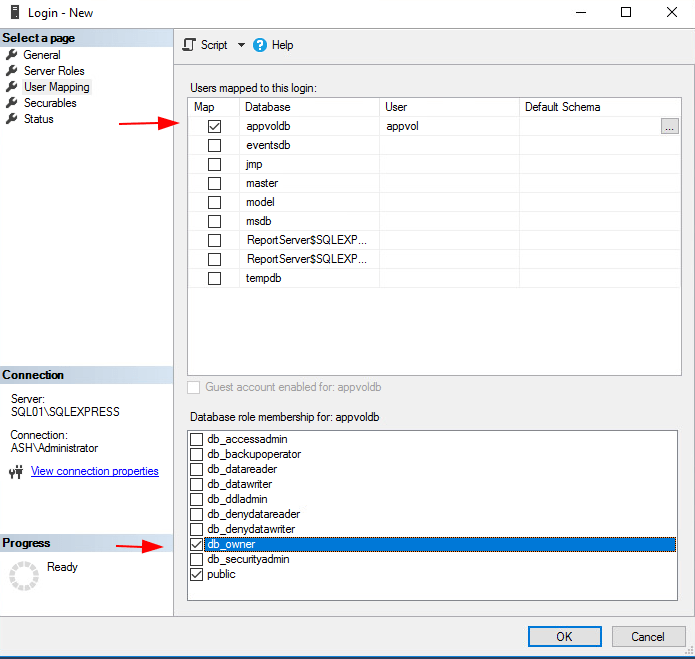
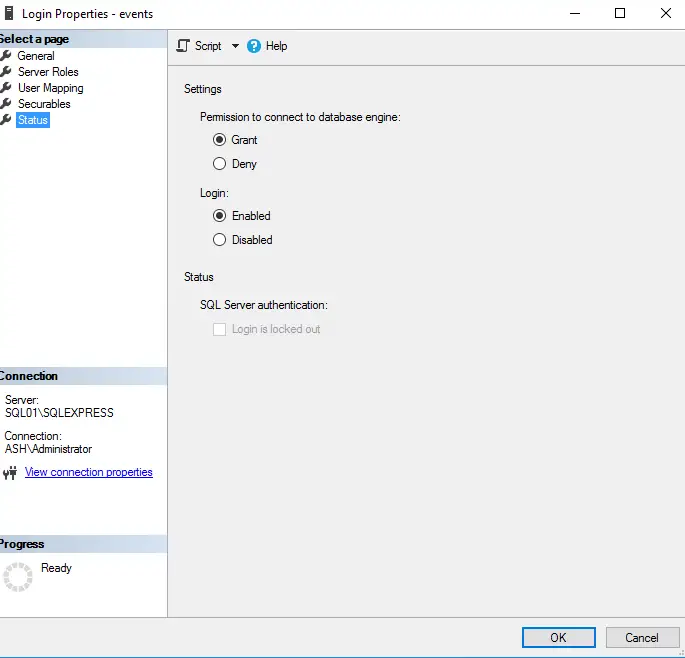
Step 11. Ensure also permissions to connect to database are granted and login is enabled
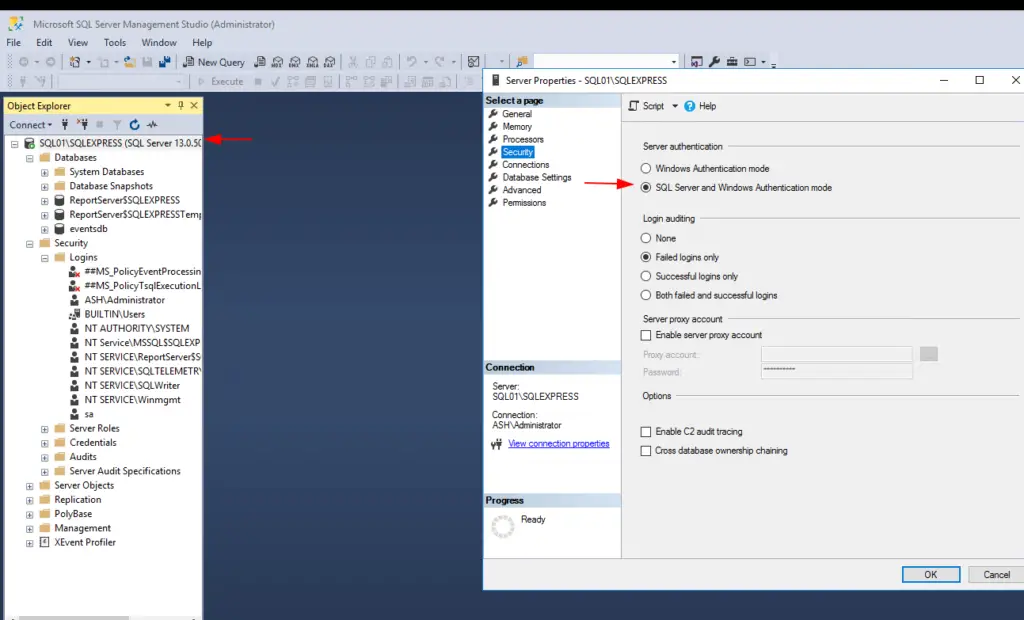
Step 12. Only SQL Server authentication is supported, Click Properties > Security page and let’s ensure it’s enabled on our SQL Server
With our SQL database now ready, we can start our App Volumes configuration
Install App Volume Console
Step 1 – App Volume is downloaded as separate software and won’t come with the Horizon bundles. You can download it from vmware.com
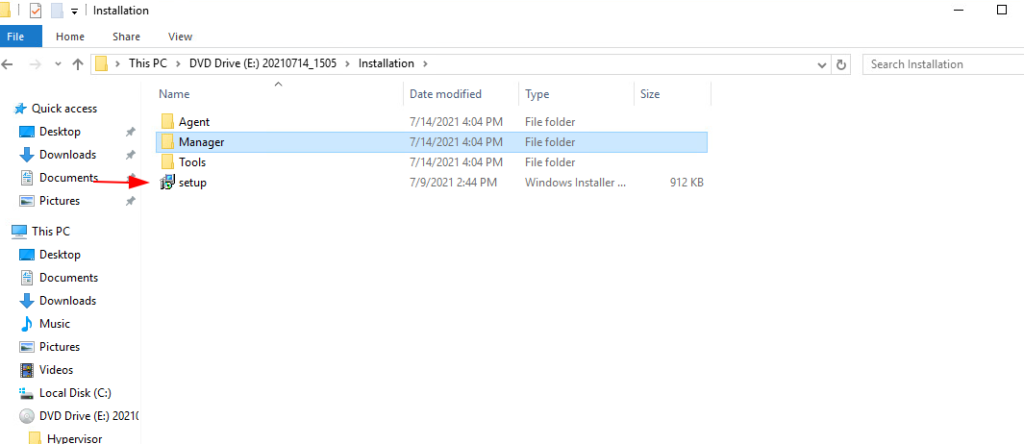
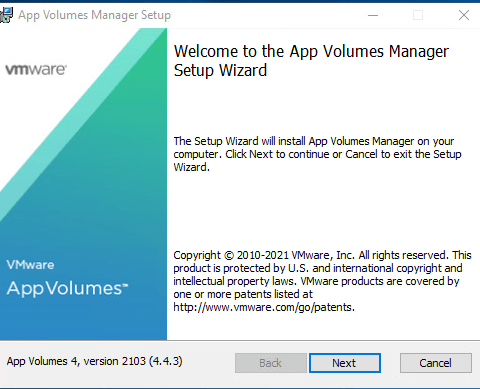
Step 2 – Click on the setup.exe installer file and Click Next to proceed
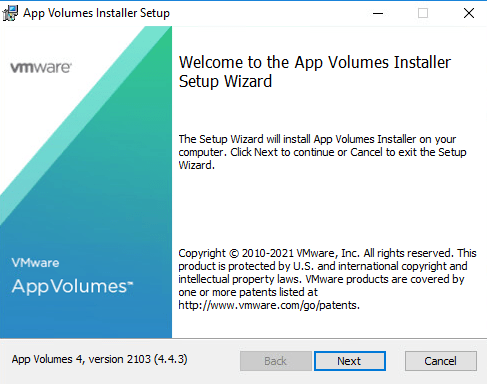
Step 3 – Click Next to begin the installation.
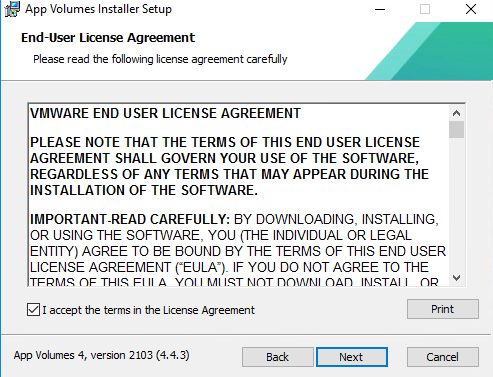
Step 4 – Accept EULA and click Next
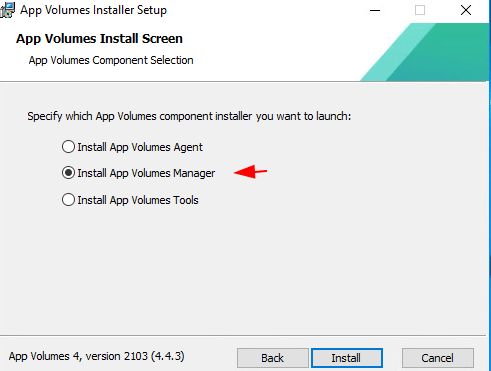
Step 5 – Choose the option to install App Volumes Manager
Step 6 – Click Next to proceed with the App Volumes Manager setup.
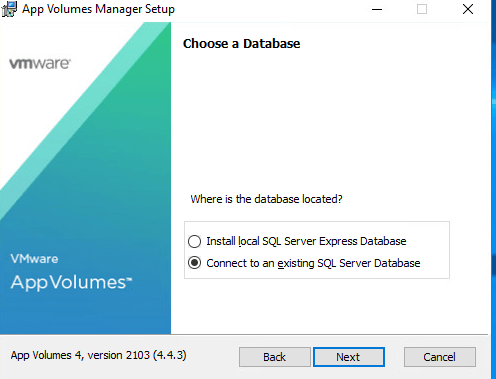
Step 7 – We will now connect to our SQL database we created earlier
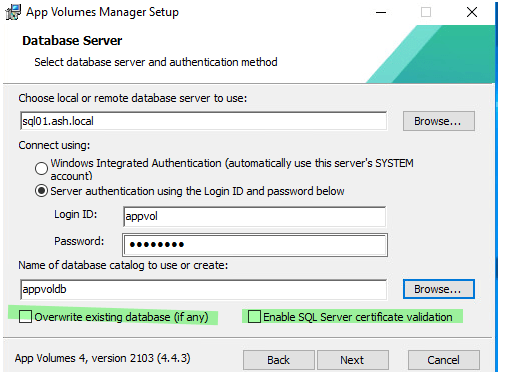
Step 8 – Connect to our database server with the username and password created on our SQL Server for the appvol database. Uncheck the Enable SQL Server certificate validation & select Overwrite the existing database option and click Next.
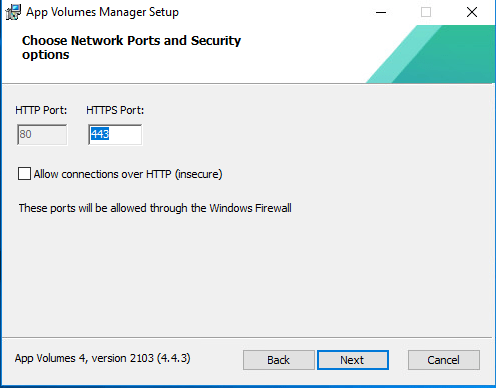
Step 9 – Leave default HTTPS Port and click Next
Step 10 – Click Next to continue

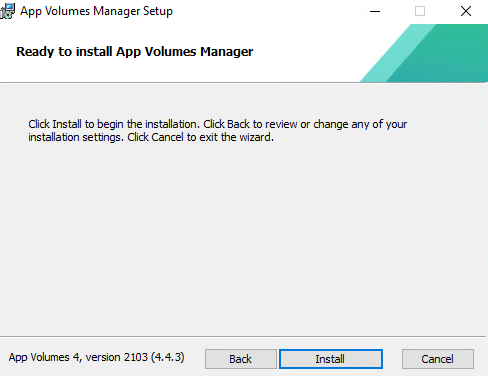
Step 11 – Click Install to begin the installation.
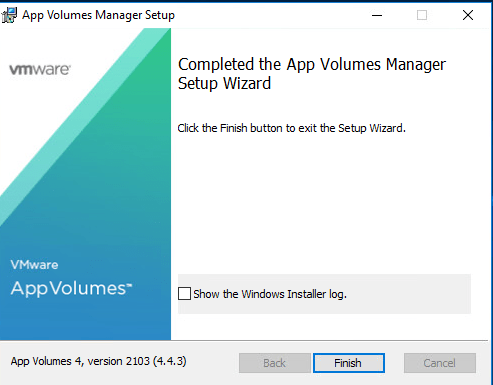
Step 12- Once the installation is completed, click Finish
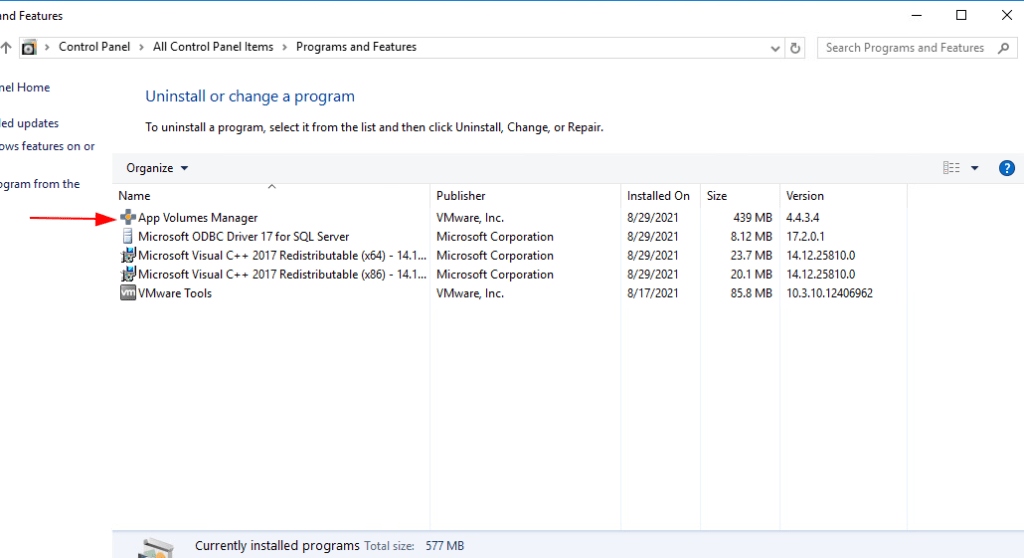
Step 13- We can now see App Volumes is installed

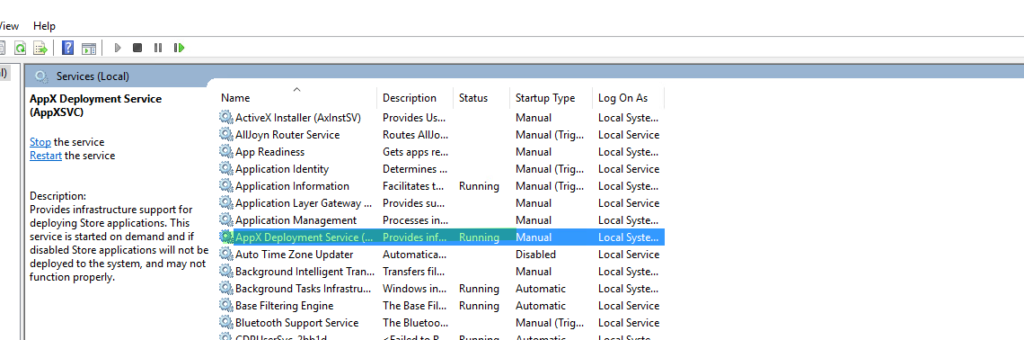
Step 14- A closer look at the services App Volumes created is shown