
In this blog, we will deploy Veritas Backup Exec 21 in our home lab. As such the installation process hasn’t changed much from the good old days of version 8.0 so lets begin.
1- Download software from veritas.com
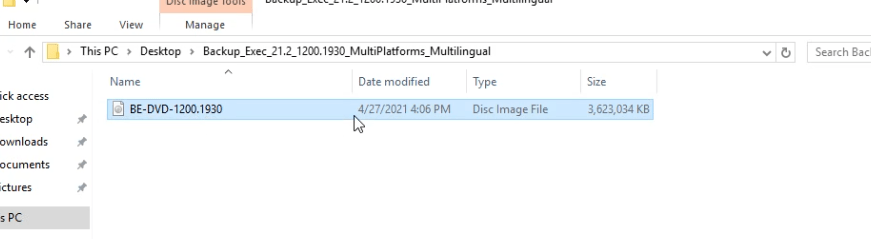
2- Extract the downloaded file and then mount the image
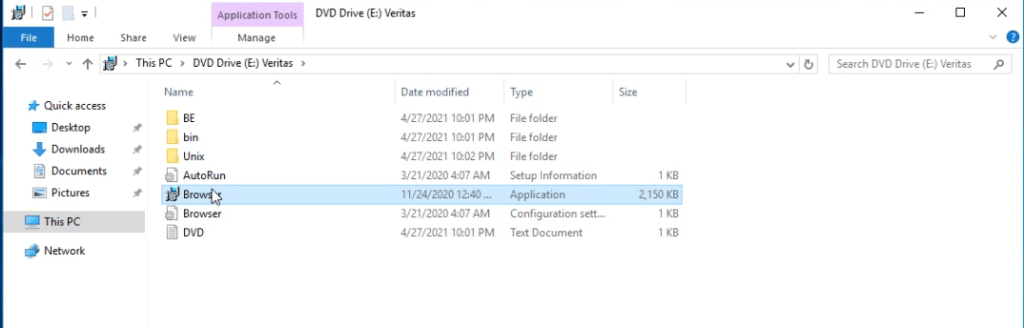
3- From the ISO drive, click Browser.exe to launch the install wizard
4- Select language as English and Click OK

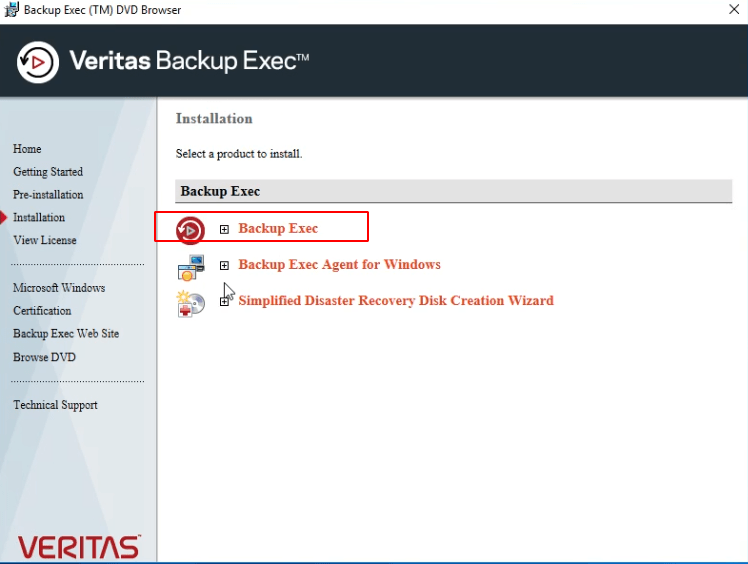
5- From the selection list, select BackupExec and Click Next
6- Accept EULA and click Next

7- We will be deploying BackupExec on our Local computer so select that Click next to Proceed

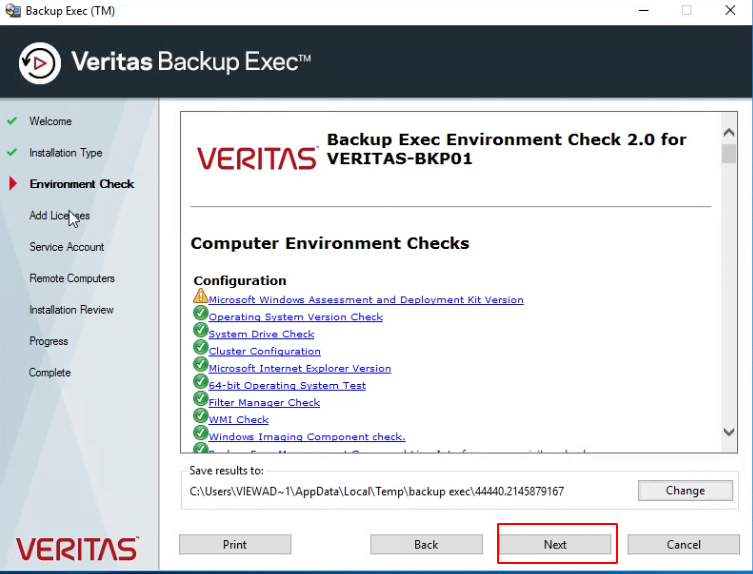
8- Backup Exec will run a local environment check to check if our base OS is supported for this install
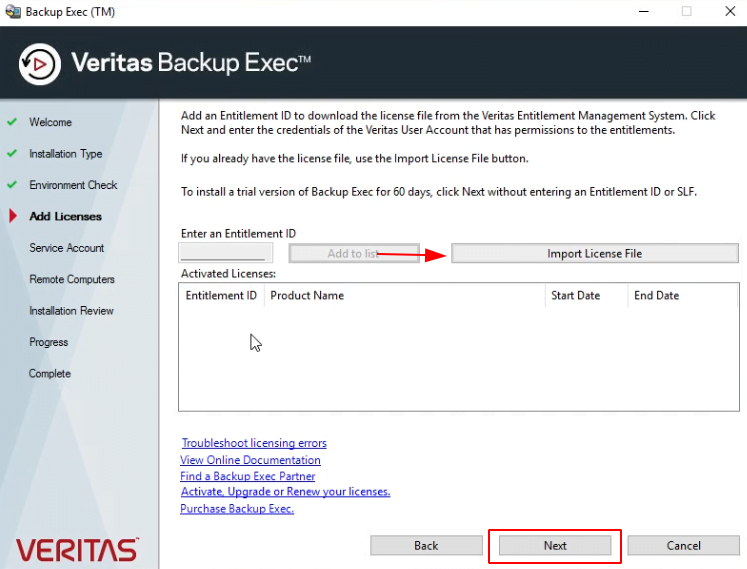
9- Enter your license key.
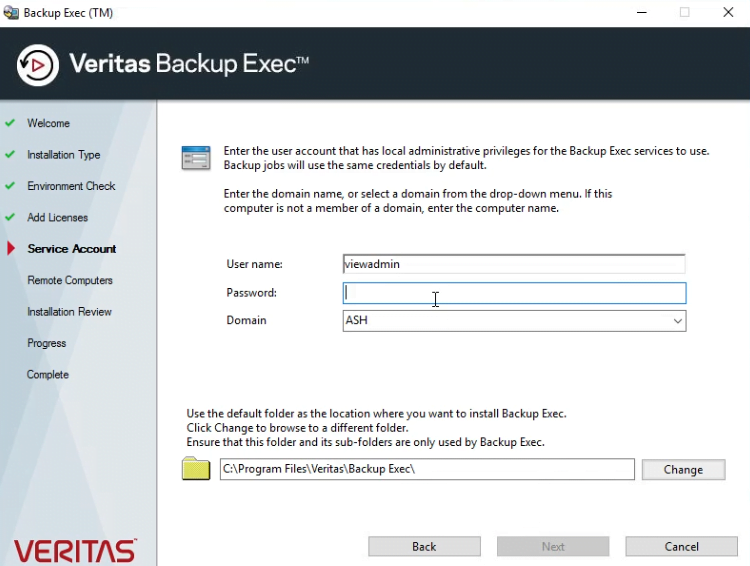
10- Provide the system user and password – This account must have domain admin rights
11- The account will now be granted service rights so click Ok to continue

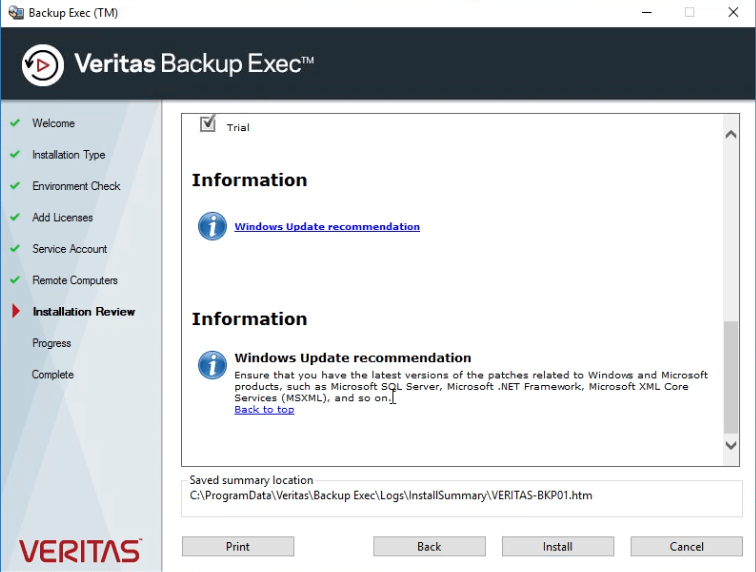
12- Review the Installation summary and then click Install.
13- Click Install to begin the installation. We have used a local copy of SQL Express to deploy the Software that came along with the BackupExec product but in enterprises, we typically should use a dedicated SQL server and connect the database to the SQL server
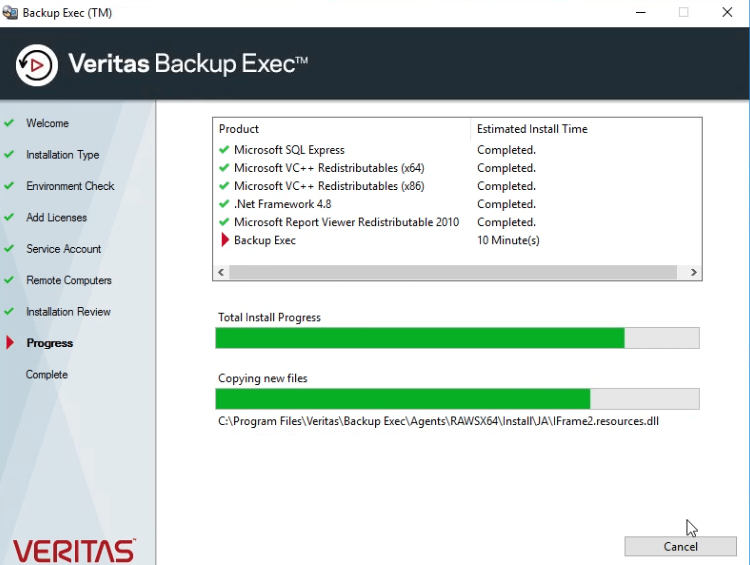
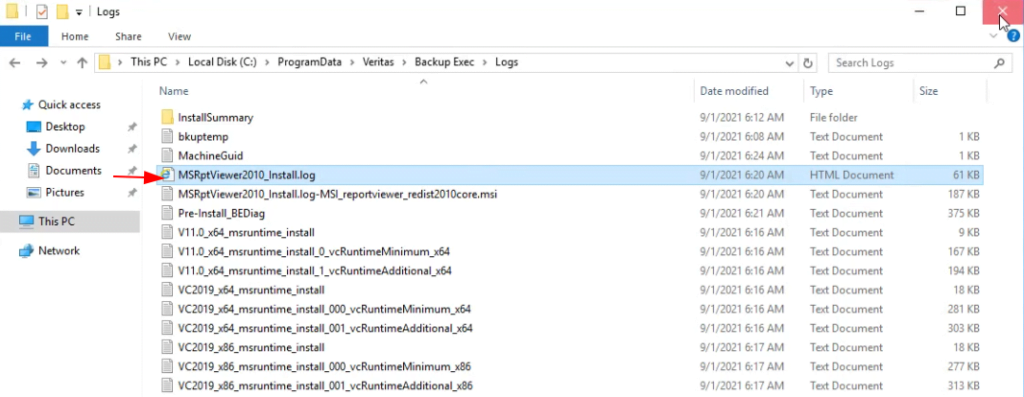
14- Review the Installation files under the below path
15- Reboot the system

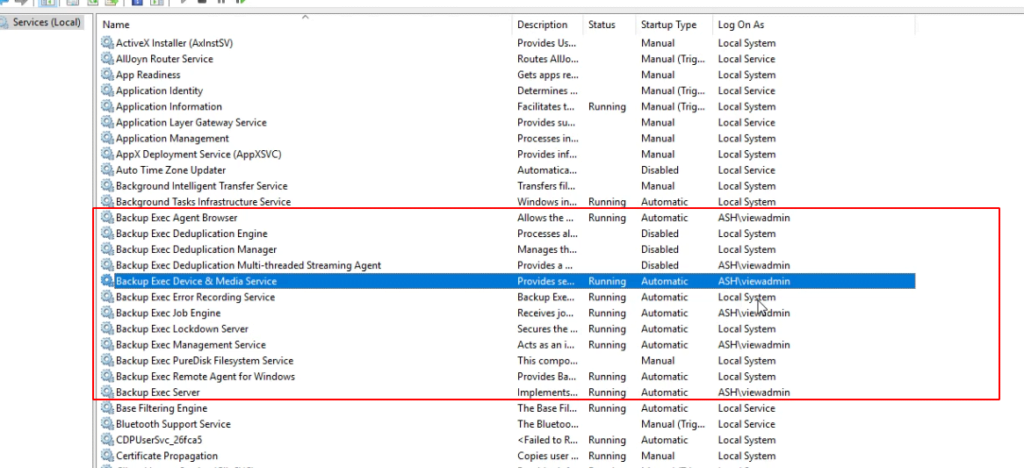
16- Verify if all our services have started up
17 Launch the BackupExec wizard

In the next blog, we will configure disk storage units to our BackupExec