In this series, we are going to cover the deployment process of NSX-V and how to configure SDN functionality such as micro-segmentation, logical switching and distributed logical routing using NSX-V.
Blog Series
- Installing NSX-V 6.4
- Configure Controller Nodes and enable CDO mode in NSX-V 6.4
- One Page View of all NSX-V commands
- Configure VXLAN and Prepare ESX hosts for VXLAN traffic
- Configure the Transport Zone and Logical Switches
- Configure Distributed Logical Router
- Configure Edge Services Router (ESG)
- Verifying VXLAN Connectivity
- Regenerate Self-signed Certificate on NSX-V
- DLR VM SSH Access
- Backup NSX-V Manager
- Dynamic routing with OSPF in DLR
- Dynamic routing with OSPF in ESG
- VMware NSX Edge Load Balancer
- VMware NSX Edge Load Balancer SSL Offloading
- NSX-V Firewall & Microsegmentation
- NSX-V Firewall Service Composer
VMWare NSX-V is VMware’s primary SDN solution that enables us to quickly apply micro-segmentation and end-to-end consistent security rules quickly on our VMware estate.
Prerequisites
It’s always a good idea to do your research before installing or upgrading NSX-V. Along with reading the release notes, verifying the VMware compatibility Matrix of ESX, vDS, vCenter, and NSX-V is essential.
Here are the relevant web links
- NSX and ESXi Compatibility Matrix (Transport Node)
- NSX and vCenter Server Compatibility Matrix ( Compute Manager )
- NSX Upgrade Path Matrix
Summary of NSX Deployment
The following are the high level steps required for our NSX-V deployment.
- Verify compatibility matrix
- Build ESXi hosts
- Deploy vCenter and connect ESX host to it.
- Connect ESX hosts to distributed switch. For NSX-V we require an MTU of more than 1500.
- Deploy NSX Manager via OVA.
- Register NSX Manager with the vCenter server.
- Deploy the NSX Control Cluster.
- Deploy VXLAN to esx hosts.
- Deploy Transport Zone and connect cluster
- Deploy Logical Switches
- Deploy DLR Router Config and attach all logical switches to it
- Deploy ESG Router
Network Topology of Lab
Our network topology is setup as below


Management VM Sizing Requirements
Since we have deployed it in our lab, we have deployed it with bare minimum settings.
| VM | Version | vCPU | Memory GB | Storage | Quantiy |
| vCenter | 7.0 U1 | 2 | 10 | 100GB | 1 |
| NSX Manager | 6.4.10 | 4 | 12 | 60 GB | 1 |
| NSX Controllers01 | 6.4.10 | 4 | 4 | 25GB | 3 |
| NSX DLR | 6.4.10 | 1 | 4 | 512mb | 1 |
| NSX edge | 6.4.10 | 2 | 4 | 512mb | 1 |
| NSX edge | 6.4.10 | 4 | 4 | 4.5GB | 1 |
Licensing NSX
NSX-V needs to be licensed before we can use it. Add NSX-V license to it.
Navigate to Licenses > Assets > Solutions click on NSX for vSphere – All Actions – Assign License.

Deploying the VMware NSX Manager Appliance
NSX-V manager comes packaged as an ova file , login to the vCenter and browse to the NSX-v OVA file downloaded from VMware.com
Launch the ova deployment wizard from within vCenter
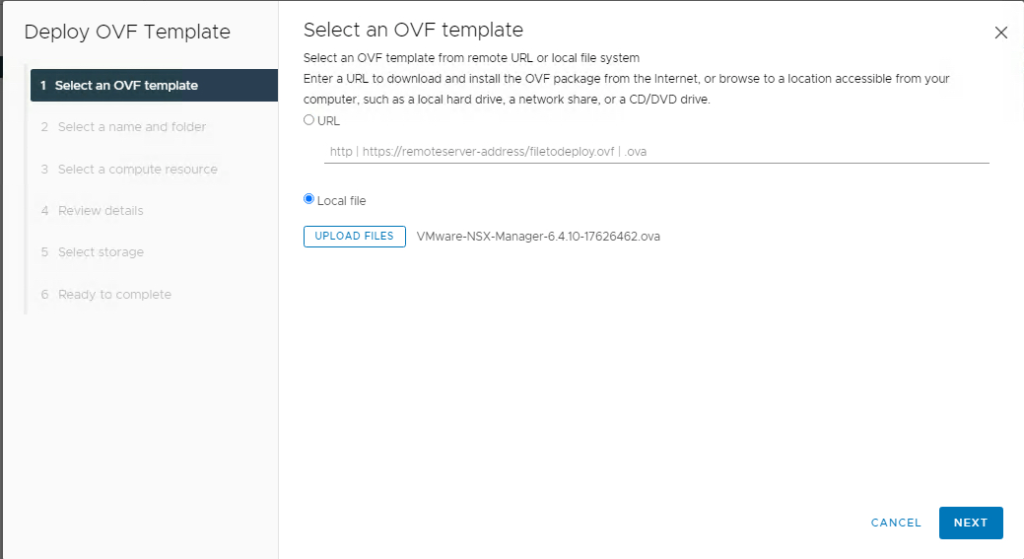
In Next screen, provide the VM a name
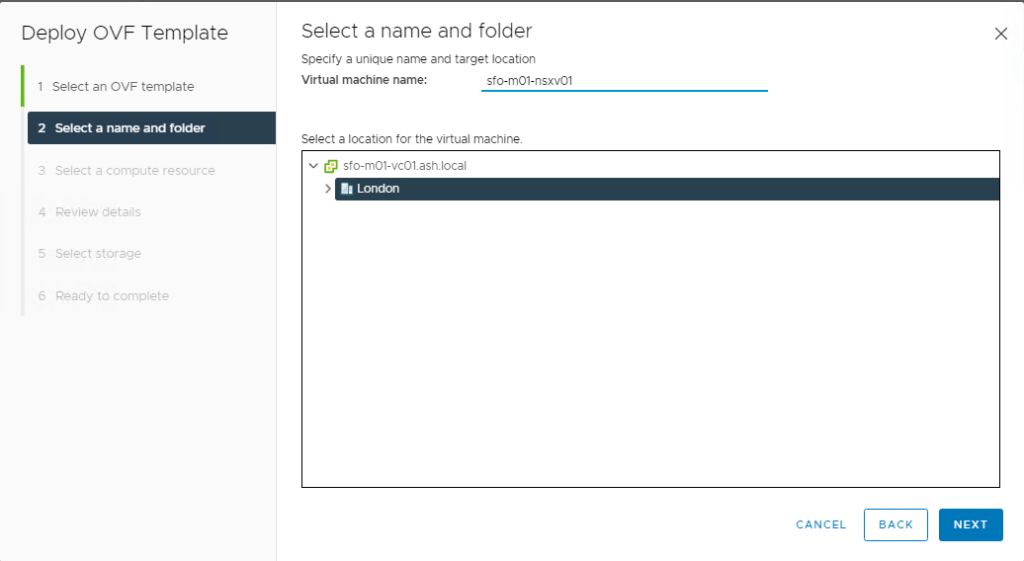
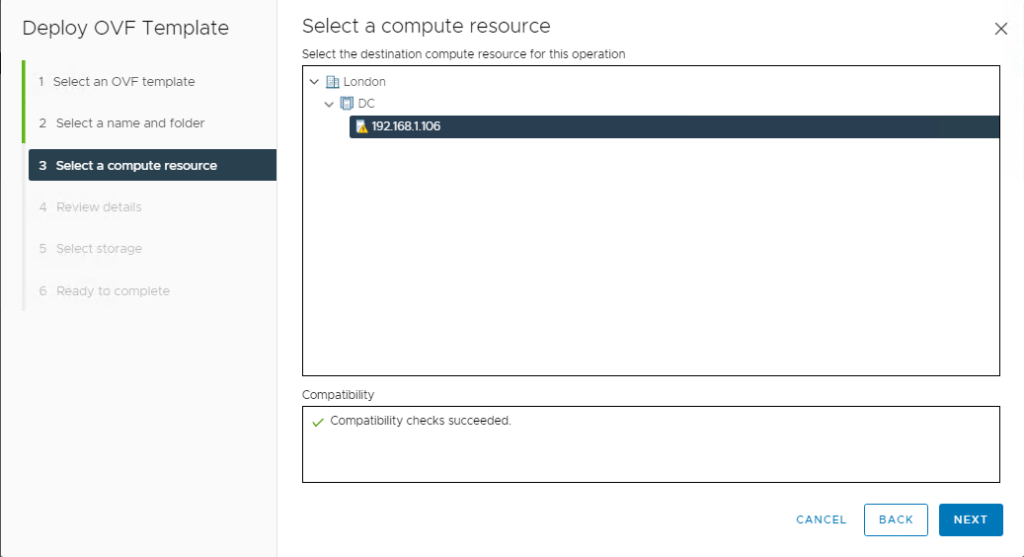
Choose the cluster to deploy the VM to
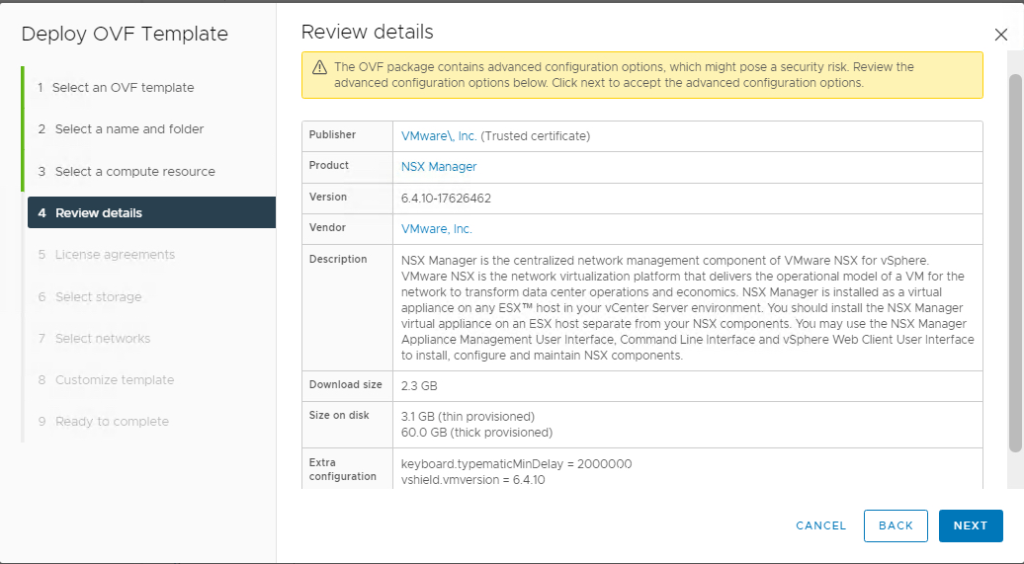
Review the details page and click next to proceed
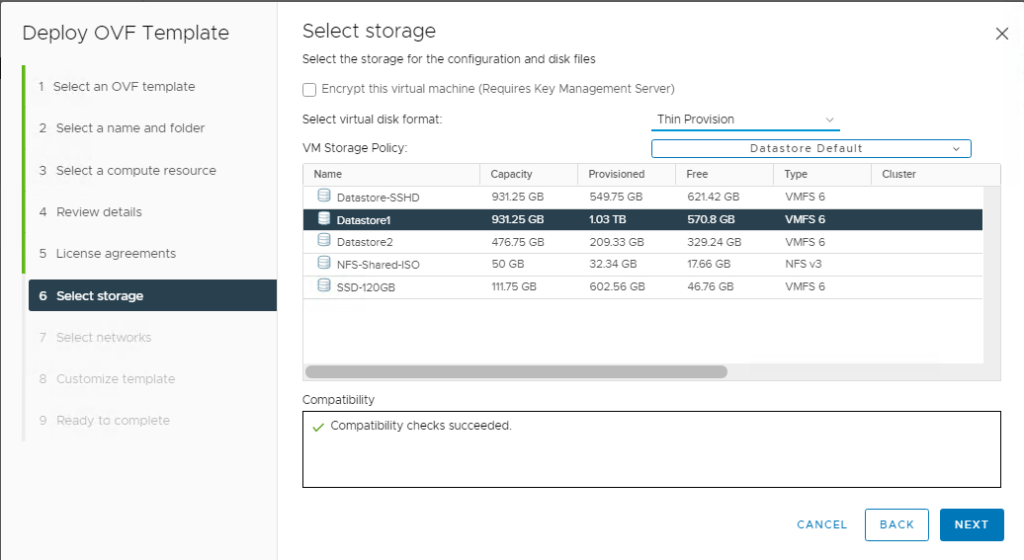
Select the virtual disk format as thin disk and choose datastore location and click Next.
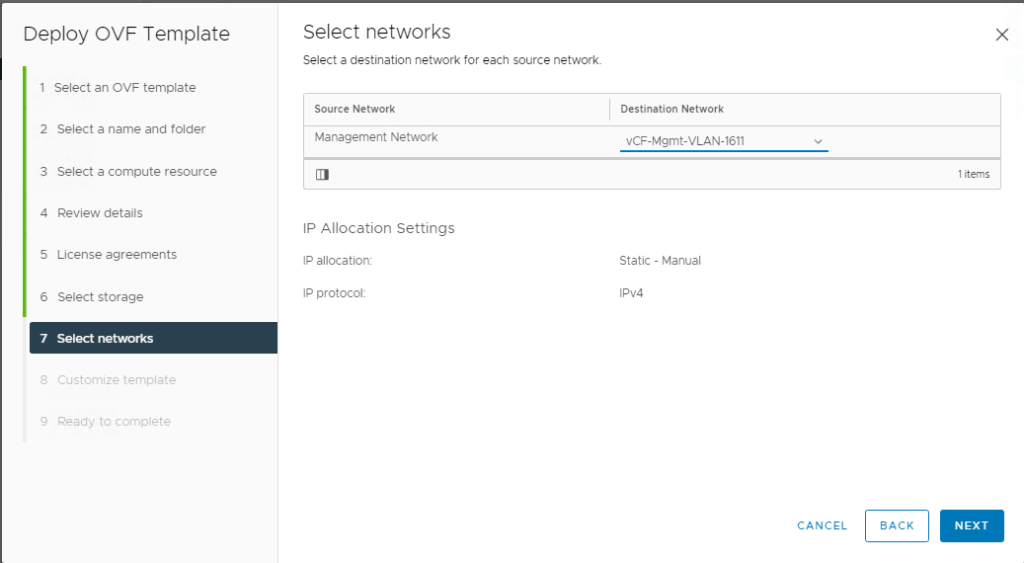
Select the management portgroup from the destination network dropdown and click Next
Review the settings and click finish to start the deployment.
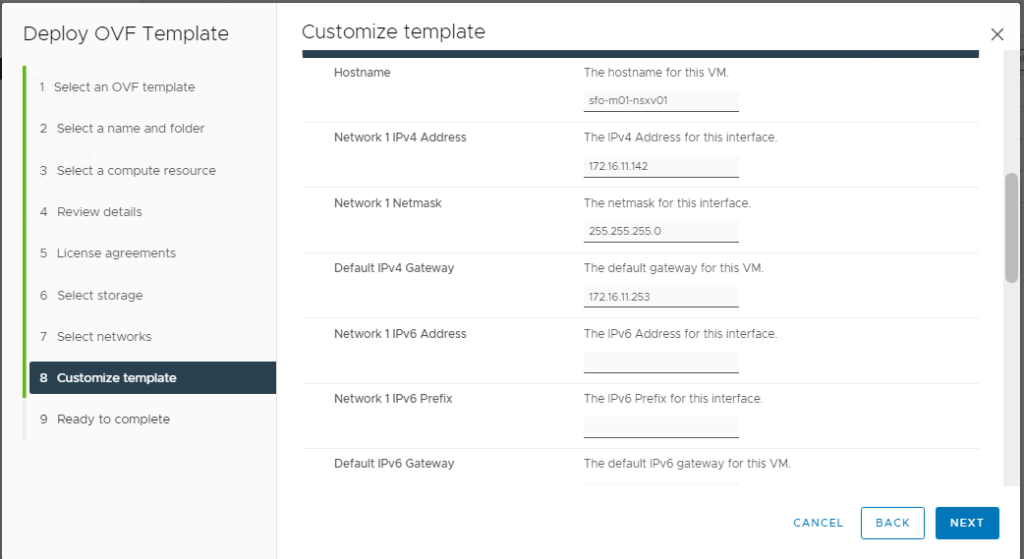
- Hostname
- Network 1 IPv4 Address
- Default IPv4 Gateway
- Network 1 Netmask
- NTP server list
- DNS Servers
- Domain Search Lists
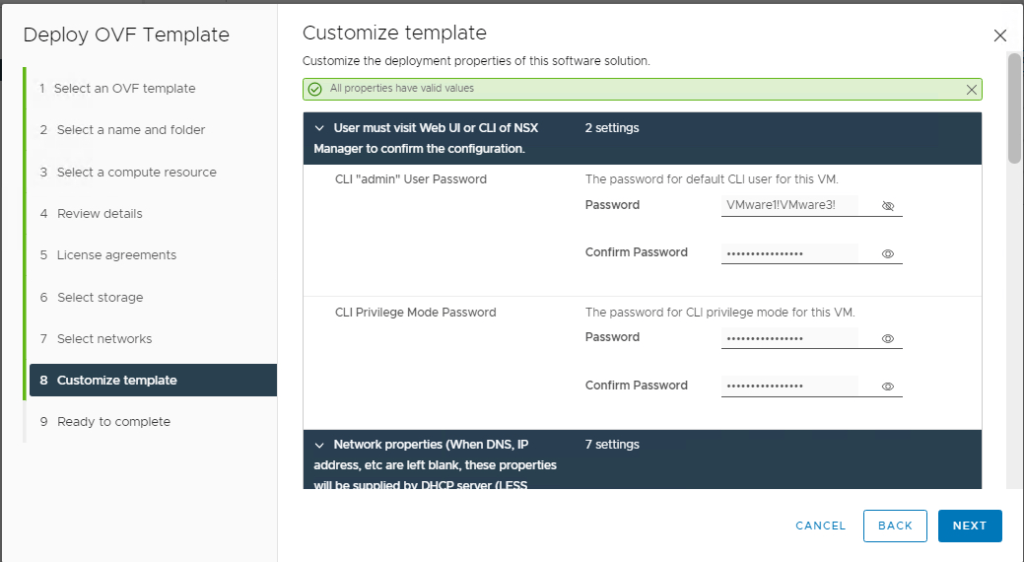
Enter passwords for both the CLI user and CLI privilege mode.
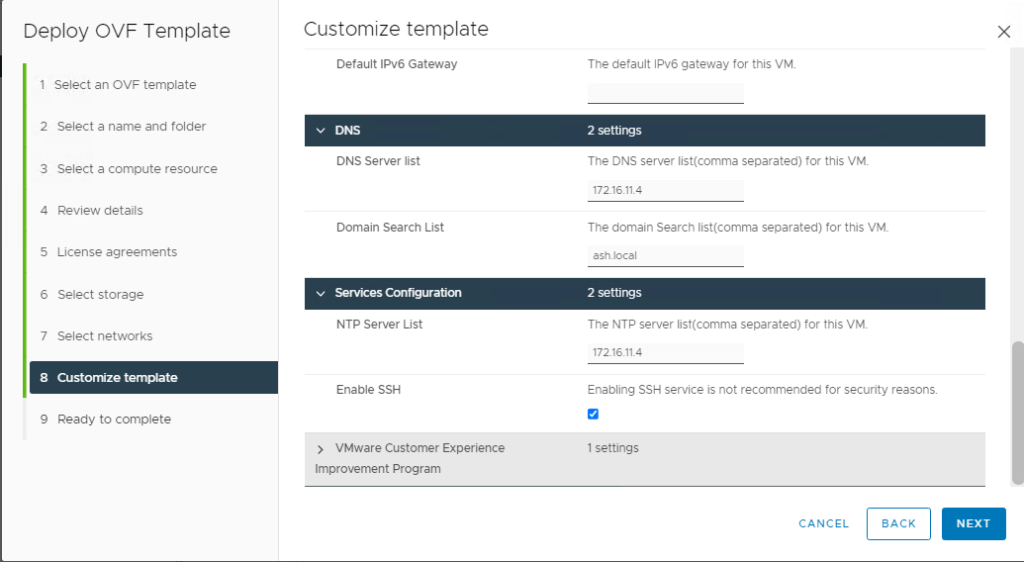
Check the Enable SSH check box as shown and click next to proceed
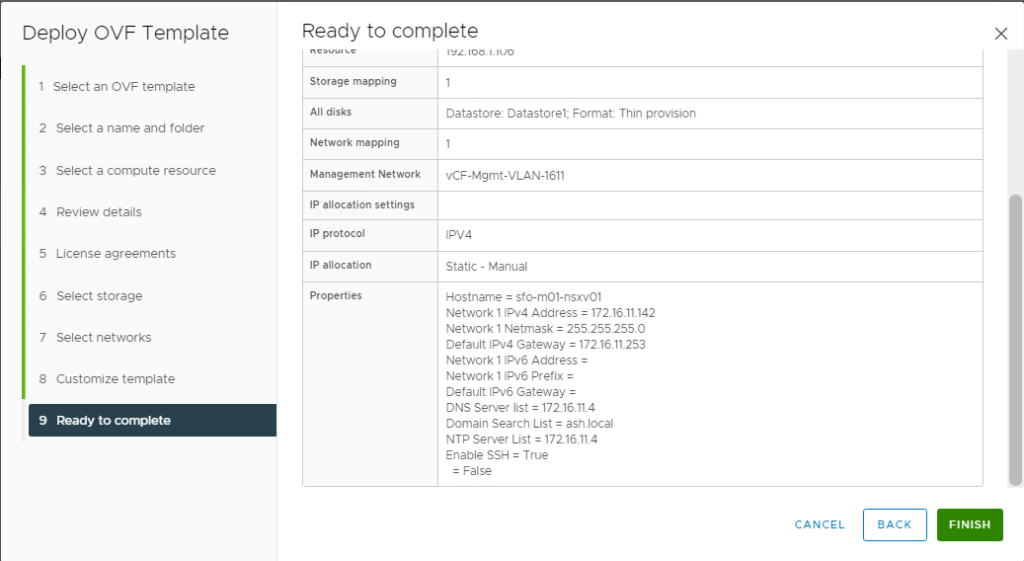
Click Finish to complete the installation
The ova should start to deploy and once done, power on the VM.

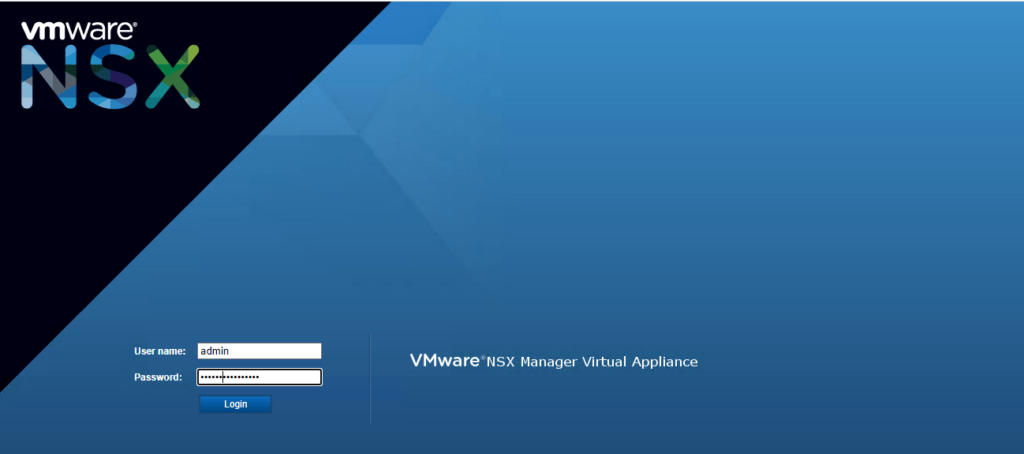
Launch a web browser and connect to the NSX management address via https://NSX_mgrIP
The user name is admin and the password is the one we set at deployment.
Linking vCenter to NSX-V
We first need to register the NSX Manger with the vCenter or PSC lookup service URL and also register the NSX Management Service against the vCenter server.
For embedded vCenter enter the address of the vCenter Server but if we have an old PSC then we need to enter the address for the platform services controller here.
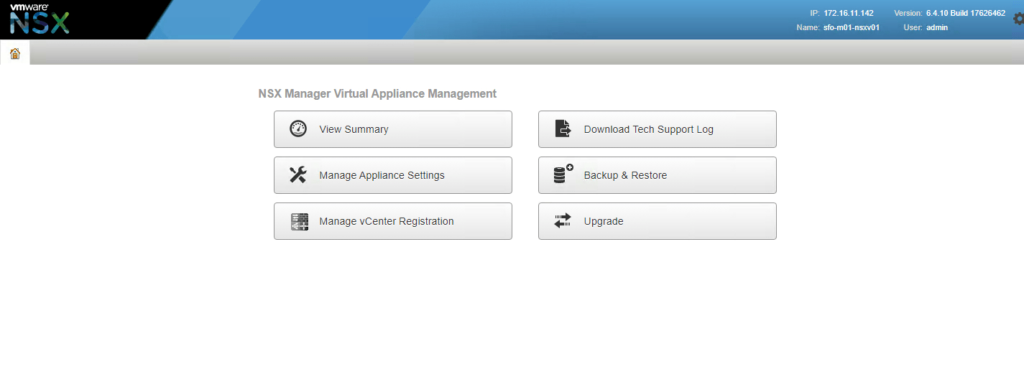
Our vCenter deployment is embedded so we just pick the embeded version

Review and accept the certificate warning

Go to manage vCenter registration, and add the required details.

Once done we will see both status showing green as below.
Log off and log back in to vCenter and we can see now the NSX Manager is registered with vCenter

Verification of deployment via CLI
Login to NSX-V manager as admin

Execute these commands on NSX-V manger to verify the controller and NSX-V status on cluster

Login to NSX-V controllers as admin

Execute this command on NSX-V controller to verify the controller and NSX-V status on cluster

Execute this command on NSX-V controller to verify which NSX-V manager is linked to controller

That completes part 1 of NSX deployment. In next series, we can complete the deployment by preparing our esxi hosts fo VXLAN traffic.

