In this blog, we will take a look at the Windows Admin Center. WAC as its popularly called is a tool that works similar to Microsoft Remote Desktop Manager, to manage and control various Windows Servers/Desktops. This tool is quite a handy remote management tool that allows admins to install Windows Update, check the status of services, configure roles and services etc from a central pane.
Summary of WAC Deployment
The following are the high-level steps required for our deployment.
- Join the Windows Server or Windows 10 Desktop to domain
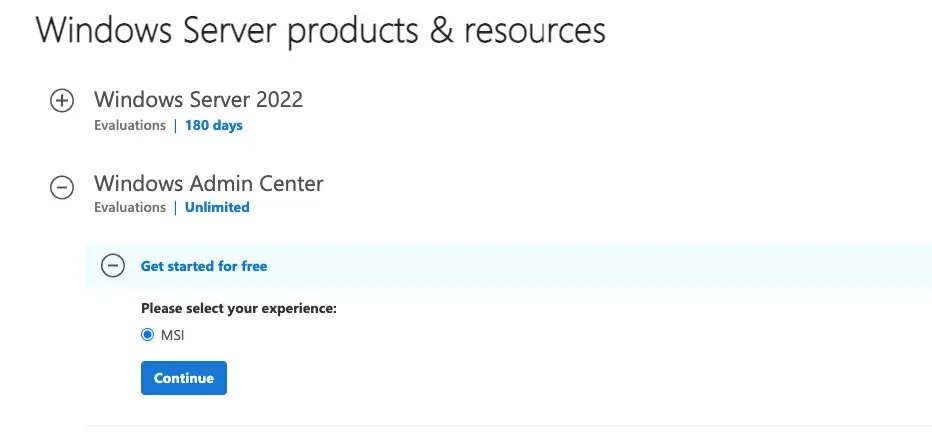
- Download the latest version of WAC (Windows Admin Center)
Deployment of WAC
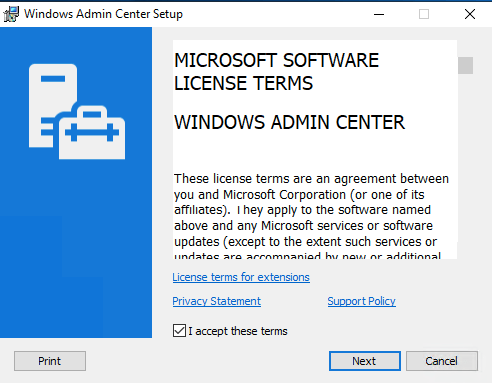
1 – Accept the terms and click Next to continue
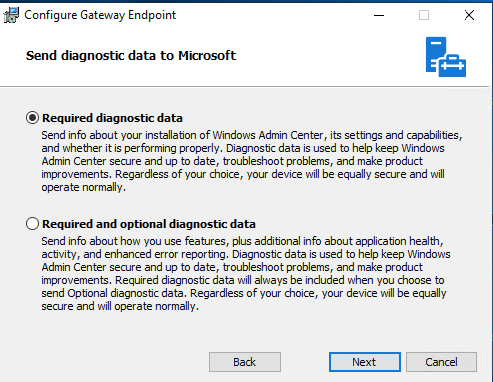
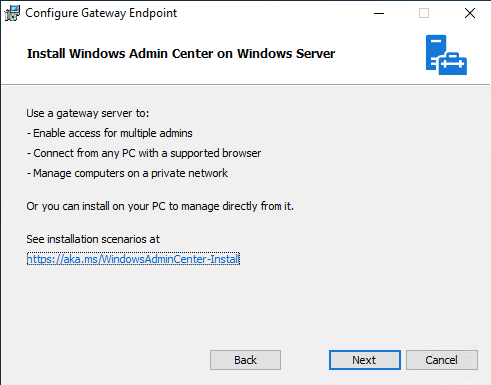
2 – Click Next to continue
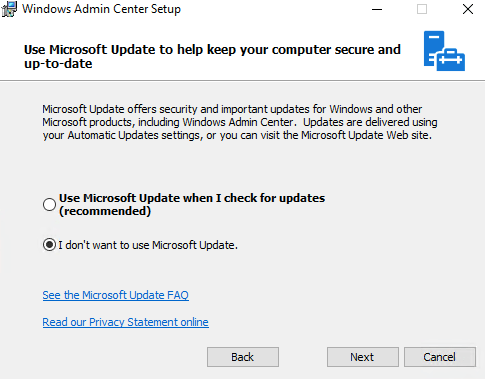
3 – Choose not to do Windows Update at this time
4 -Click Next to continue
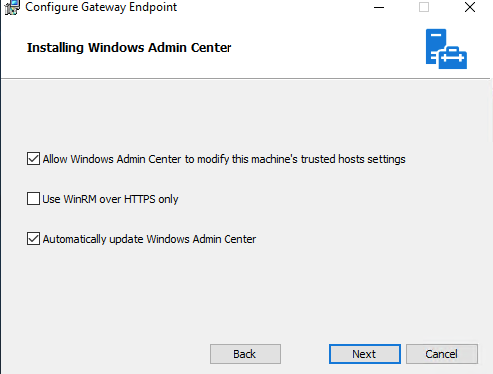
5 – We will be not using WinRM over HTTPS, because for now we don’t use PKI in my environment so the rest settings stay as it is.
6 – Use the default port: 443 and a self-generated certificate. Also, the option to redirect traffic from port 80 to 443 should be enabled.

6 – Click Finish to complete the installation
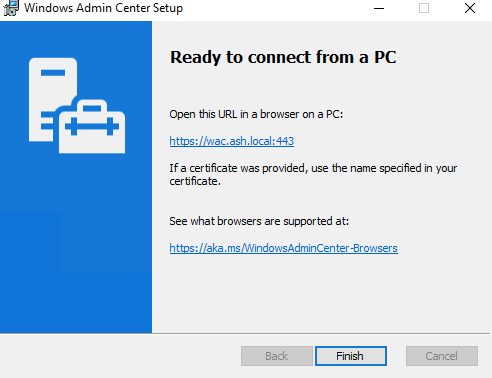
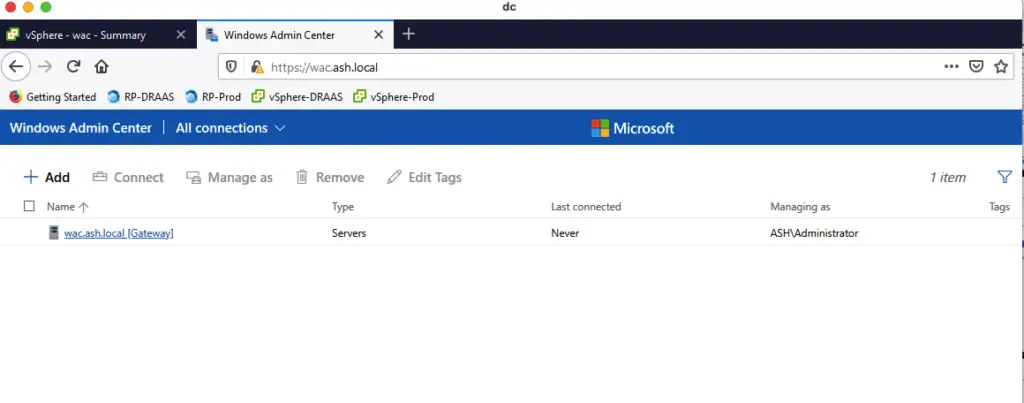
7 – Lauch WAC via https://wac.ash.local:443
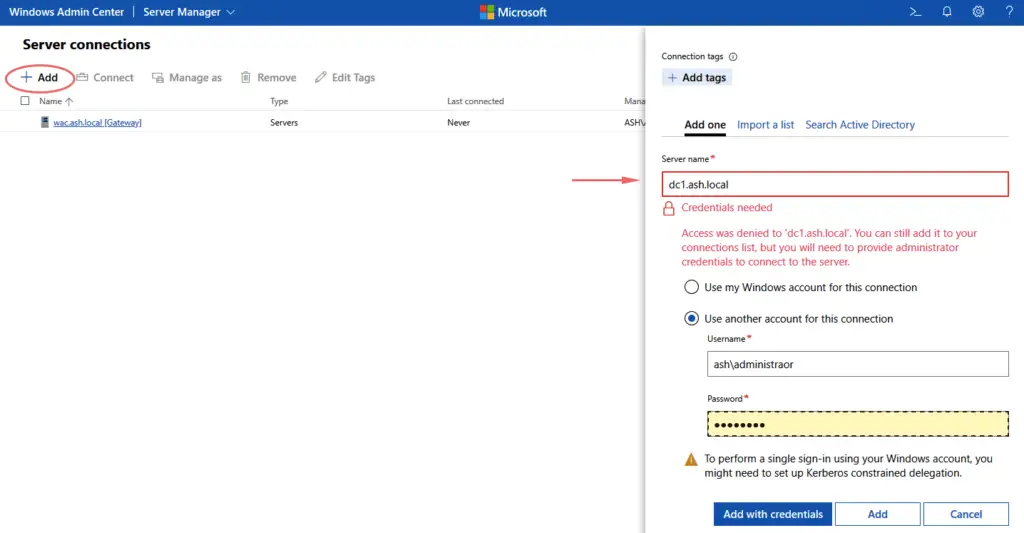
8- Click Add> Add Server Connection,enter the name of the server, click Submit
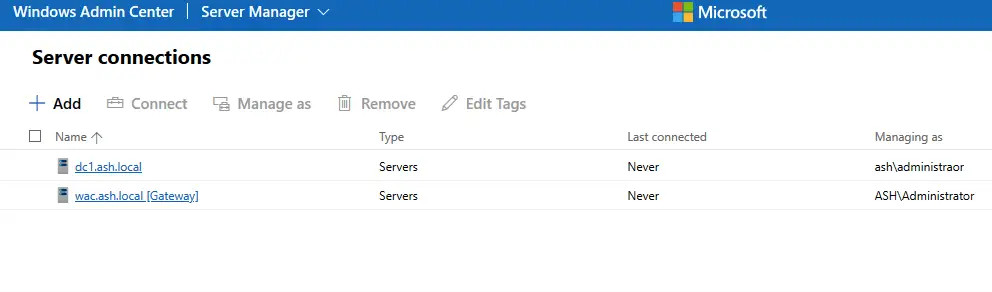
9- Our new server is added to WAC
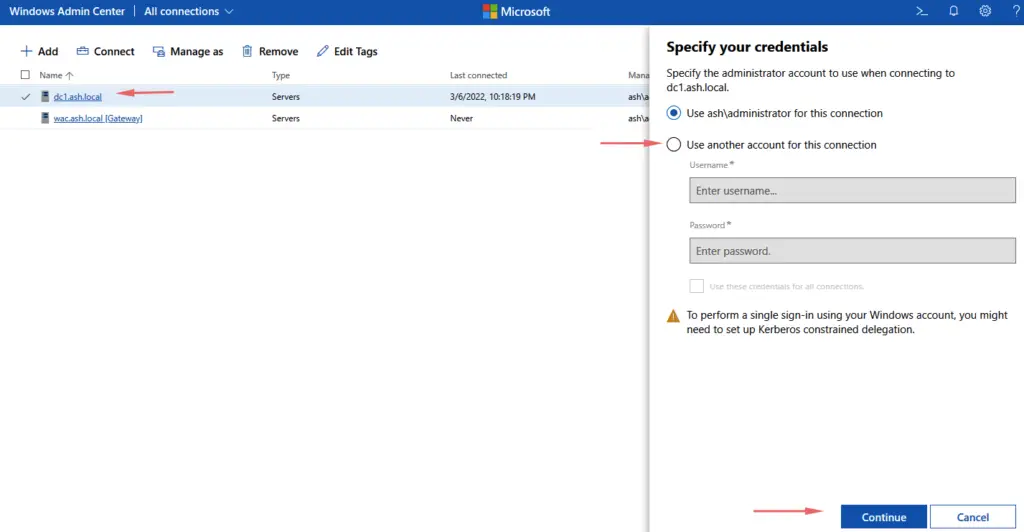
10 – Click Manage As and enter the appropriate login details.
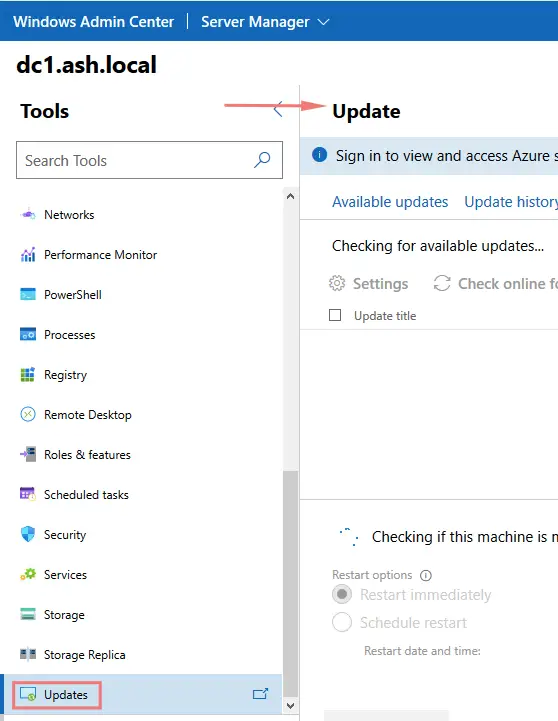
11 – List of actionable items is available
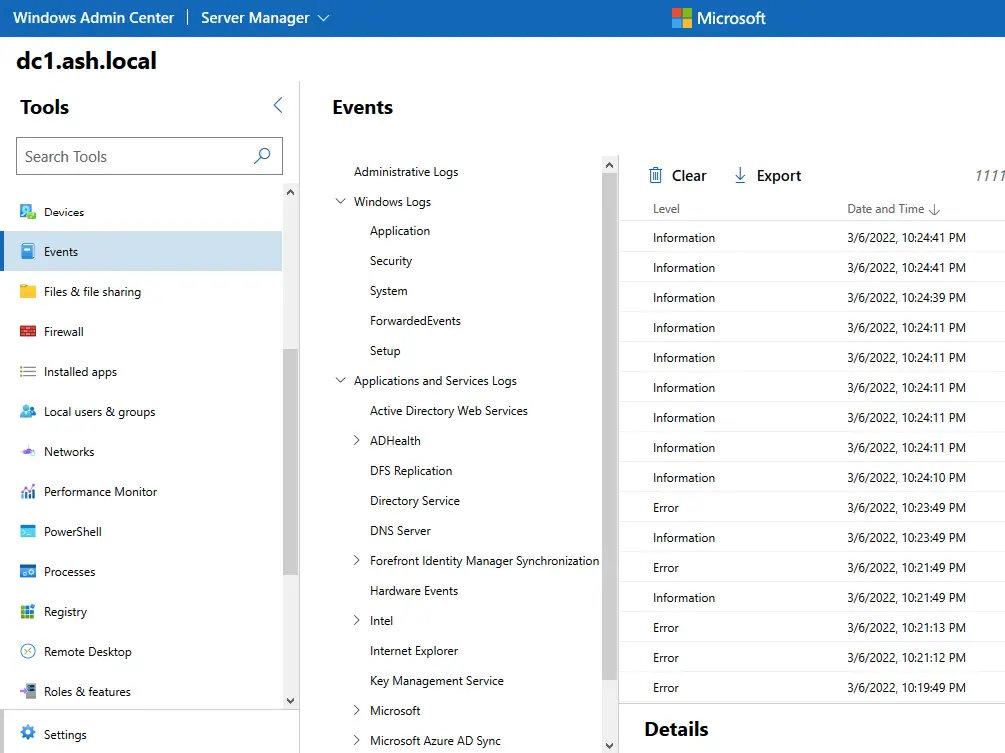
12 – For example, you can check the Windows Update status
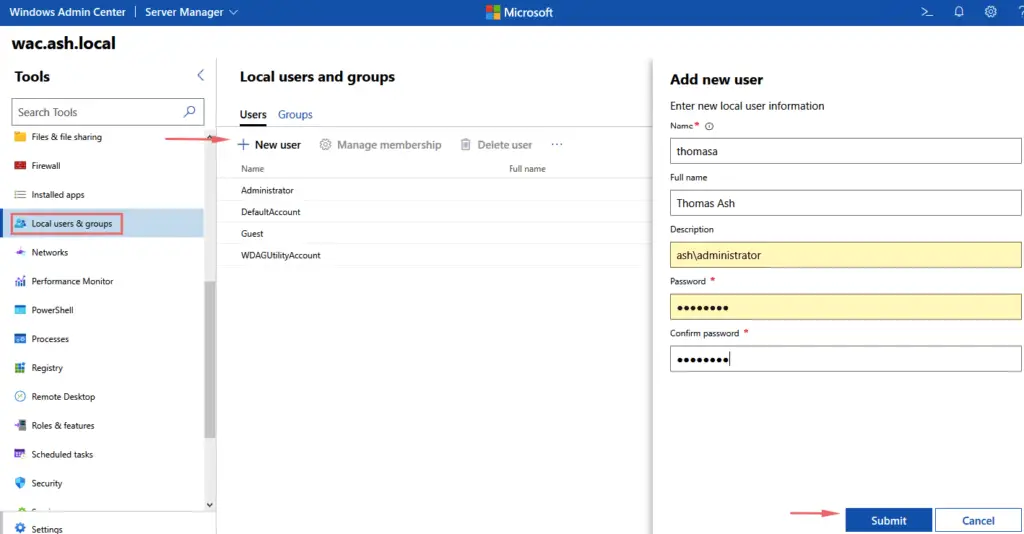
13 – Similarly a user can be added