In this guide, we will show a step by step VMware vCenter Server 6.7 windows based installation and configuration using the custom install method. We will later convert this vCenter to an appliance-based one in further chapters.
Summary of vCenter Windows Deployment
The following are the high-level steps required for our deployment.
- Navigate to VMware Product Interoperability Matrixes.
- Verify minimum OS requirements – vCenter 5.X requires 64 bit Windows OS
- Verify supported database – vCenter for windows requires an external database like SQL and the supported databases can be found from the above matrix by searching for Solution/Database Interoperability.
- PTR and A records should be enabled for our new vCenter and ESXi
Management VM Sizing Requirements
Since we have deployed it in our lab, we have deployed it with bare minimum settings.
| Type | Version | vCPU | Memory GB | Storage | Quantity | Services |
| ESXi | 6.7 | 4 | 4 | 60 GB | 1 | ESXi |
| vCenter-Windows | MS2019 | 4 Ghz (64 bit) | 8 | 100GB | 1 | vCenter Server |
| vCenter-PSC | MS2016 | 4 Ghz (64 bit) | 4 | 30GB | 1 | SSO or PSO |
| SQL Server | MS2016 | 4 Ghz (64 bit) | 6 | 100GB | 1 | SQL |
Install of vCenter Windows PSC Deployment on PSC-01
1- Download the Windows vCenter for Windows and mount the DVD, Click Autorun.exe to execute the package. The VMware vCenter Installer Windows will open, Select vCenter Server for Windows and then click on the Install button.
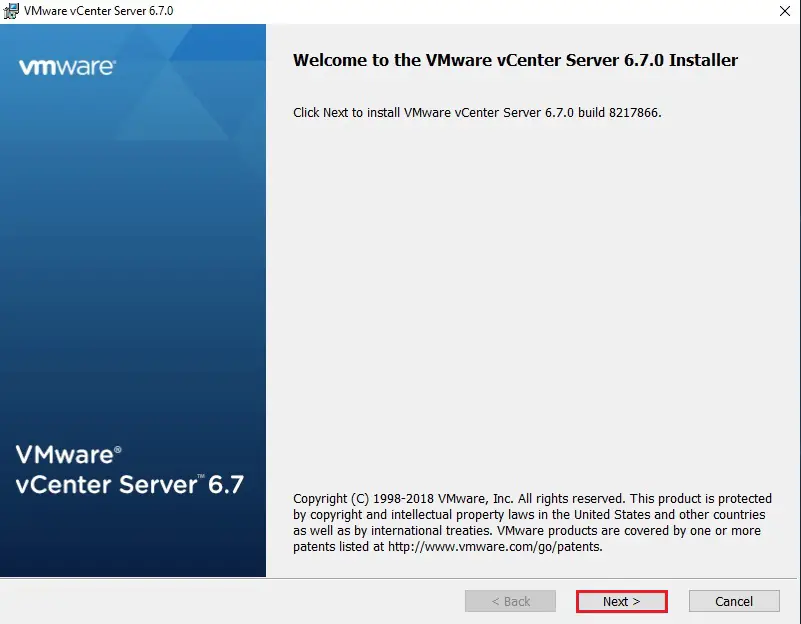
2- Welcome to the VMware vCenter Server 6.7 Installer, so click next.

VMware vCenter Installer
3- Select I accept the end-user license agreement and then click on Next.
4- Under deployment type, Select the vCenter Server external deployment and choose platform services controller.
5- Type your fully qualified domain name of our platform services controller.
6- Leave the default port configuration and then click on Next.
7 -Select the destination directory where you want to install PSC services and then click on Next.
8- Uncheck the VMware Customer Experience Improvement Program and then click on Next.
9- Review the VMware vCenter Server configuration and then click the Install button to start the installation process.
10- Click Finish
11- All the services installed on our PSC are shown
Install of vCenter Windows vCenter Deployment vCenter01
11- On our vCenter Windows VM, download the Windows vCenter for Windows and mount the DVD, Click Autorun.exe to execute the package. The VMware vCenter Installer Windows will open, Select vCenter Server for Windows and then click on the Install button
12- Type your fully qualified domain name of our vCenter.
13- Type your fully qualified domain name of our Platforms Services controller.
14- Choose the account to be used as our windows local systems account
15- Choose the SQL Server database we created
16- Leave the default port configuration and then click on Next.
17 -Select the destination directory where you want to install PSC services and then click on Next.
18- Review the VMware vCenter Server configuration and then click the Install button to start the installation process.
19- Click Finish
20- All the services installed on our PSC are shown
21- Open your browser and type your vCenter FQDN.

