

Interconnects help us to create a pool of IP addresses which will later enable us to deploy fleet appliances such as (local Hybrid Cloud Gateway, NE-I1, WO-I1, IX-I1)
Select the HCX Interconnect Service check button.
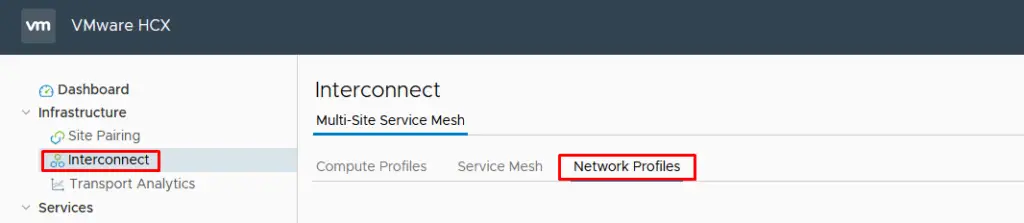
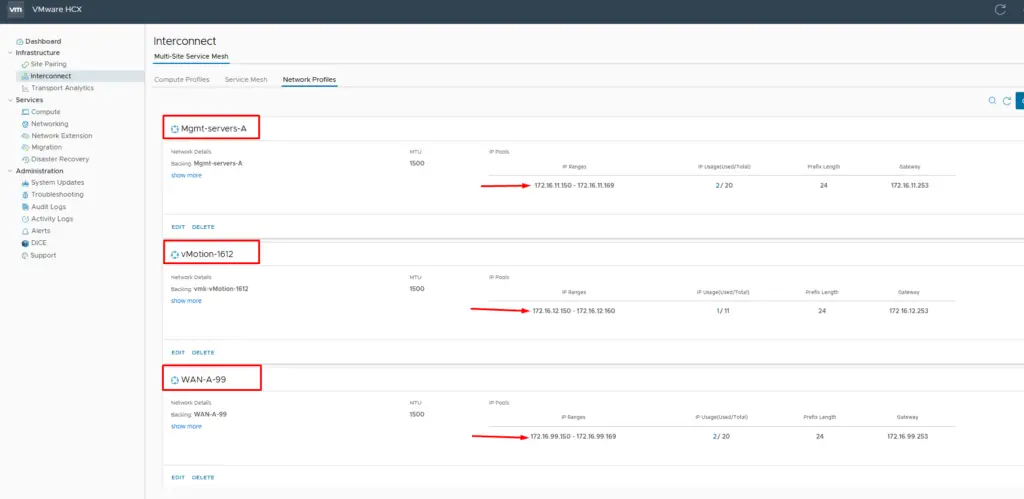
Go to Network Profiles Tab
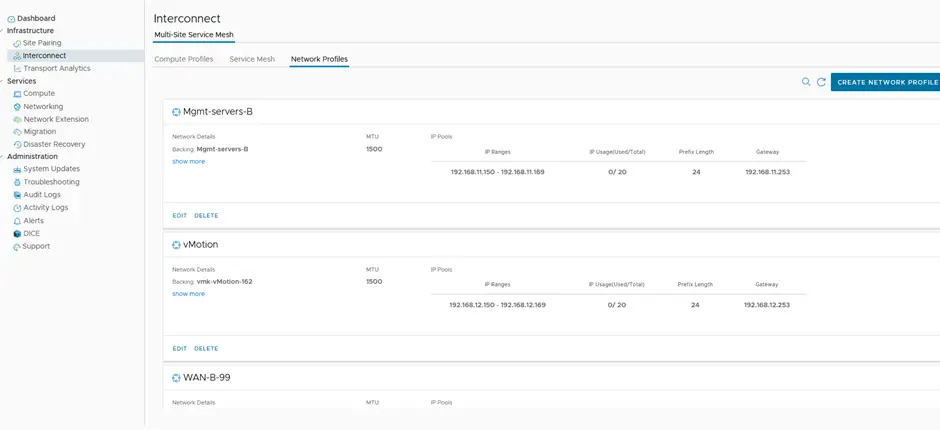
We will create three network pools here – one for management, vMotion, and another one for WAN Uplink.
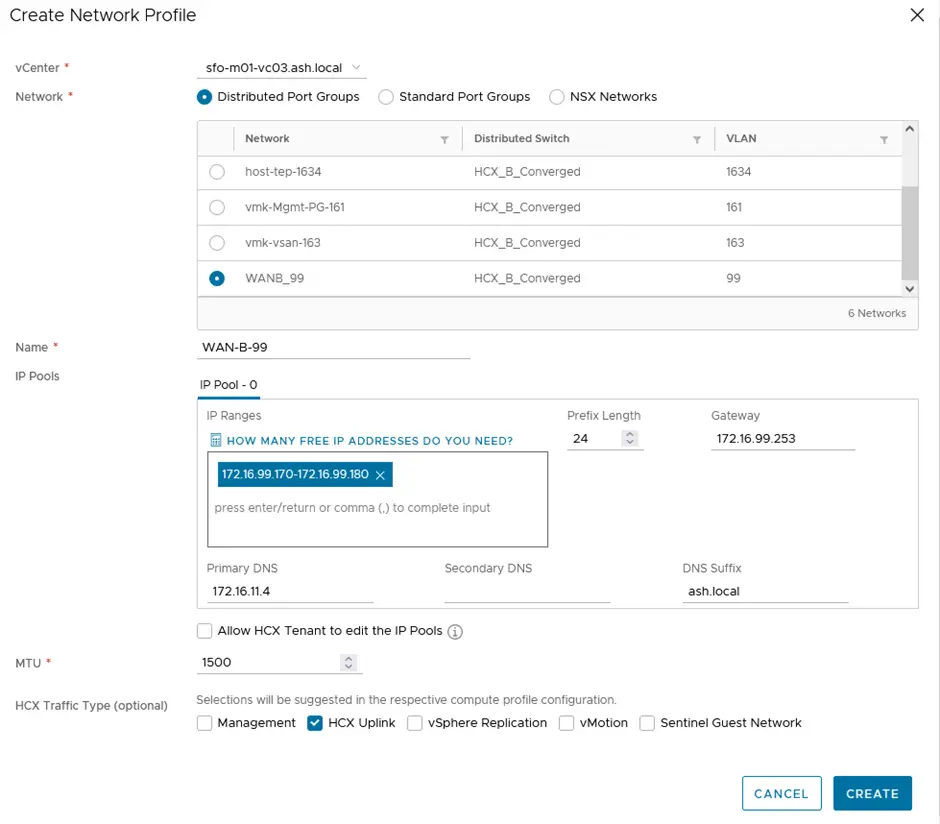
For the WAN uplink, I have this configuration as shown and likewise, I’ll have IP pools for the management and the vMotion port group as well.
Our three IP Pools are defined below
In this next blog, we will create a service mesh with the above IP pools we created.
(Visited 72 times, 1 visits today)