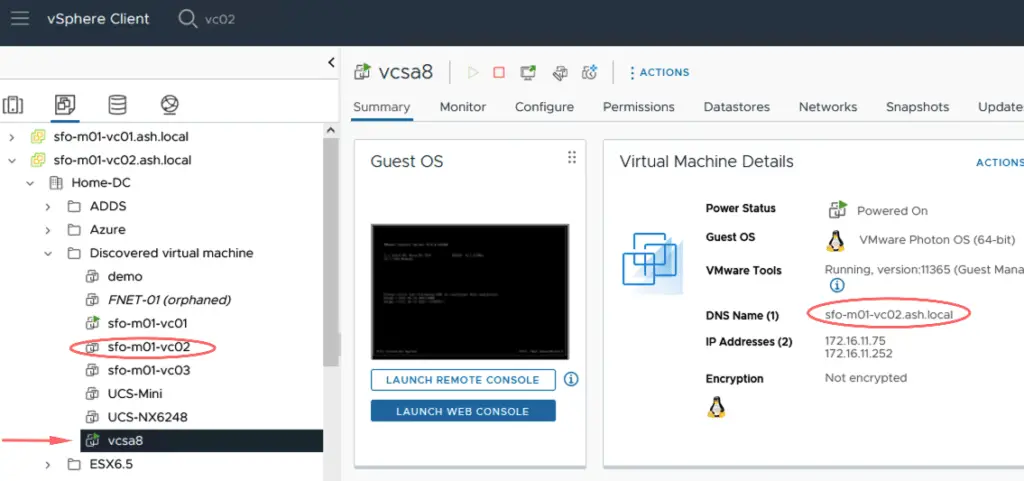
In this blog, we will upgrade our vCenter Server from 7.0.3 to 8. X.
Pre-Upgrade Checks
Make sure to make a note of the following configurations:
- The Installed vCenter | ESX | NSX version details and download an ISO locally and keep it ready.
- Make a note of all License keys
- User accounts and any custom permissions
- VM Tags
- VM Annotations
- VM folders
- Export VM Folder Permissions
- Distributed switch backups
- Network settings for the vCenter server
- NTP settings
- HA and DRS settings
- Note all DRS Rules ( Affinity and Anti-Affinity rules )
- CPU compatibility settings
- Are all your hosts running the same model of hardware?
- NSX Backups
- vCenter Backups
- vSAN config
- Backup Server Compatibility
- SAN Compatibility – VASA, vVols etc
- Run an RVTools Report
- Disable DRS prior to the upgrade
- Ensure root and admin passwords have not expired.
- Ensure all vCenters in linked mode are healthy
- Ensure the root partition / has enough space for the vCenter upgrade.
- ssh access must be enabled

- Reducing/Cleaning VMware Analytics Service data
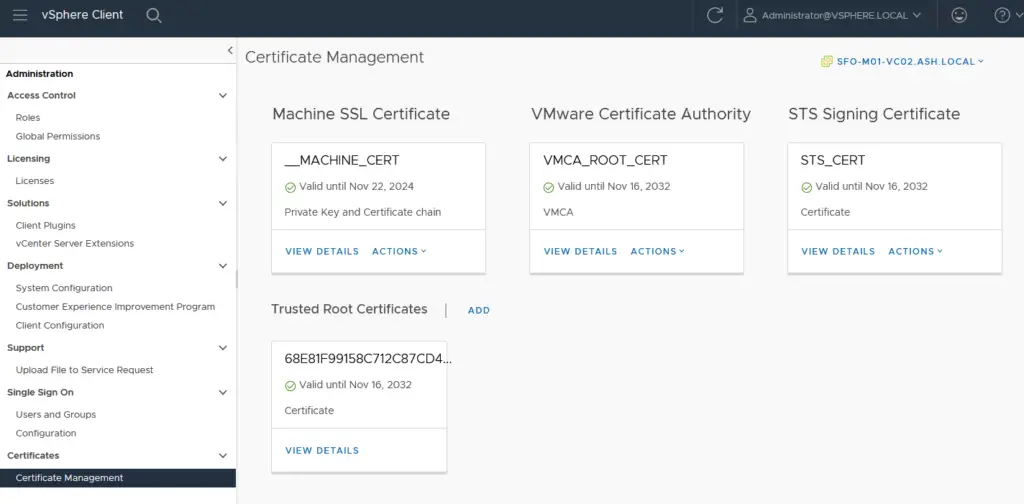
- Check certificates, or expired trusted root certificate
Upgrade Process
The upgrade process consists of two stages:
- Deploying a new VMware vCenter Server 8.0 virtual appliance.
- Migration of existing data and setting up all VMware vCenter Server 8.0 appliance services.
Upgrade WorkFlow
The upgrade sequence of VMware vCenter Server 8 follows these steps.
- Deploy VMware vCenter Server 8.0 virtual appliance.
- Assign a temporary IP address to the new VMware vCenter Server 8.0 virtual appliance.
- Copy all data from the source vCenter to the new vCenter 8.0 appliance.
- Power down the old vCenter Server appliance.
- Switch over the old IP address from the old vCenter to the new VMware vCenter 8.0 appliance.
- Import all data into the new vCenter Server 8.0 appliance.
Preparing for the vCenter Appliance Upgrade
1- We begin by verifying the health of the vCenter appliance. As shown below, this is a quick indication that your vCenter will need more memory and the likely scenario will be vCenter upgrade will fail so I’ll add some additional memory to the vCenter.
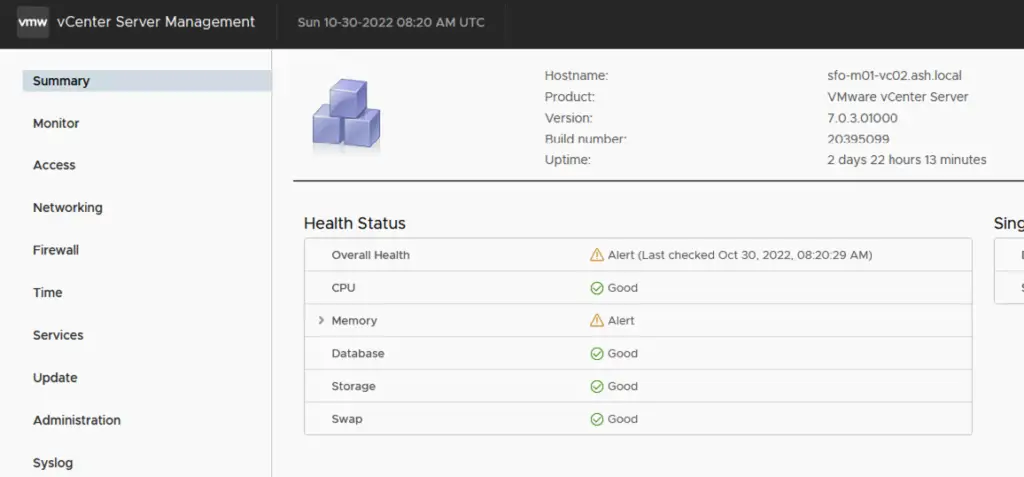
2- With the compute raised, let’s now back up the appliance configs such as NSX, vCSA appliance etc. Log in to each appliance and backup the appliance configs
3- Login to the vCenter via vsphere-client to check if vCHA is enabled on your vCenter.
4- Backup distributed switch config – Choose Export Config
5- Choose the option to include all port groups
6- Save the config to a local path
Procedure to Disable vCHA
If vCHA is not enabled in your environment, move to Step 10.
7- The next step to upgrade vCenter is to first remove our vCHA configuration from our vCenter. Go to Configure > Edit > Remove vCenter HA
8- Delete the Passive and Witness nodes
9- Validate if vCHA configuration is removed
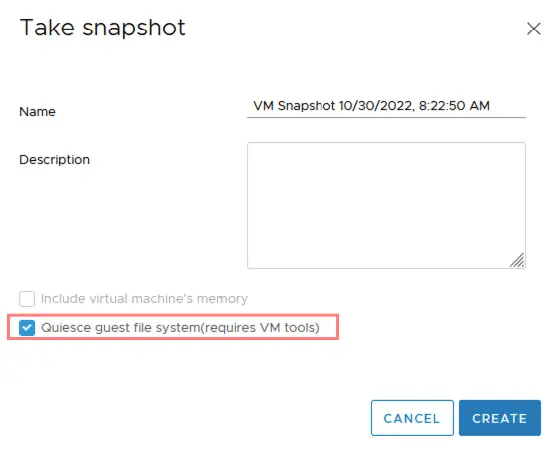
11- Snapshot your existing vCenter server with the option to quiesce memory.
12- Download vCSA 8.0 ISO from vmware.com

Stage 1 – Deploying the vCenter Server 8.0 Virtual Appliance
13- Run the installer from the supported OSs by double-clicking the installer.exe file.

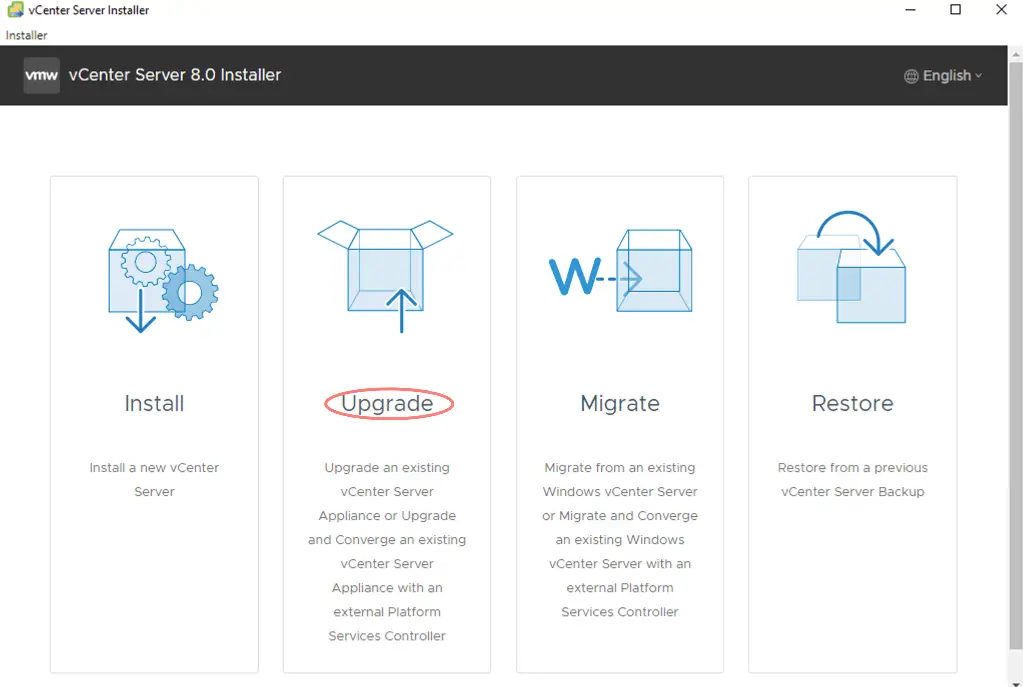
14- Choose the option to upgrade an existing vCenter appliance.
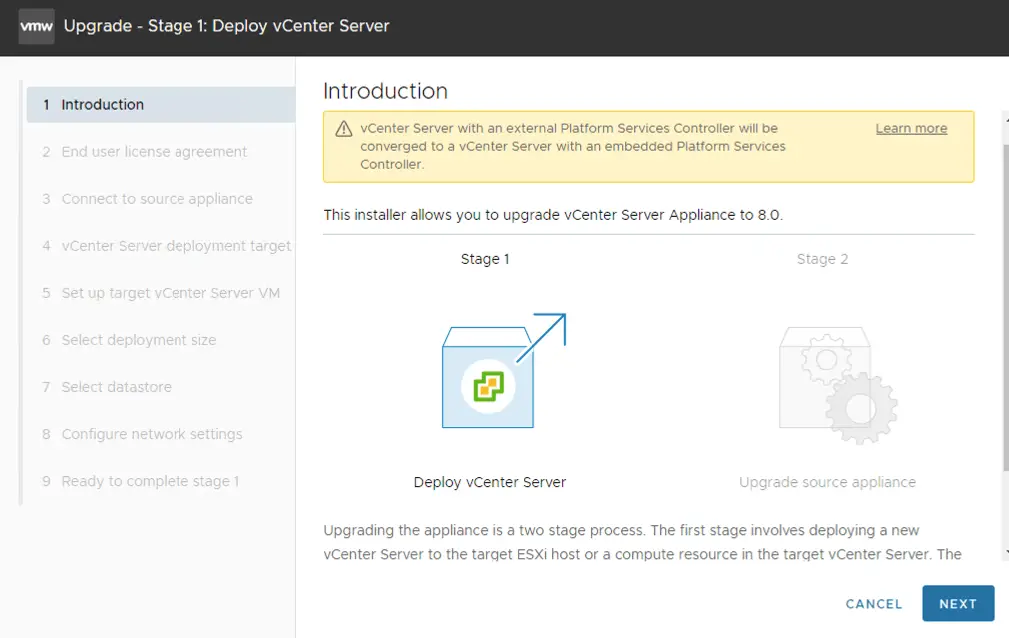
15- Click Next to begin the procedure.
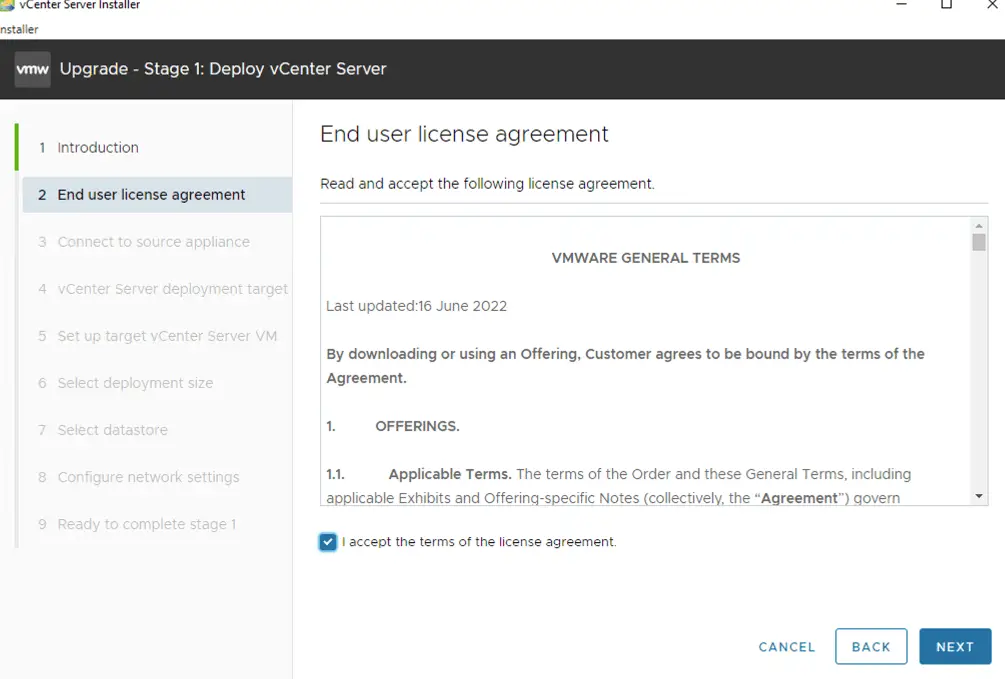
16-Accept the licensing agreement and click Next.
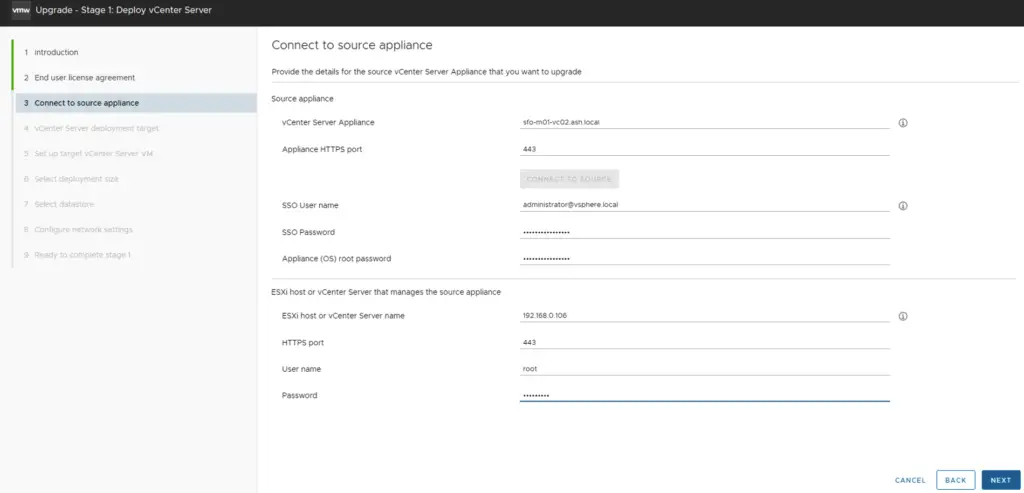
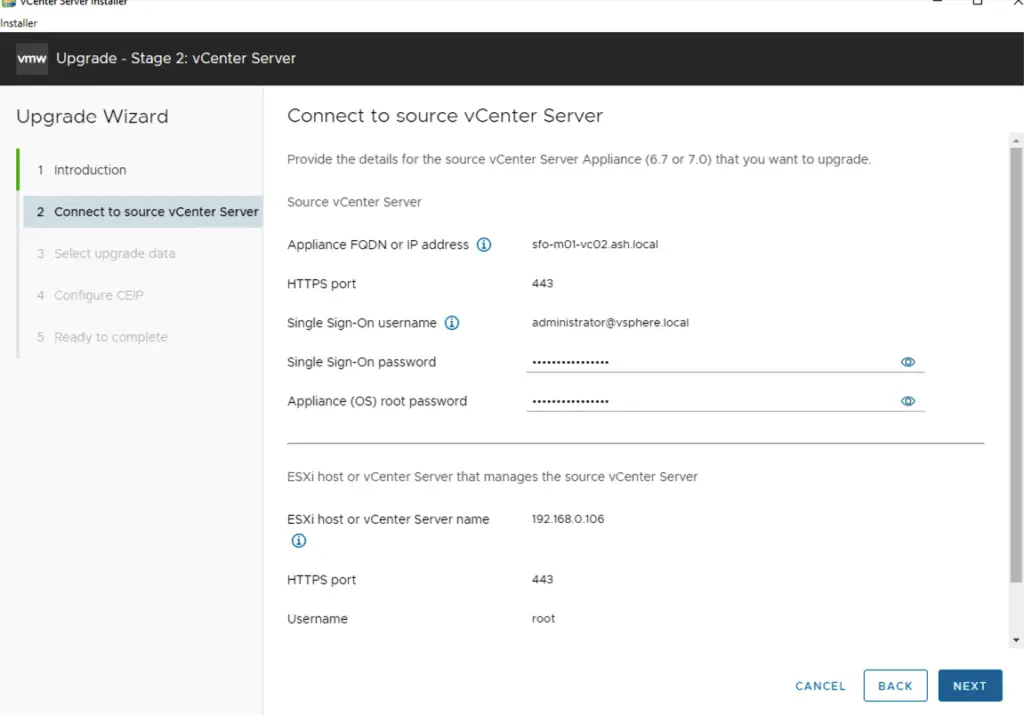
17- We will now connect to our vCenter which needs to be upgraded. Enter the source appliance vCenter FQDN or IP address and click Connect to the source. Input the SSO User name, SSO password, and the vCSA Appliance root password. Locate the host we attached the vCenter to previously, enter the ESXi host where our source vCSA resides and click Next.
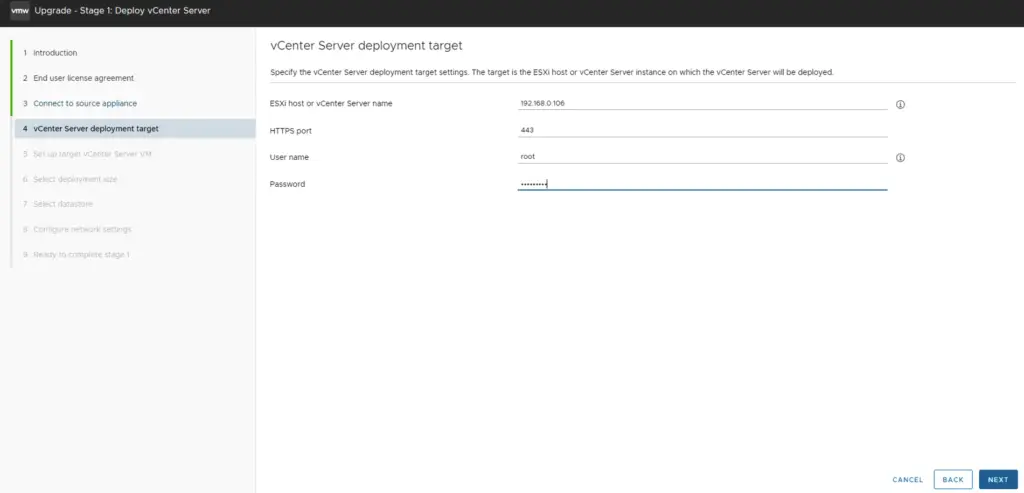
18-Specify the target ESXi host to deploy the new appliance. In our lab, we will just deploy the new vCenter to our ESX-01 nested host
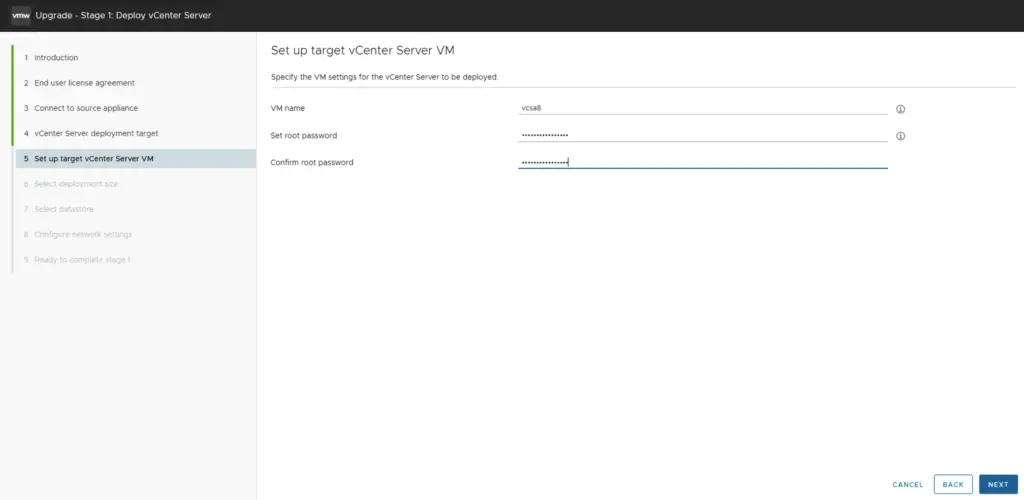
19-Give the new vCenter VM a name, we can choose any name here and there is no name resolution required.
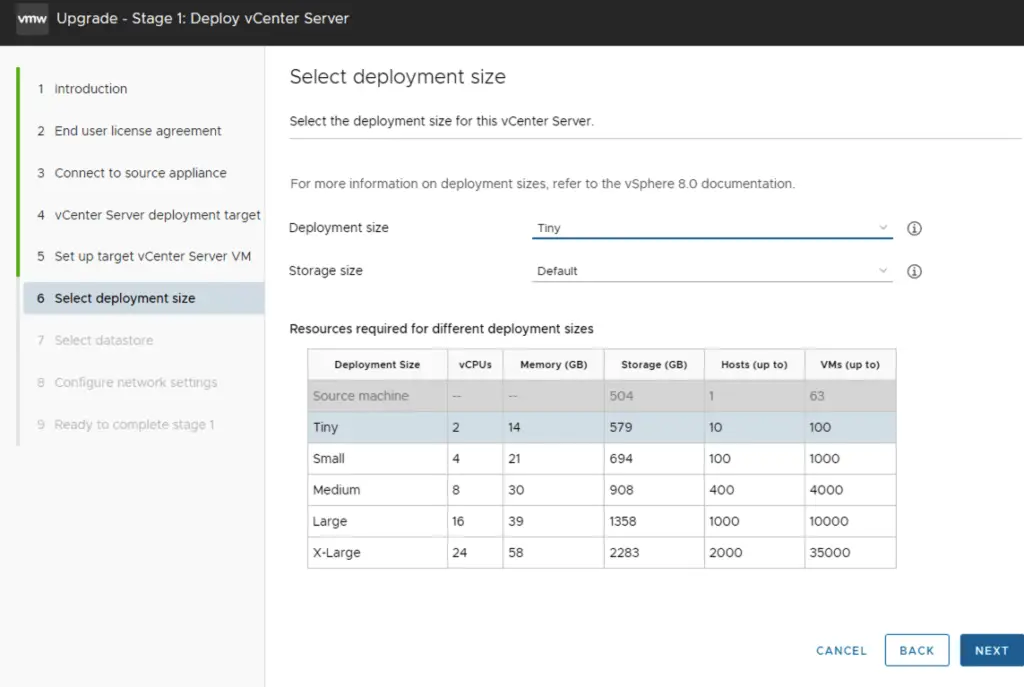
20-Specify the Deployment size as needed.
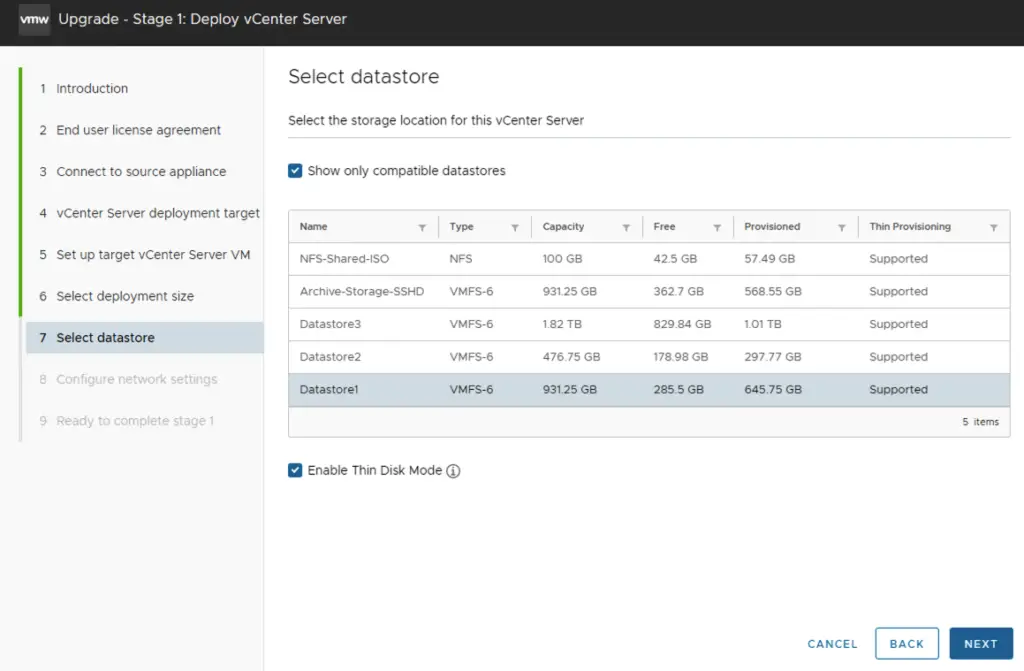
22-Choose a datastore to deploy the new vCenter 8 appliance and enable thin disk mode.
23- We will need to provide this new vCenter with a temporary IP address which is only used only during the deployment process to copy the data from our production vCenter. The IP address of our production vCenter will be the same as the source appliance. Once the Stage2 process is completed, the new vCenter 8 will take the network identity of the old old VCSA.
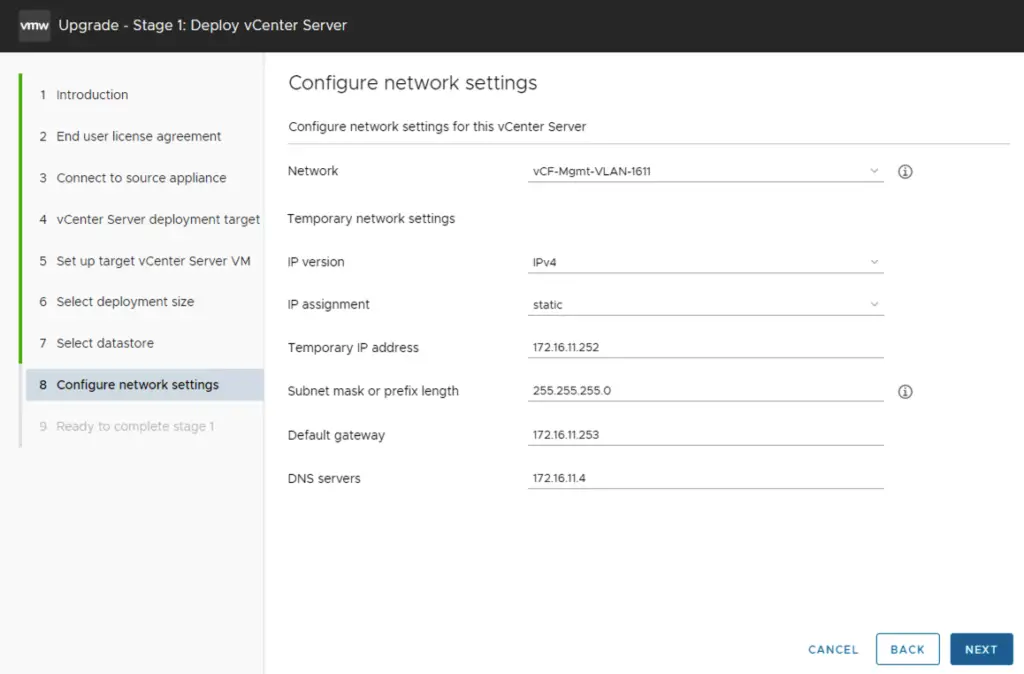
24-Validate all settings and Click Finish
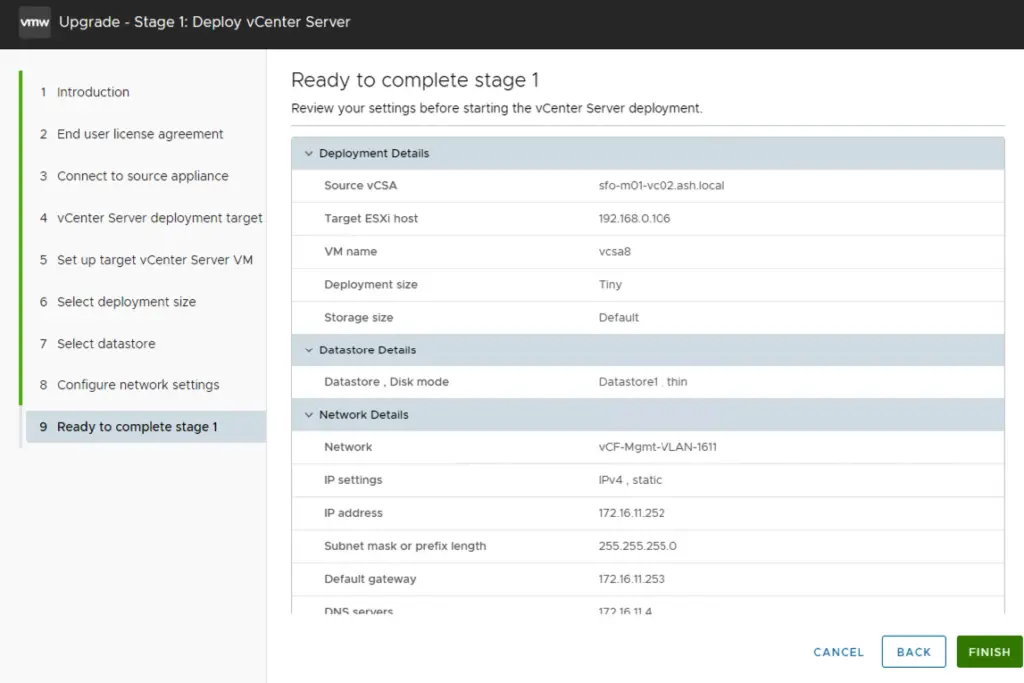
25-The Stage 1 phase of our vCenter begins and this will basically spin a new vCenter on the ESXi host with the temporary IP we created earlier.
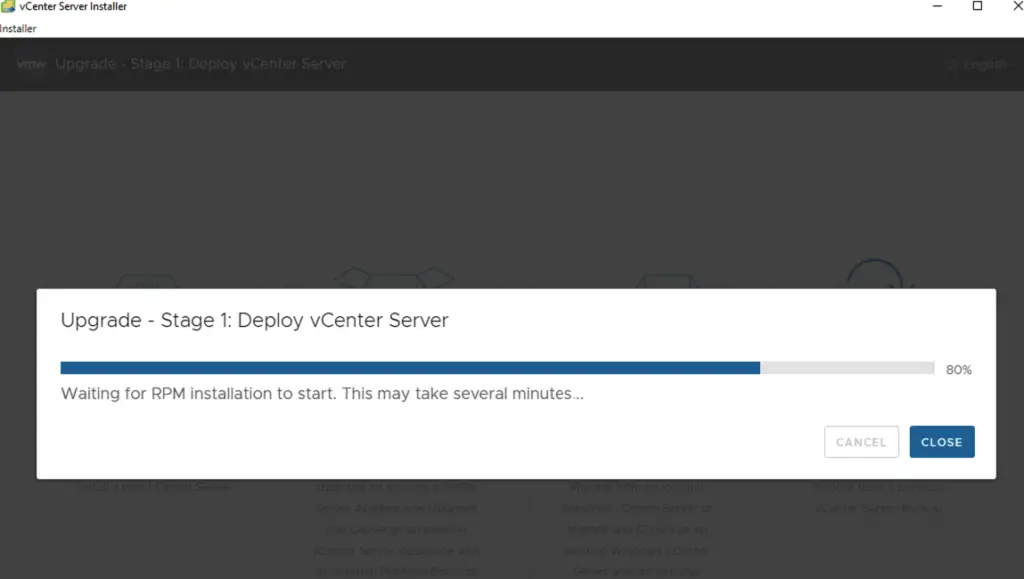
26-The Stage1 deployment is usually quick and takes about 20 minutes. Click Continue to move on
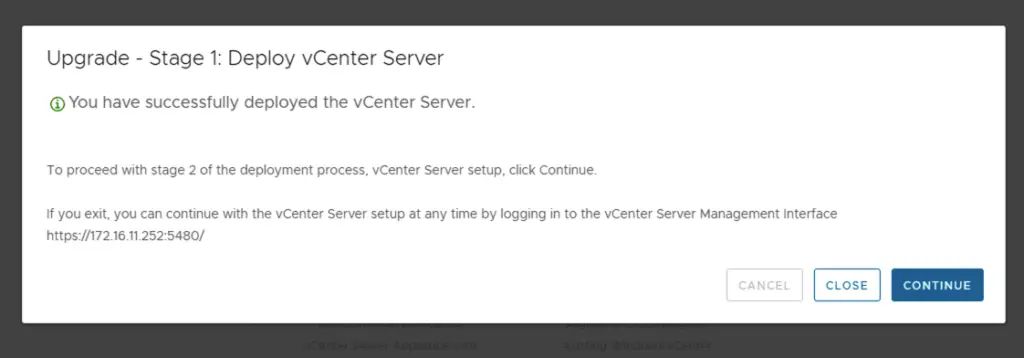
Stage 2 – Upgrade vCenter Server Appliance 7 to 8
27-Once stage 1 is completed, let’s proceed with stage 2.
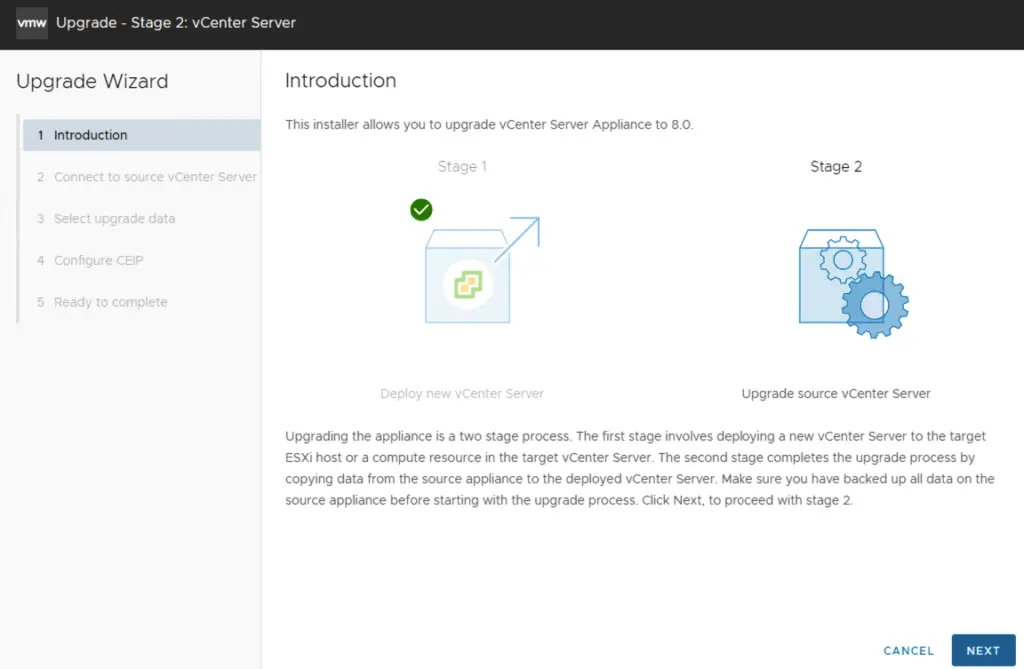
28- Connect to source vCenter
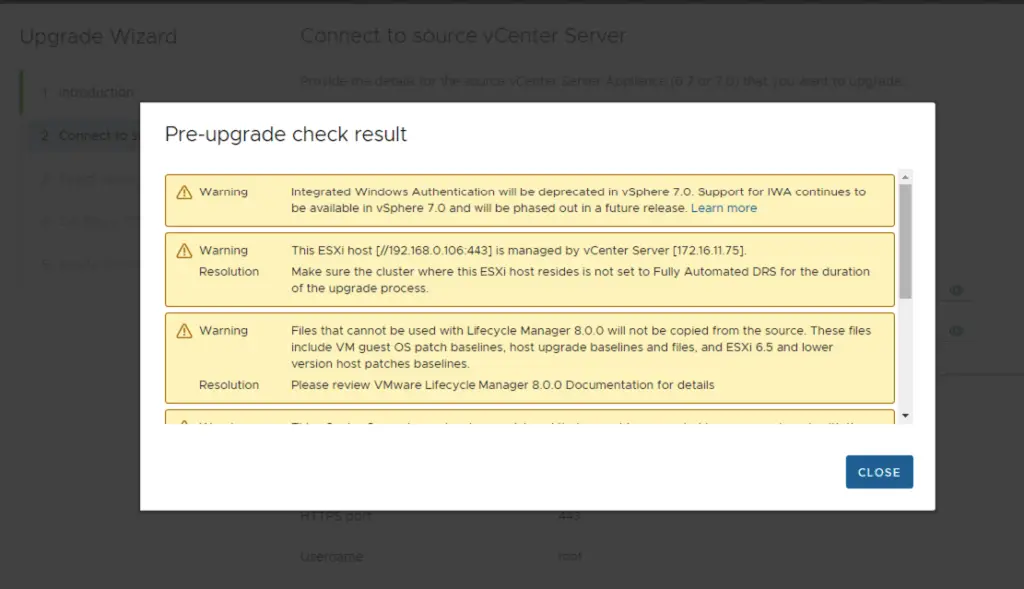
29-Review all the outputs of the Pre-Upgrade checks.
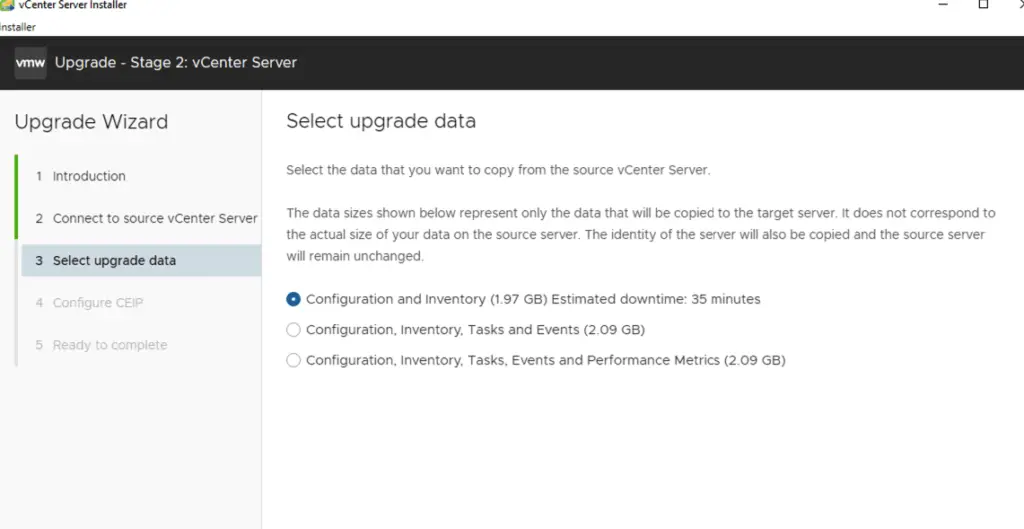
30-Select the data to be migrated and click Next. For this lab, I’ll just pick the configuration data to be moved over
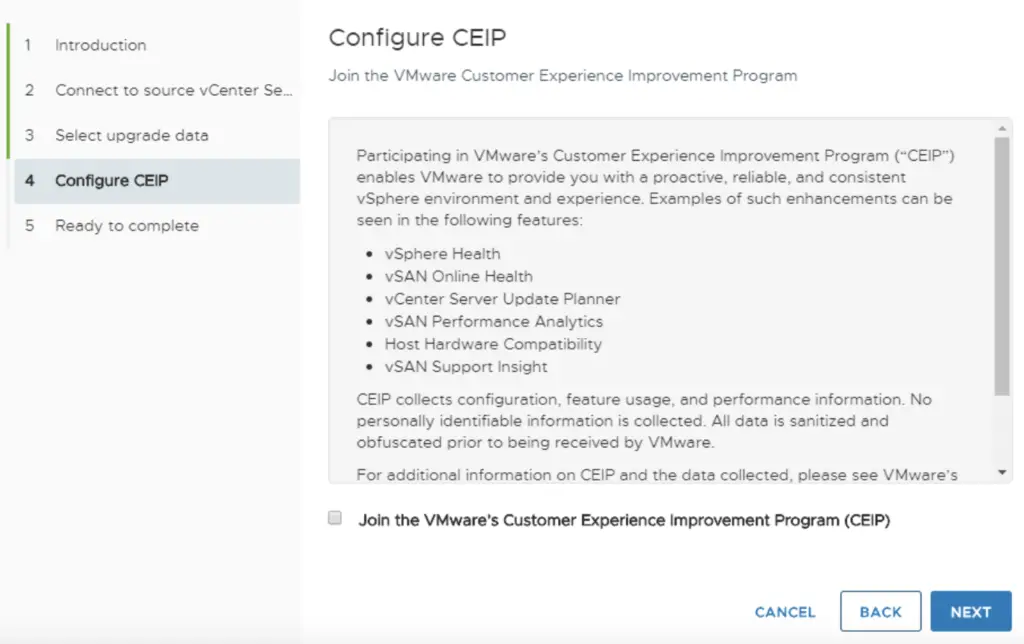
31-Skip Join the VMware’s CEIP option and click Next
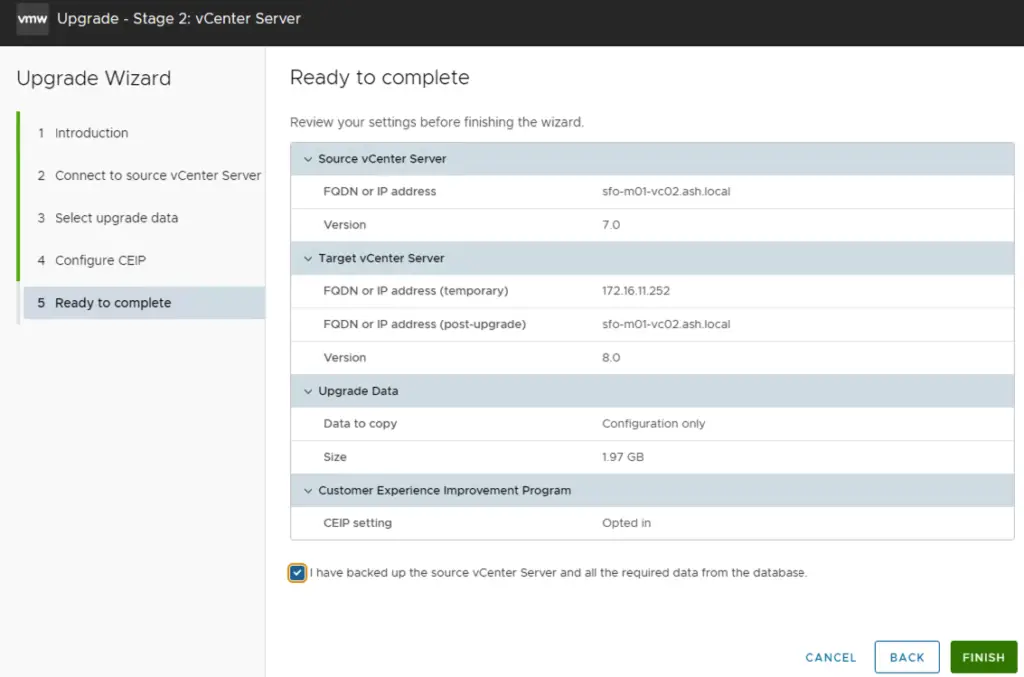
32- Validate all settings and Click Finish
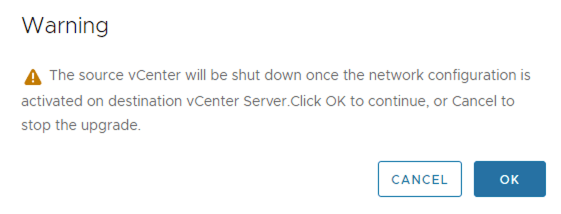
33-Click OK to proceed with the upgrade.
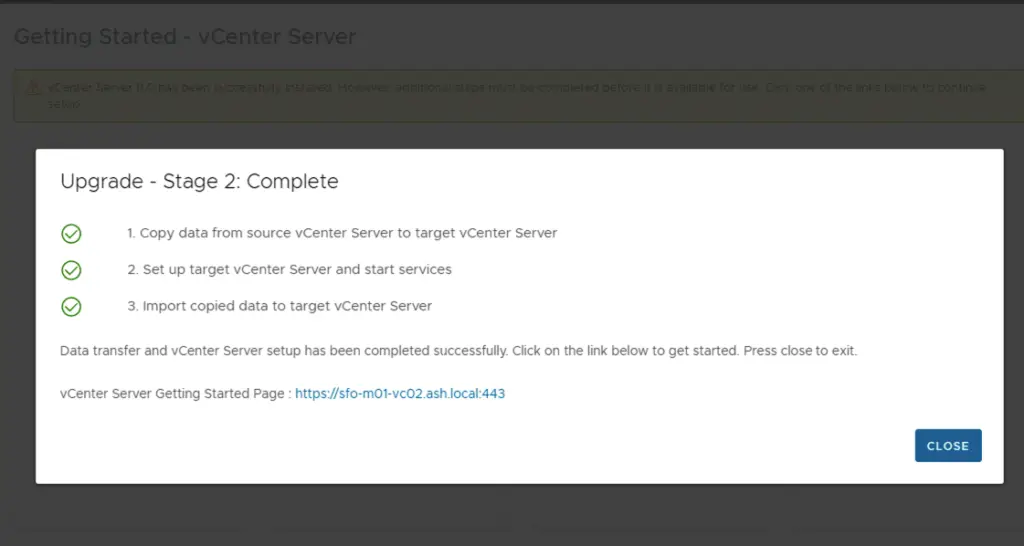
34- We have to wait a few minutes to copy the data from the source vCenter to the target vCenter and services are started on the new vCenter
35- Login into the vCenter to verify the version of vCenter
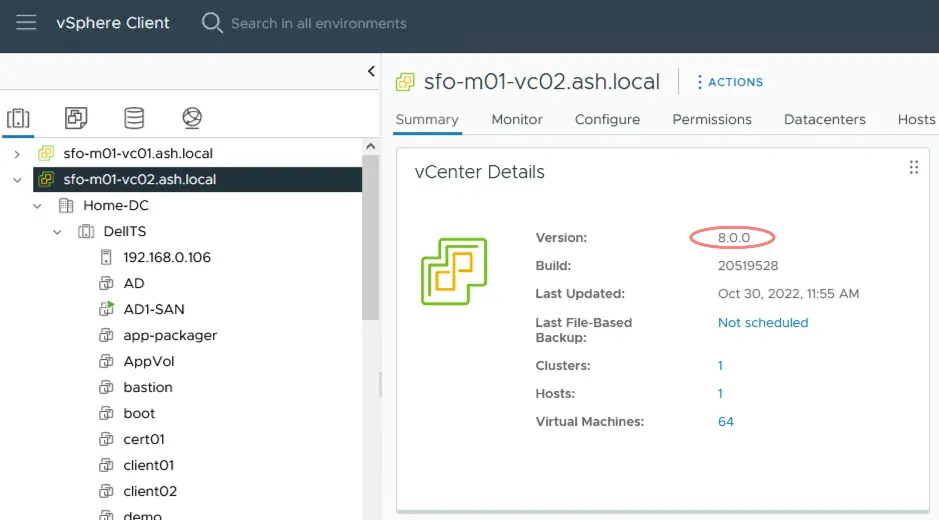
36- Our old vCenter is powered off and the new vCenter vCSA8 shows the same FQDN and IP Address as our Source vCenter.
