A compute profile is essentially a container for storage, network and the compute settings that the HCX will use to deploy the HCX virtual machines ( also called fleet appliances) as the service mesh is being built.
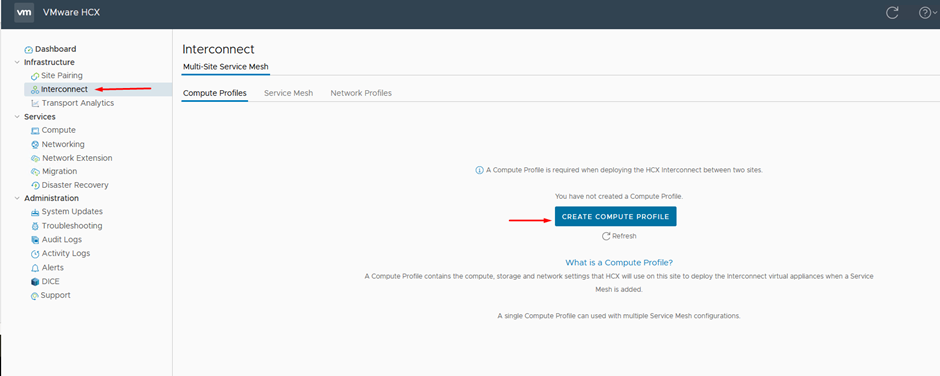
Go to Infrastructure > Interconnect > Compute Profiles > Create Compute Profiles
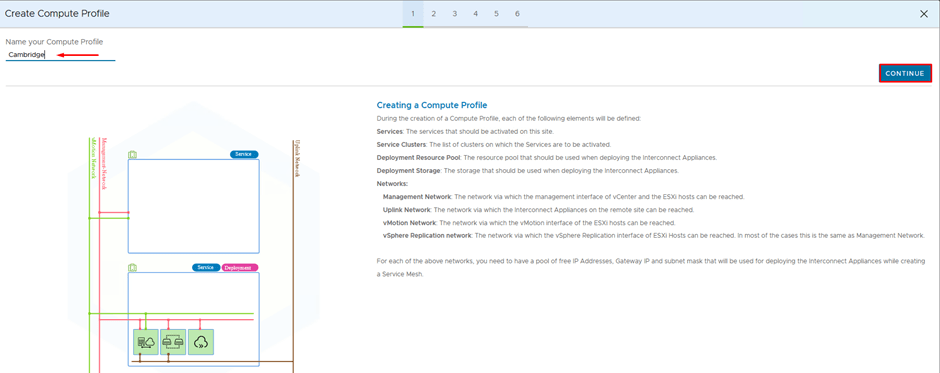
Give the compute profile a name eg: Cambridge
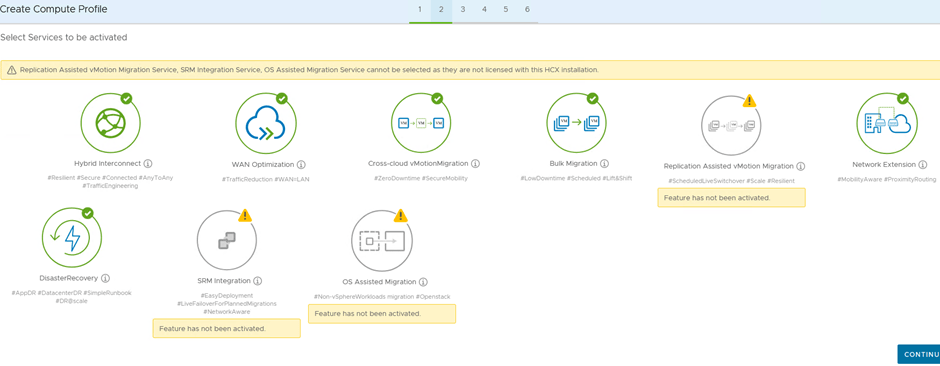
We will now be presented with a list of appliances and services that are to be installed and activated. As per this one, my license allows WAN optimization, Bulk migration, and Cross-Cloud vMotion plus Disaster Recovery. If NSX-T is installed and linked, we can use Network Extension.
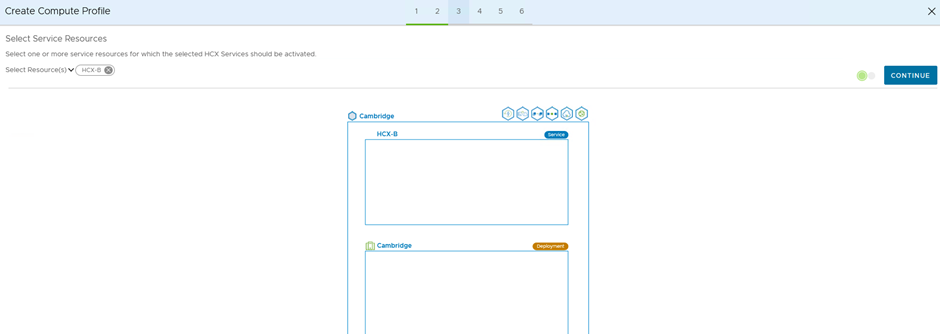
Select the resource as HCX-B
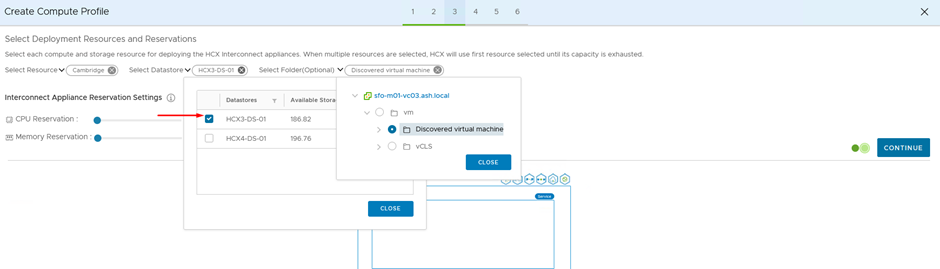
We will now need to bind the resources we will be using for the HCX-B compute so I will pick a datastore, and a folder to which my fleet appliances should later be deployed.
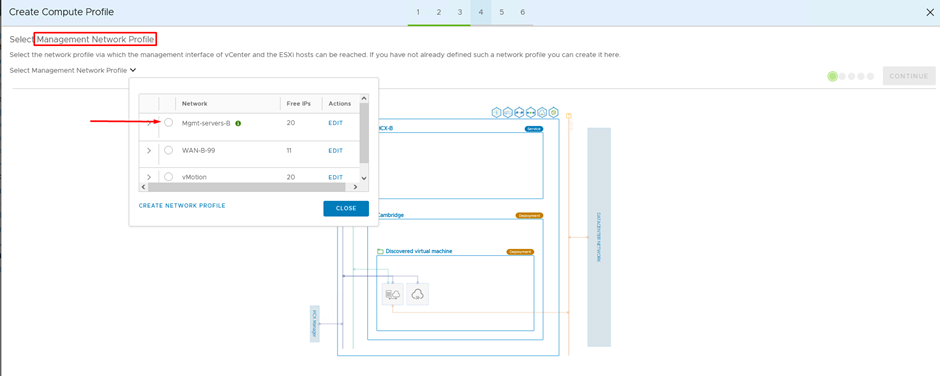
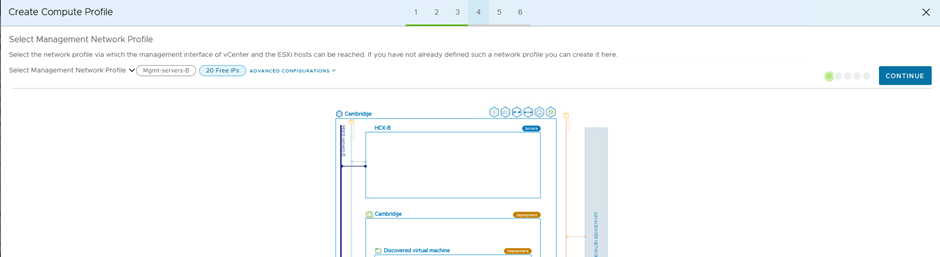
Under the Management Network Profile, we will now pick the Mgmt-IP Pool we created earlier.
As expected, we can see our Mgmt IP pool is now linked to our Mgmt HCX Network Profile
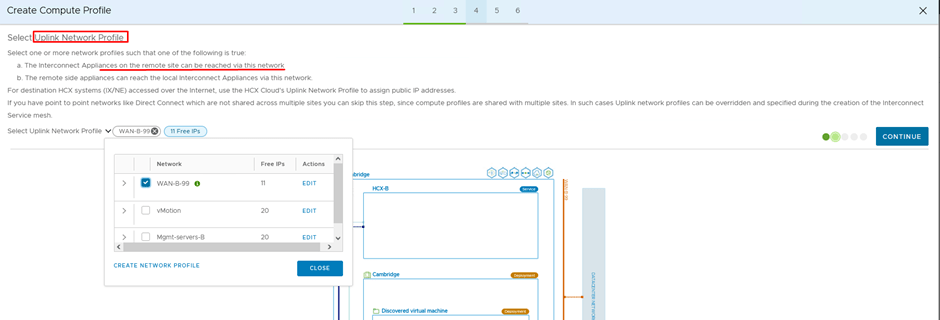
Likewise, for our Uplink, we will need to choose the connection that’s linking itself to the peer site so this will be the WAN interface.
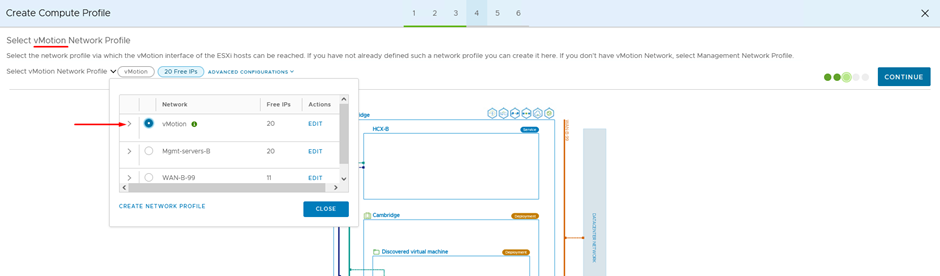
For the vMotion network profile, we will pick the vMotion IP Pool we created earlier.
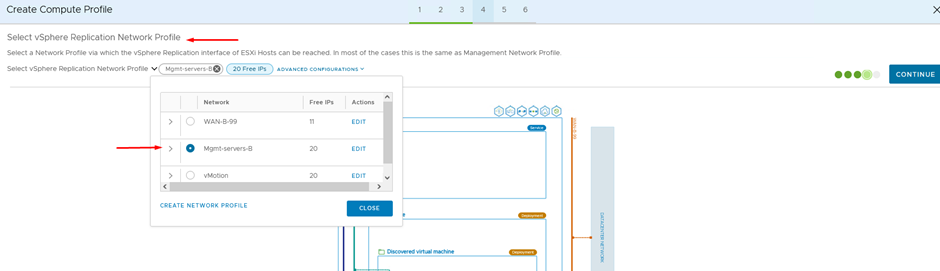
There is one more Network Profile, called the vSphere replication Profile and I’ve picked up the management IP Pool for this task.
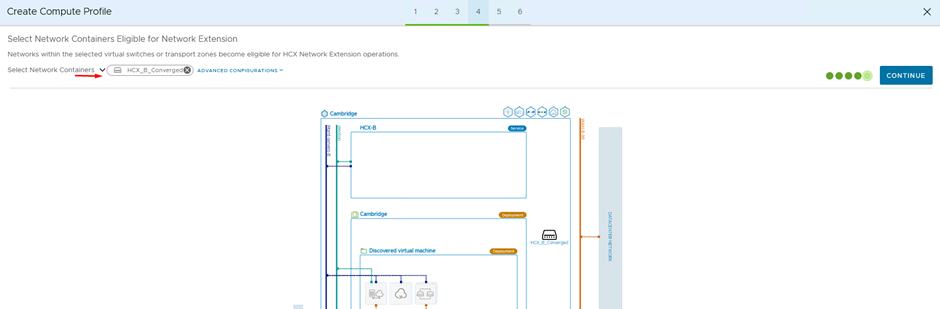
Under the transport type, you can pick the distributed switch or the NSX-T
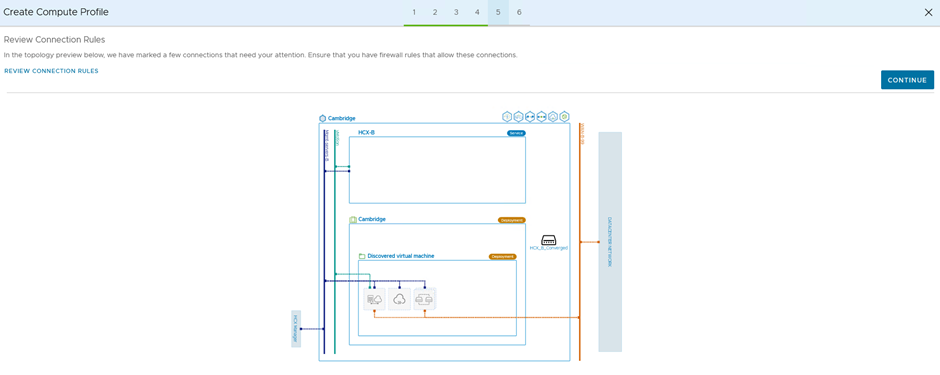
Our topology will now display all the connections we are about to attach to the compute profile.
Review and click Finish to complete the wizard
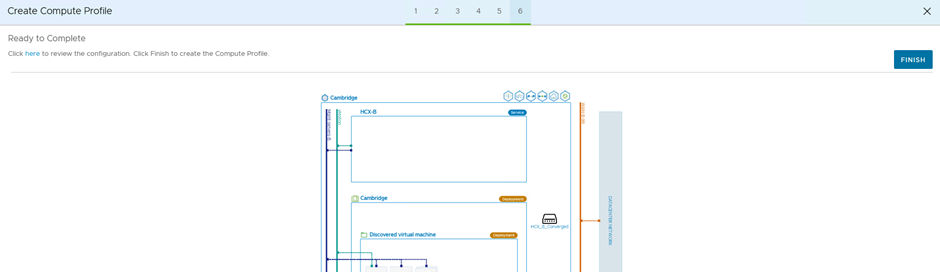
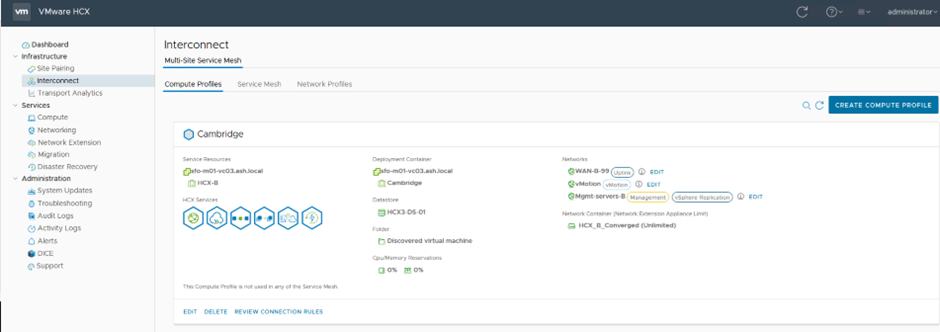
Our Compute Profile is ready with all our configurations.