

Managing certificates in a vSphere environment is one of those tasks that feels simple on paper but quickly becomes a rabbit hole if you don’t follow a structured workflow. In this walkthrough, we’ll replace the Machine SSL certificate on a vSphere 8.x vCenter Server Appliance (vCSA) using a Microsoft Certificate Authority–signed certificate, while validating the environment with vCert, lsdoctor, and the vSphere Diagnostic Utility.
This is the exact flow I use in the field — predictable, repeatable, and safe
Blog Series
- End‑to‑End Machine SSL Replacement on VVF vSphere 8/9.x with vCert via CLI
- End‑to‑End Machine SSL Replacement on VVF vSphere 8/9.x with vCert via UI
- Walkthrough covers how to install and run the vCert 6.0.0 utility
- Create a CA and Replace vCenter Server SSL certificate with CA signed certificate via vSphere Certificate Manager
- Create Custom CSR for vCenter using OpenSSL
Creating a Microsoft Certificate Authority Template for SSL certificate creation in vSphere
For creating a Microsoft Certificate Authority Template for SSL certificate creation in vSphere 6.x/7.x, open Cert Manager > Certificate Templates> Manage > Choose Web Server> right-click and choose Duplicate Template.

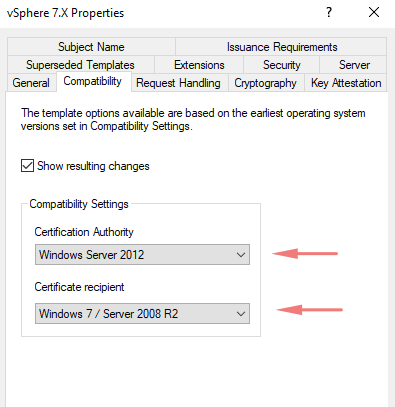
In the Duplicate Template window, select Windows 7 / Server 2008 R2 Enterprise for backward compatibility. if you need more security and encryption level higher on your cert choose the higher version of OS from the list. For backward compatibility choose a lower OS version.
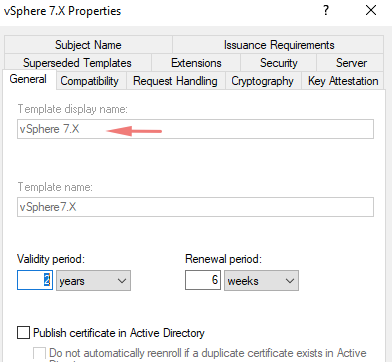
Under the general tab, give a name for our template
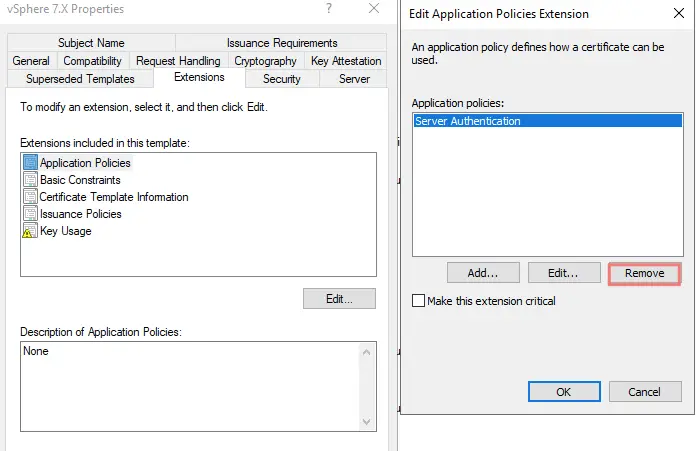
Under Extensions tab > Application Policies > Click Server and Client Authentication and click Remove, then OK.

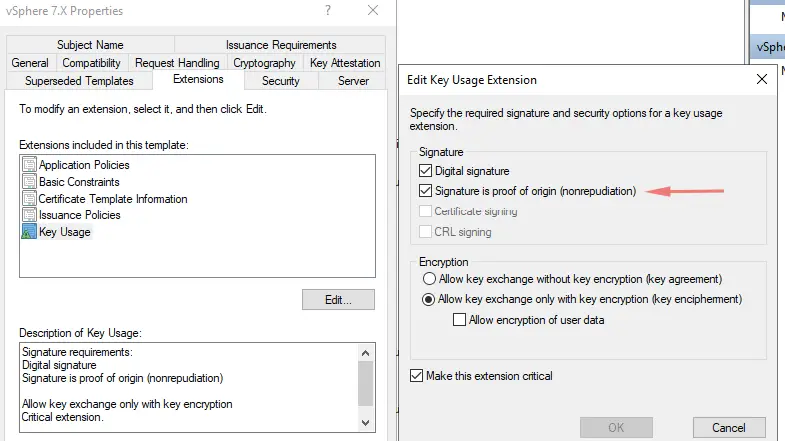
Next Go to Key Usage, click check on Signature is a proof of origin (nonrepudiation)

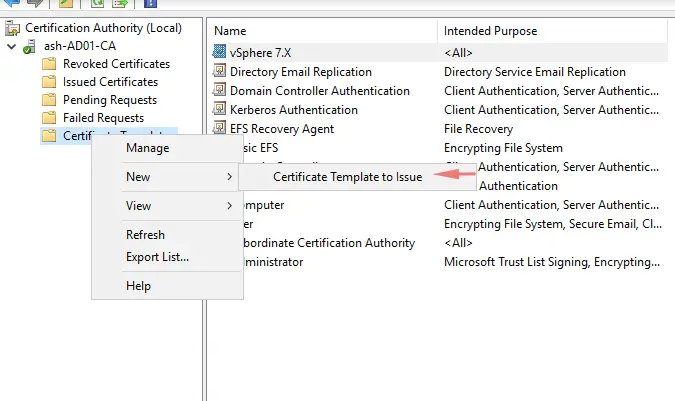
Open Server Manager, go to Tools choose Certificate Authority. On the Certificate Templates right click, go to New > Certificate Template to Issue.

That’s everything we need to do to create a certificate template.
Replacing a vSphere Certificate UI Workflow
Validate Existing Certificates on the vCenter Server Appliance
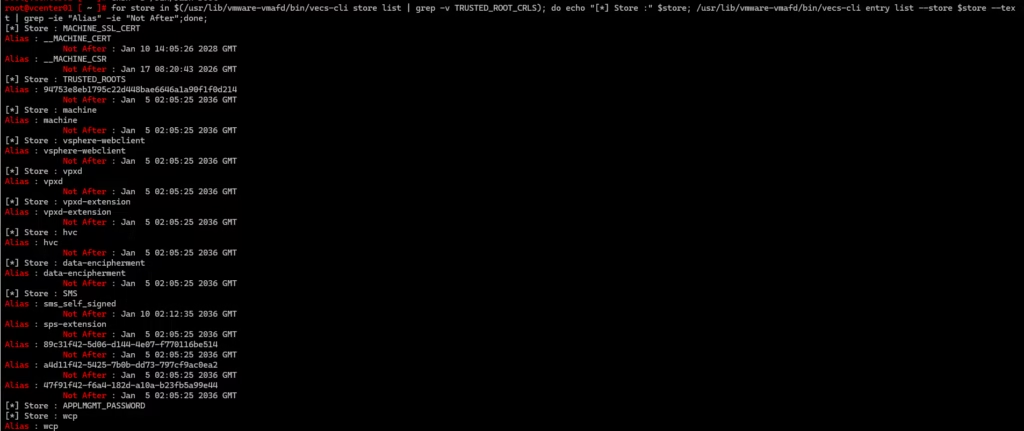
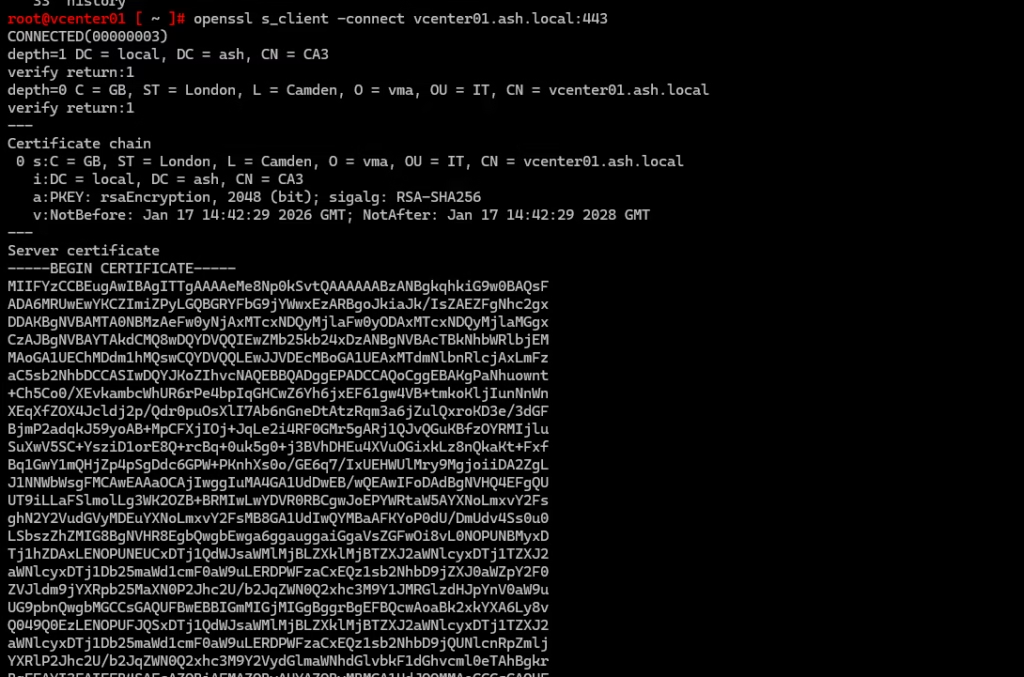
Start by SSH’ing into the vCSA and checking the current certificate stores .
for store in $(/usr/lib/vmware-vmafd/bin/vecs-cli store list | grep -v TRUSTED_ROOT_CRLS); do echo "[*] Store :" $store; /usr/lib/vmware-vmafd/bin/vecs-cli entry list --store $store --text | grep -ie "Alias" -ie "Not After";done;If everything looks clean — expiry dates valid, no unexpected aliases — move on.
Run Health Checks Using VMware Tool
Download the latest tools from the Broadcom portal:
- vSphere Diagnostic Utility
- lsdoctor
- vCert 6.x

Run each tool to get a baseline health snapshot.
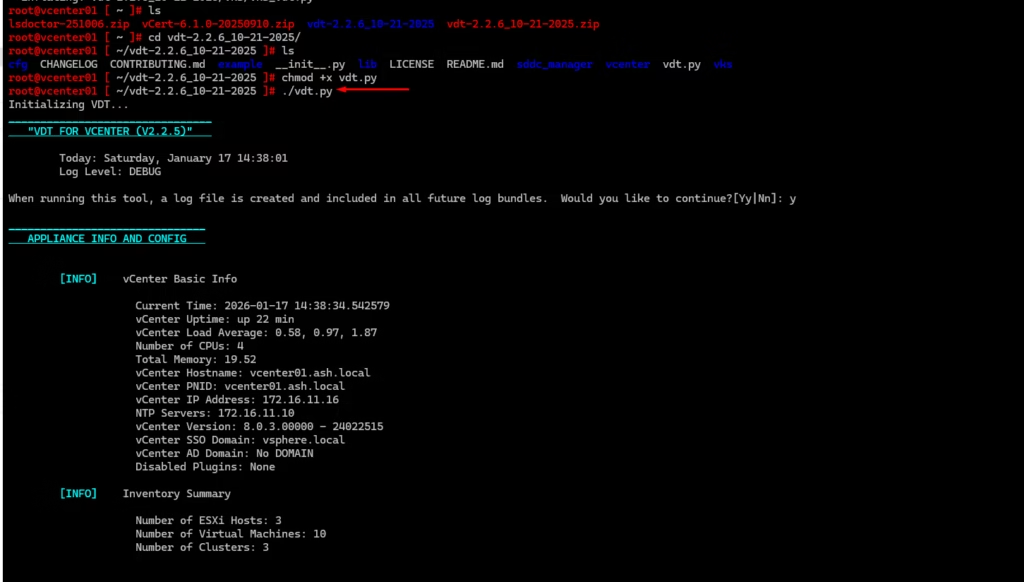
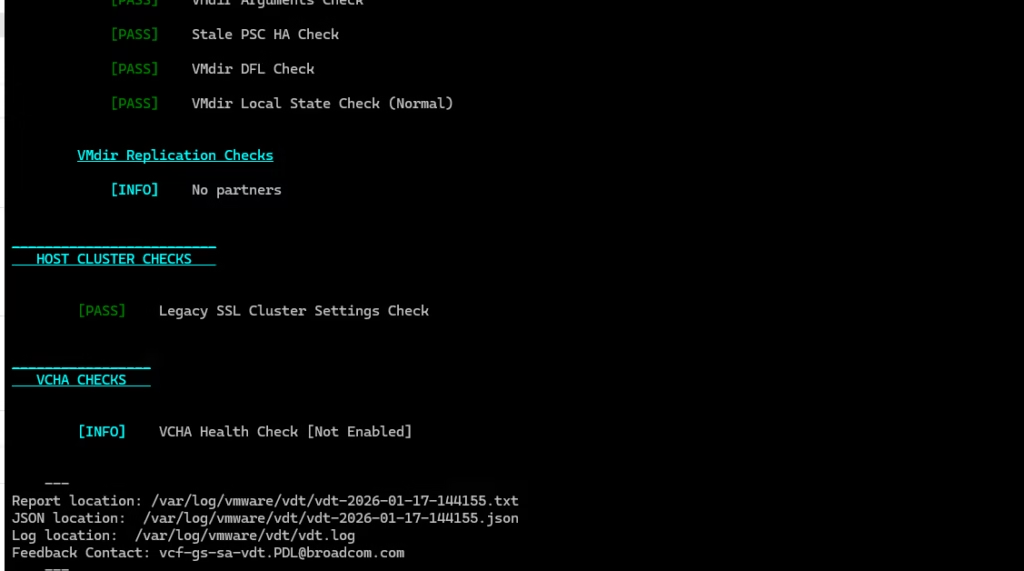
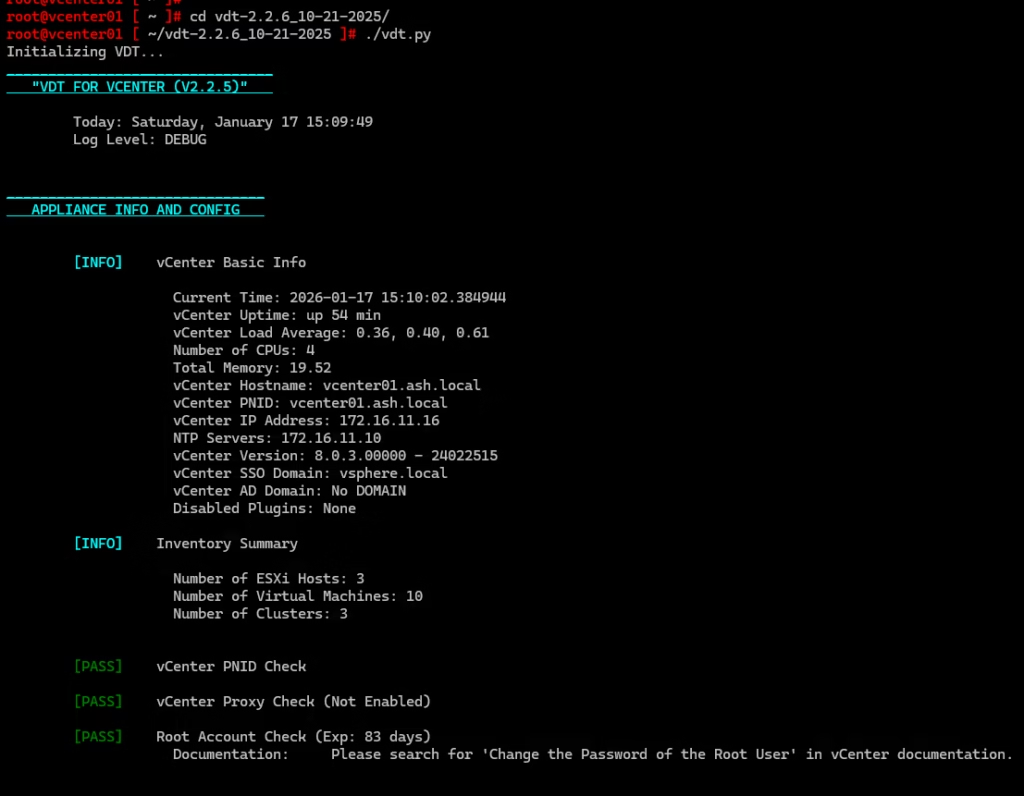
vSphere Diagnostic Utility
This will flag any certificate‑related warnings early.
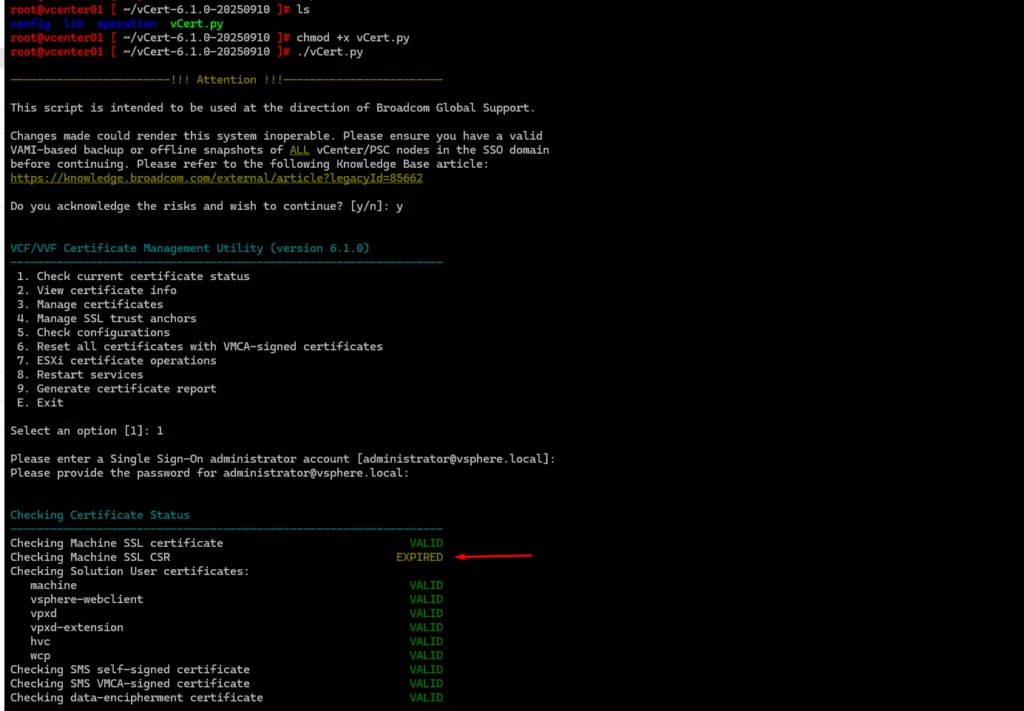
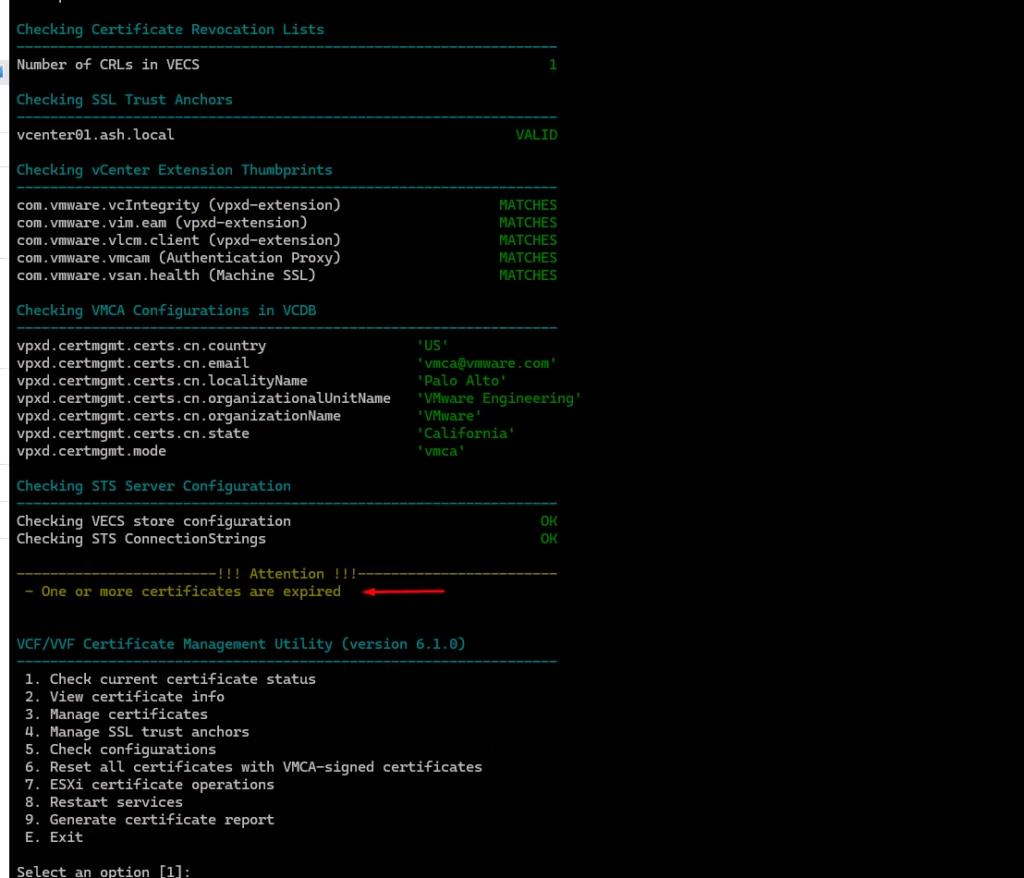
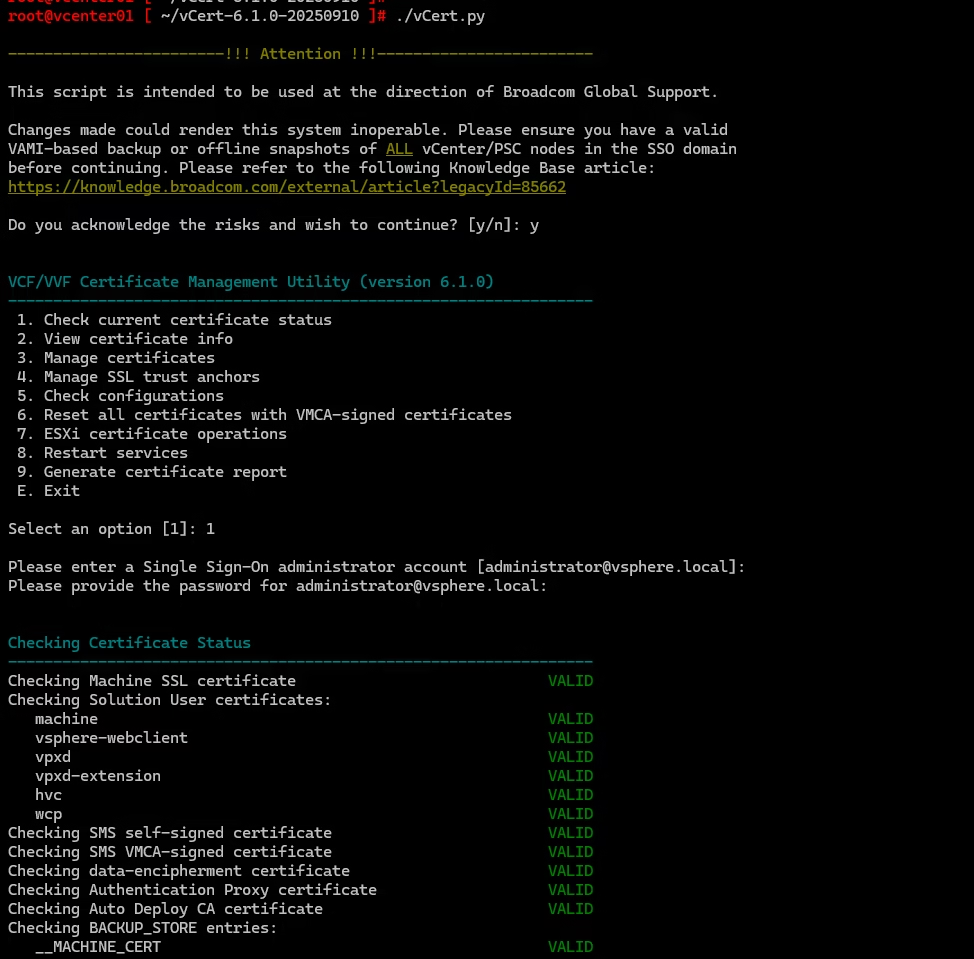
vCert 6.x
In my case, vCert immediately detected an expired SSL CSR
A good catch before attempting replacement.
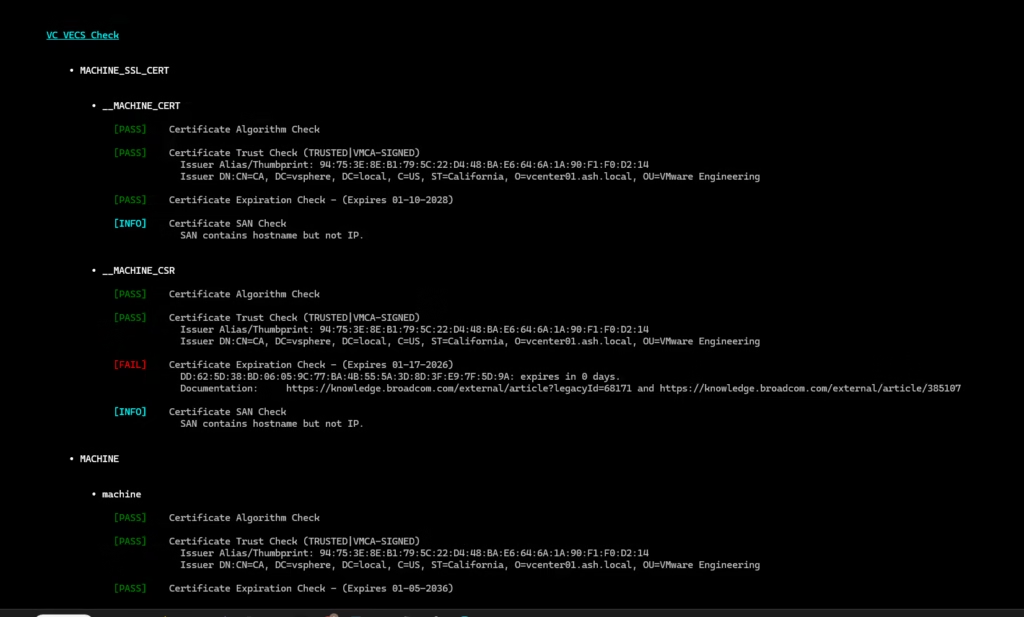
A good catch again before attempting replacement show SSL expired.
Exit from the vCert tool
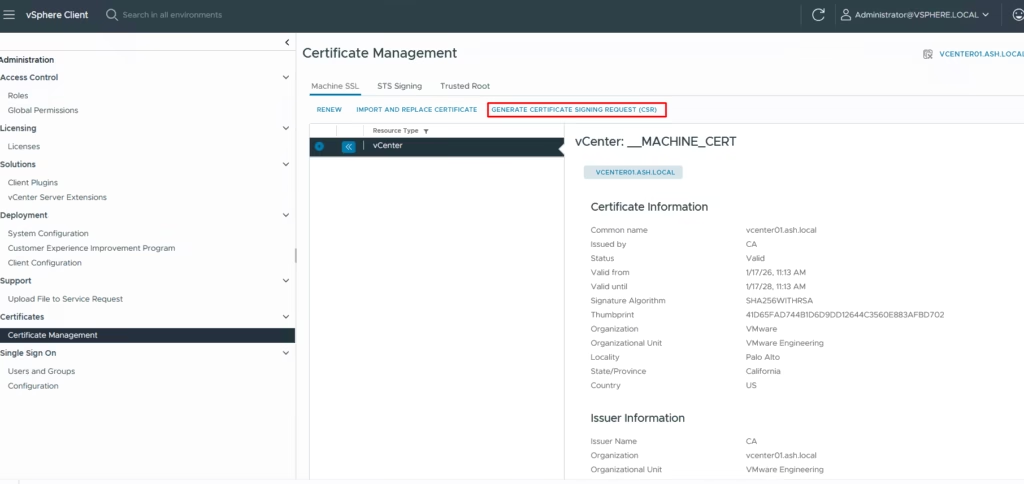
Generate a CSR from the vCenter UI
Navigate to:
vCenter → Administration → Certificate Management → Machine Certificates → Generate CSR
Provide these details to the vSphere certificate manager
- Country: Two-letter country code
- Name: FQDN of the vCSA
- Organization: Your organization name
- Organizational Unit: Name of your unit/department
- State: State
- Locality: City
- IPAddress(optional): vCSA IP address
- Email: your email address
- Hostname: FQDN of your vCSA
- Subject Alternative Name – leave it blank.
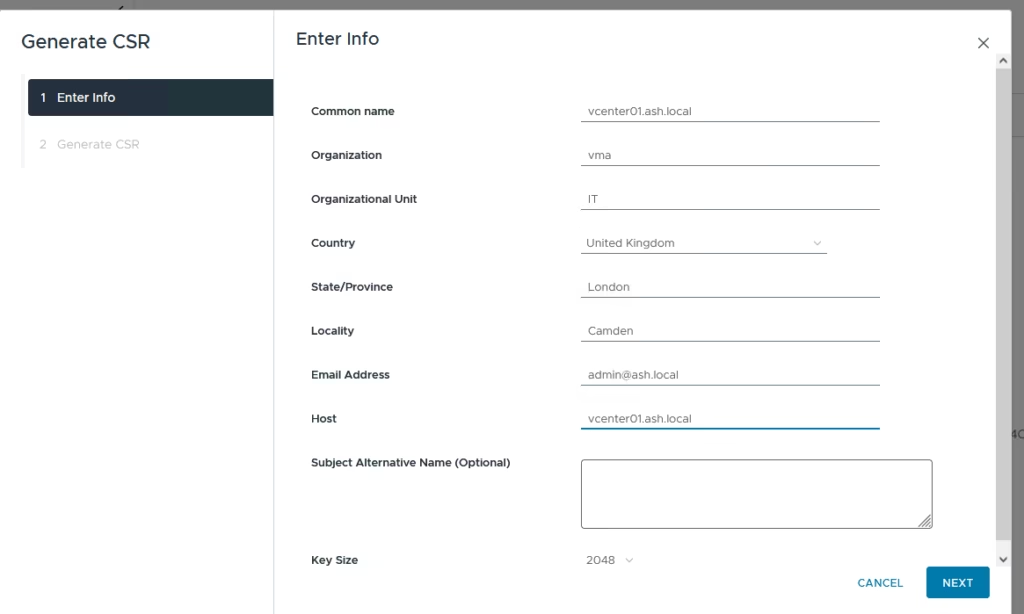
Click Copy, Download, then Finish.
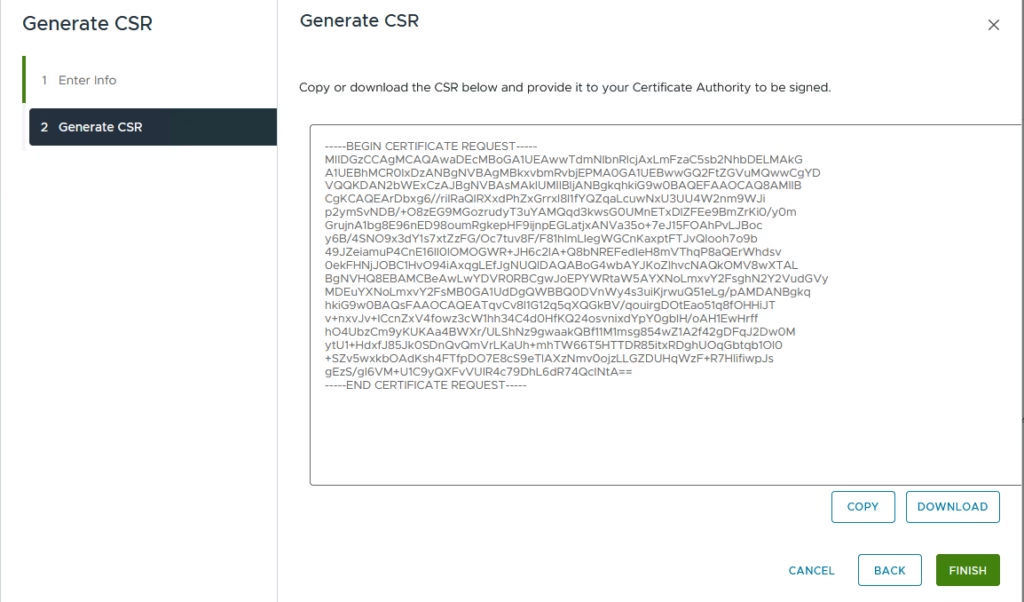
The certificate request (.CSR) is generated and this now needs to be signed by our external CA
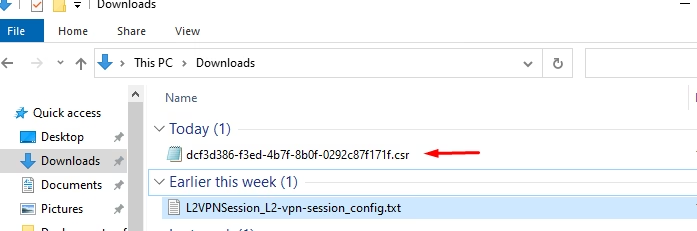
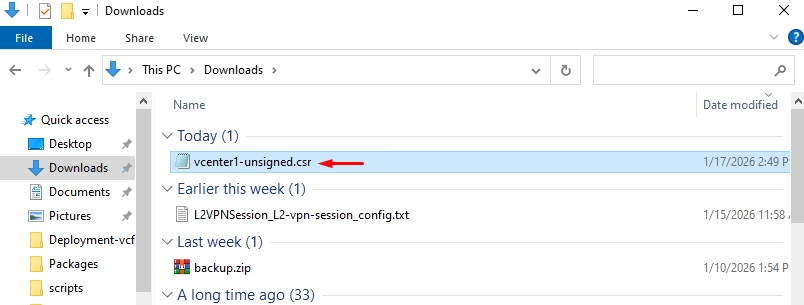
Rename the CSR for clarity — for example: vCenter-unsigned.csr
Submit the CSR to Microsoft Certificate Authority
Open your Microsoft CA Web Enrollment page: http:///ca/certsrv
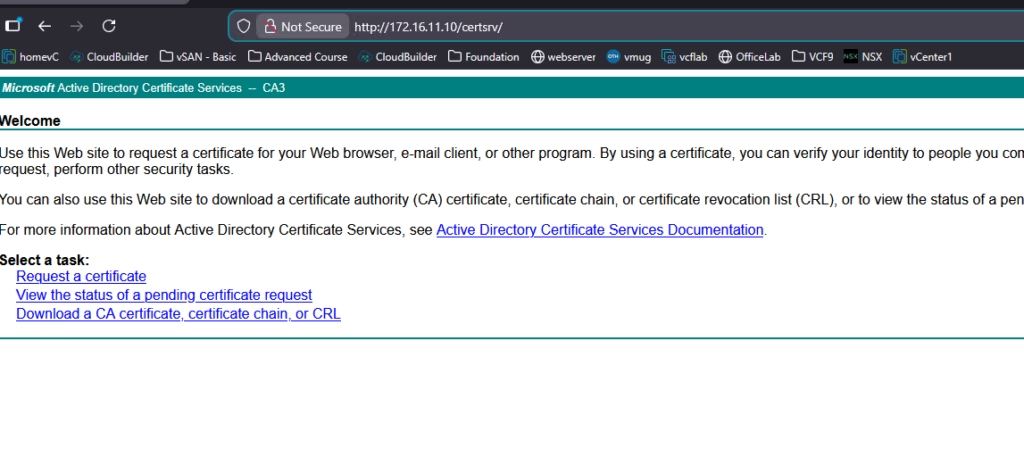
Choose Advanced Certificate Request → Submit a certificate request

Paste the CSR into the request box,
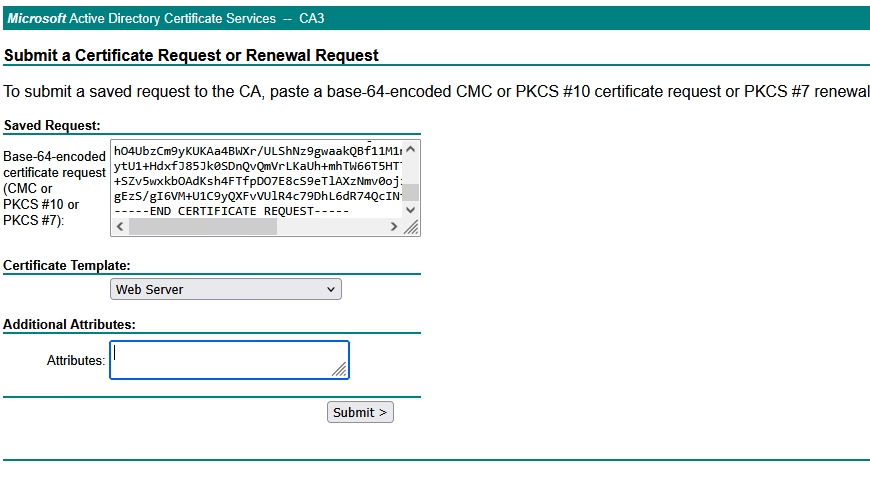
Select Base 64 encoded, and download the issued certificate
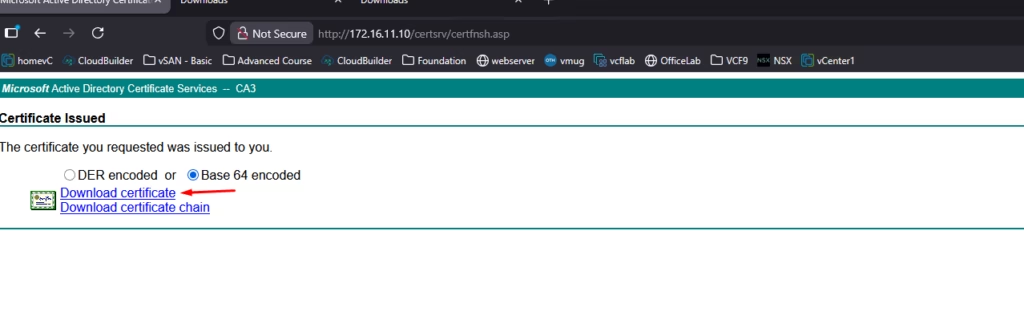
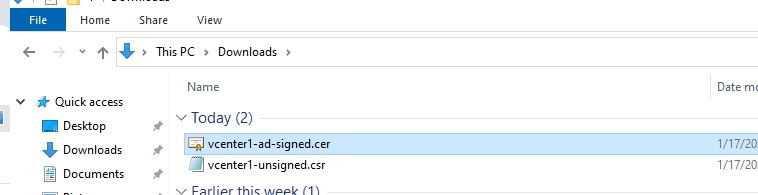
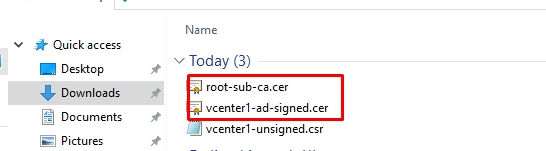
Now that we have downloaded the base 64 encoded certificate save it to a folder
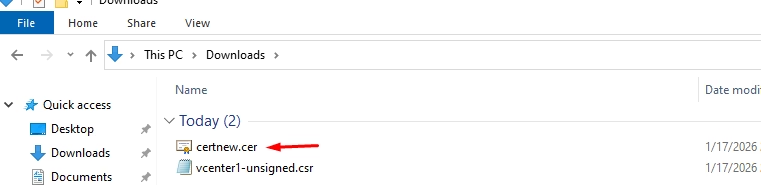
Rename it for clarity, e.g.: vCenter01.ad-signed.cer
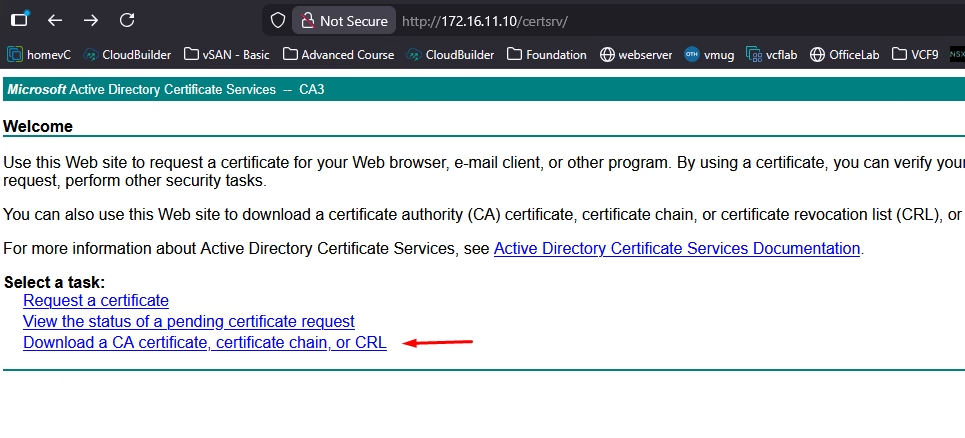
Download the Root (and Sub) CA Certificate
Now that we have downloaded the base 64 encoded certificate for the vCenter, we also need the CA certificate and we can download this from the Microsoft CA Web Portal homepage. Click Download a CA certificate
Choose Base 64, download CA certificate
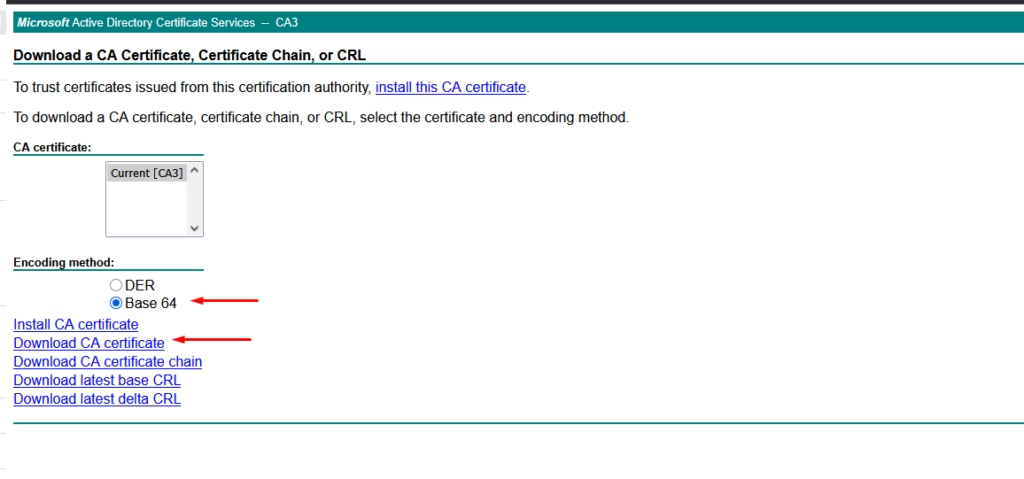
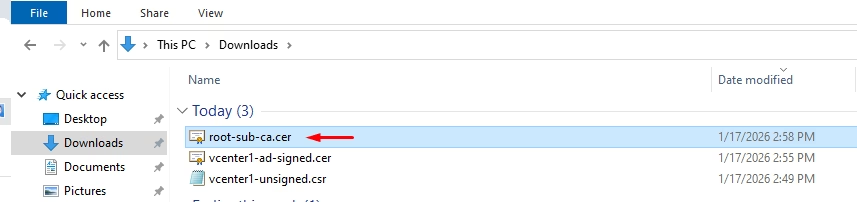
That’s the root CA. If your CA chain includes sub‑CAs, you can extract them from the certificate’s Certification Path tab

And rename it: root-sub-ca.cer
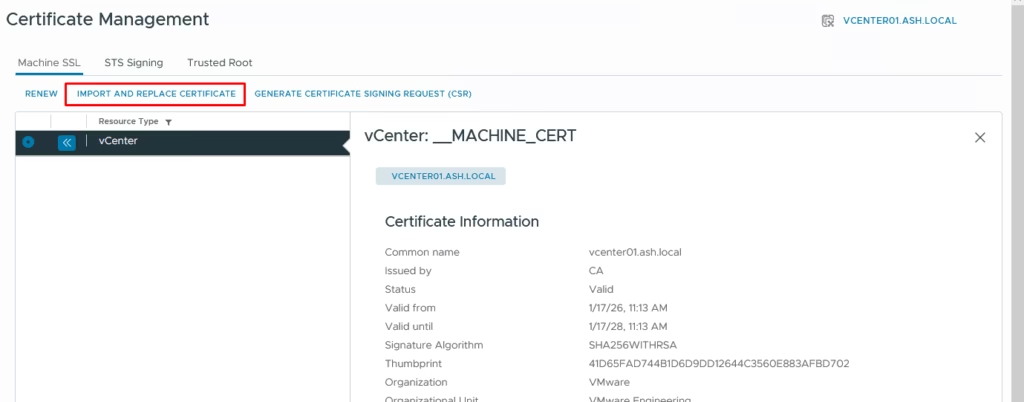
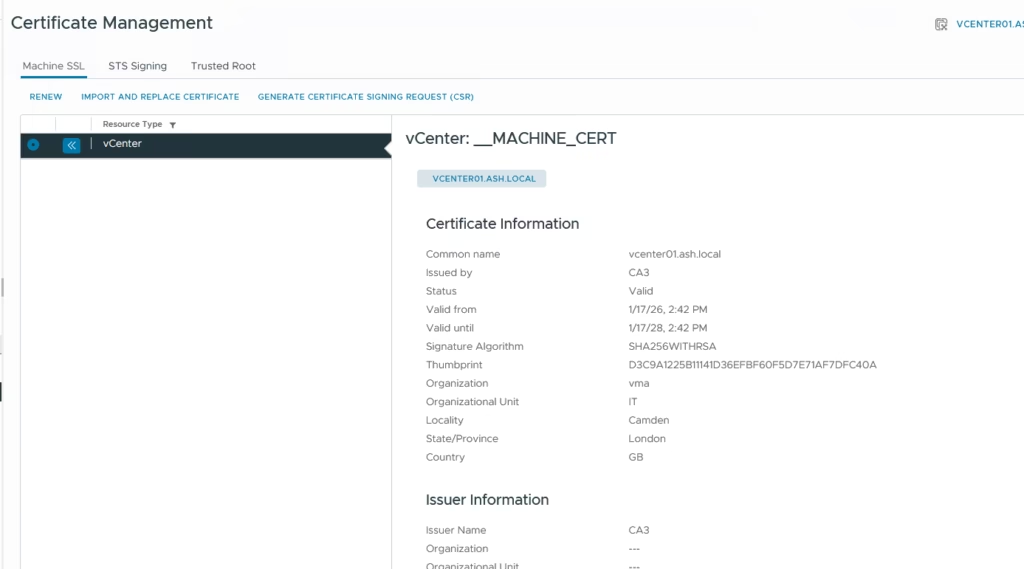
Import and Replace the Machine SSL Certificate
Back in vCenter: Administration → Certificate Management → Machine Certificates → Actions → Import and Replace Certificate
Provide:
- Custom machine certificate: your AD‑signed cert – vcenter1-ad-signed.cer
- Root CA certificate: your root/sub‑CA bundle root-sub-ca.cer
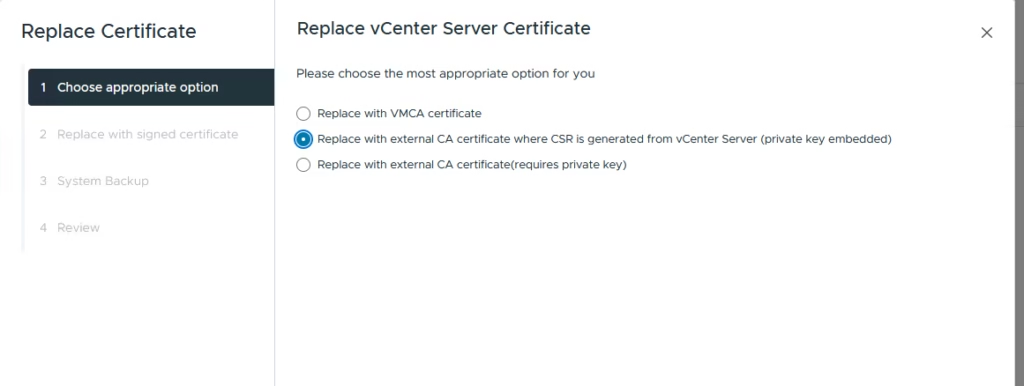
Choose replace with external CA certificate (CSR generated from vCenter
On the Replace vCenter Server Certificate screen, select the Replace with external CA certificate where CSR is generated from the vCenter Server option
Upload the vCenter Machine AD signed SSL Certificate in the top box and the root CA cert in bottom box. If there are sub CA’s you can just copy the cert by opening the root CA file we downloaded and going to the certification path which will list the root and sub ca
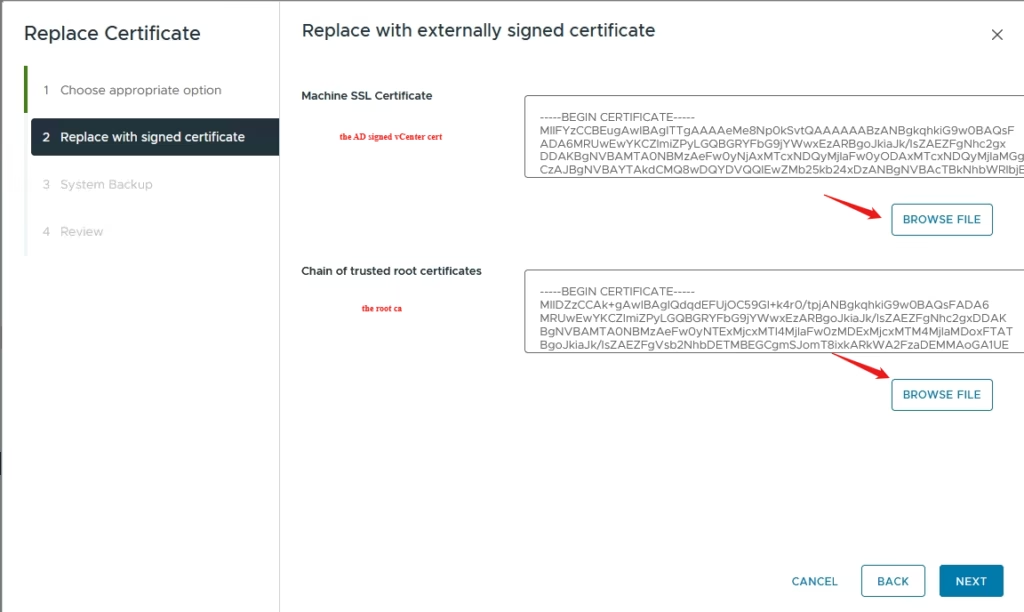
Click Next to continue
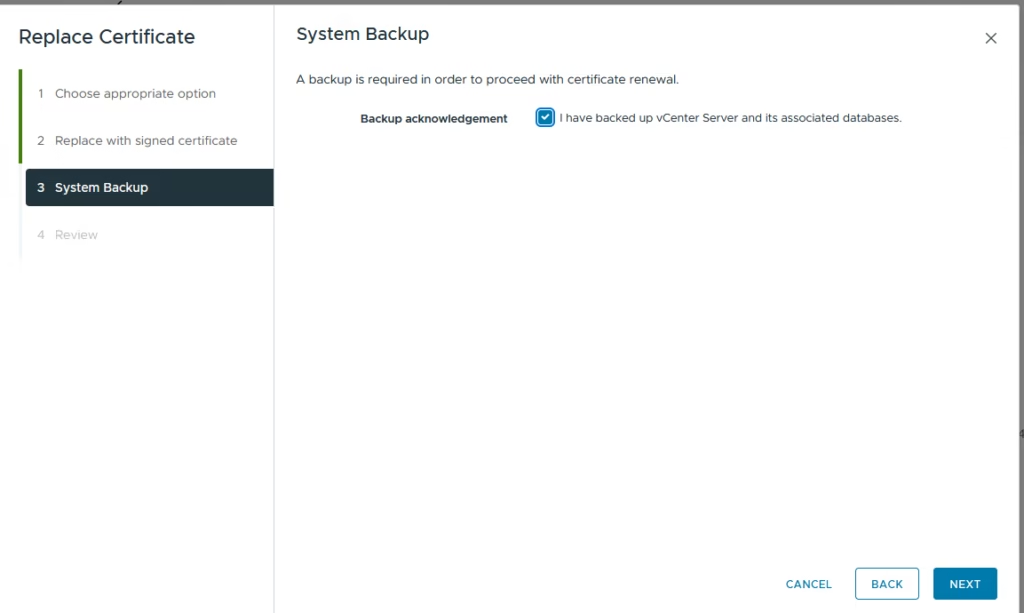
Continue replacing Machine SSL cert using custom cert
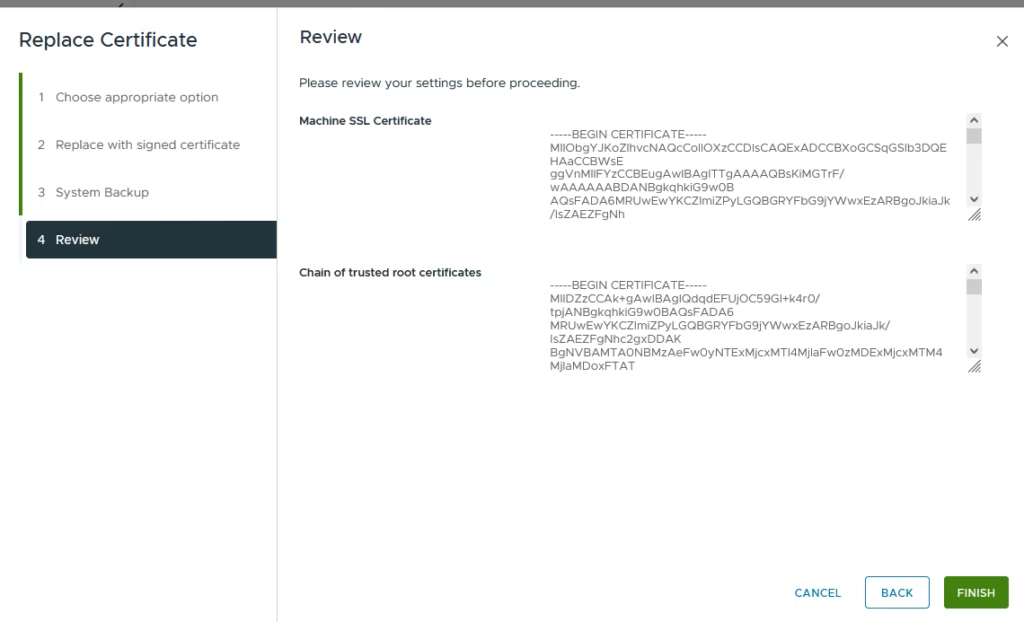
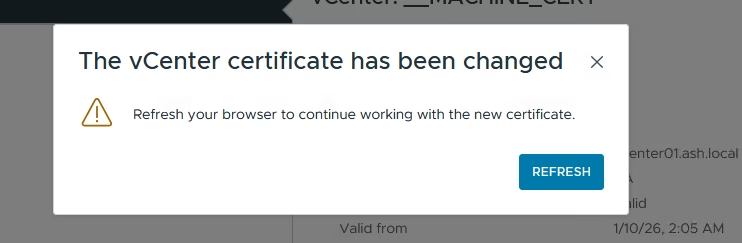
The replacement process takes a few minutes while services restart.
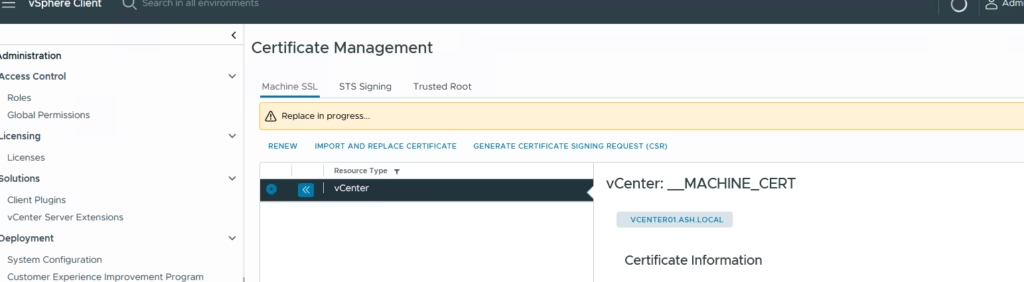
Machine SSL has been replaced
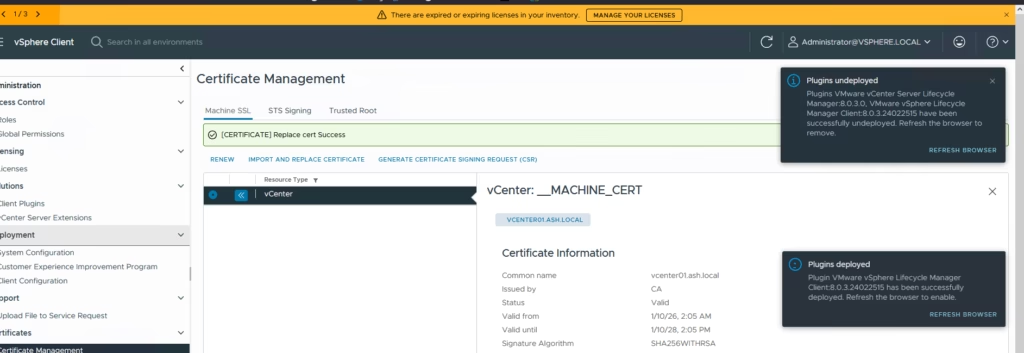
Login back into the UI to do a health check
Post‑Replacement Health Check
Log back into the vCenter UI and re‑run:
- vCert
- lsdoctor
- vSphere Diagnostic Utility
In my case, one issue popped up — a vSAN health service warning.

A simple service restart resolved it

Re‑run all tools to confirm a clean bill of health

Do one more check from the vSphere diagnostic tool
Certs are now replaced
Add the Root CA to Client Trusted Store
Finally, ensure to add your Root CA certificate to a trusted root store in MMC or via Group Policy to let your browser know it’s a safe CA when your client machines access the vCenter URL.
In the next article, I’ll walk through a more complex scenario — renewing certificates on a vCenter with a PNID mismatch, using the vCert CLI workflow instead of the UI
References
Steps to replace MACHINE_SSL_CERT on vCenter server