vSAN offers a powerful feature that enables the creation and provisioning of NFS/SMB shares through the VMware vSAN File Services Appliance. The setup is simple, and in this blog, I’ll guide you through a detailed, step-by-step process for provisioning storage using the vSAN File Service on vSAN.
Before starting, make sure the following prerequisites are in place:
Step 1 – vSAN hosts will need at least 16 GB of memory.
Step 2 – vSAN File Services OVF Files: Download the vSAN File Services OVF files beforehand.

Step 3 – Dedicated Port Group: Create a separate port group specifically for vSAN File Services. When the service is enabled on standard switch, both promiscuous mode and forged transmits will be configured on this port group. On vDS, MacLearning and Forged Transmits are enabled as part of the vSAN File Services enablement process
Step 4 – IP Addresses and DNS Records: Prepare a set of IP addresses along with corresponding DNS records. The number of IP addresses required depends on the number of hosts in the vSAN cluster, as these addresses will be assigned to the vSAN File Service nodes deployed on each host. Remember if you are growing your cluster in future, just block off the IP ranges.

Adding vSAN File Service to Cluster
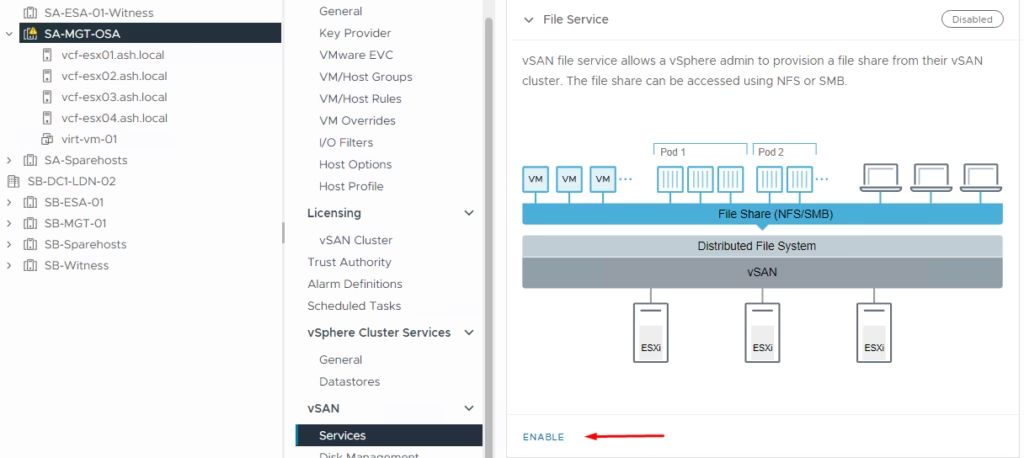
Select the vSAN Cluster, navigate to the Configure tab, and click on Enable to start the configuration process.
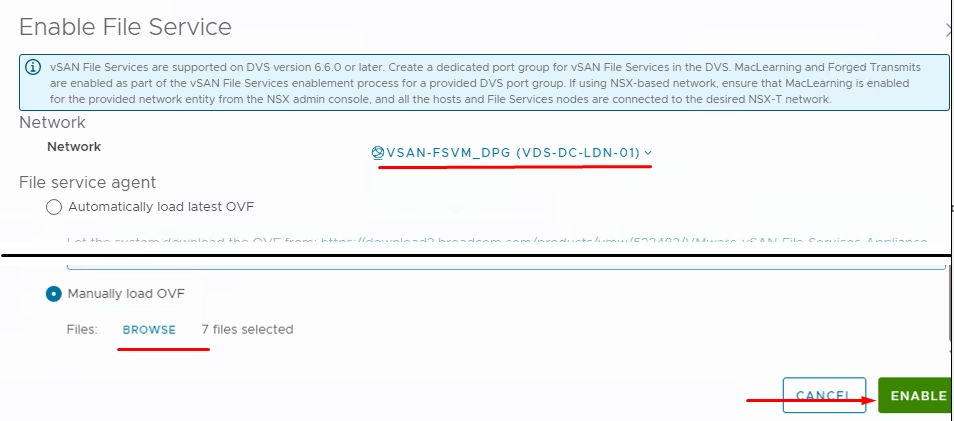
Select the port group created specifically for vSAN File Services. In the OVF Upload section, browse and upload the vSAN File Services packages prepared earlier.
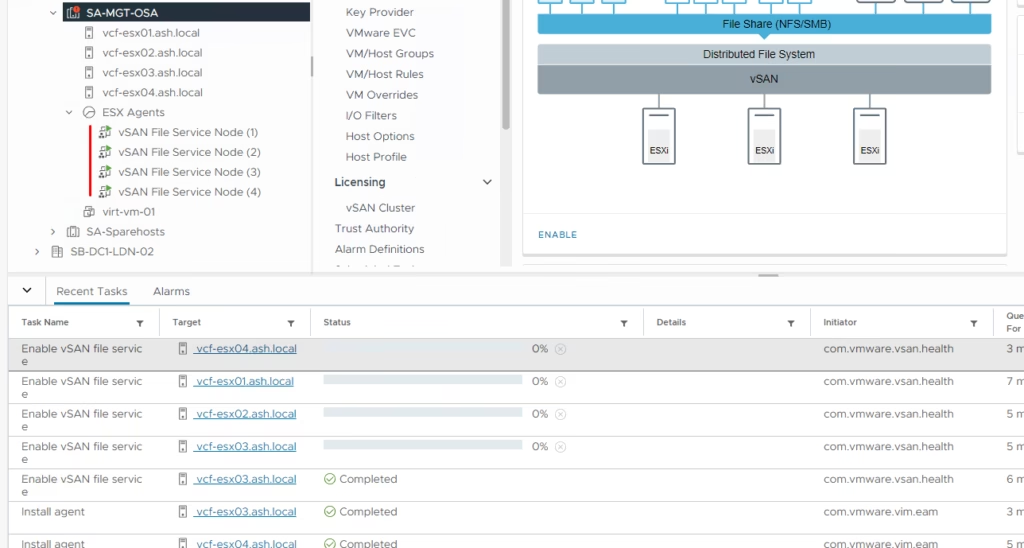
After clicking Enable, the system will deploy the File Service Nodes onto the ESXi hosts within the vSAN cluster.
Once the deployment is complete, vSAN File Services will be enabled, but you still need to configure the File Service Domain. Click on the Configure Domain button to proceed with the configuration.

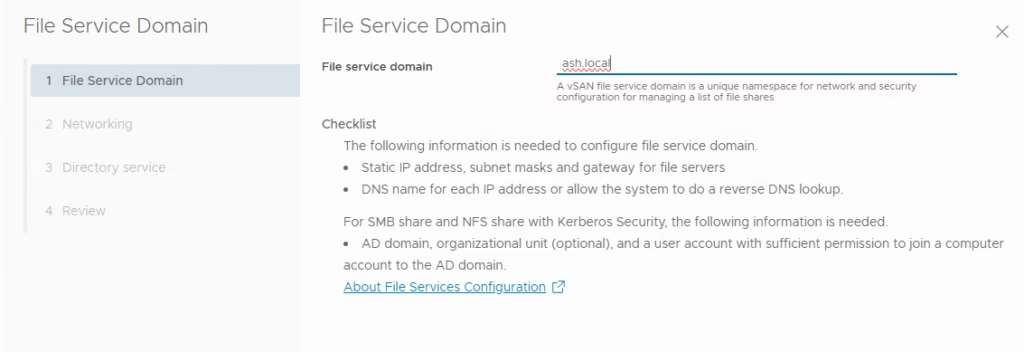
Select a File Service Domain—this is simply a namespace entry and does not need to match your Active Directory domain. You can use any name of your choice; for example, I’ll use ash.local here.
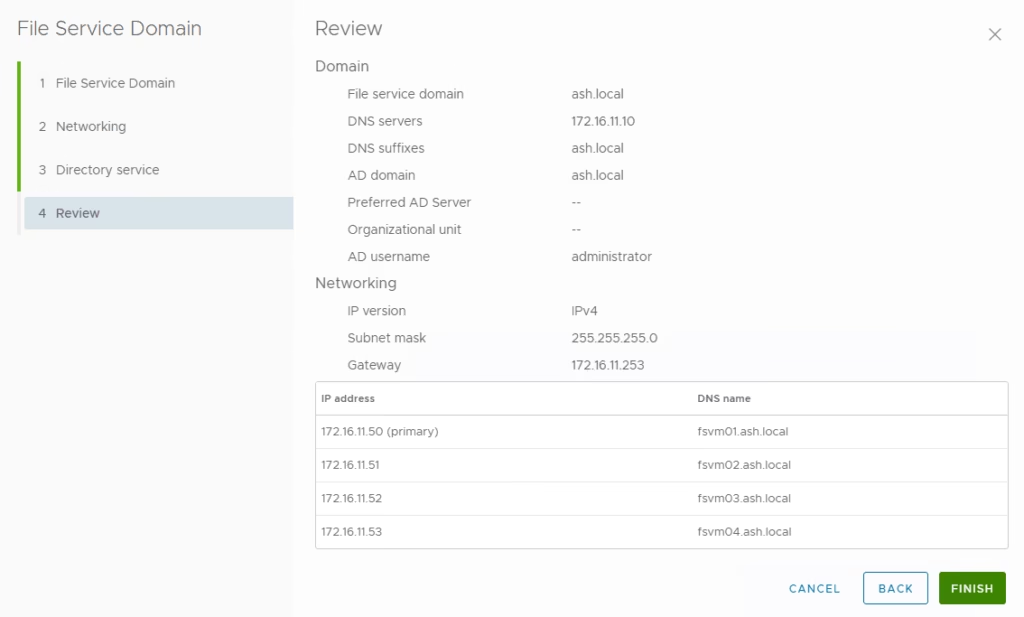
Fill in the required details, including the DNS Server, DNS Suffix, Gateway, and Subnet Mask that the File Services Virtual Machines (FSVMs) will use during deployment. In the IP Pool section, add all the IP addresses previously configured in your DNS. Then, click Lookup DNS to query the DNS server for the relevant information.

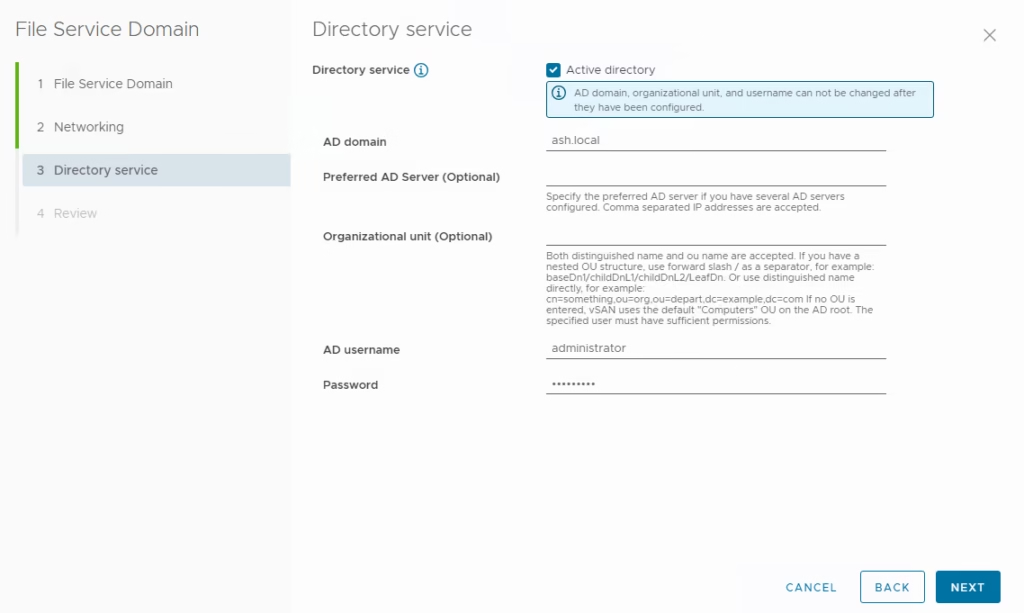
On the Directory Service screen, enable access to Active Directory to allow integration for SMB/NFS shares. This will enable authentication and permissions management through your Active Directory environment.
Review all the settings and configurations, then click Finish to initiate the creation of the vSAN File Service Domain.
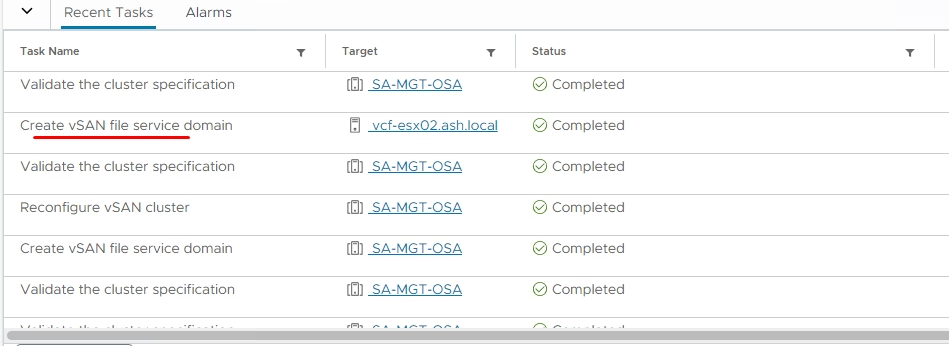
Once the creation process begins, you will be able to monitor the following tasks in the Task Pane
Check the status of the File Service VM’s on the AD

Once the deployment is complete, you can check the status of the File Service under vSAN | Services

Note that by default, File Service VMs (FSVMs) are stateless. This means that they do not retain any persistent state between reboots or restarts. Additionally, FSVMs will have a new VM storage policy applied, which typically does not require redundancy. This policy ensures that the FSVMs are deployed without high availability or replication features, as they are stateless and designed to be easily recreated if needed.
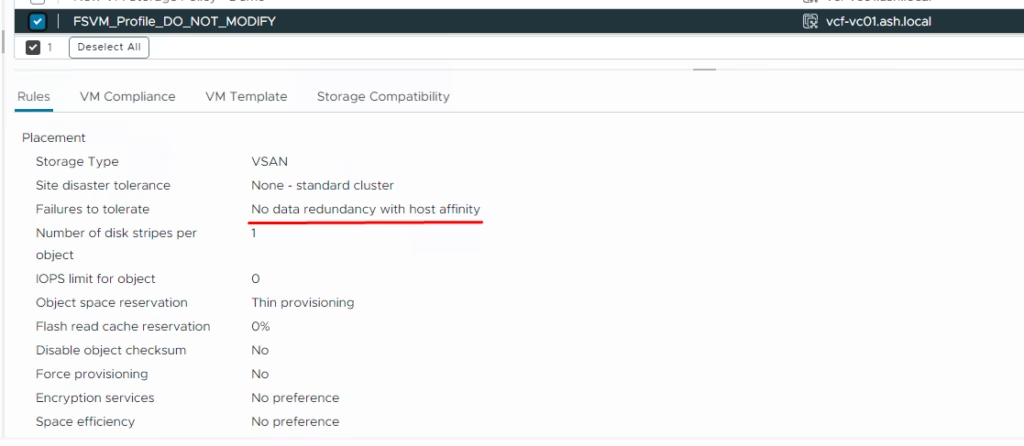
Check the status of the File Service under vSAN > Services.

To add an SMB/NFS share > File Shares and add the Share.
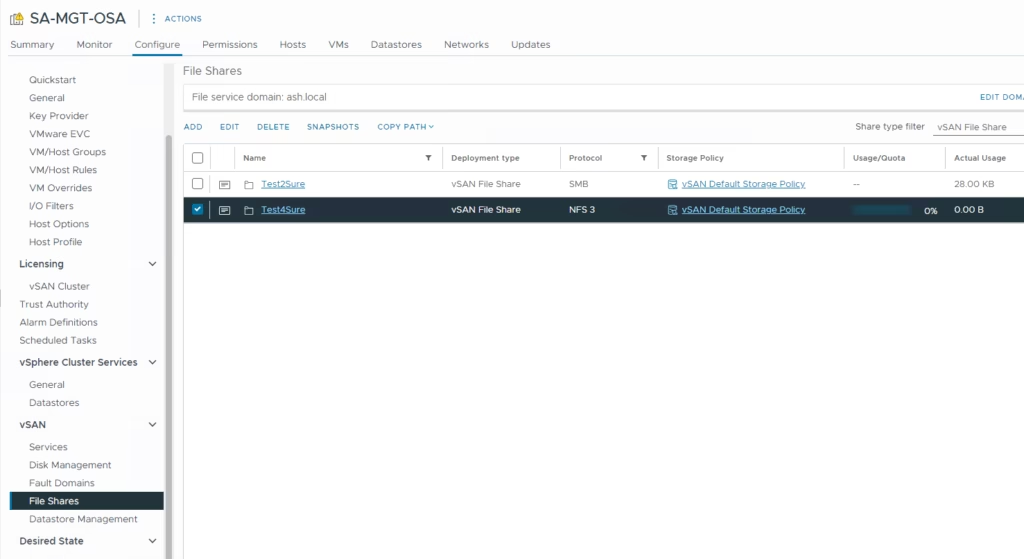
Display the NFS Share State

Run the mount command to mount the NFS share.
C:\Windows\System32>mount \\fsvm01.ash.local\Test4Sure Z:
Z: is now successfully connected to \\fsvm01.ash.local\Test4Sure

The command completed successfully.
Run the fsm command to mount the SMB share.
fsmgmt.msc /computer:\fsvm02.ash.localEnable Quota for file shares
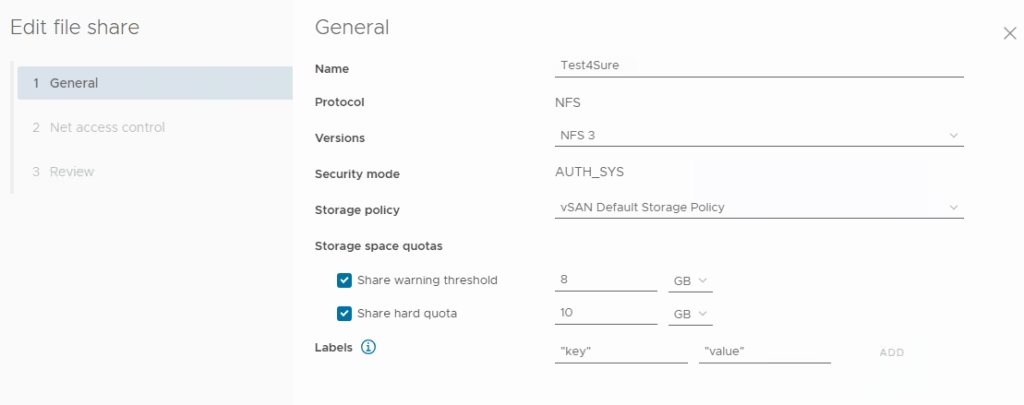
Under the File Shares section, click on the specific share you want to configure > Enable the Quota option to set limits on the storage usage for that share. Specify the desired quota value for hard limits and soft limits as needed.
