

In our previous blog, we had deployed our two SRM appliances and now we will start to pair them so we can do some failover/failback operations using the SRM.
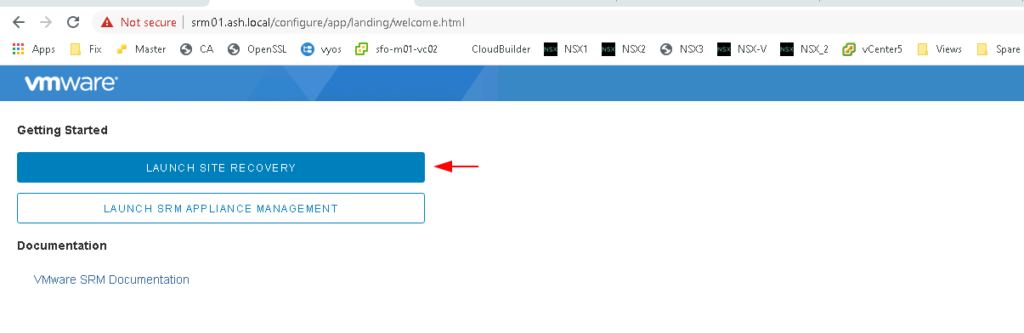
Step 1. Launch our production site SRM portal https://IP_address and click on Launch Site Recovery
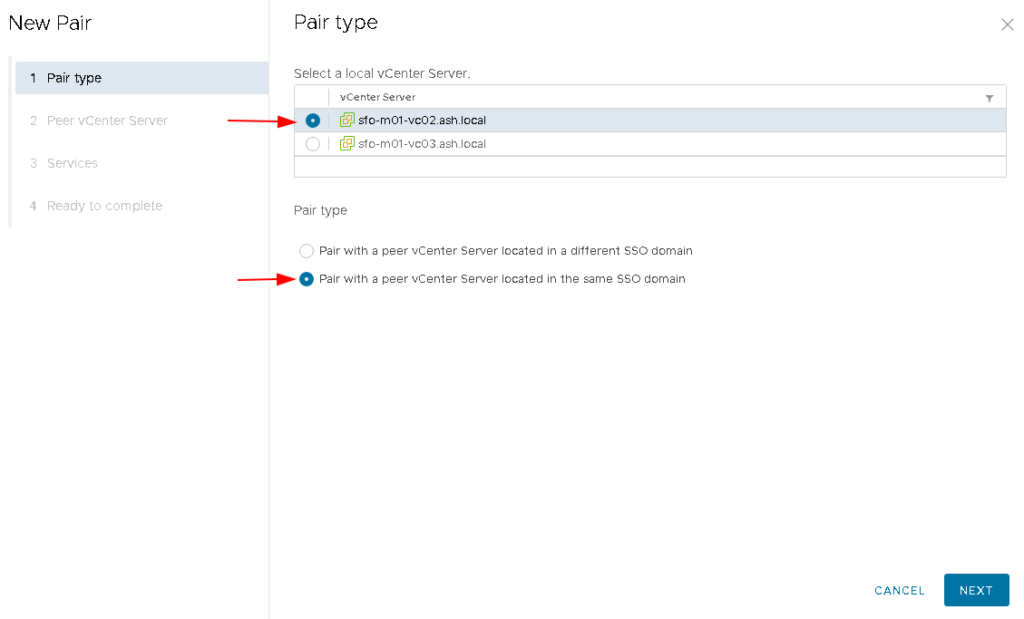
Step 2. Choose our local vCenter as our production site. Because all my vCenters are linked and under the same SSO domain we will choose the Pair type as Option 2
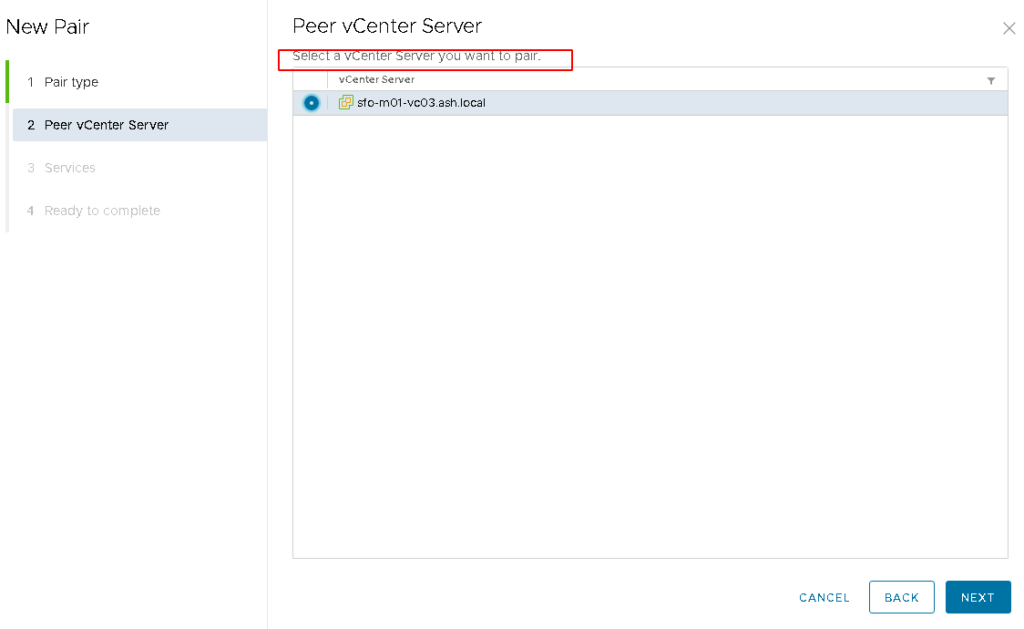
Step 3. Select the DRAAS vCenter as our peer vCenter and Click Next
Step 4. As expected, we will now notice that SRM Services are enabled on our SRM appliance so we will click Next to continue

Step 5. We will get a warning about the certificates on the recovery side SRM appliance and vCenter Server appliance, Click Connect

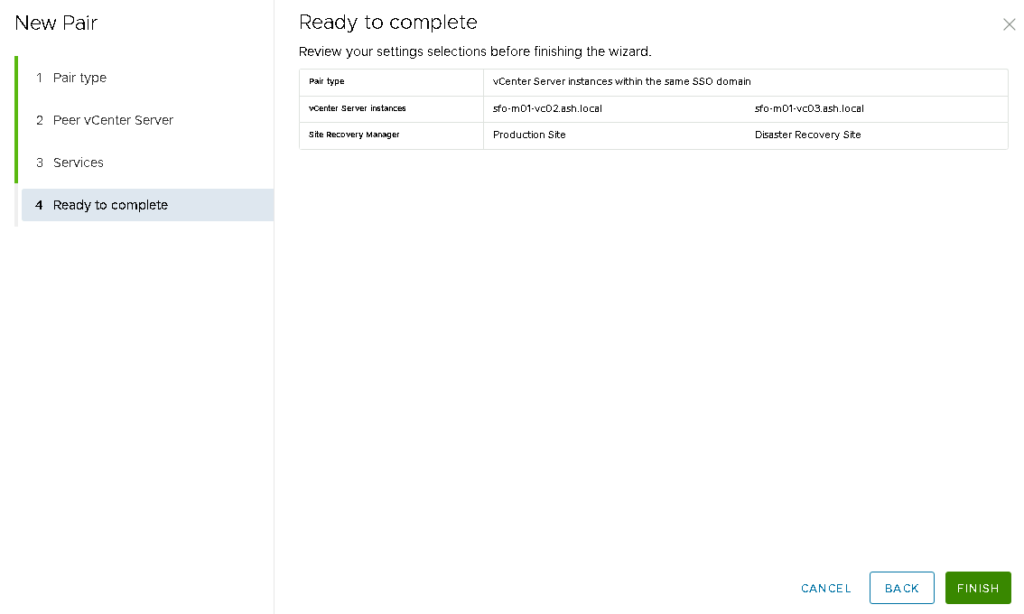
Step 6. Review settings and click Finish
Step 7. Logout and log back into our vCenter and we can now see our Site Recovery is now linked.
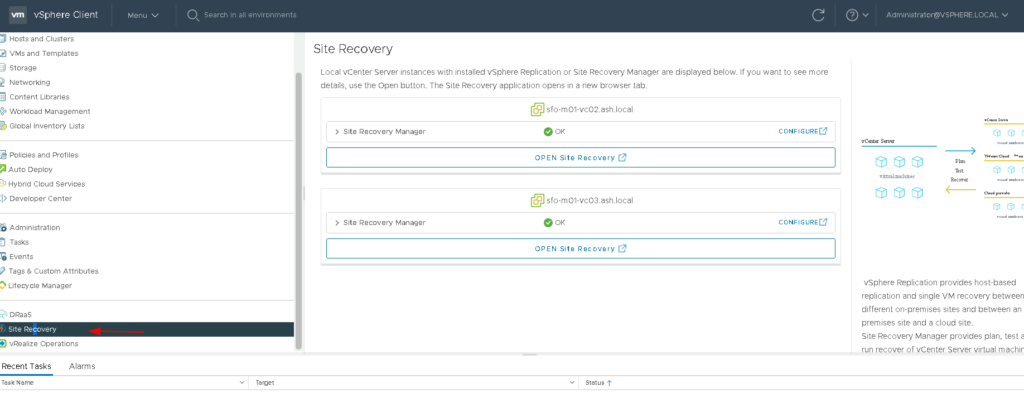
Step 8. Open Site Recovery manager via https://srm01.ash.local
Step 9. In order to use SRM, we will need to have the following mappings in place
- Network Mappings
- Folder Mappings
- Resource Mappings
- Storage Policy Mappings
- Placeolder Datastore
Create network mappings
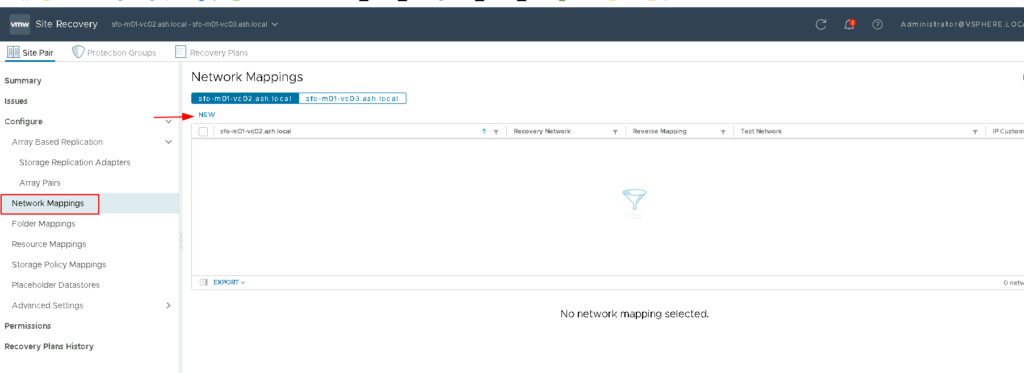
Step 1. Browse to Configure – Network Mappings and Choose New
Step 2. Choose automatically prepare mappings

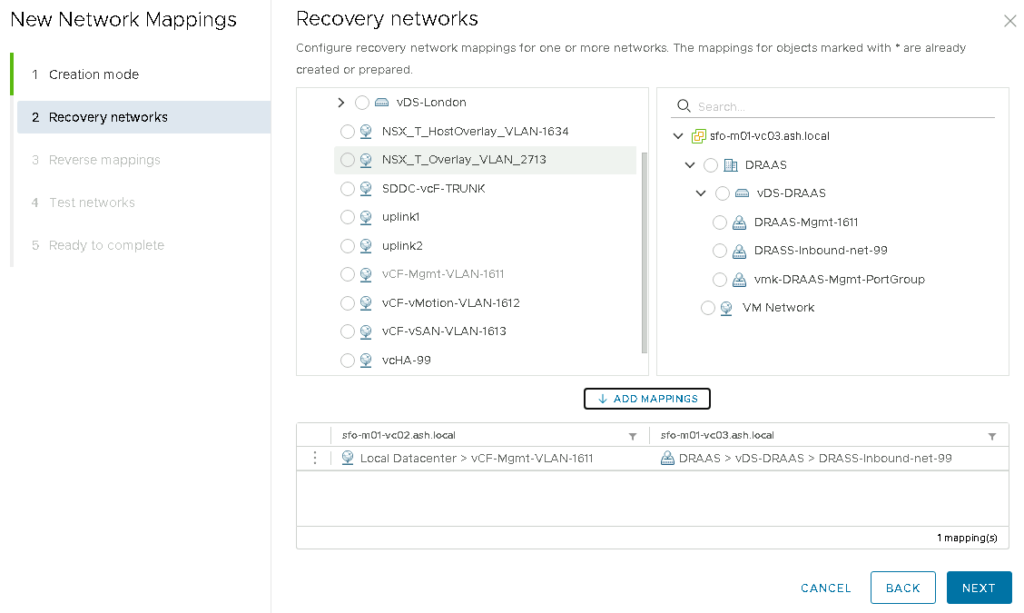
Step 3.Select the production and DRAAS networks as shown and click on Add Mappings. This is actually the mapping from our Production VLAN to our DRAAS vLAN which enables us to failover VM’s from our Prod to DRAAS site

Step 4. Now we should see the newly added mapping listed
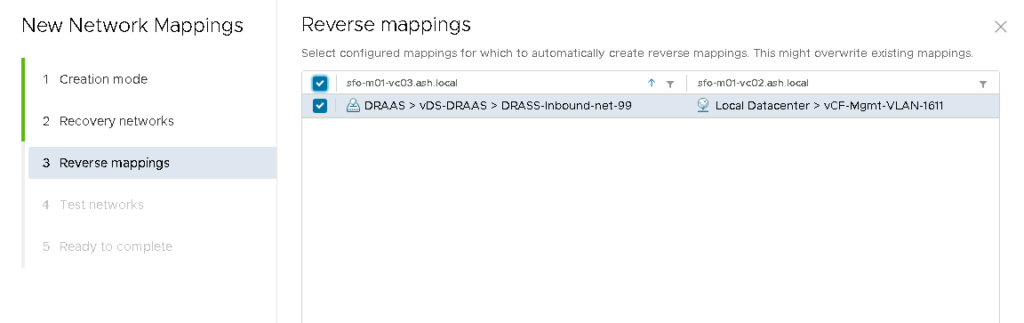
Step 5. We will now need a reverse mapping for failback operations so this will be prepopulated for us as per what we choose In the previous step
Step 6. A test network is used for simulated failover tests. ie: If we don’t wish to failover our VM’s fully and just would want to verify if our DR works, we can simulate a failover to a test network. Here it says it will auto-create an Isolated network and will use that for simulated failovers.

Step 7. Review and click Finish to complete the network mapping wizard

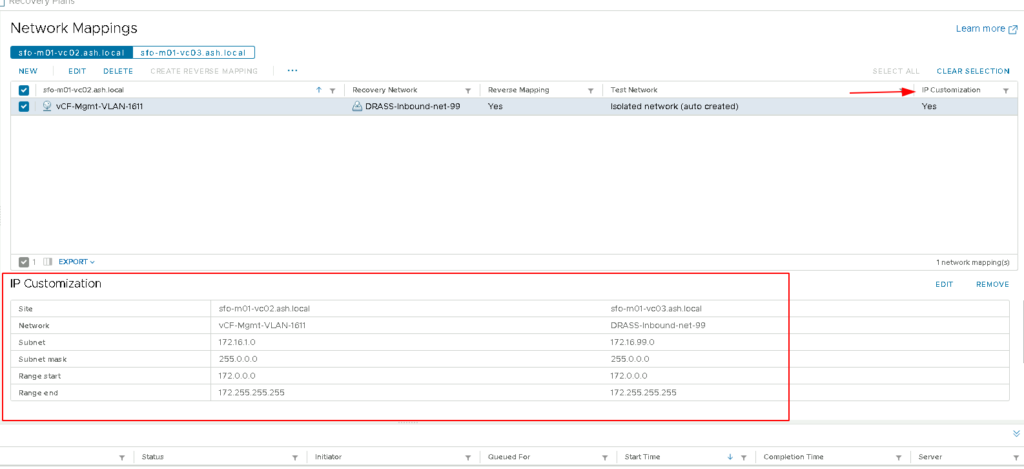
Step 8. We should see the new network mapping listed.

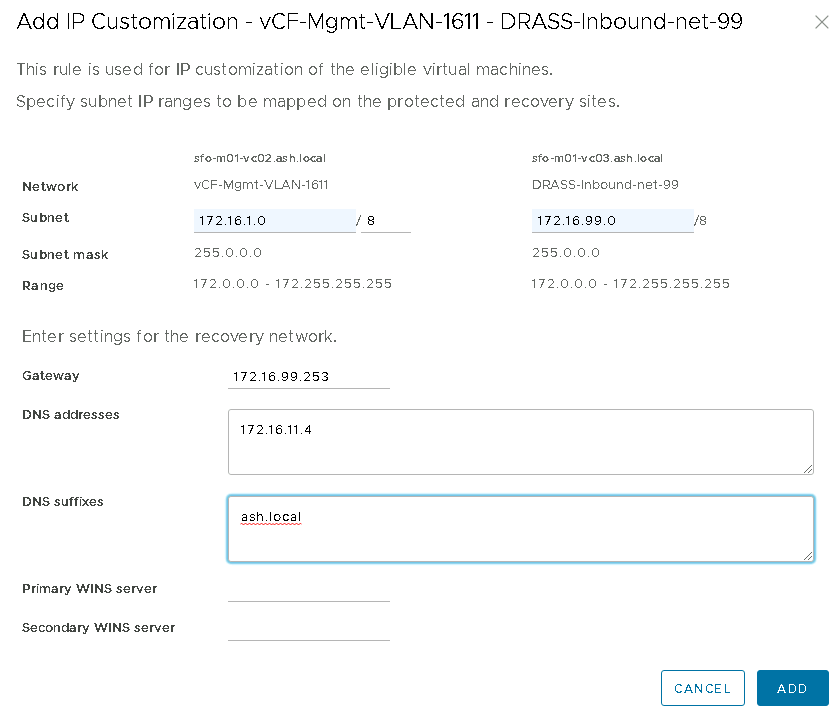
Step 9. We can easily apply IP customisations here to direct our prod VM’s onto a specific IP range.

Step 10. A rule has been defined that will map IP addresses in the 172.16.11.0 network on our Prod site to addresses in the 172.16.99.0 network on our DRAAS site.
All prod VM’s will be automatically assigned an IP on the 172.16.99.0 range with a new gateway and DNS as shown below.
Step 11. We should now see the new IP Customization rule listed.
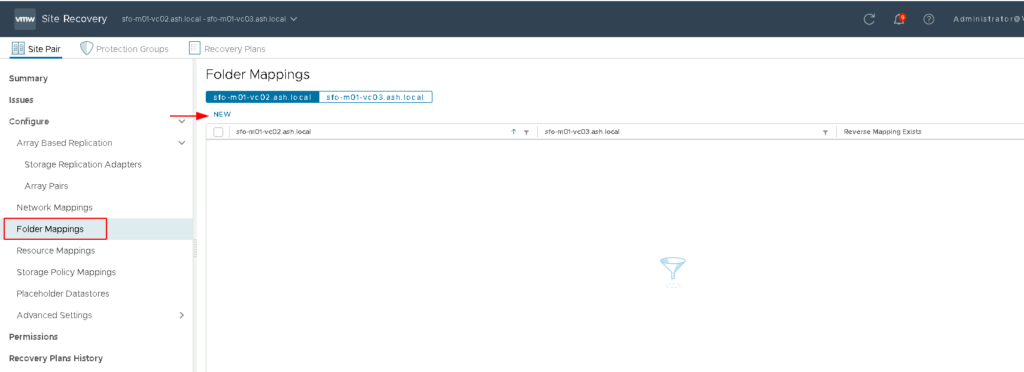
Create Folder Mappings
Step 1. Browse to Configure – Folder Mappings and Choose New
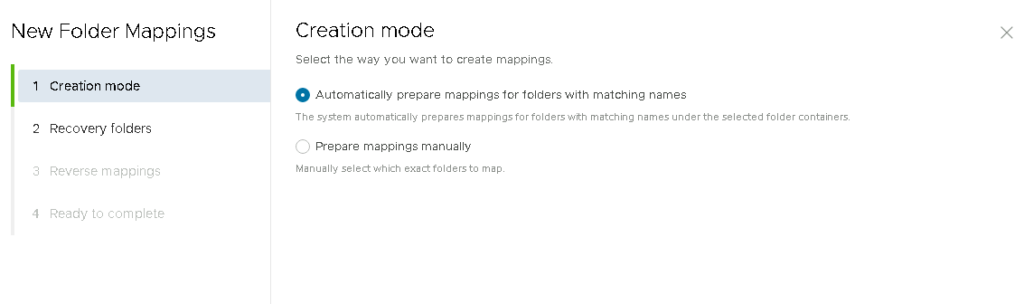
Step 2. Choose to create the mappings automatically.
Step 3. SRM now will ask us to specify a recovery folder it can use to failover VM’s to
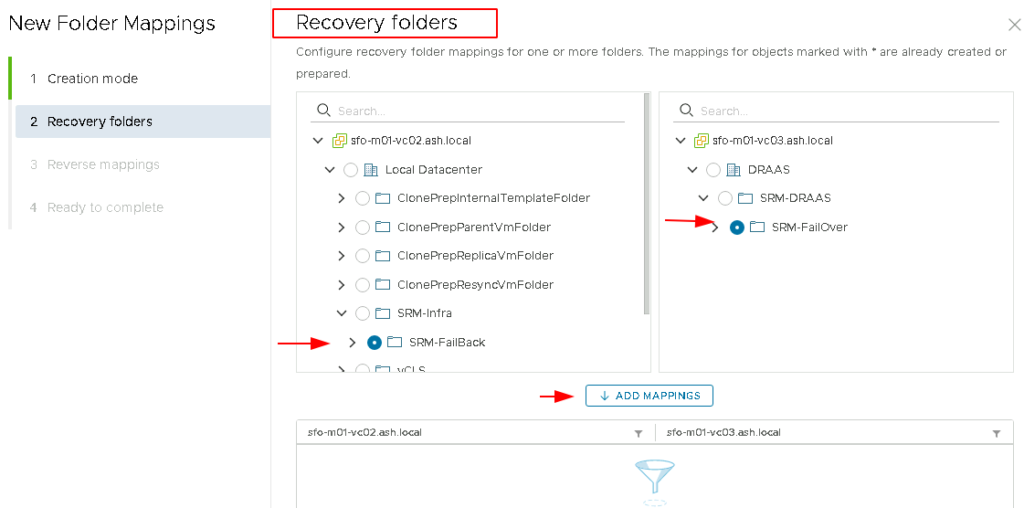

Step 4. Check the boxes to create reverse mappings and click Next

Step 5. Review and click Finish to complete the folder mapping wizard
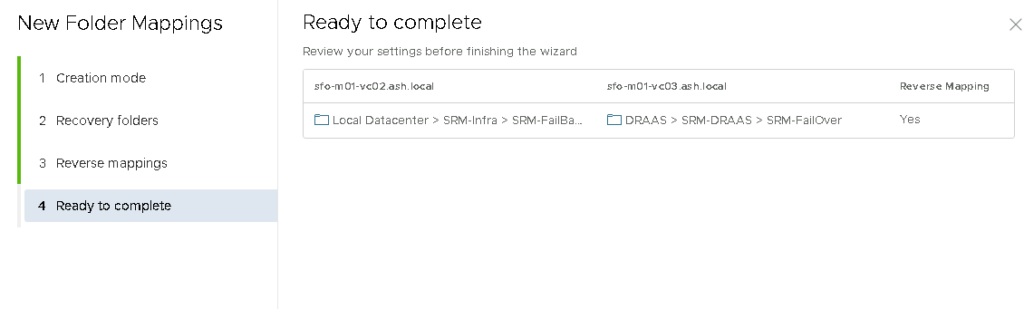
Step 6. We should see the new network mapping listed.

Create Resource Mappings
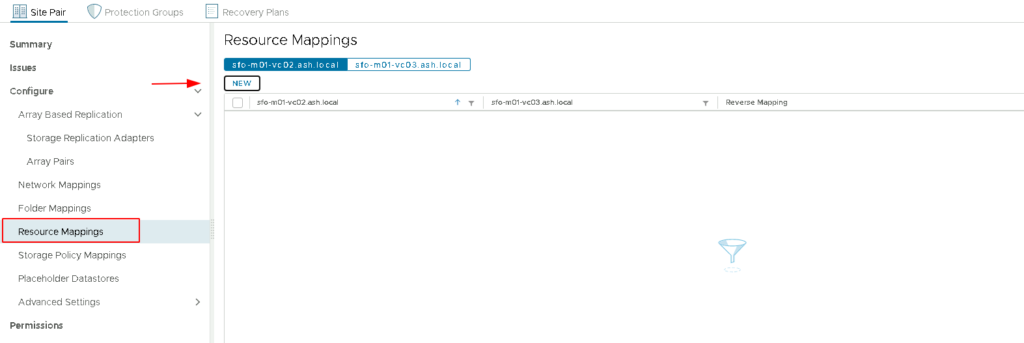
Step 1. Browse to Configure – Resource Mappings and Choose New
Step 2. Select the prod and DRAAS cluster as shown and choose to add mappings
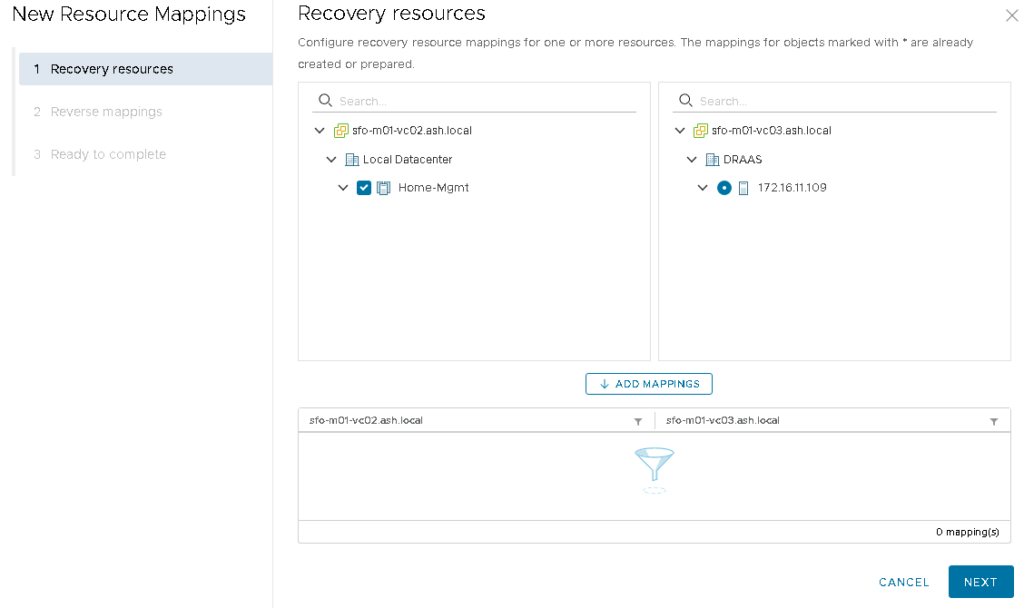
Step 3. Check the boxes to create reverse mappings and click Next
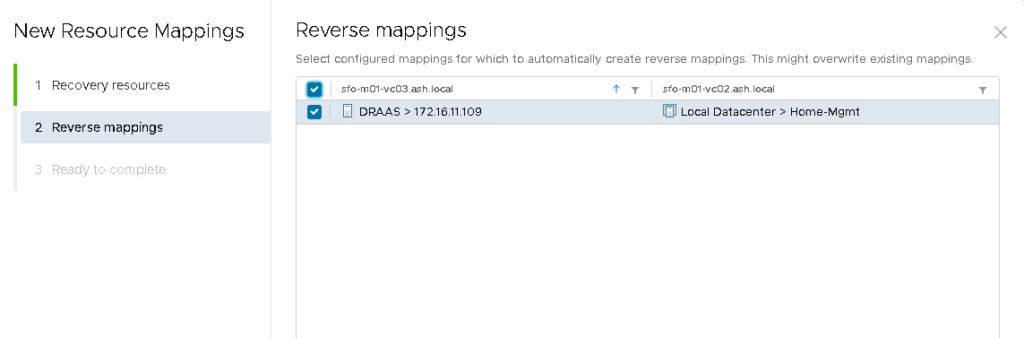
Step 4. Review and click Finish to complete the folder mapping wizard

Step 5. We should now see our new resource mapping we created

Create Storage Mappings
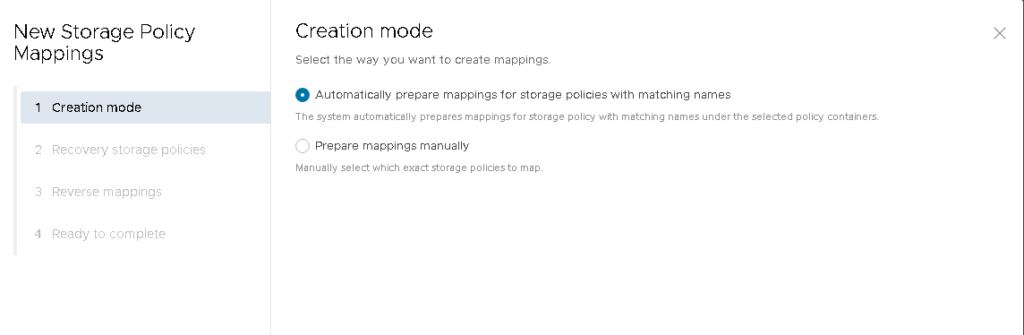
Step 1. Browse to Configure – Storage Policy Mappings and Choose New

Step 2. Choose to create the mappings automatically.
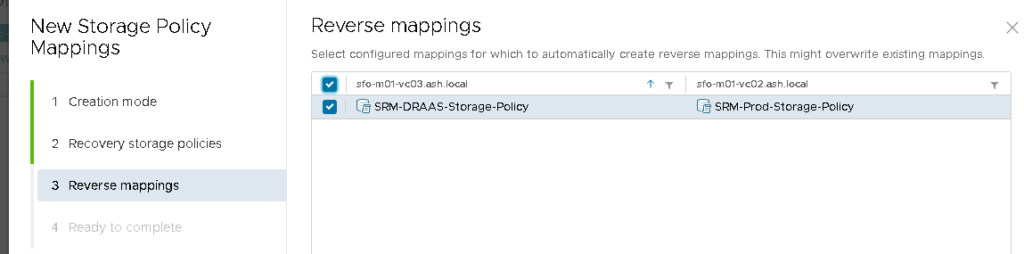
Step 3. I’ve defined some VM storage policies on both our vCenters and tagged a datastore to it.
We thus get these two VM storage policies in our display

Step 4. Click Add mappings

Step 5. We will now need a reverse mapping for failback operations so this will be prepopulated for us as per what we choose In the previous step
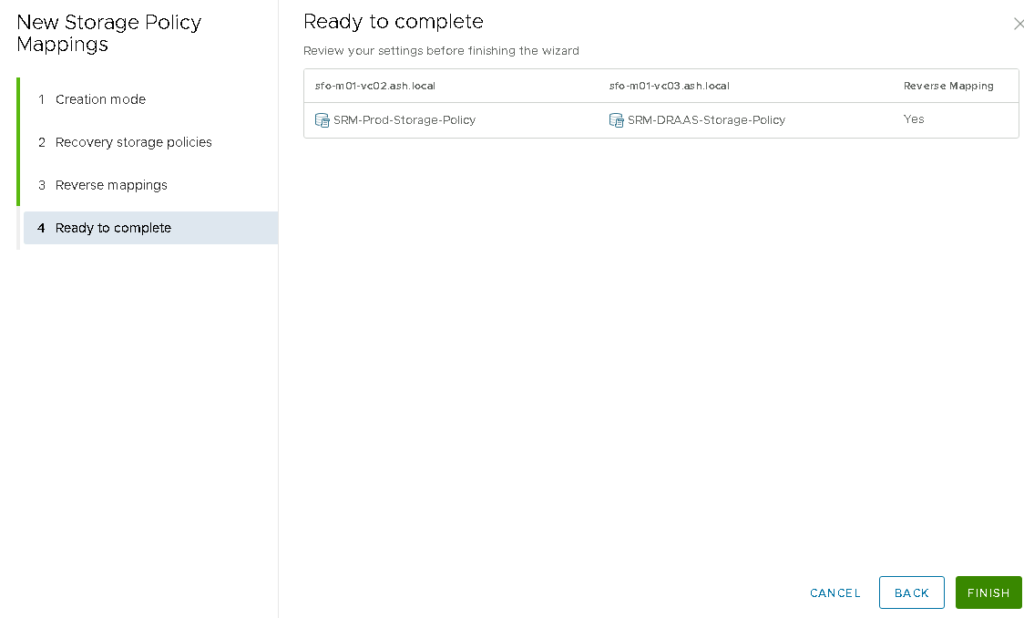
Step 6. Review and click Finish to complete the folder mapping wizard
Create Placeholder Mappings
Step 1. Browse to Configure – Placeholder Datastores and Choose New
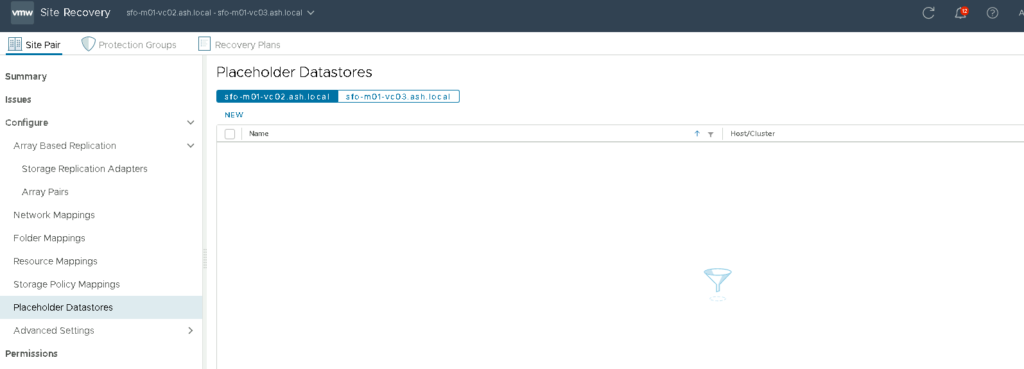
Step 2. Pick the placeholder datastore for our Production Site

Step 3. Now we can see the configured placeholder datastore for the Production site

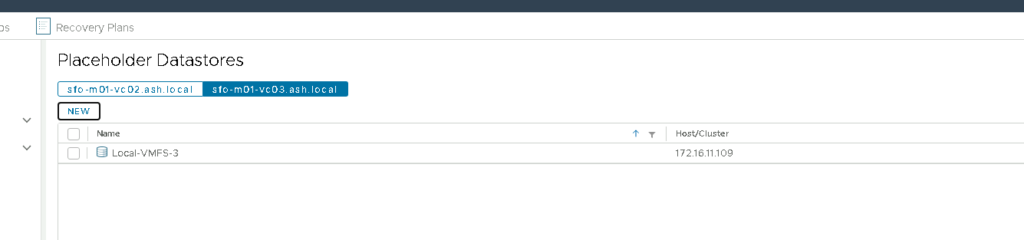
Step 4. We will also need to define another placeholder datastore for the DRAAS site

Step 5. Now we can see the configured placeholder datastore for the DRAAS site
In the next blog, we will configure our vSphere Replication software