
In this post, we will be configuring Windows Server 2019 as a NAT router to route traffic between local lan and the internet.
Prerequisties
- Create a Windows 2019 VM
- Configure 2 network card – 1 facing internet, 1 facing internal
- Its optional to add it to domain
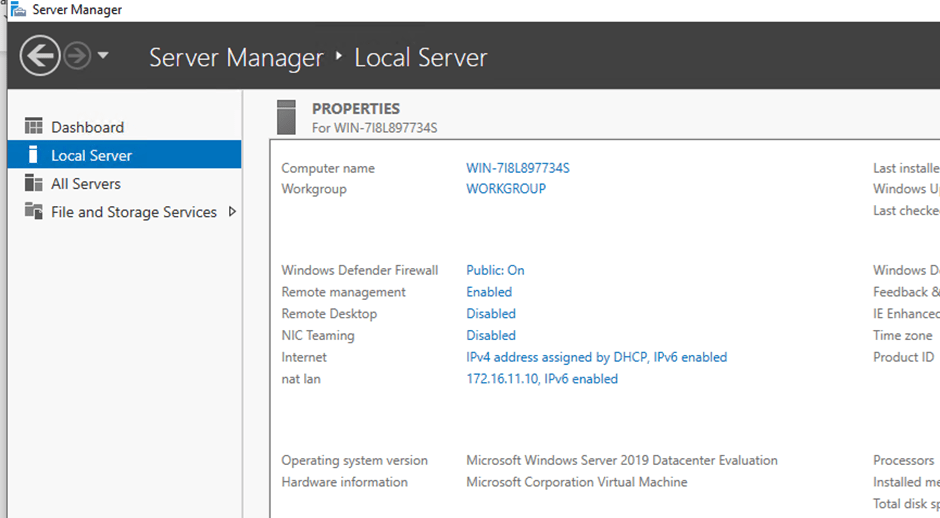
Step 1: My VM is created with 2 NIC’s as shown
Step 2: Under the Role and Features, choose Remote Access
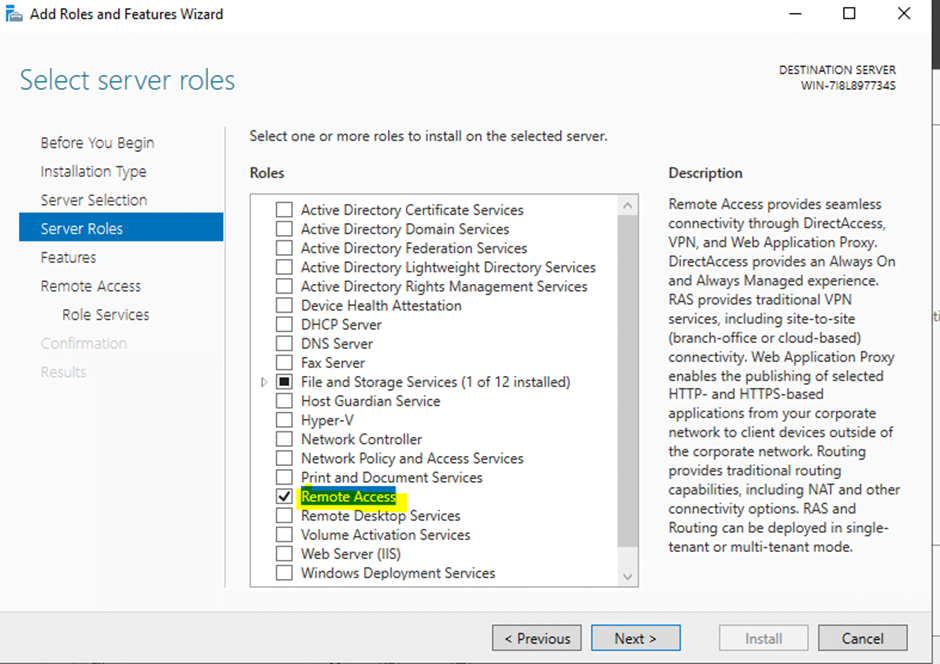
Step 3: Choose just the Routing checkbox to install the LAN Routing role service.

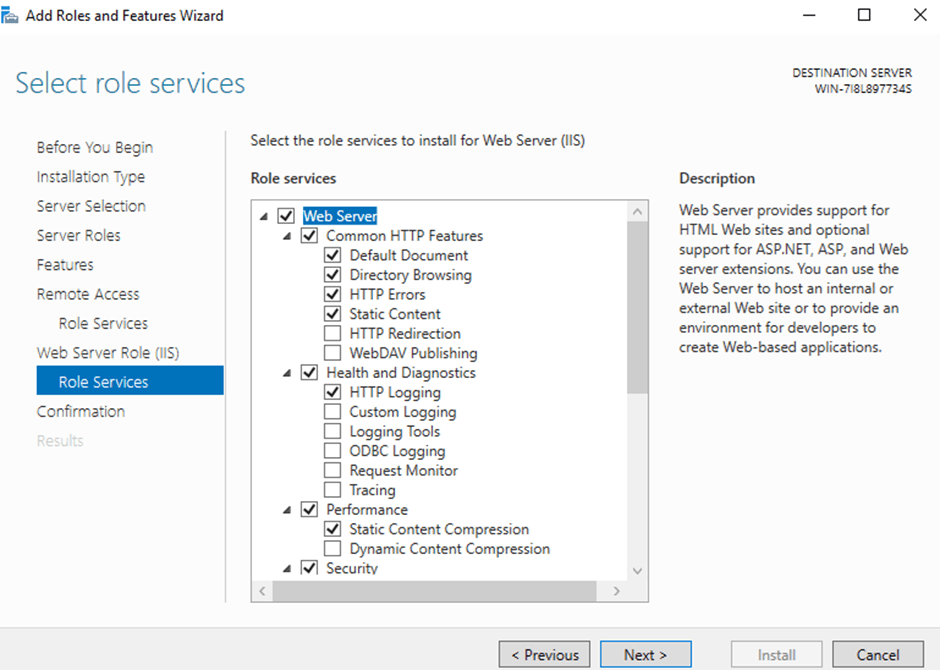
Step 4: Click next on Web Server role services page and click to continue
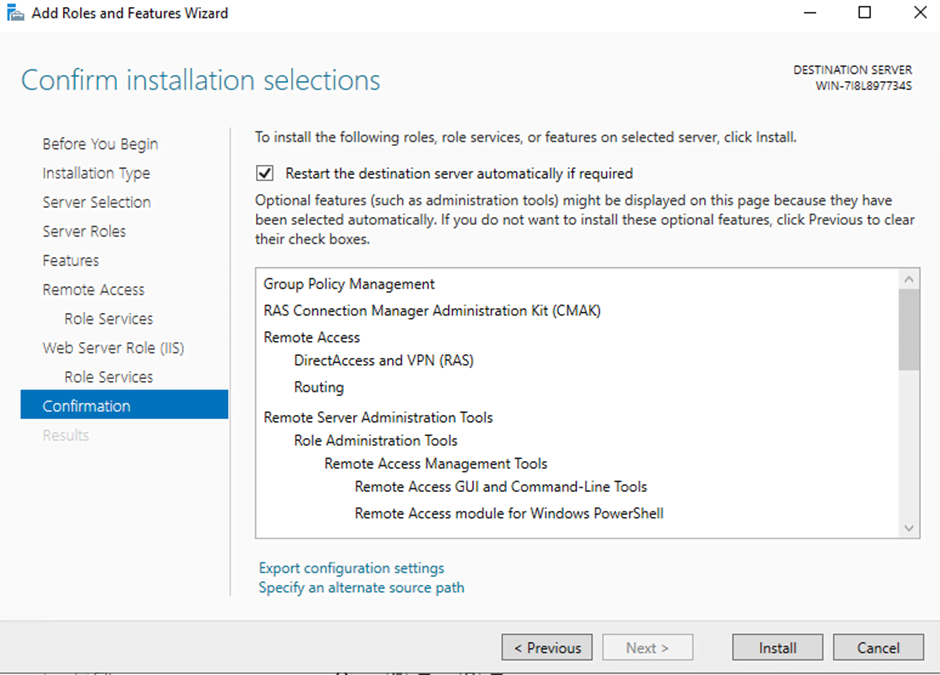
Step 5: Click Next to continue
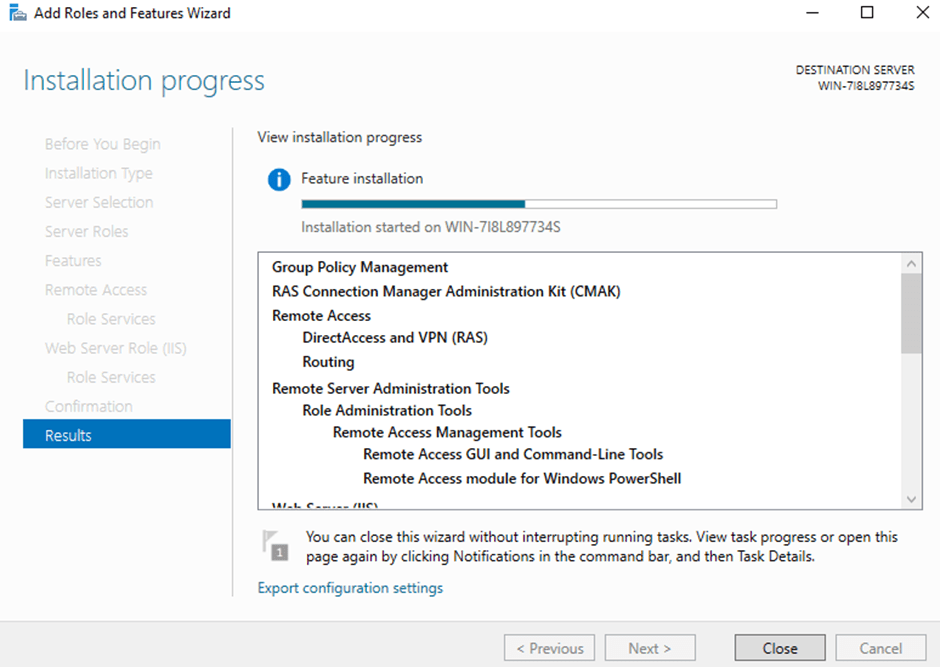
Step 6: Click Install and wait for install to complete
Configure NAT on Windows Server 2019
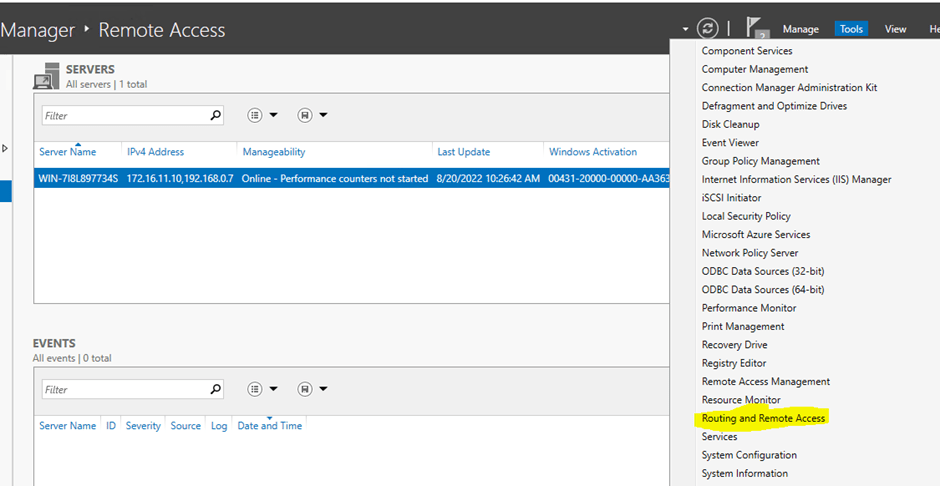
Step 7: Open Remote and Routing Access
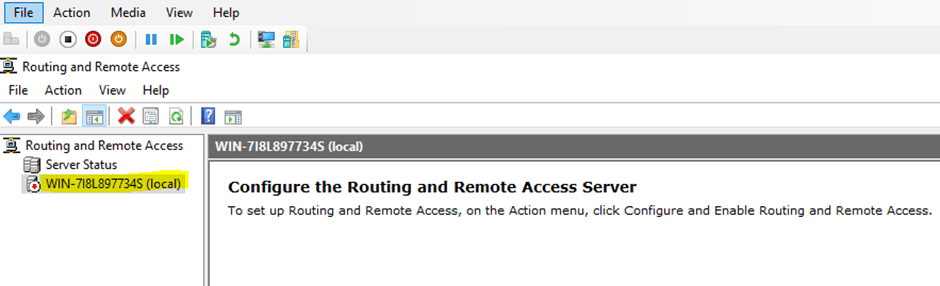
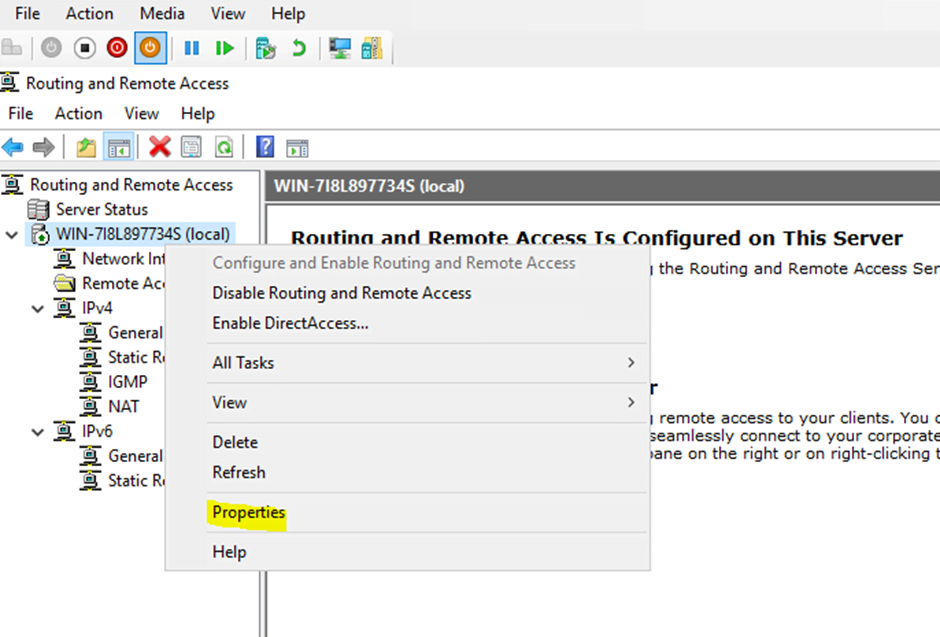
Step 8: Right-click and then select option to configure and enable routing and remote access.
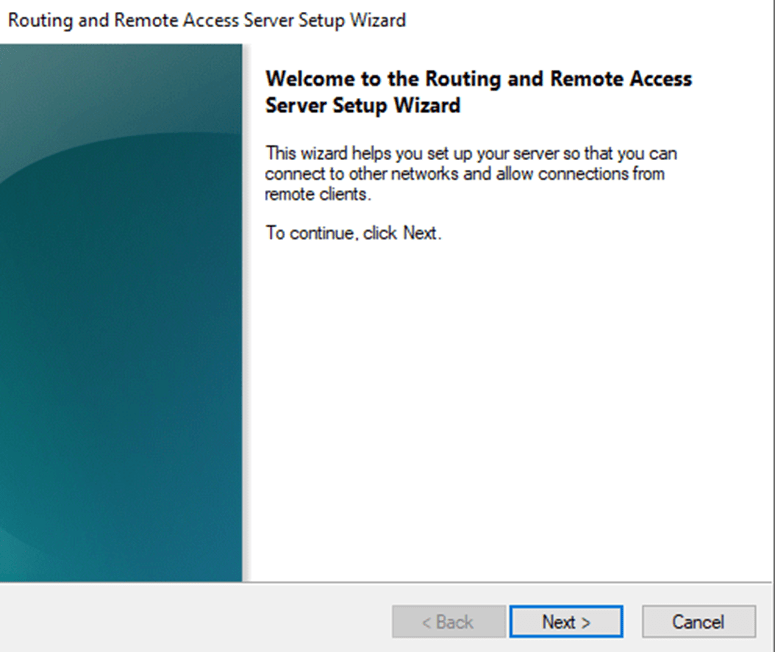
Step 9: Click Next
Step 10: Click Next

Step 11: Choose the interface connected to the internet
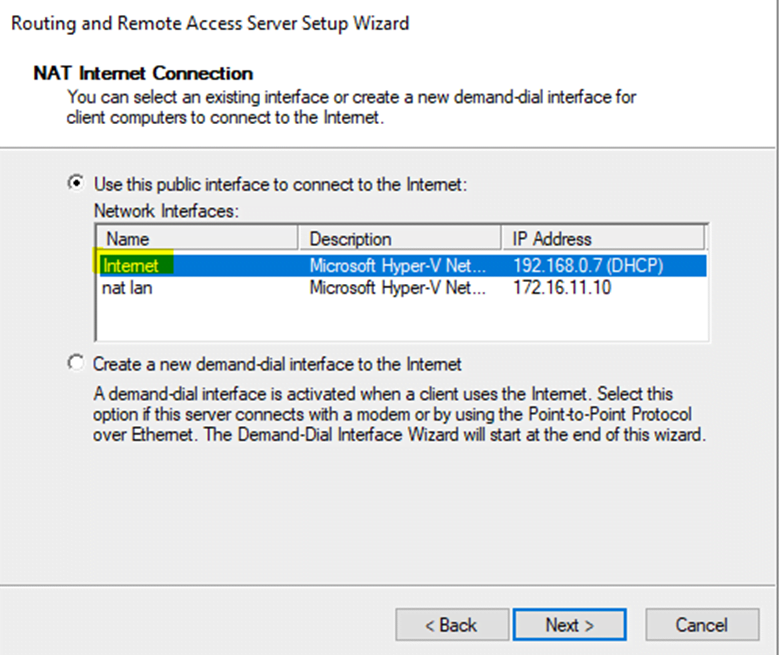
Step 12: Click Next to continue
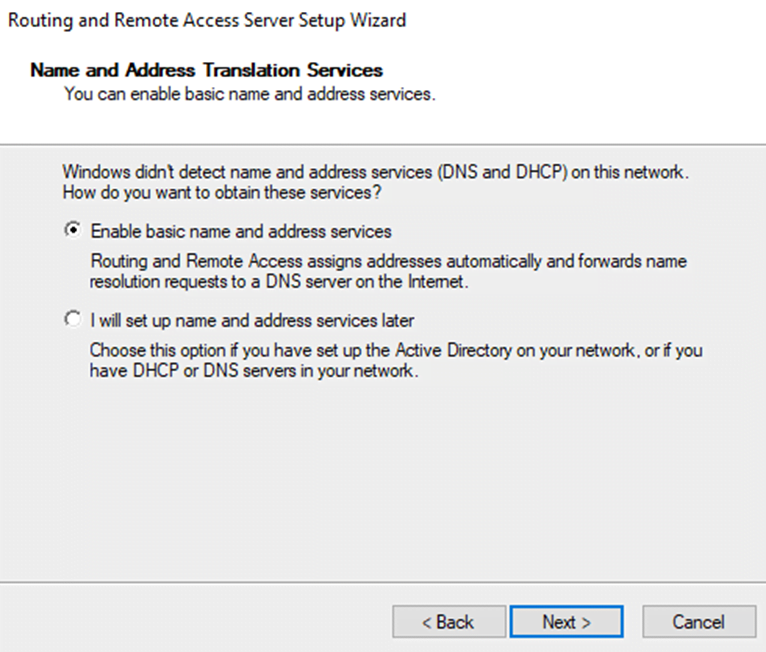
Step 13: Click Next to continue
Step 14: Click Finish to exit the configuration wizard.

Step 15: Click Finish to exit the configuration wizard.
Verify NAT Configuration Settings
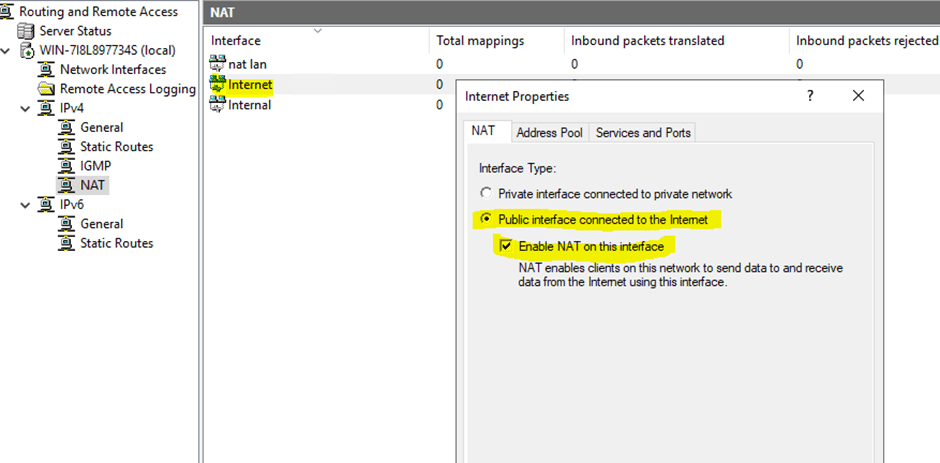
Step 16: Click on the interface connected to Internet . Ensure Internet is enabled.
Step 17: Click on the interface named internal and ensure its set as private interface.

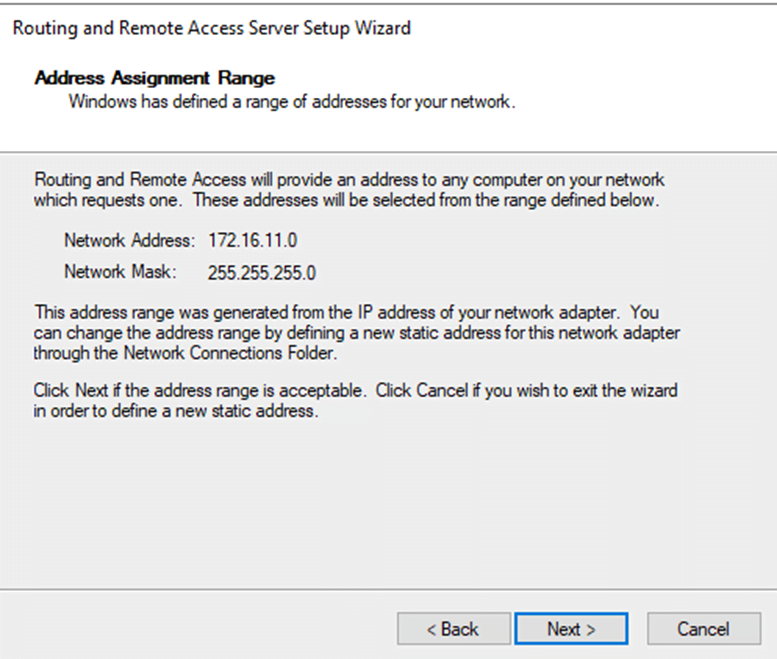
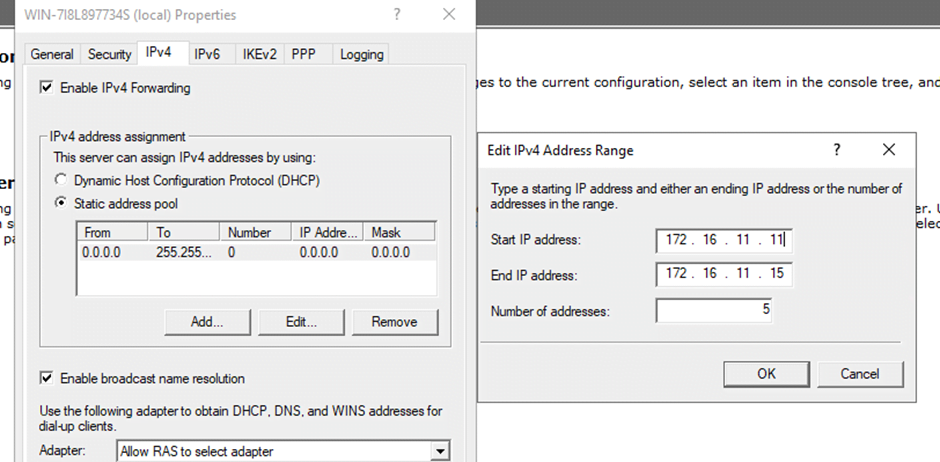
Step 18: On the server properties, we will now set a IP range for our NAT clients
Step 19: Choose an IP range.
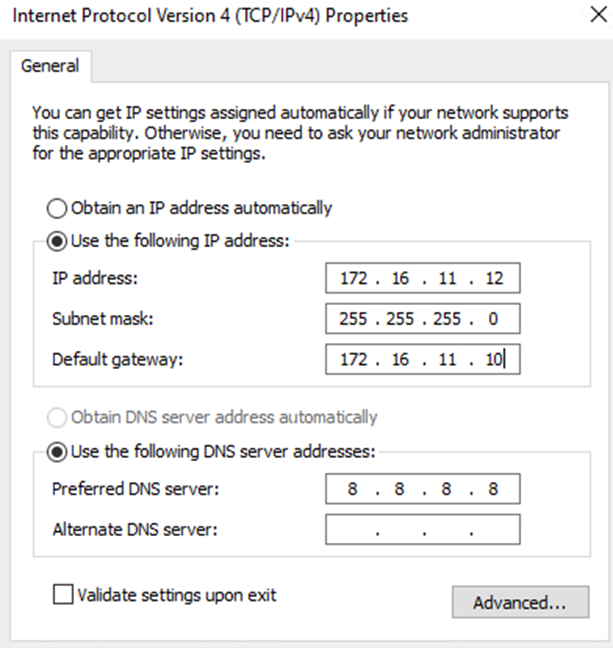
Step 20: Configure our client Windows desktop on the IP’s in this range and ensure default gateway is set to the NAT’s VM IP named as Internal
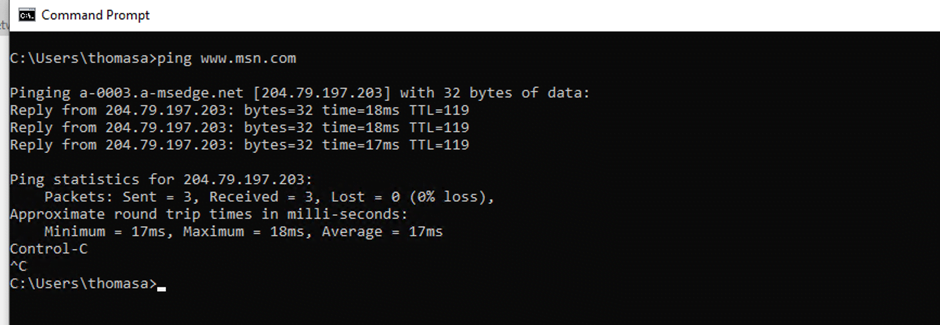
Step 20: Ping www.msn.com and now you should be getting responses from www.msn.com successfully so our NAT is now working properly.
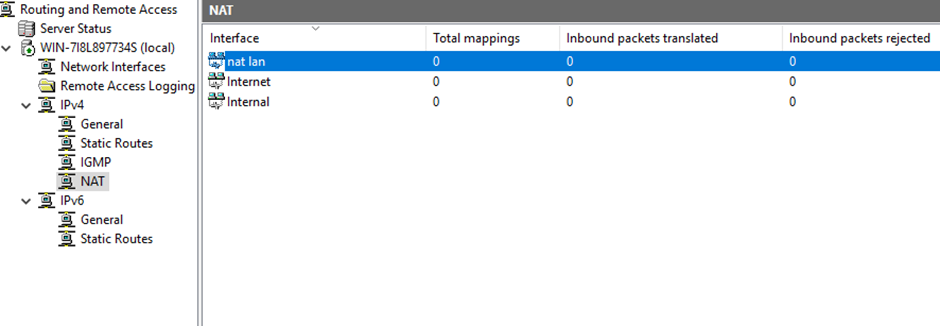
Step 21: Back on our Windows 2019, we can see packets been translated as our client machine access the internet.
