In this blog, we will now configure our DEM by using the folders we created earlier.
Step 1– Open the DEM Management Console and we will now need to specify a location to store our DEM Configs.

Step 2 – The folder we created is DEMConfig so we will put the path here and Click OK

Step 3- Click Configure tab and check if the path is set correctly. As seen all our personalization features are stored under this folder path

Step 4 – The easiest way to get started with DEM is to use the Easy Start option. This will just download a default set of configuration items to get a feel of UEM however in production we will just download a template and use it to customize our Apps
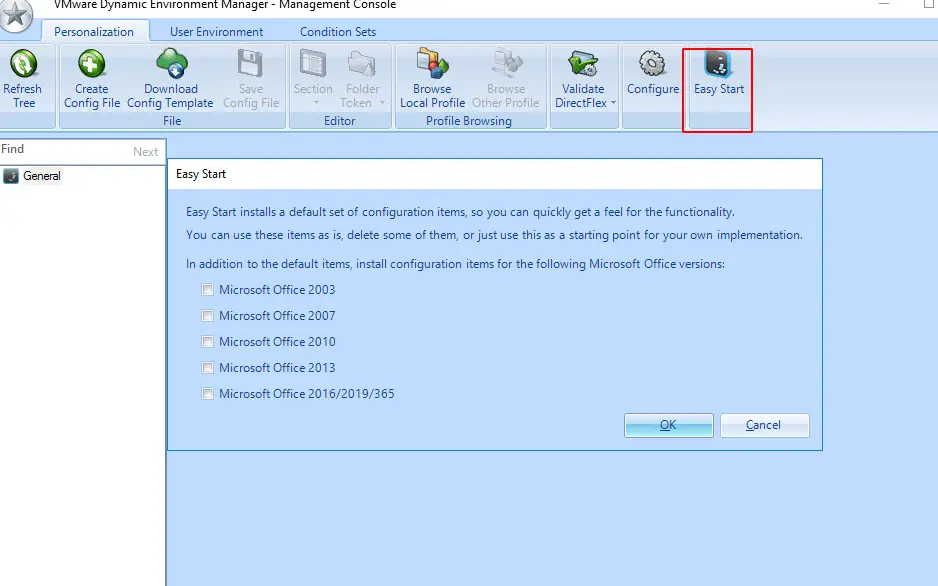
Step 5– We could also click Download Config Template, and these are templates VMware has validated and optimized for best use of tested Apps.
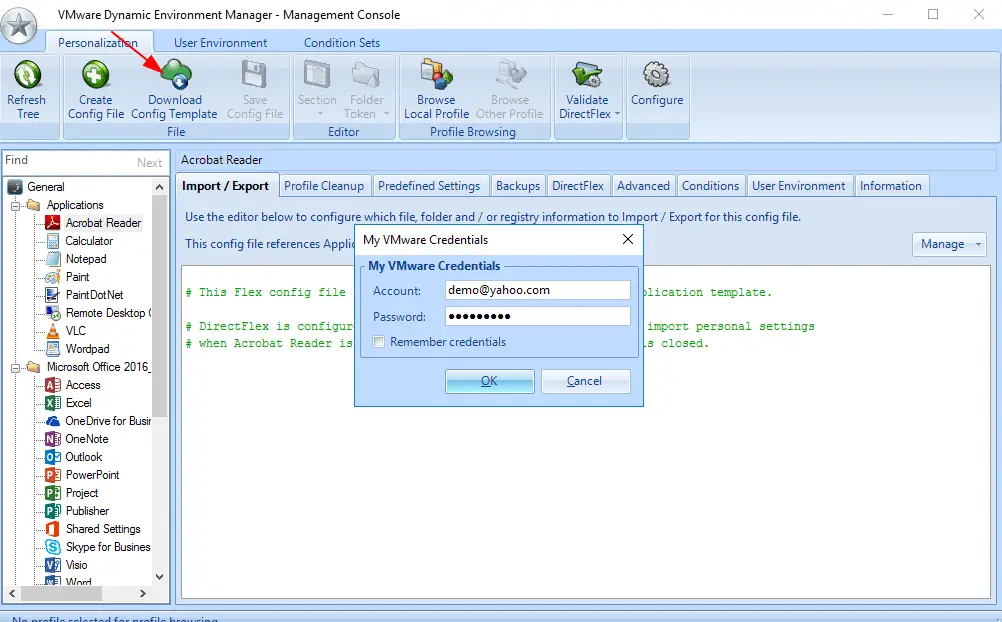
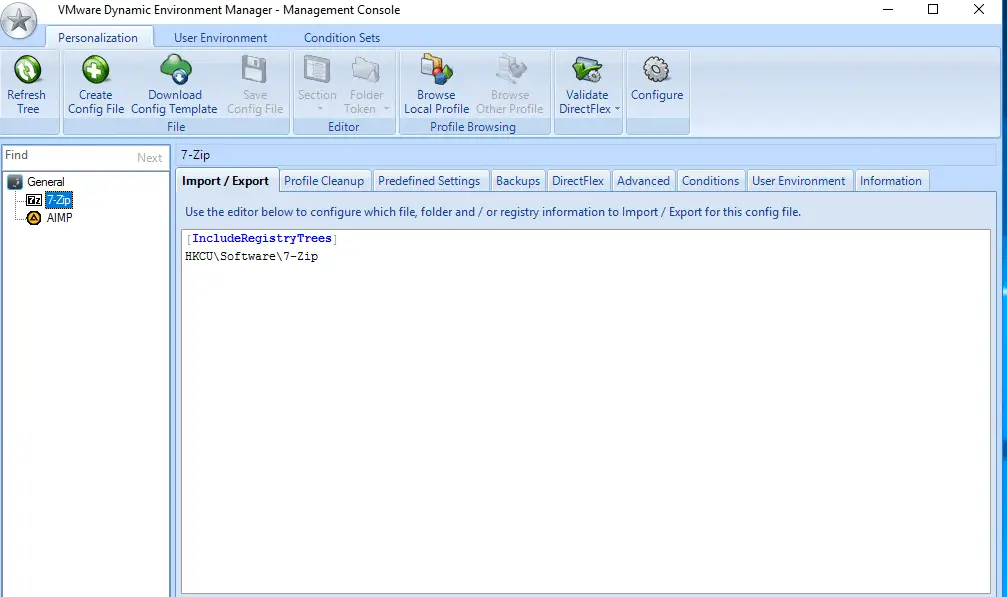
Step 6– Once our credentials are entered, it will go ahead and download the templates

Step 7 – Choose the apps
Additional actions from DEM can be done under the User Environment Section.
Step 8 – For creating shortcuts for an application on the users desktop, go to User Environment > Shortcuts

Step 9 – Give the shortcut a name and under target specify where the location of the program is on the VM

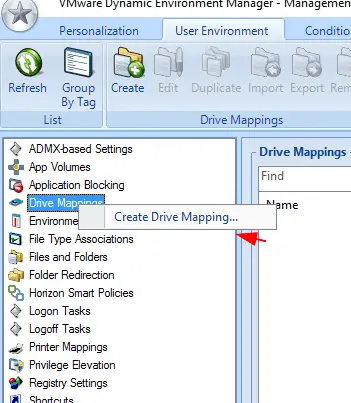
Step 10 – To map a drive, Go to the User Environment > Drive Mappings
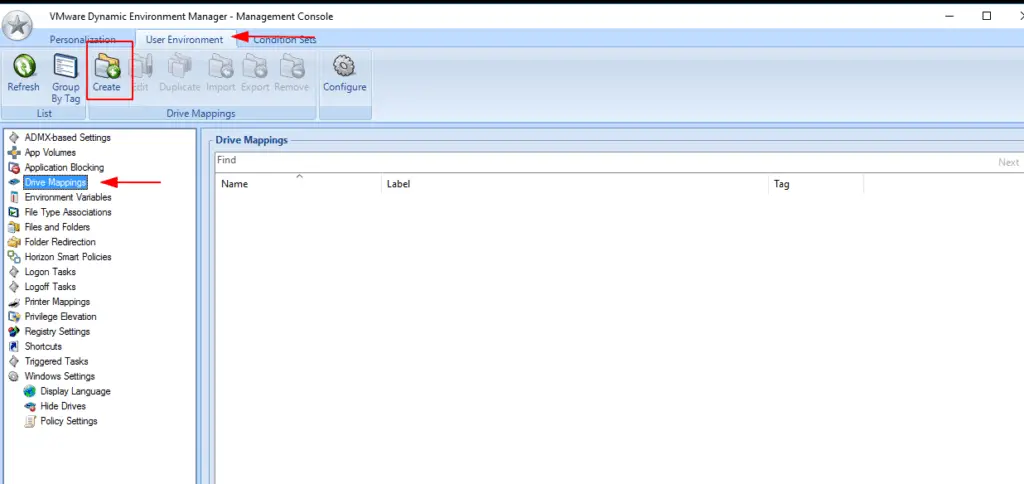
Step 11 – Create Drive mapping
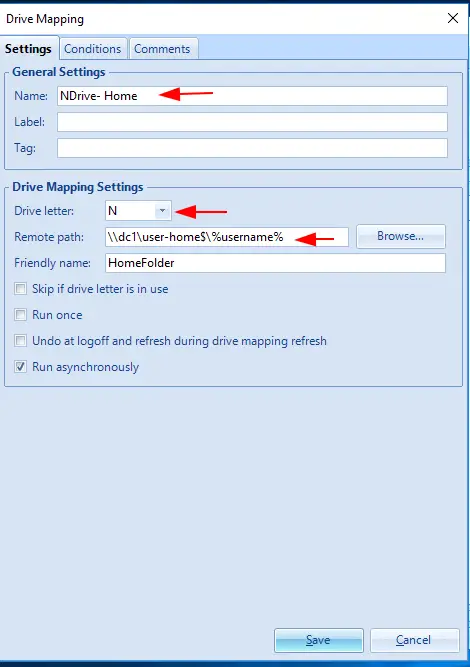
Step 12 – Provide a Friendly Name, Remote Drive Path and choose the drive letter needed
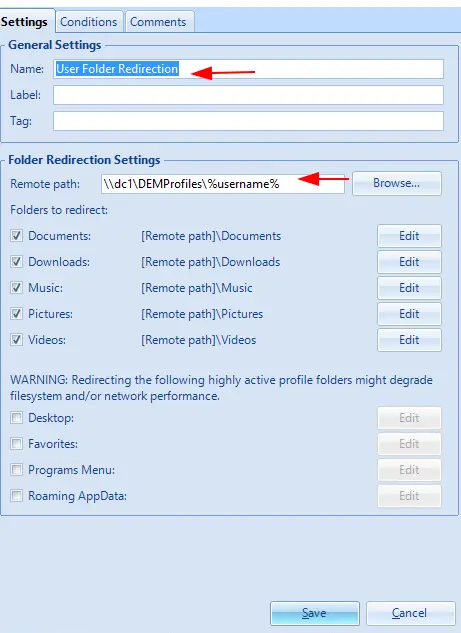
Step 13 – For Folder Redirection, Click Create

Step 14 – Here we will put the path for our DEMProfile we created earlier in the format \\servername\DEMProfiles$\%username%. This is where all our user customisations will be stored.
Step 15 – Another useful feature in DEM is Triggered tasks. We can easily refresh a user’s environment while the user is still logged on.

Step 16 – With all the above done, we can now test user’s profiles with DEM so lets aunch the horizon view URL https://horizon01.ash.local

Step 17 – We will now see all our desktops and applications available on use. Click on the Instant Clone desktop to launch our users desktop.

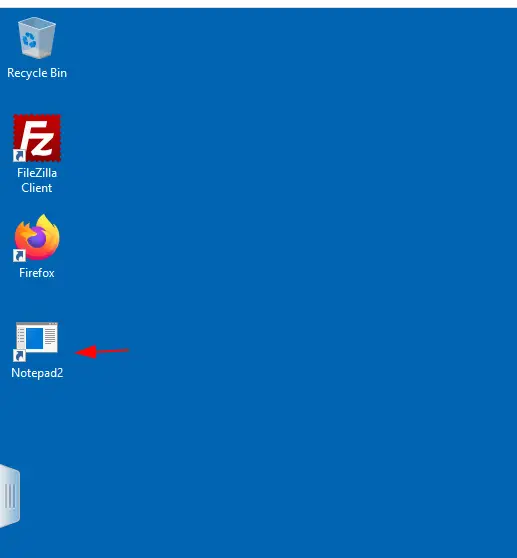
Step 18 – We can now see our shortcut is placed on our desktop
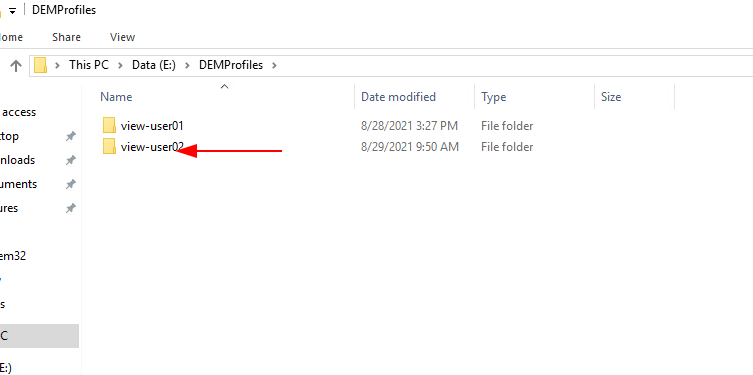
Step 19 – Any user-level customizations saved by the logged user will be stored in the DEMFolder
In the next blog, we will configure AppStacks.

