In this blog, we are going to cover VMware Site Recovery Manager (SRM) which is a disaster recovery and business continuity solution from VMware.
SRM automates the recovery or migration of virtual machines between a primary site to a recovery site with the click of a button. SRM is now available as an OVA based installation with Photon OS and embedded Postgres DB.
Prerequisites
It’s always a good idea to do your research before installing or upgrading SRM. Along with reading the release notes, verifying the VMware compatibility Matrix of ESX, vDS, vCenter, and NSX-V is essential.
Here are the relevant web links
Summary of SRM Deployment
The following are the high-level steps required for our SRM deployment.
- Verify compatibility matrix
- Build ESXi hosts
- Deploy 2 vCenter and connect ESX host to each vCenter
- Deploy SRM Manager via OVA.
- Link vCenter to SRM
- N+1 configuration is supported (ie : One site can run a lower version of vCenter, SRM and vRA)

Network Topology of Lab
Our network topology is setup as below


Management VM Sizing Requirements
Since we have deployed it in our lab, we have deployed it with bare minimum settings.
| VM | Version | vCPU | Memory GB | Storage | Quantiy |
| vCenter | 7.0 U1 | 2 | 10 | 100GB | 1 |
| SRM Manager | 8.4 | 2 | 8 | 60 GB | 2 |
| vSphere Replication | 8.4 | 2 | 8 | 60 GB | 2 |
| EMC Unity vSA | 5.X | 4 | 10 | 500 GB | 2 |
Licensing SRM
SRM software runs on trial license for 60 days and will need to be licensed after needs to be licensed
Deploying the First Site Recovery Manager Appliance
Step1. SRM comes packaged as an ISO file,we will need to mount the ISO image to deploy the SRM OVA file. Browse to the bin directory of the mounted image, we can see the 5 files that make up the SRM OVF template.

Step2. Log in to the vCenter and browse to the SRM OVA file downloaded from VMware.com

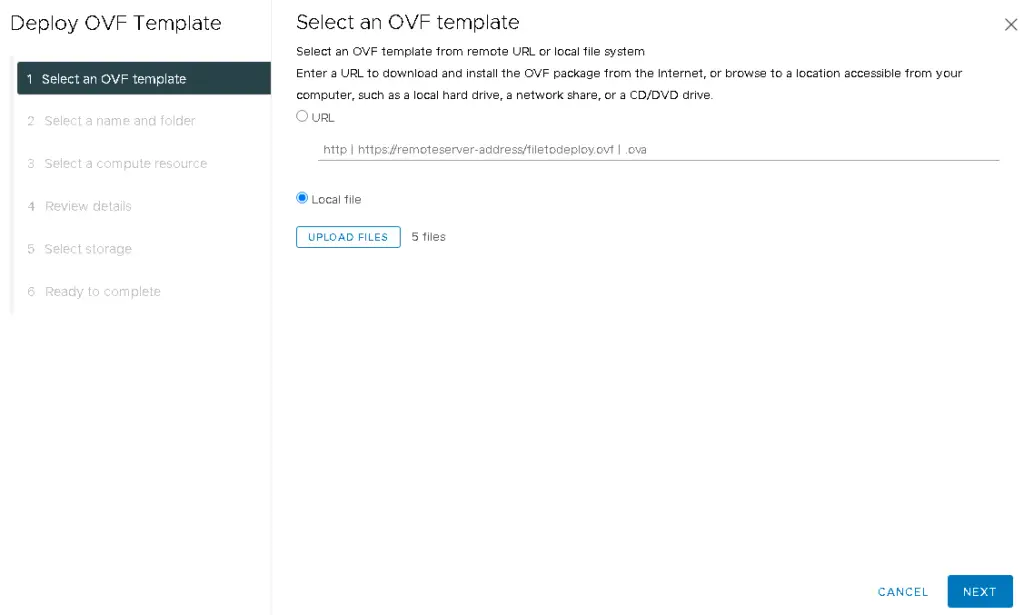
Step3. Select the option to deploy from a local file and click choose files.

Step4. Select all the five files part of the SRM installer package and Click Open

Step5. Click Next to continue
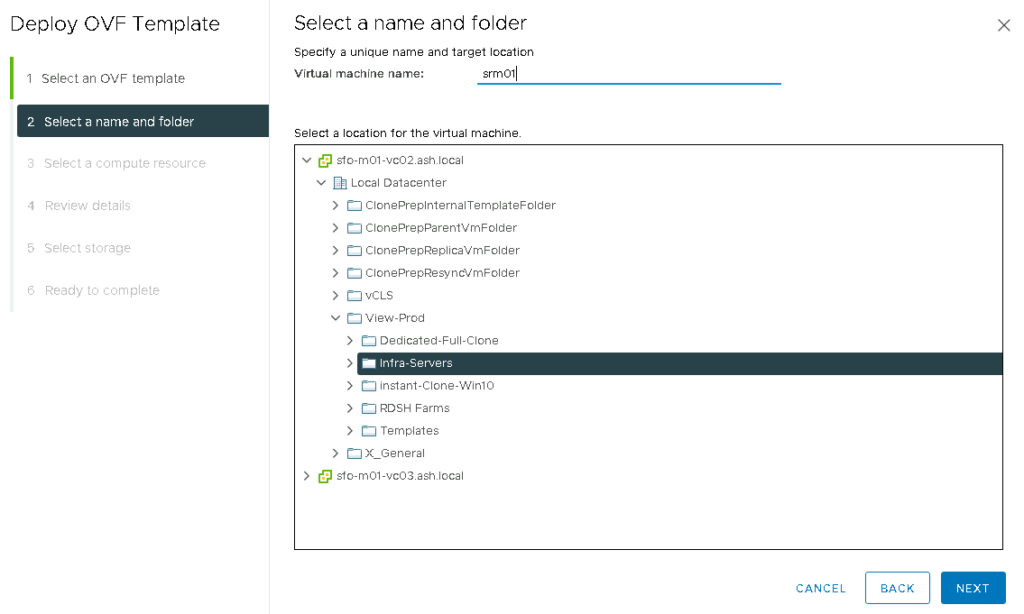
Step6. Give the VM a name
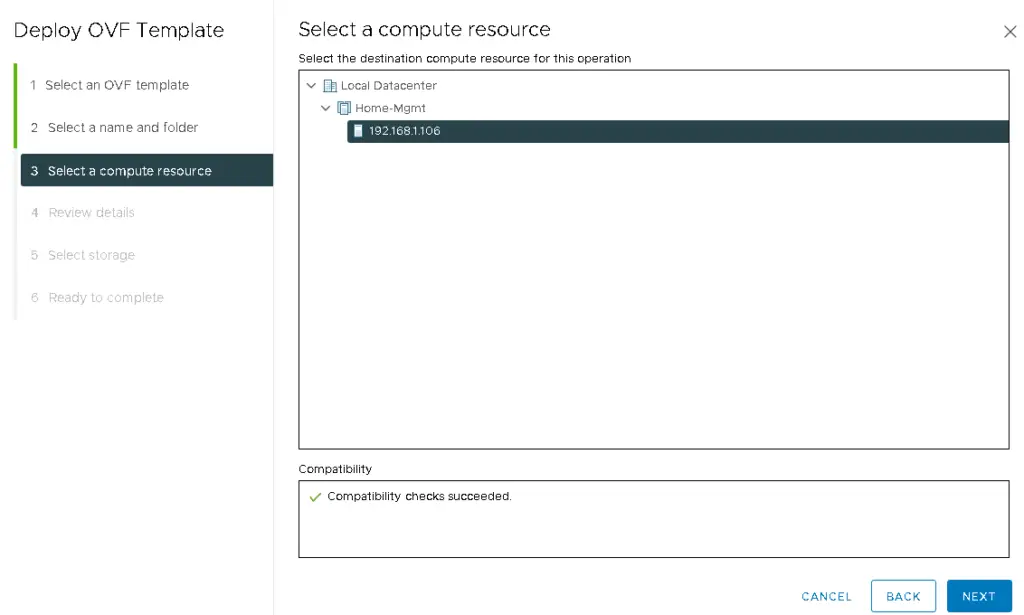
Step7. Under our cluster, select an ESXi host to deploy the OVF
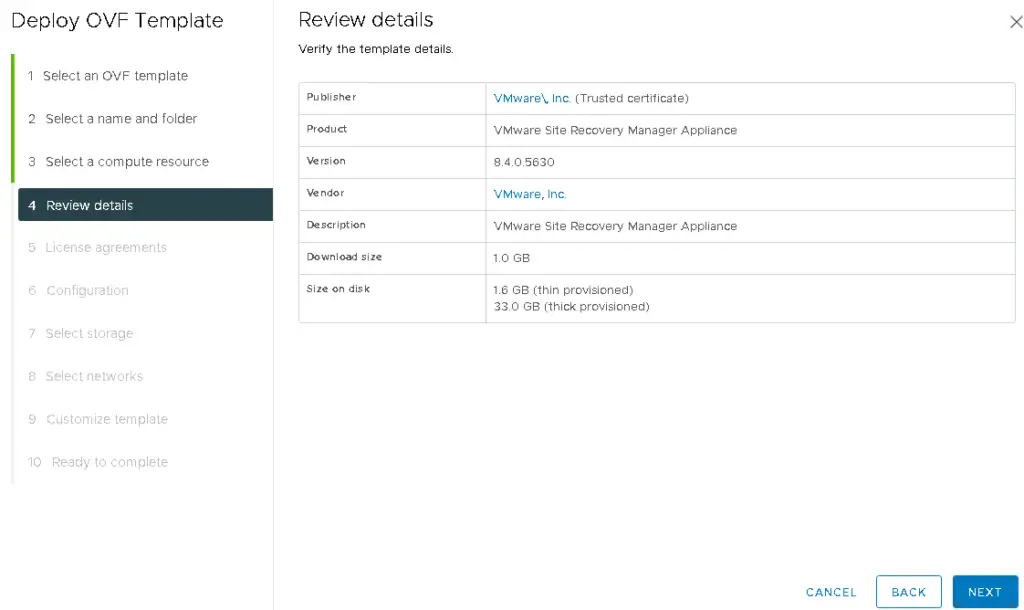
Step8. Review details and click Next
Step9. Accept the license agreement and click Next

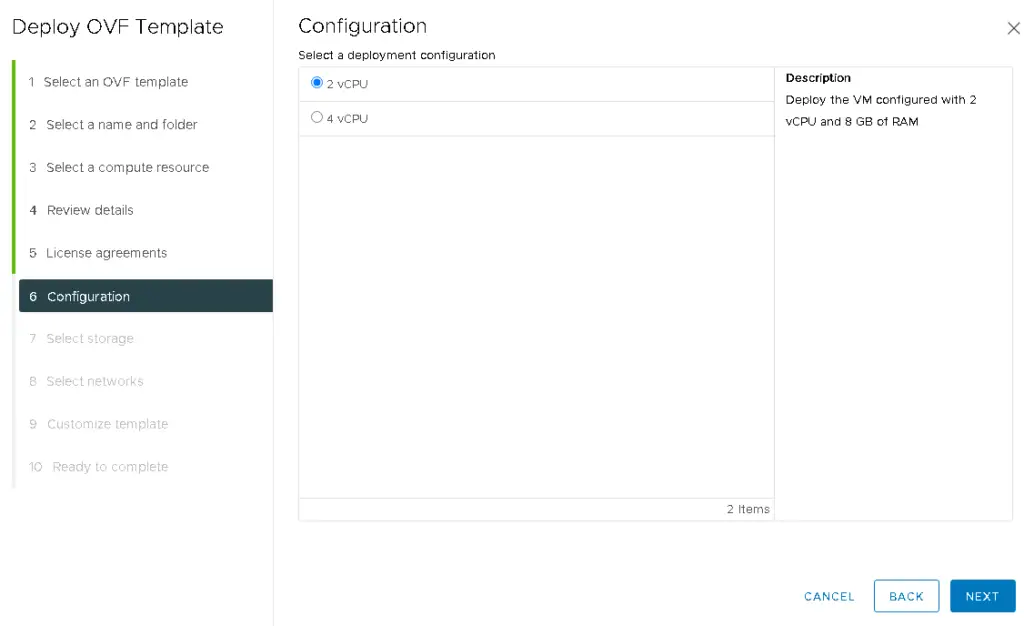
Step10. Choose the number of vCPUs and RAM required
Step11. Provide all with these details and click Finish to start the deployment.
- Password
- Hostname
- Network 1 IPv4 Address
- Default IPv4 Gateway
- Network 1 Netmask
- NTP server list
- DNS Servers
- Domain Search Lists


Step12. Once deployed, open the VAMI portal https://IP_address:5480.
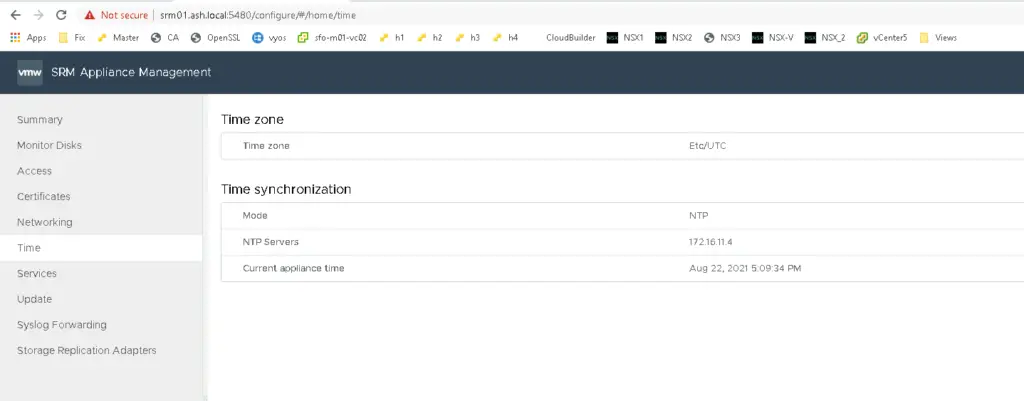
Step13. Change the timezone to your correct timezone.
Step14. We can see the srm-server service will be in a stopped state as we have not configured SRM yet

Step15. Click on Configure appliance to configure SRM
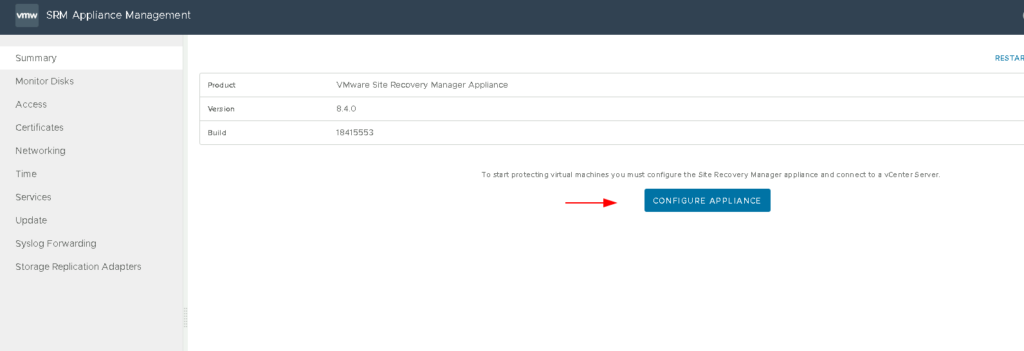
Step16. Provide details of our vCenter here

Step17. Accept the security alert – This is because the certificate is still self signed

Step18. Select the vCenter server for which we wish to configure SRM. We will choose our production vCenter as its our first SRM deployment.

Step19. A similar certificate warning for connecting to the vCenter server will now appear so just click on connect

Step20. Give the site name some name such as Production Site. Enter the FQDN of the SRM server we created in DNS earlier. .
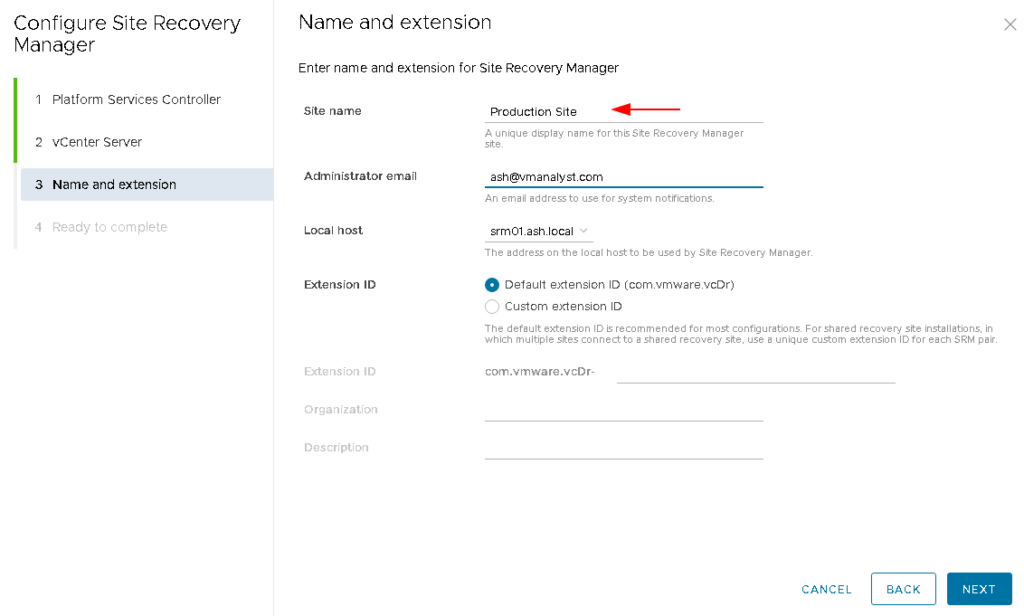
Step 21. Review all the details and click Finish

Step 22. The configuration starts and this will now take around 15 mins.
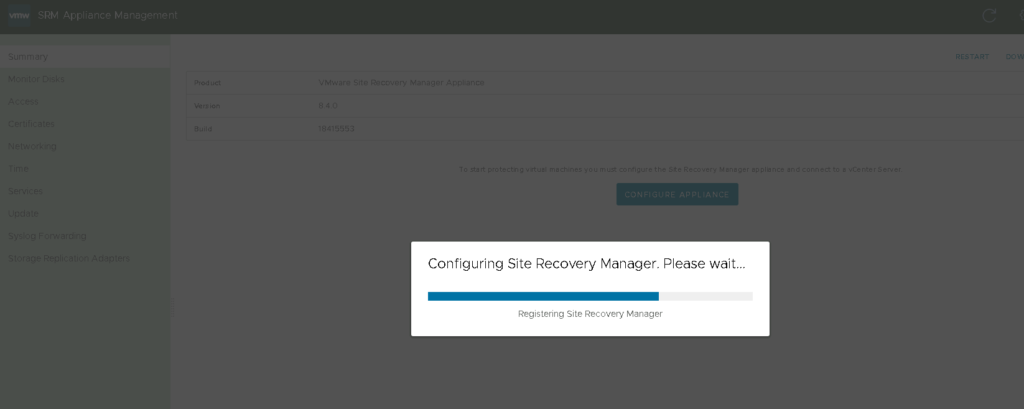
Step23. SRM appliance is configured successfully and we can now view all information such as the connected vCenter, and the site name we provided.

Step 24. Verify if all services are started, mainly the SRM one

Step 25. Log off and log back into our vCenter and we can now see SRM being registered.

We now need to repeat the same steps on the DR site.

