If you are tasked with converting your usual VM disks that are too big and the aim is to export these out as an OVA/OVF, the VMware OVF export tool could come in handy.
In this blog, we will walk you through the process to convert a VM to an OVA/OVF file format using the OVF Tool from VMware.
Workflow for OVF Export
- Power off the source VM that needs an OVA/OVF Image.
- To avoid hair-pinning, create a new test VM on the same ESX host as the source VM and which will be later used to install the OVF Tool.
- Ensure the new test VM is also added on the same datastore if possible so it doesn’t need to cross different disk layers to copy data out quickly.
- OVF export process is CPU intensive so ensure that Hot-Add CPU/Memory is enabled as it’s just easy to raise compute as you go, should you need than cancelling it out fully.
We’ve chosen one of my VM as a test candidate & have powered off the VM.

One of the easiest ways to export the VM disks out as an OVF Is via the vCenter. While this works great, and this is probably the route you should take initially, however, you could have trouble if the disk files are too big so you will end up with VPXD and disk time-out errors etc causing the UI-based export methods to fail.

You can also give it another go by logging into the ESXI UI to export these disks out as shown but if this again ends with time-out, we will need to attempt via the CLI. In this approach, the advantage we have is the vCenter is out of the picture.

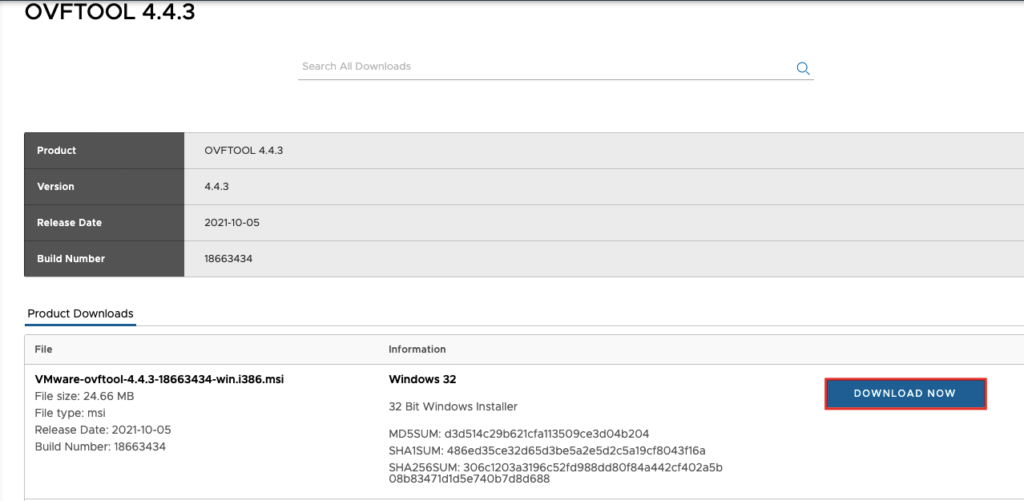
The next approach then will be to use the VMware OVF Tool. Download and install the VMware OVF Tool for the VMware portal

The next task will be to Install the OVF software tool on one of our test servers. Load on the MSI file you downloaded and click Next to proceed

Accept the EULA and click Next to continue

Choose the location to install the software to

Click Install

Click Finish to complete the installation.

Export a VM to OVF using the VMware OVF Tool
Open a command prompt as Administrator and navigate to the OVF Tool install directory to C:\Program Files\VMware\VMware OVF Tool

From here, we will run a command in this format
- ovftool.exe <source locator> <target locator>
- ovftool.exe vi://ESXI-host-IP/VMName E:\SFTP_Root\
- Provide the root credentials for the ESX host and click Enter and wait for the export process to complete

Keep the CPU and memory on watch as this could spike too much causing the copy process to fail

The OVF files are exported to the target folder as shown

Export VM to OVA using the VMware OVF Tool
Open a command prompt as Administrator and navigate to the OVF Tool install directory to C:\Program Files\VMware\VMware OVF Tool

To export a VM to its OVA format, we will now add a suffix to the local file we’ve chosen to export the VM to.
- ovftool.exe <source locator> <target locator>\ova-name.ova
- ovftool.exe vi://ESXI-host-IP/VMName E:\SFTP_Root\demo.ova
Provide the root credentials for the ESX host and click Enter and wait for the export process to complete

After the export, we can see the OVA file has been saved into our directory.


