If you’re just getting started with Postman and want a quick introduction to the basics, you can walk through this simple setup guide that uses the built‑in Postman examples:
https://vmanalyst.com/a-quick-guide-on-postman/
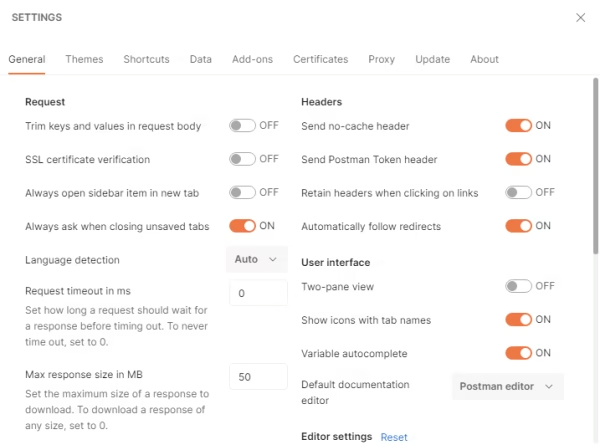
NSX appliances typically use self‑signed certificates, which causes Postman to complain during TLS negotiation so Disable SSL verification (NSX uses self‑signed certs)
In Postman:
- Settings → General → Turn OFF “SSL certificate verification” This avoids the classic TLS handshake failures.
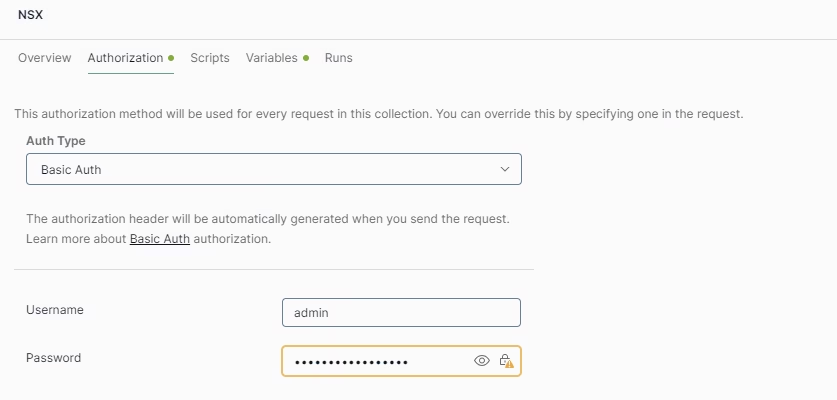
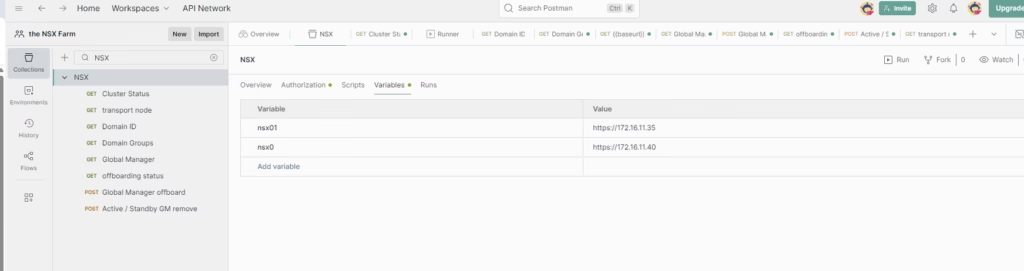
— Add Environment Variables
Postman environments let you store values like:
- baseUrl = https://nsx01.lab.local
- username = admin
- password =
Pulling the NSX API Specification
VMware publishes the full NSX API specification directly from the appliance. You can download it straight into Postman using a simple GET request.
Click on the API documentation from NSX manager.
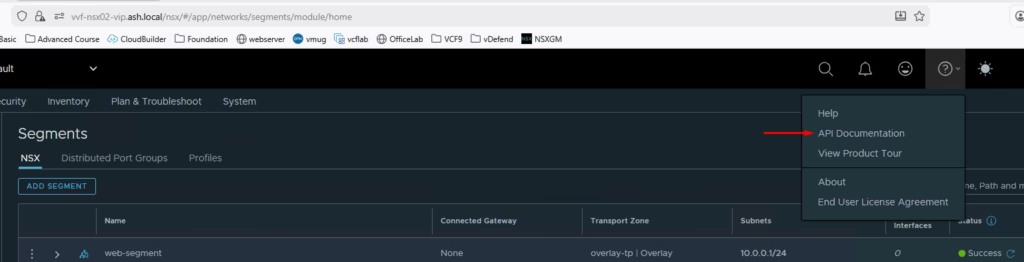
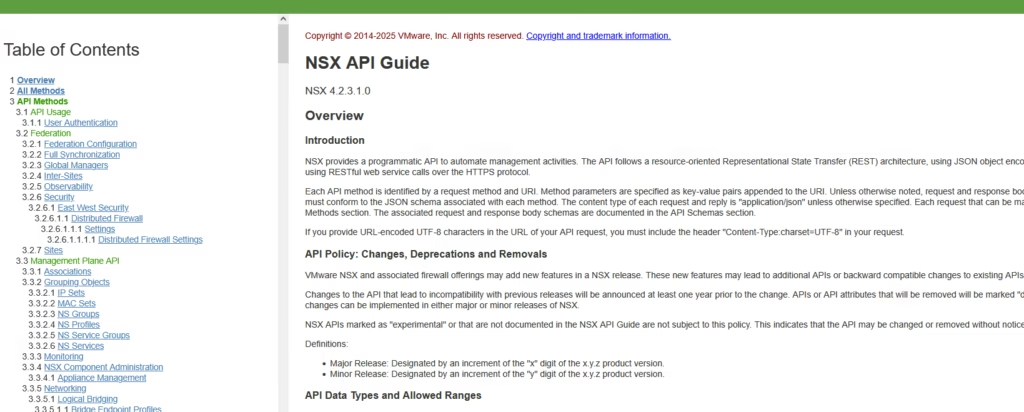
The documentation lists all possible commands / methods so you can download it straight into Postman using a simple GET request.
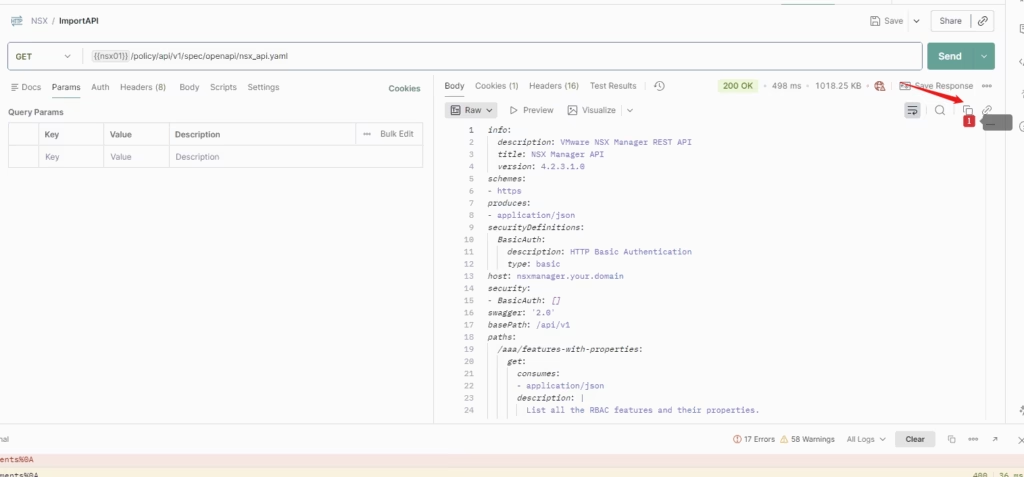
Open a new postman request and set: as GET {{baseUrl}}/spec/openapi/nsx_api.yaml, Click Send to execute this request. When the response returns, copy the entire YAML output by hitting the copy button highlighted
Go to File → Import
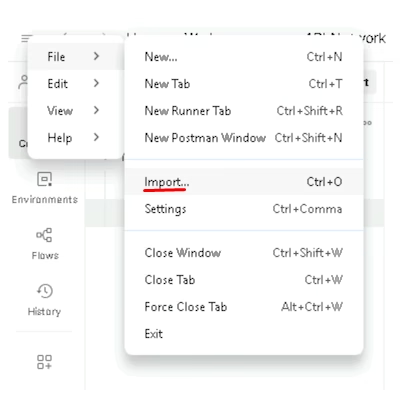
Press Control+v to copy the file
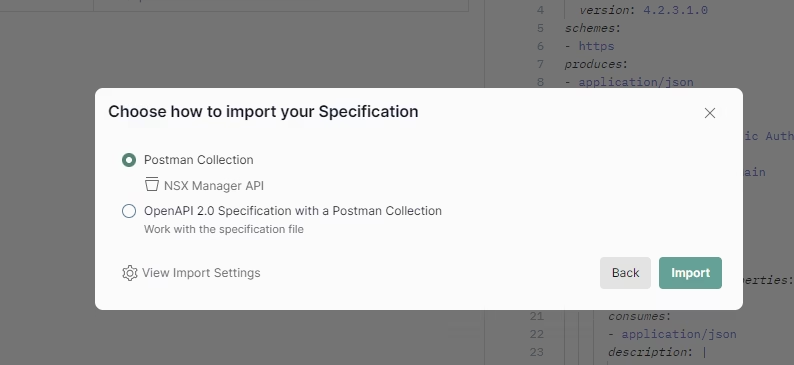
In this dialog select to import it as a Postman Collection.
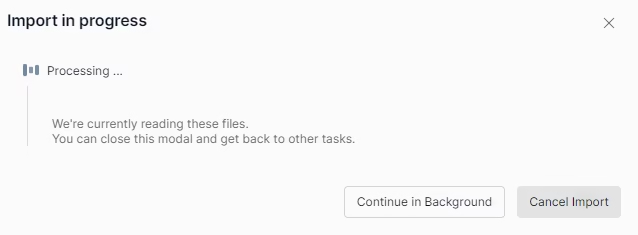
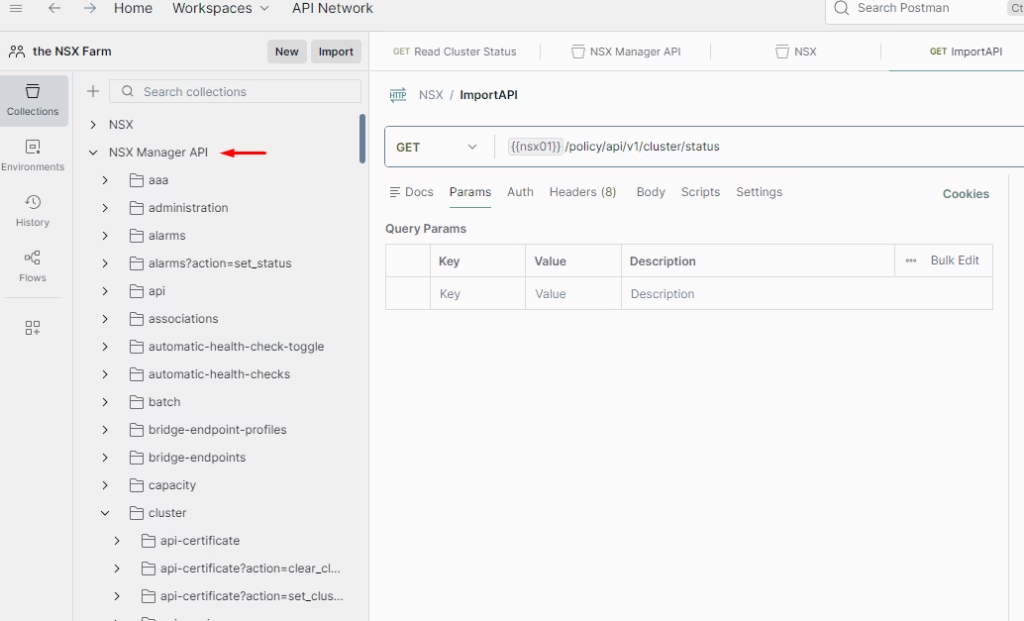
When the import is complete there will be a new collection available named NSX Manager API. You can now browse through every available endpoint — grouped, documented, and ready to use.
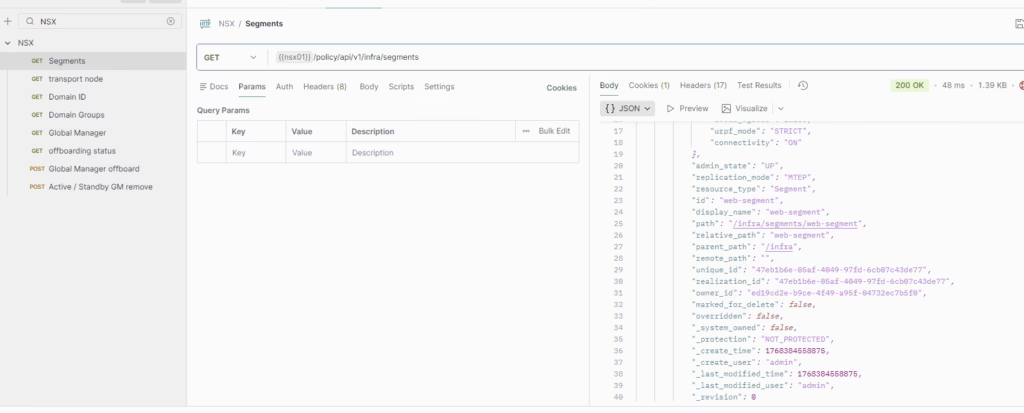
Example: — Add Your First Request: GET All Segments
Inside your collection:
- Click Add Request {{nsx01}}/policy/api/v1/infra/segments
- Name it GET – segments
- Set the method to GET
- Save and send the request
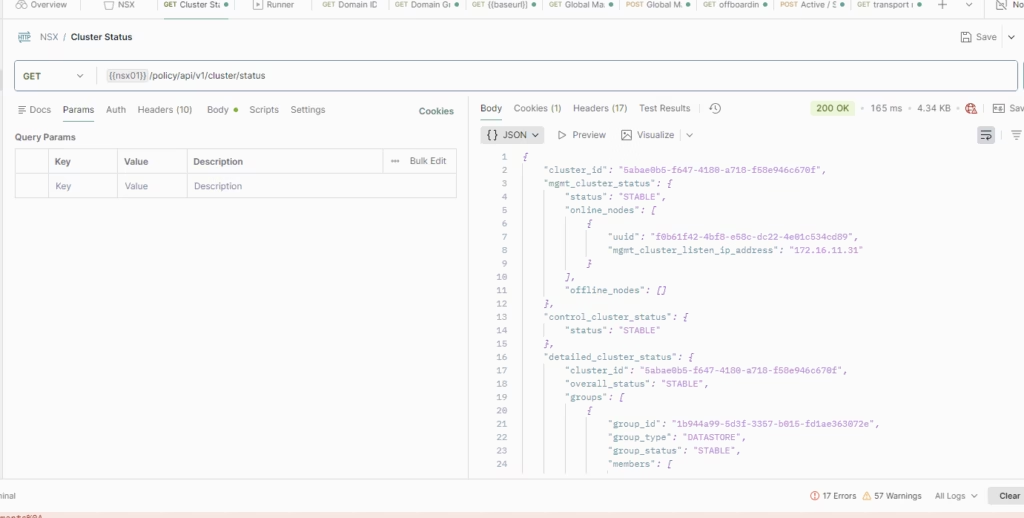
Begin by typing your {{baseUrl}} variable into the request field.
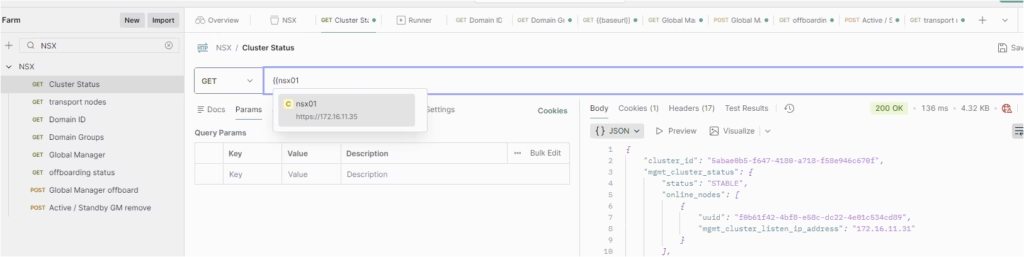
Send the request, and you’ll receive detailed information about the cluster state, node roles, and overall health.
eg: /policy/api/v1/cluster/status