

In this blog series, I’ll walk you through how to deploy and configure the Identity Broker — the new enterprise identity provider in VCF 9 and above.
Enhanced Linked Mode (ELM), long a staple of vSphere, is fully deprecated in VCF 9.0. You can no longer add or build vCenters in an ELM setup. Instead, VCF introduces a modern model using vCenter linking and VCF‑managed SSO, powered by the vIDB (VCF Identity Broker). These components replace the role ELM once played.
The vIDB acts as a central bridge between your enterprise identity provider — such as Microsoft Entra ID (Azure AD) — and VMware Cloud Foundation services, including vCenter, NSX, and VCF Operations/Automation.
By unifying authentication and federation, vIDB streamlines identity management across the stack. This reduces the complexity of configuring multiple integrations, strengthens compliance, and provides a single point of control for access policies.
Depending on your environment size and availability requirements, vIDB offers two deployment models:
- Embedded: Runs as a container within the management vCenter — ideal for smaller or simpler environments.
- Standalone: Deployed as a 3‑node HA cluster in the management domain for scale and resilience.
Identity broker Standalone
I’ll walk you through how to deploy and configure the Identity Broker in an appliance based config.
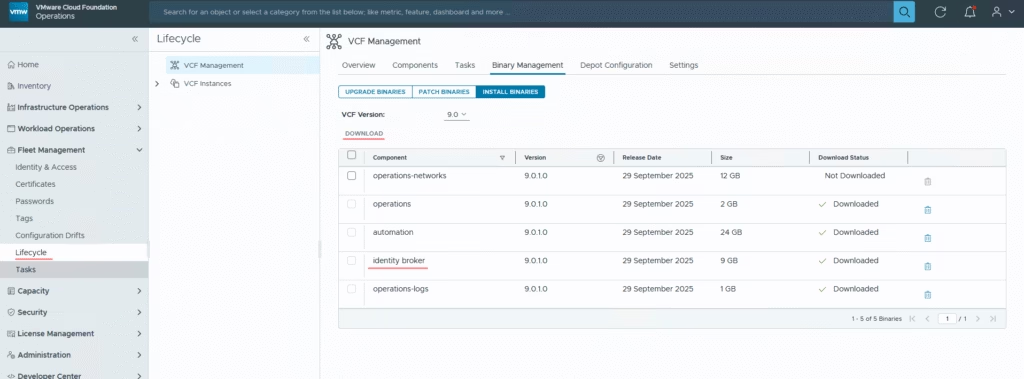
Browse to Fleet Management / Lifecycle and Download the binary
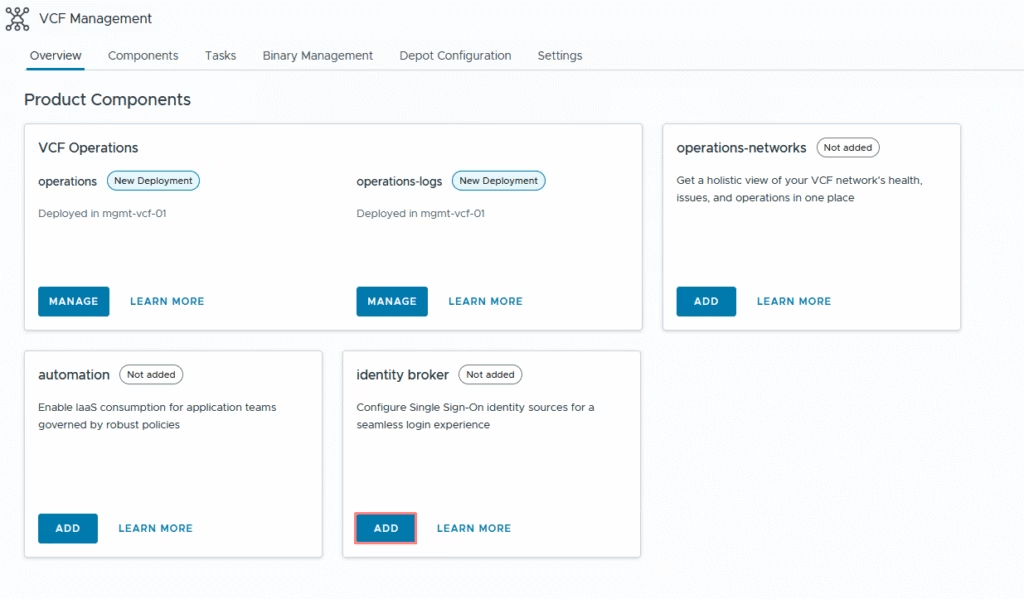
Click on Add to configure identity broker
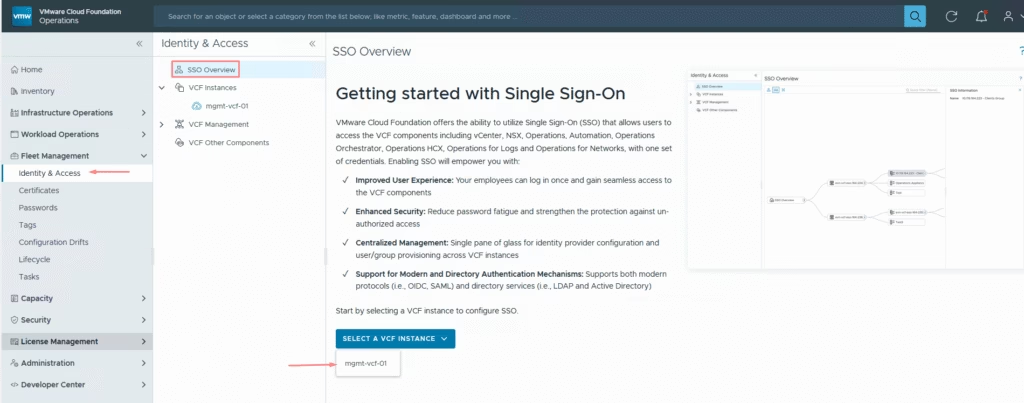
Select our vcf instance to which we are configuring sso
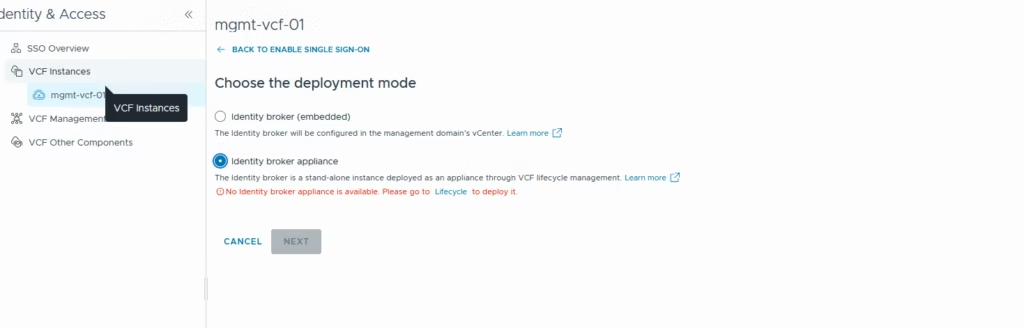
Under the single sign on, pick the deployment type
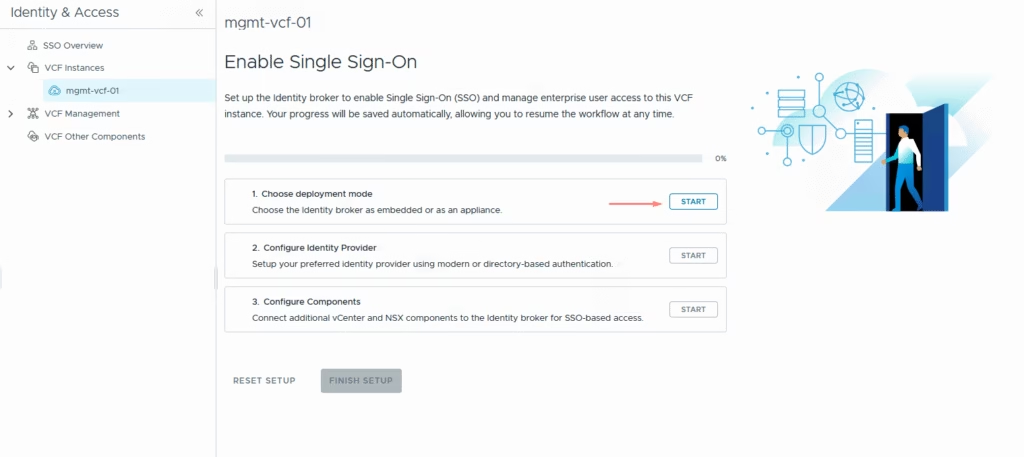
The usual now is to pick up the appliance so we get that message no identity manager is configured.
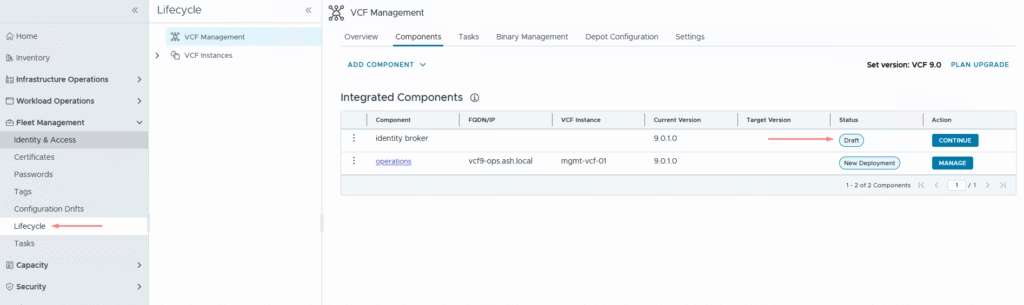
Back to the lifecycle manager, we can see our identity broker status in draft mode so click Configure
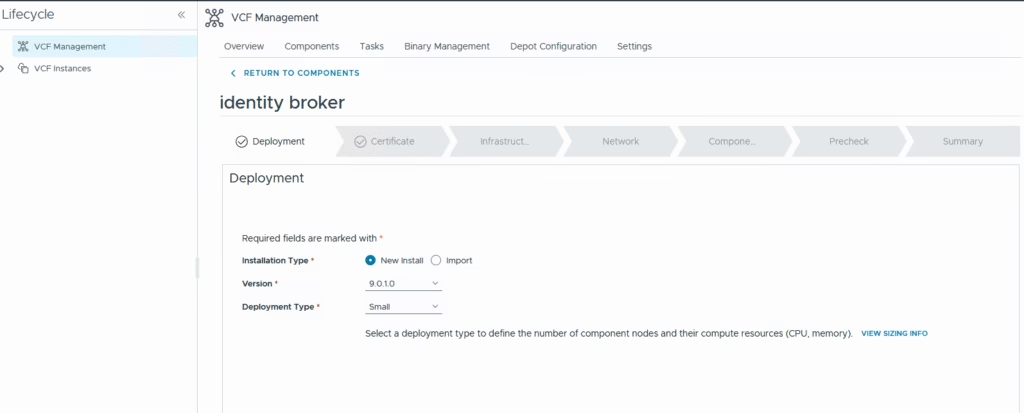
This flow mirrors the old Aria Suite Lifecycle deployment model, but those services are now incorporated into the Fleet Management appliance that is created as part of the initial deployment so pick up a deployment type
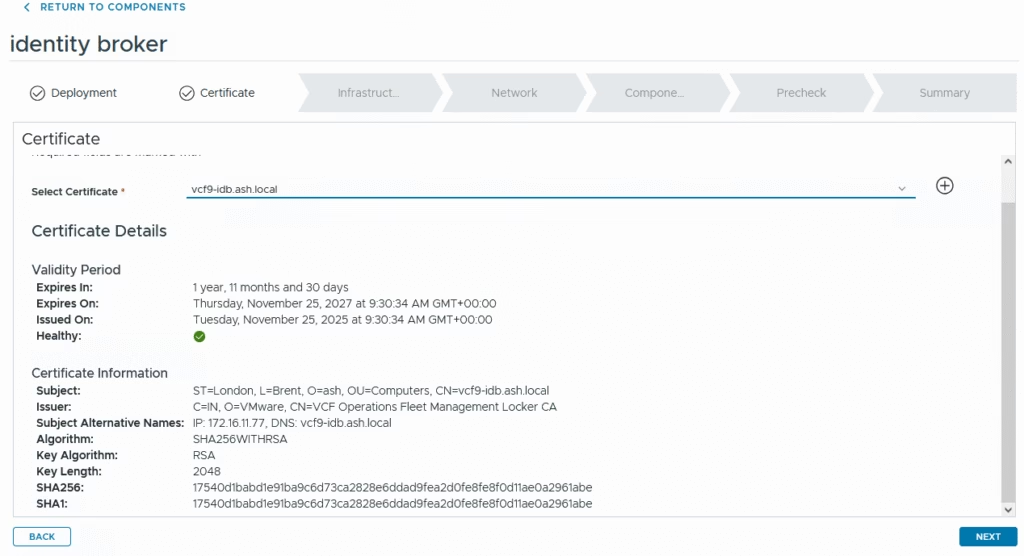
Deploy with a self-signed certificate first and then we can replace that with CA Signed
Fill in all details on the next page

Provide dns details
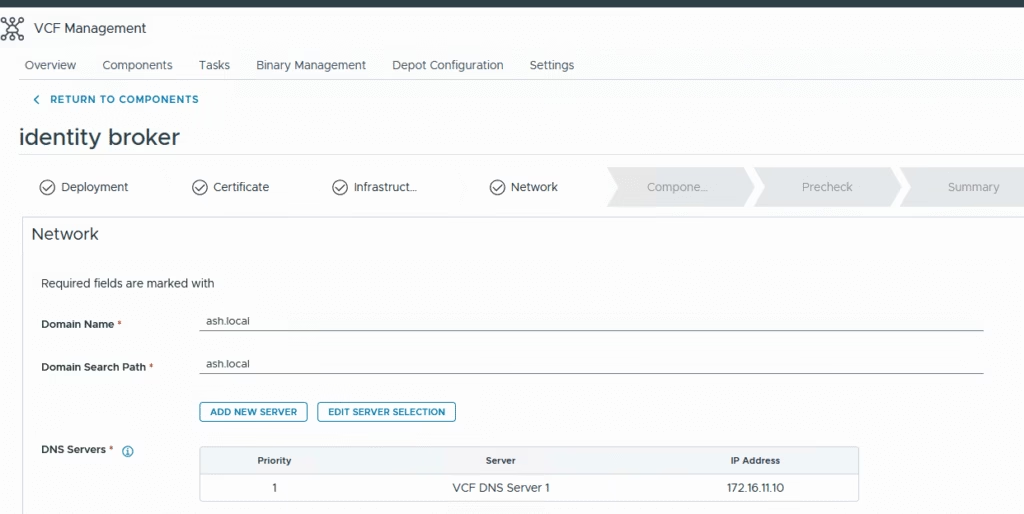
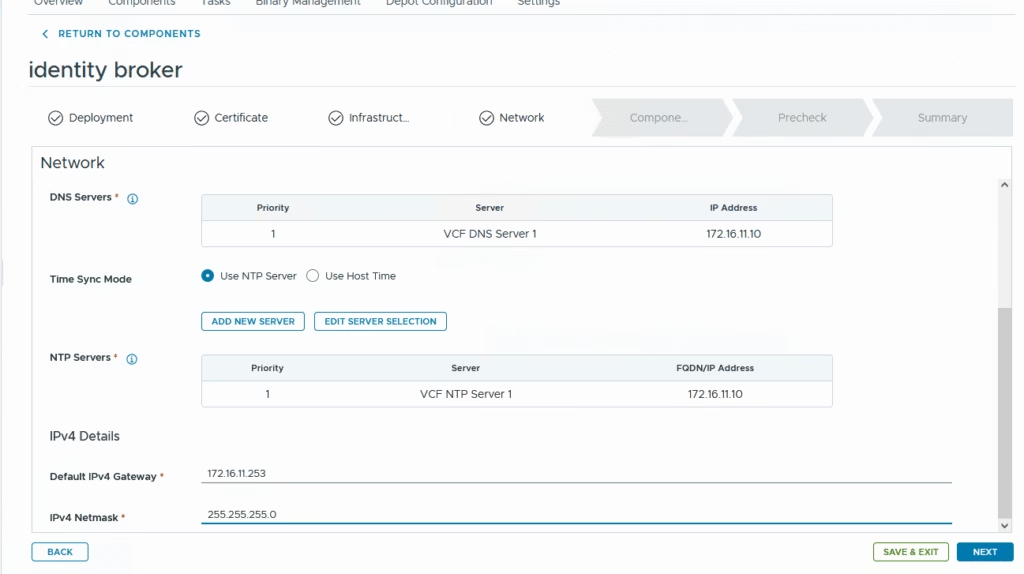
Provide network details
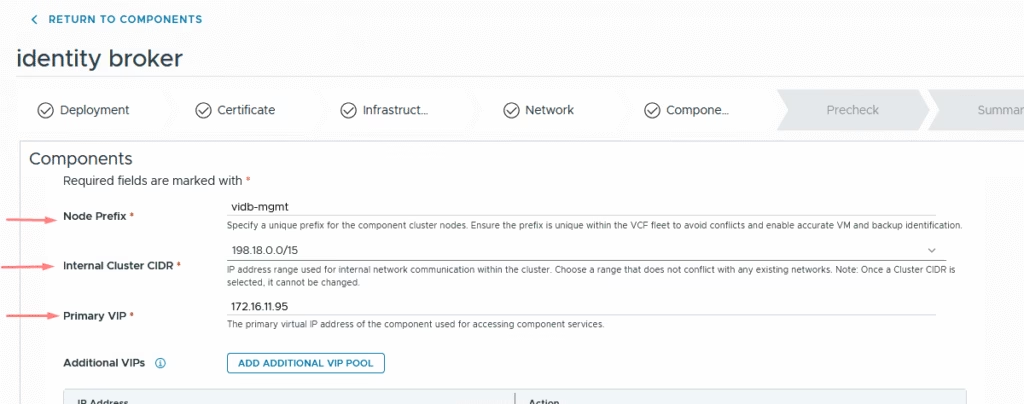
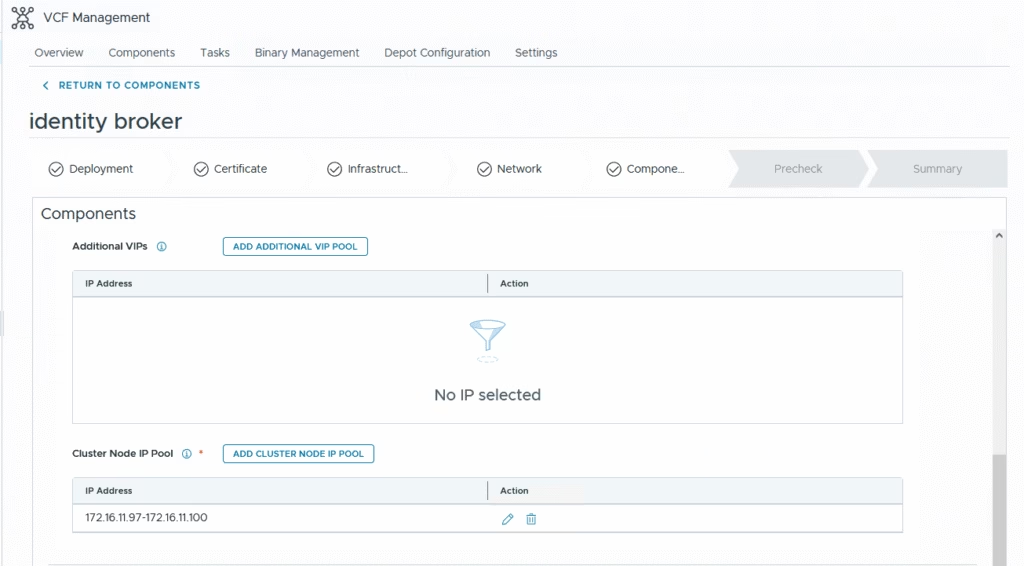
The next step is to configure the Broker IP settings and specify the cluster IP for the appliance. The internal CIDR range is purely for Docker networking, so its details aren’t important for this configuration. You can also ignore the additional cluster VIP I’p’s
The Cluster Node IP Pool requires a minimum of four IPs: one for each of the three nodes and an extra address to facilitate rolling upgrades.

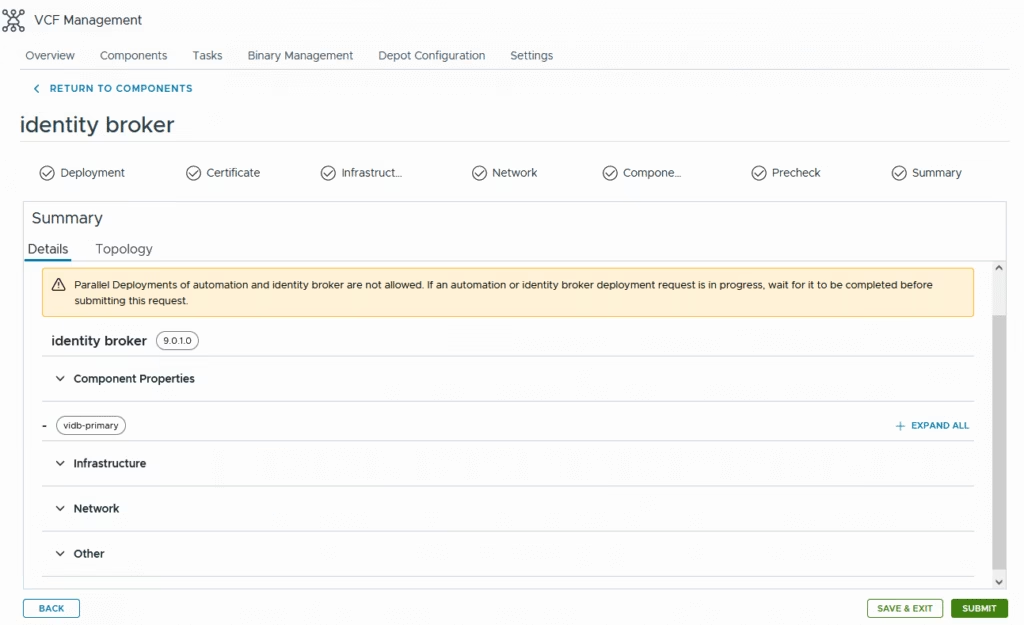
Validate our selections
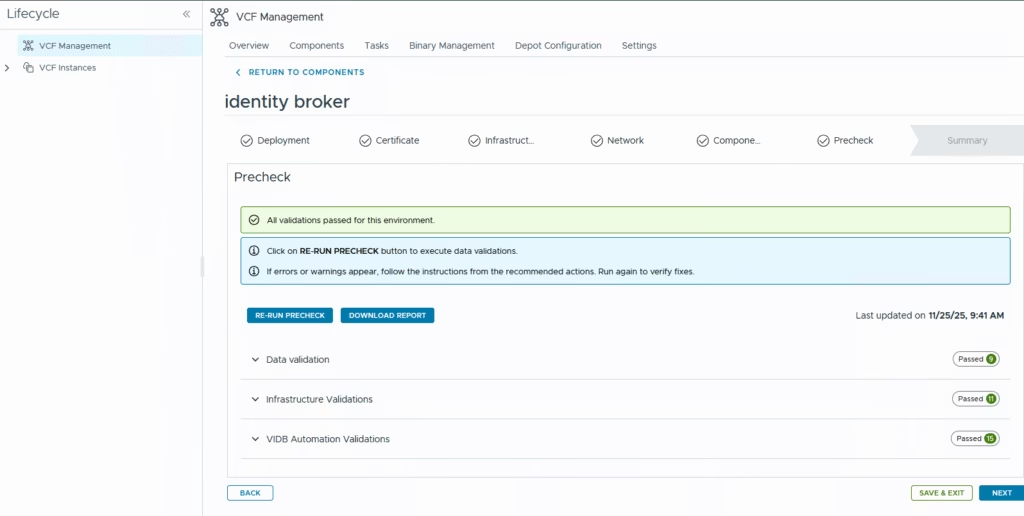
Run the precheck and then click Next to continue
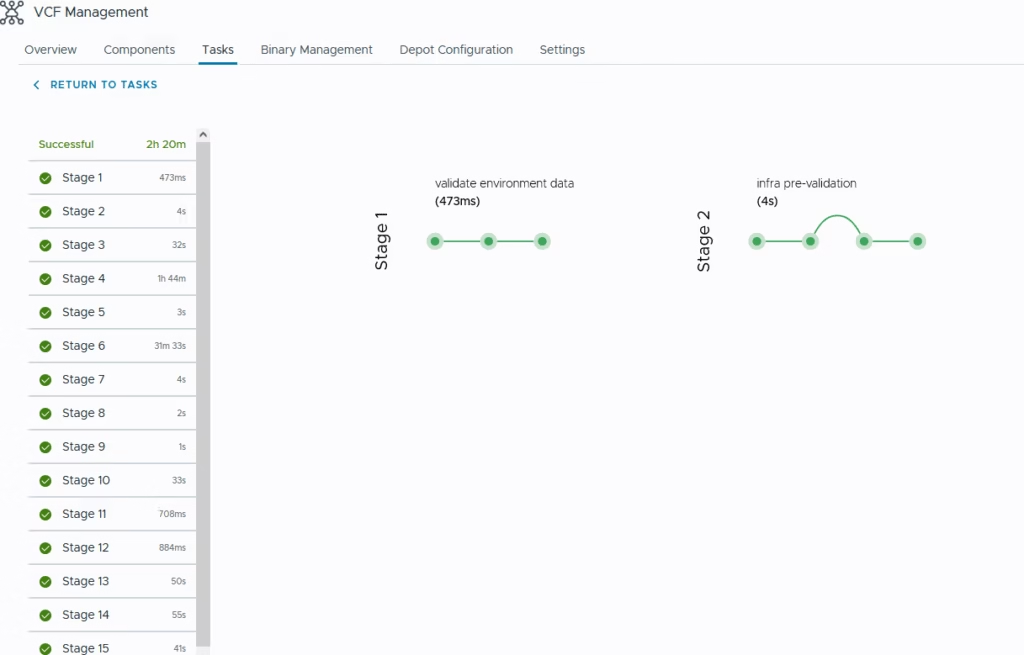
Start the deployment
It took a long time in my lab but it should take around 60 mins or so
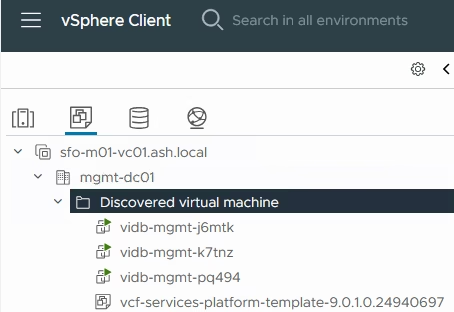
Three VM’s have spun up in our vCenter
With the cluster online, you can now enable SSO integration across the stack for vCenter, Active Directory, VCF Automation, logging services, NSX, and additional platform services.
From here, vIDB becomes the central bridge for identity across your VCF environment, replacing the old ELM model with a modern, federated approach.