

To remove a shared cluster volume in a Windows Server, you can follow these steps: This assumes it’s a new disk in there.
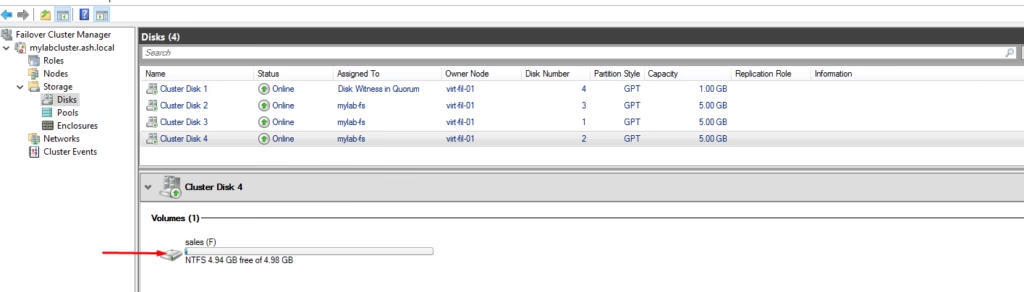
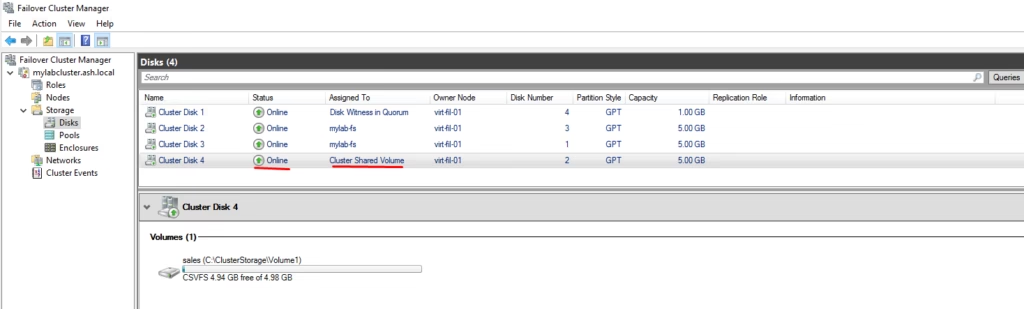
In the Failover Cluster Manager, click on “Storage and Disks” to see the cluster shared volume.
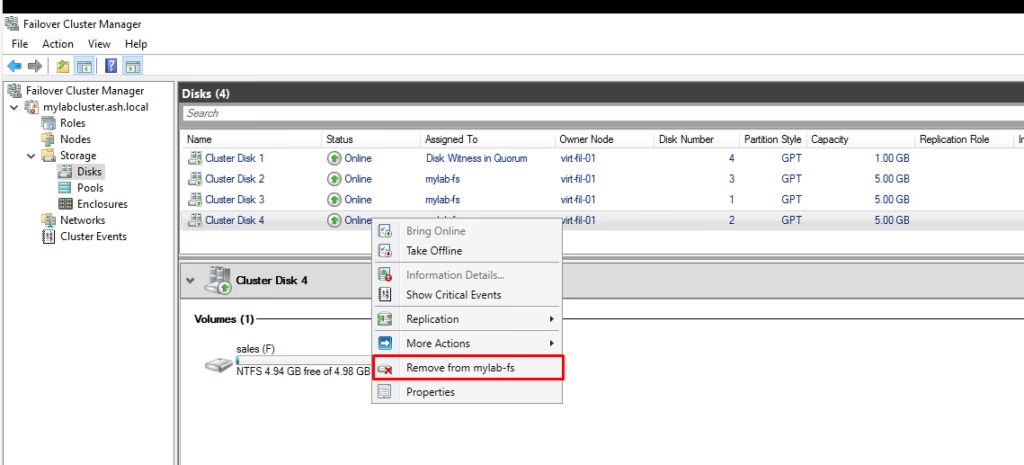
Select the Volume: Right-click on the volume you want to remove and select “Remove from Cluster Shared Volumes”.
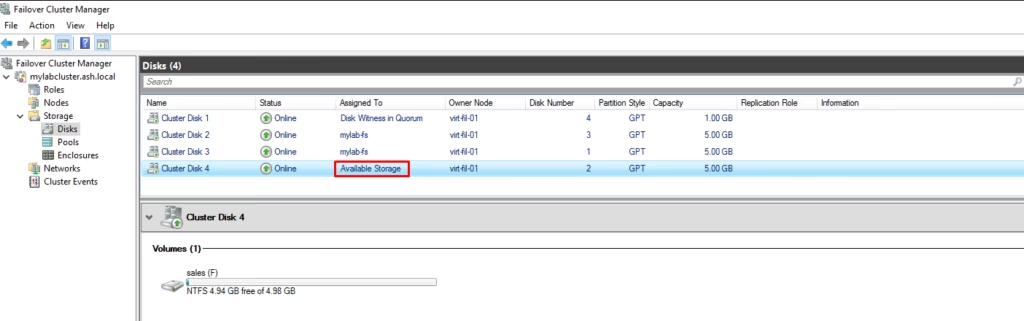
Confirm the removal, this comes as unavailable to the cluster itself, but data isn’t deleted but it’s no longer shared.
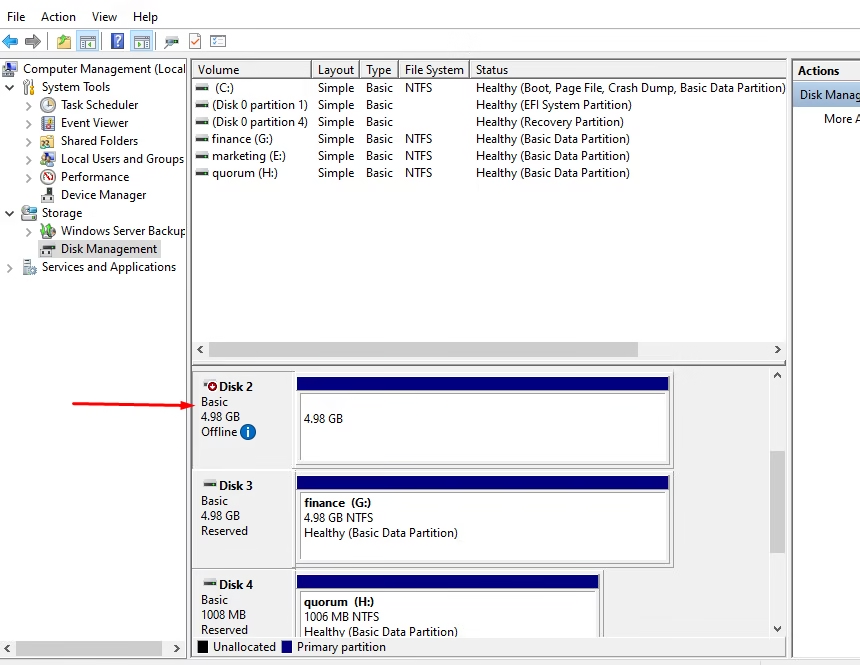
Double Click to verify the disk
Safely remove storage from a Windows Server Cluster
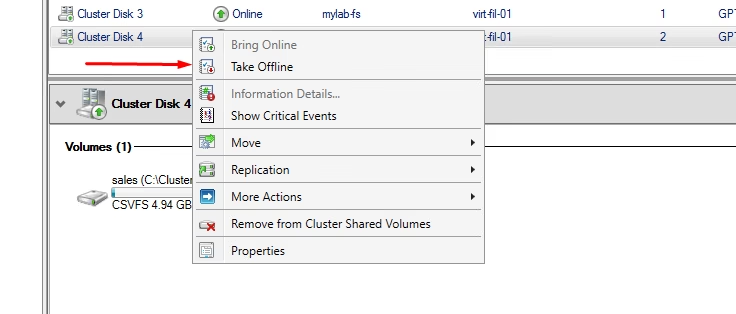
Right-click on the disk in Failover Cluster Manager, and select “More Actions”, then “Take Offline”. This will safely take the disk offline without affecting other cluster resources.
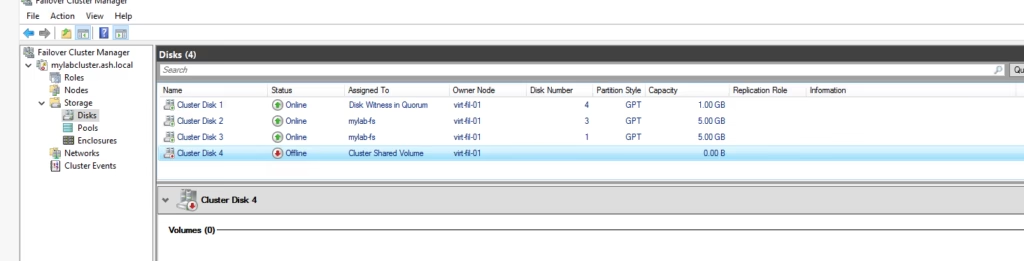
The disk is now offline.
Remove the Disk from Cluster Shared Volumes:
- Right-click the disk and select “Remove from Cluster Shared Volumes”. Confirm the removal when prompted.

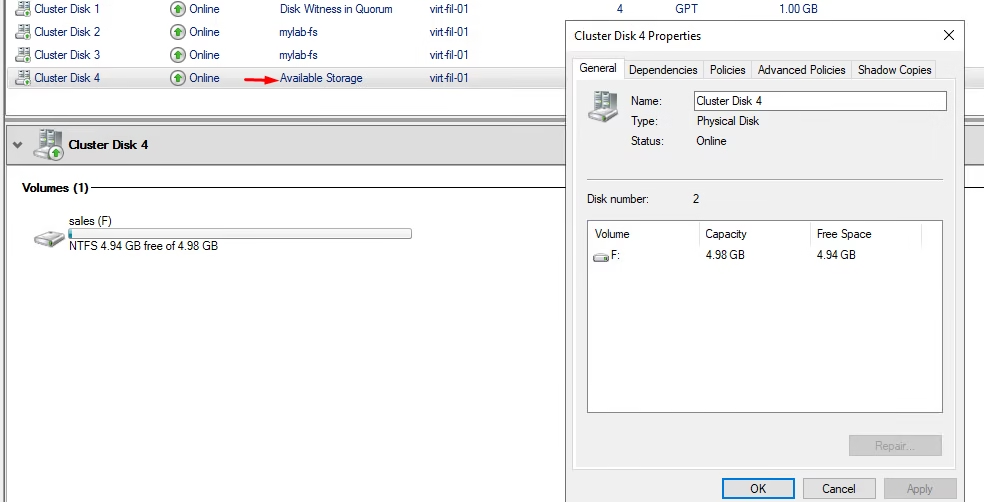
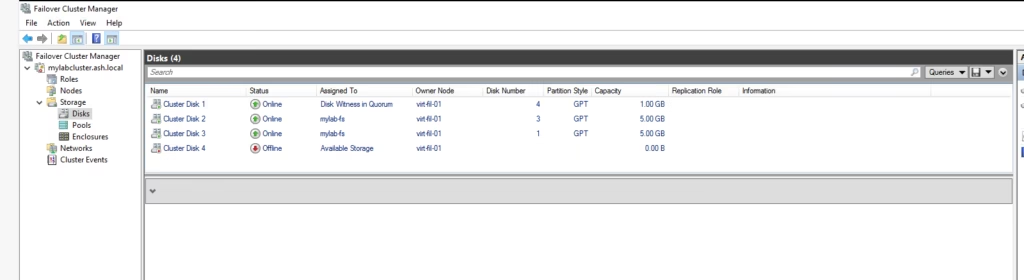
The disk is now back as Available Storage. This means it will be available to only one server at a time. In this case, it is connected to file-01.
To remove the disk fully from the cluster, follow these steps:
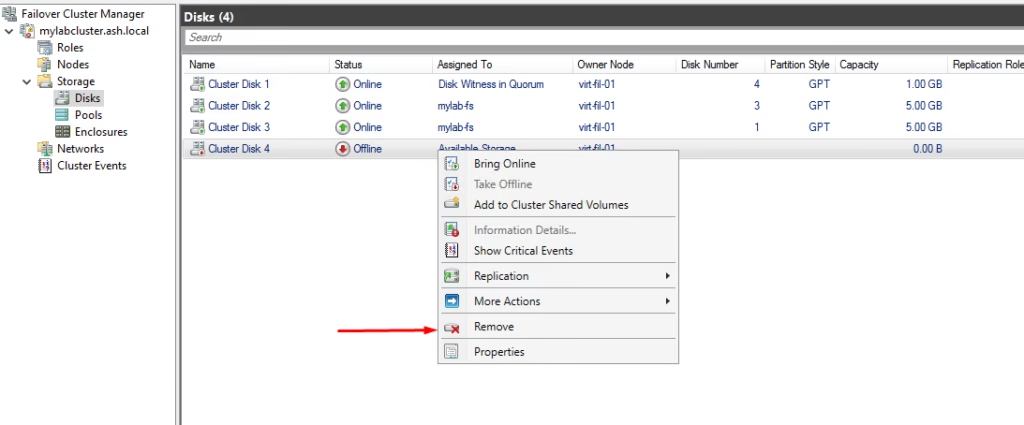
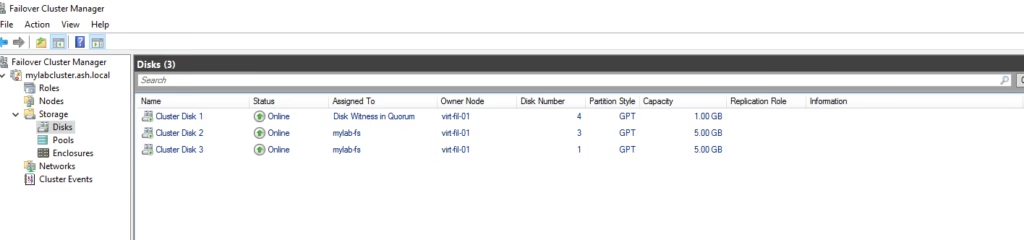
The disk is now removed from our cluster
So, we removed the disk from the Cluster Shared Volume, which converted it to Available Storage. The disk is simply no longer shared and data is intact.
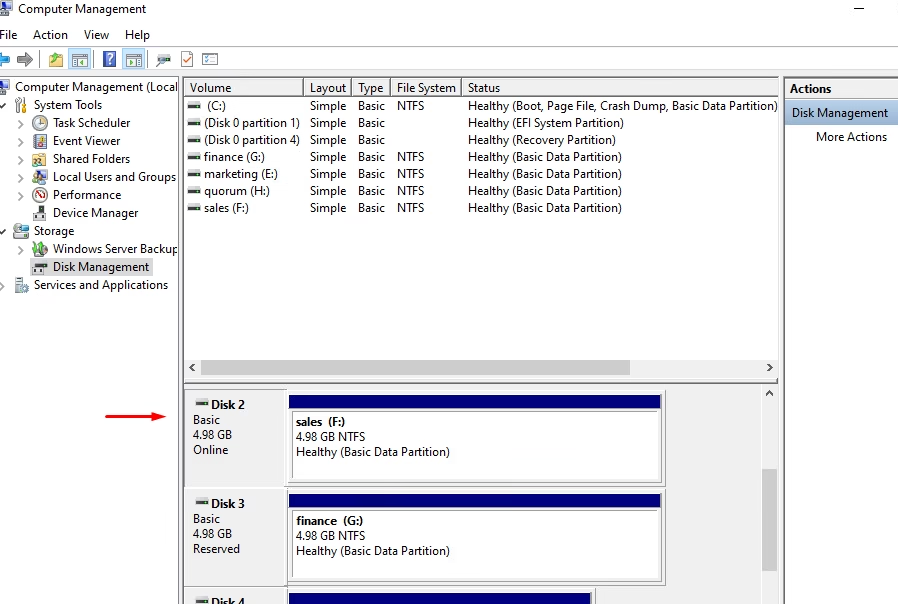
Let’s verify if it’s still there, and it appears to be true.
So, we will just offline this disk now to remove the disk from our VM.