

In this blog, we will focus our attention on the deployment of EMC virtual Recoverpooint.
EMC Recoverpoint works similar to Zerto and it’s a solution designed to provide Continuous Data Protection (CDP) to our Virtual machines by replicating data constantly to our peer site. Splitters installed on each ESX host communicate with vRPAs (virtual RecoverPoint appliances) via the dedicated VMkernel ports by sending changed data to the peer site.
A pair of virtual RecoverPoint appliances (vRPA) per site is deployed to manage the data replication with the aid of some VIBs (splitters) installed on ESXi hosts to split writes to VMDK, the data gets replicated across.
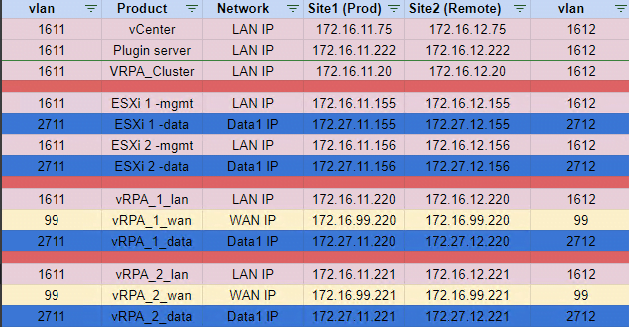
Network Topology of our two sites
Our Prod & DRAAS infrastructure network topology is set up this way
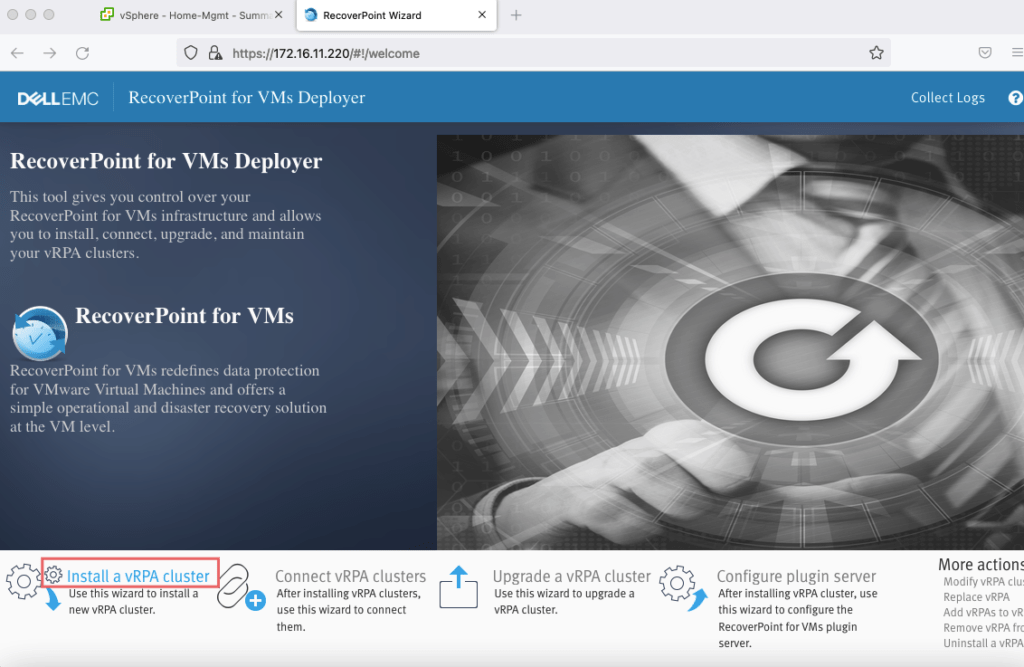
Install RecoverPoint vRPA
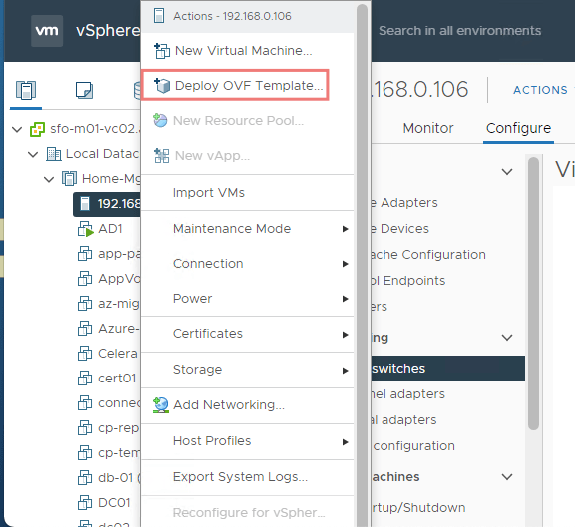
In the vSphere Web Client, right-click on an ESX host and select Deploy OVF template.
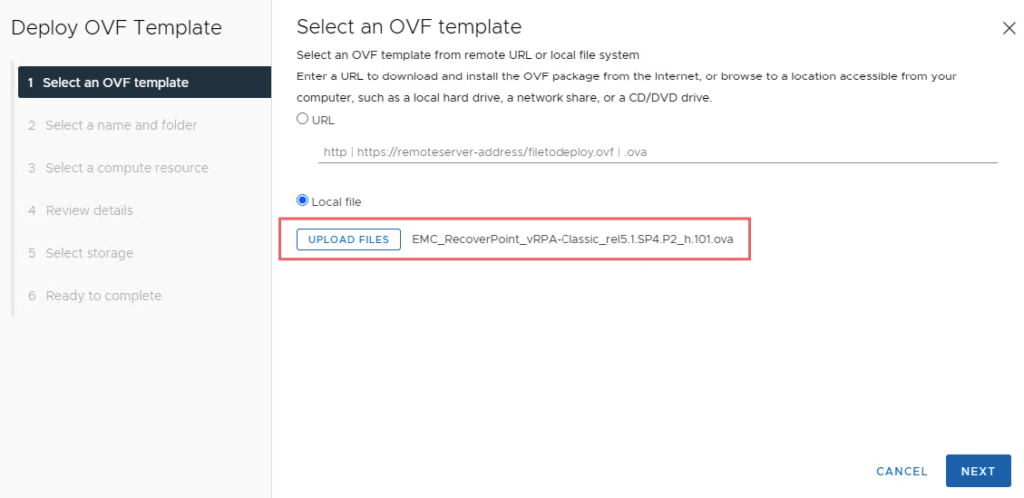
Click Browse and select the .OVA file to install RecoverPoint then click Next.
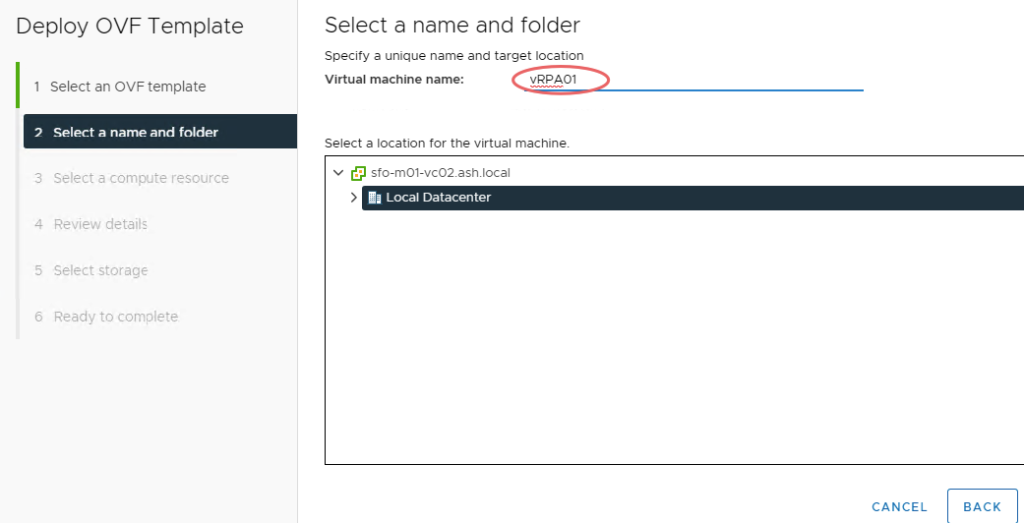
Enter a Virtual machine name and select the location. Click Next.
Specify a compute resource
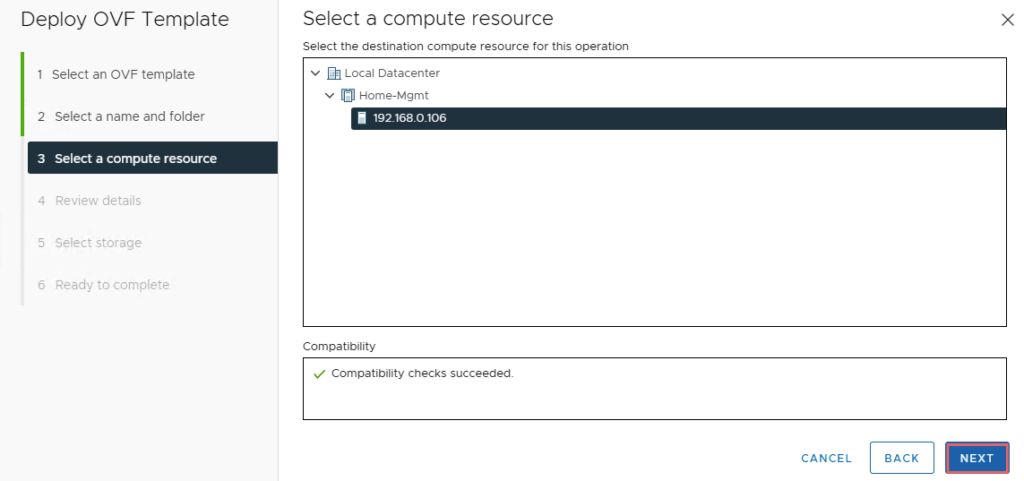
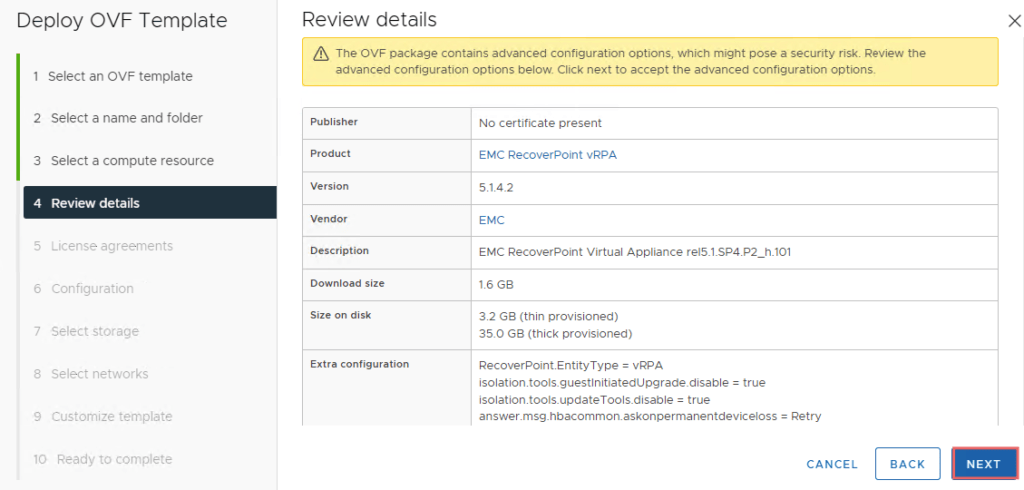
Validate configs and click Next to continue.
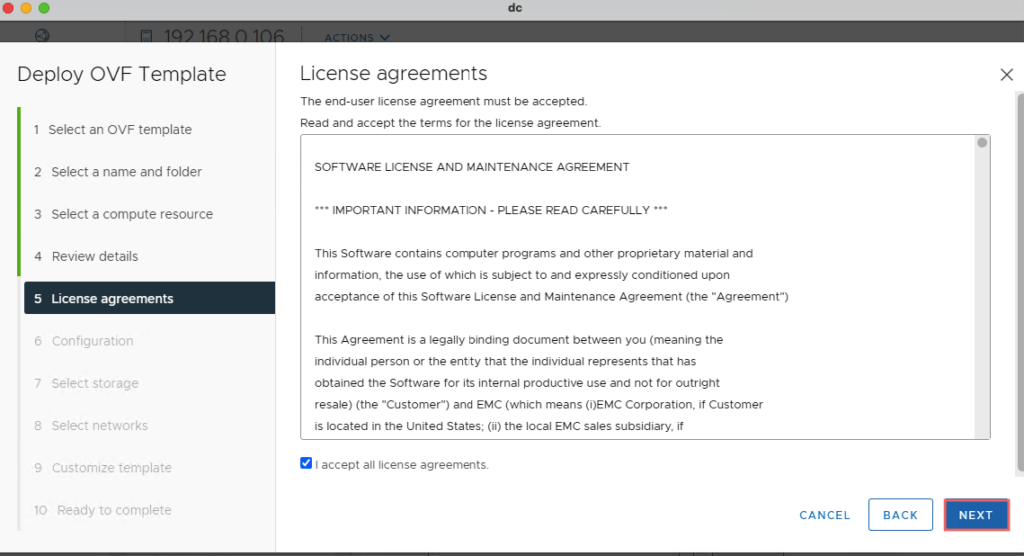
Accept the EULA
Specify the deployment type

Select the datastore to install the vRPA and click Next.

Specify the Management Network Portgroup
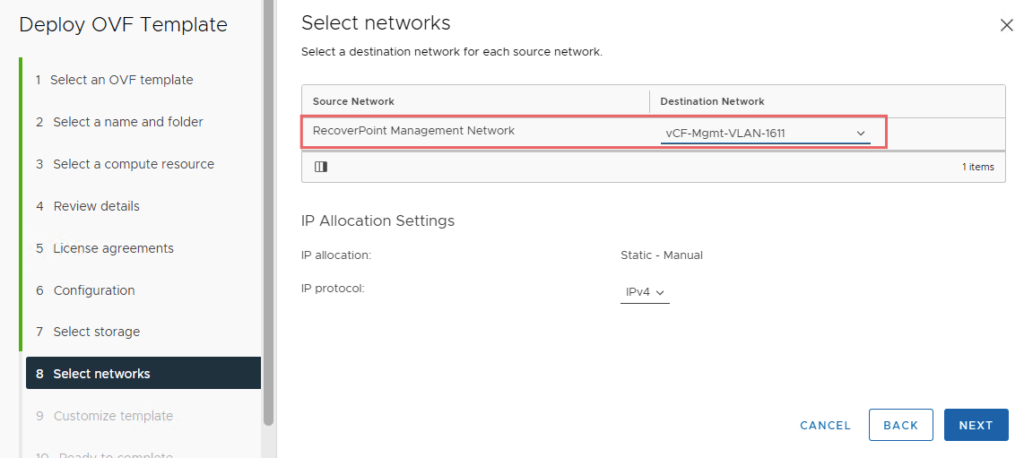
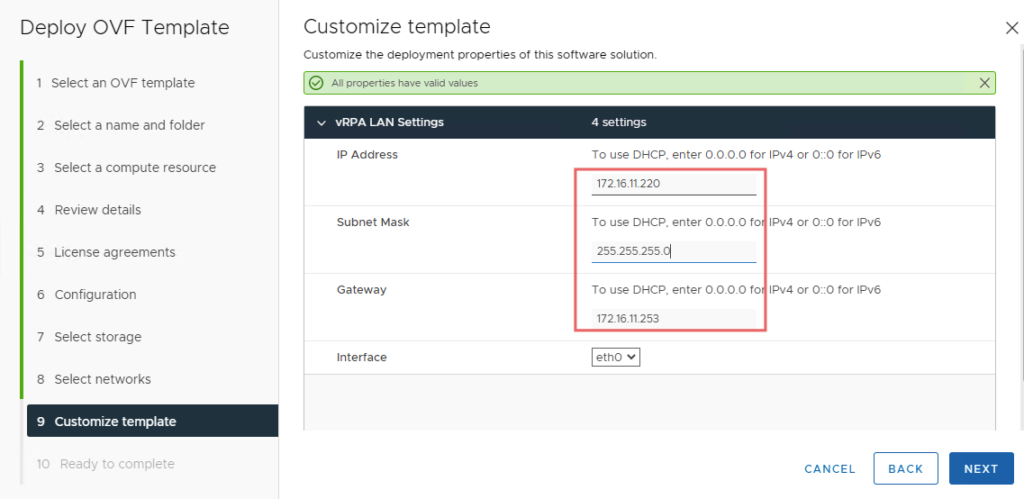
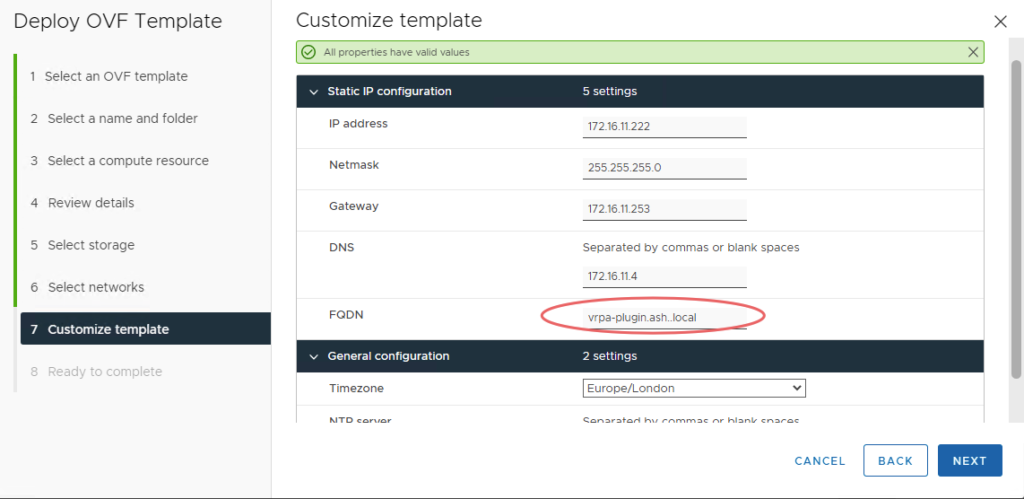
Enter the network settings and click Next.
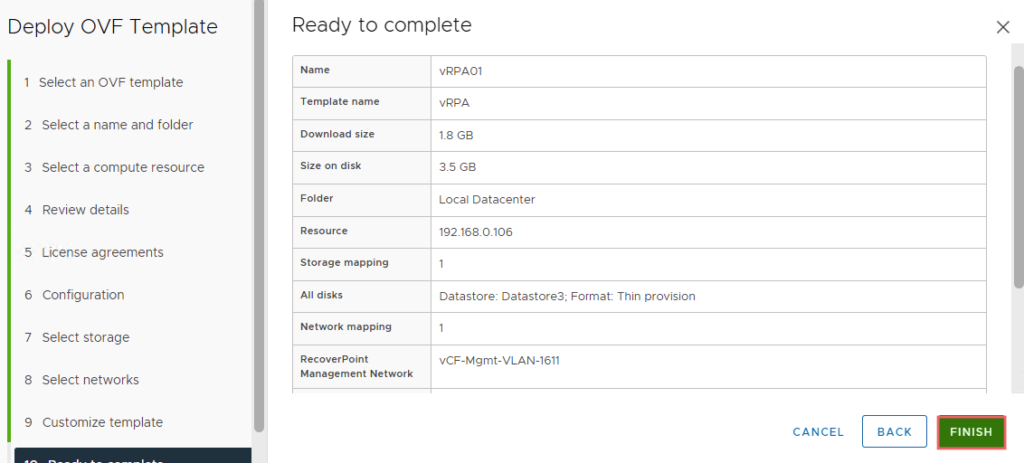
Click Finish to deploy the appliance.
When the first vRPA has been installed in the production site, repeat the same procedure to deploy a second vRPA.
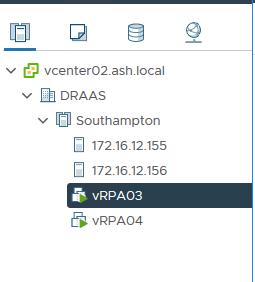
Repeat the same on our DRAAS site as well.

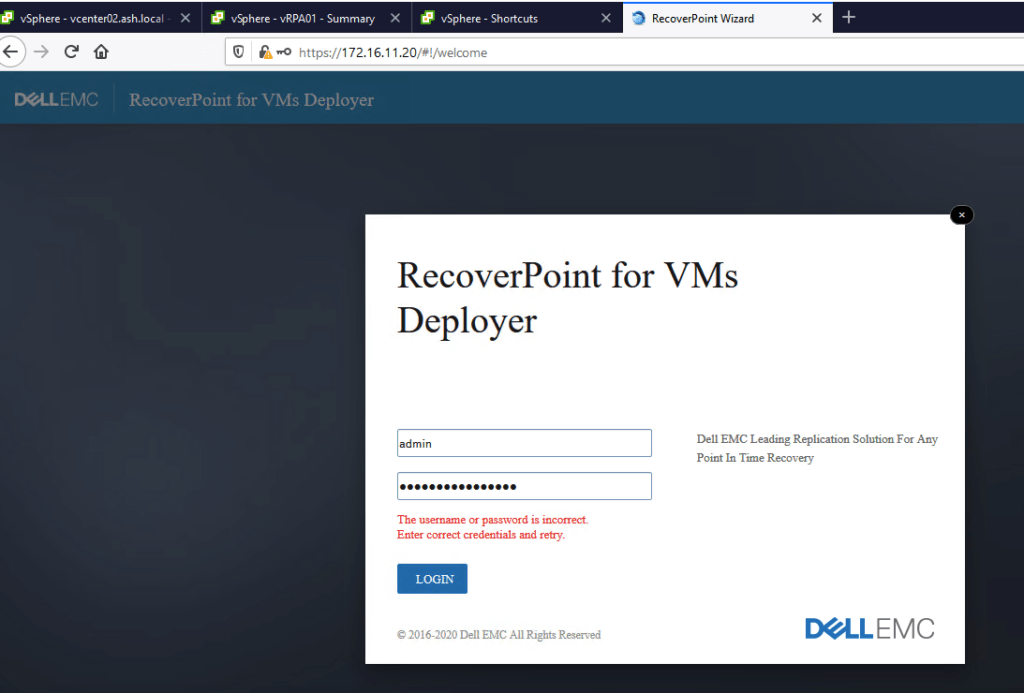
Install the vRPA Plugin Server
A vRA plugin server is what ensures we can successfully login to the vRPA cluster once its formed by the HTML UI.
We will now need to deploy a new server which is a standard OVF deployment
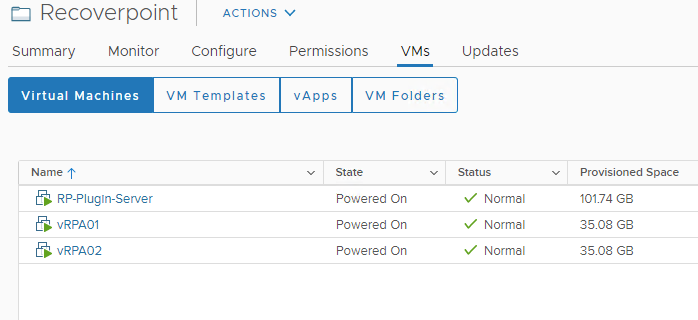
So here are the three servers that form our Recoverpoint deployment
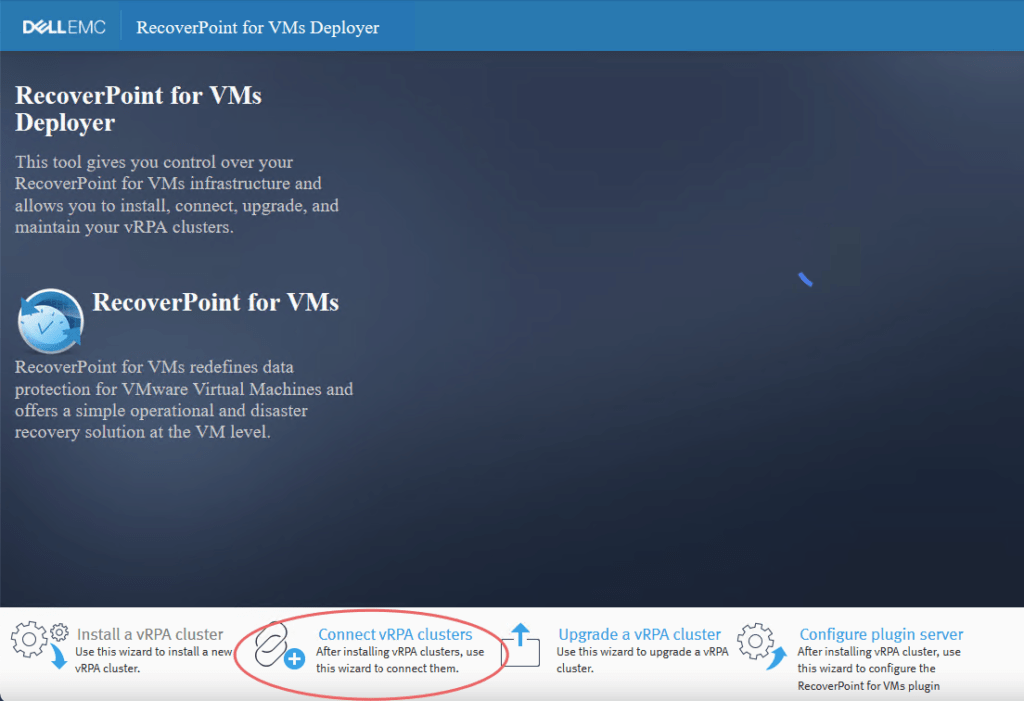
Install the vRPA cluster
Establish a session to the first vRPA using credentials admin/admin and choose to Install a vRPA cluster
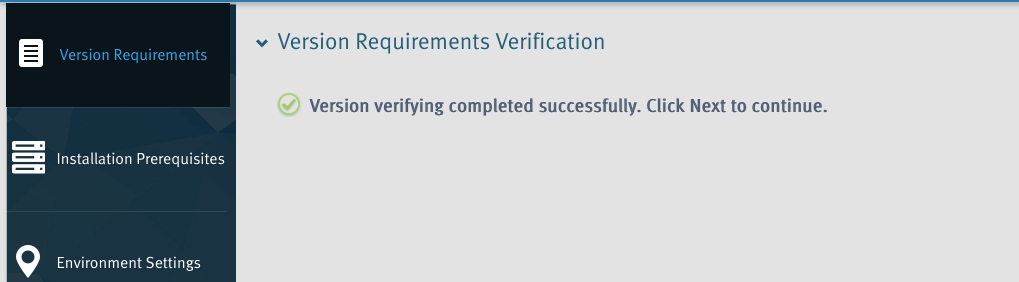
Click Next at the bottom to continue.
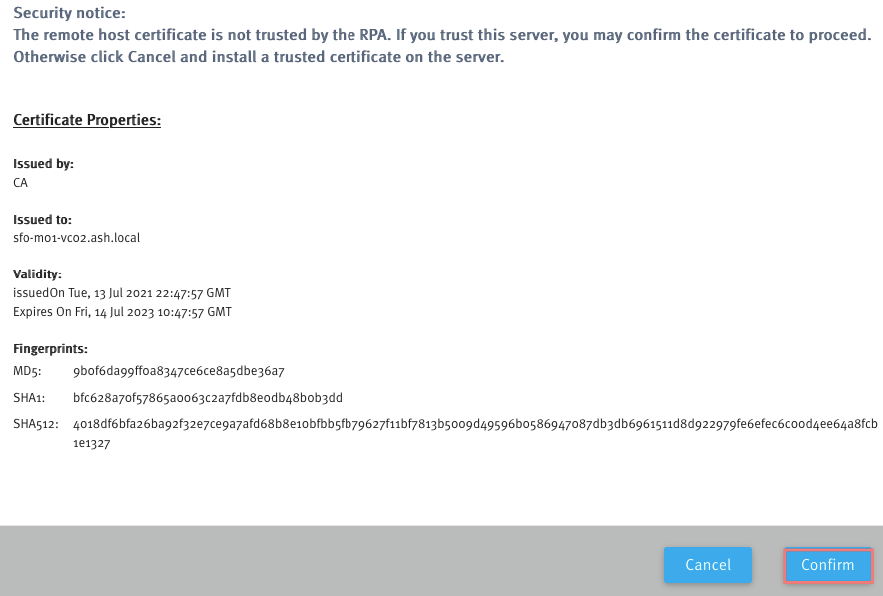
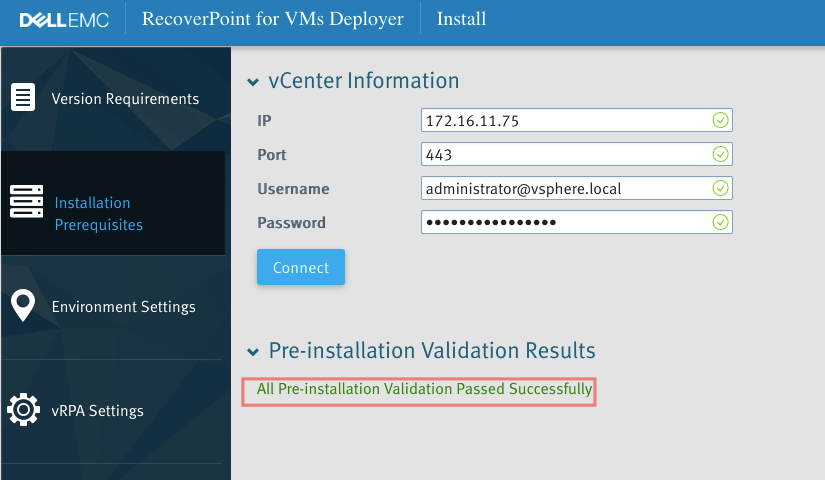
Enter the source vCenter IP and credentials and click Connect.
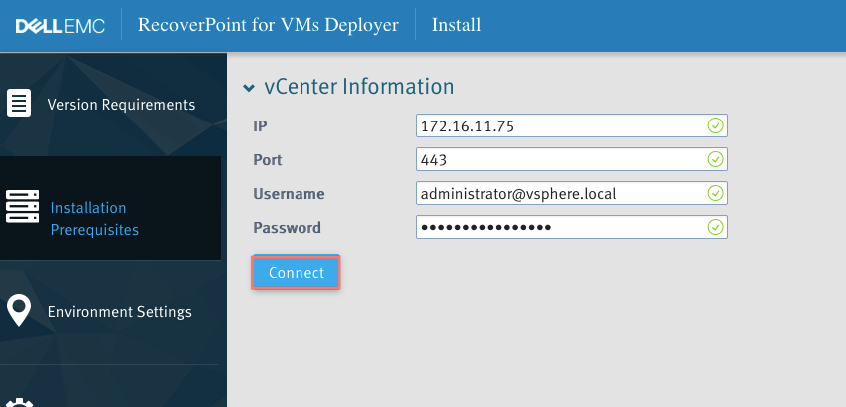
Click Confirm to accept the vCenter’s SSL certificate.
Once validation passes successfully, click Next.
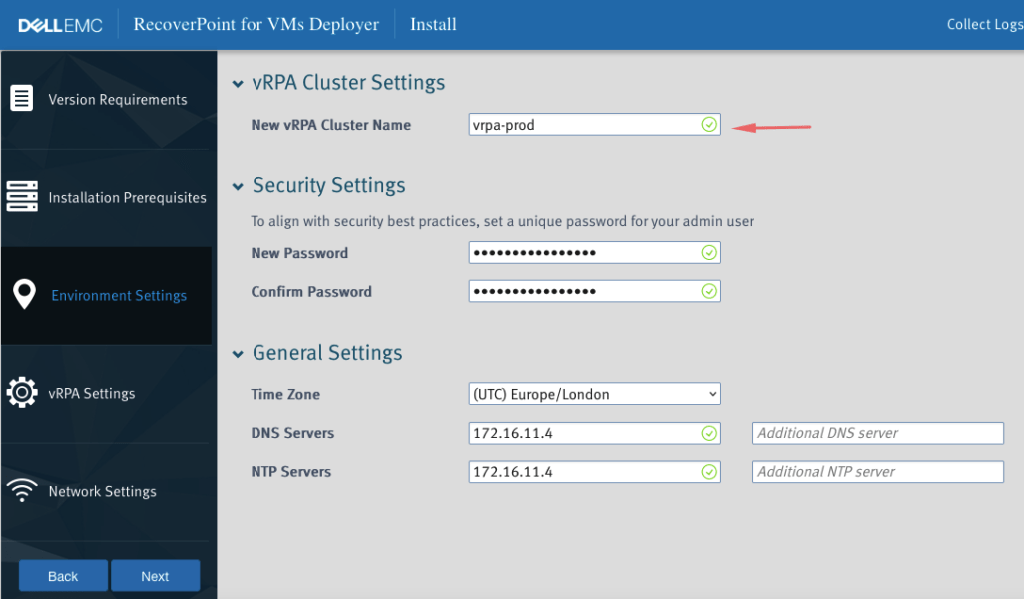
Enter a vRPA Cluster Name, choose a new admin password, configure DNS/NTP Settings
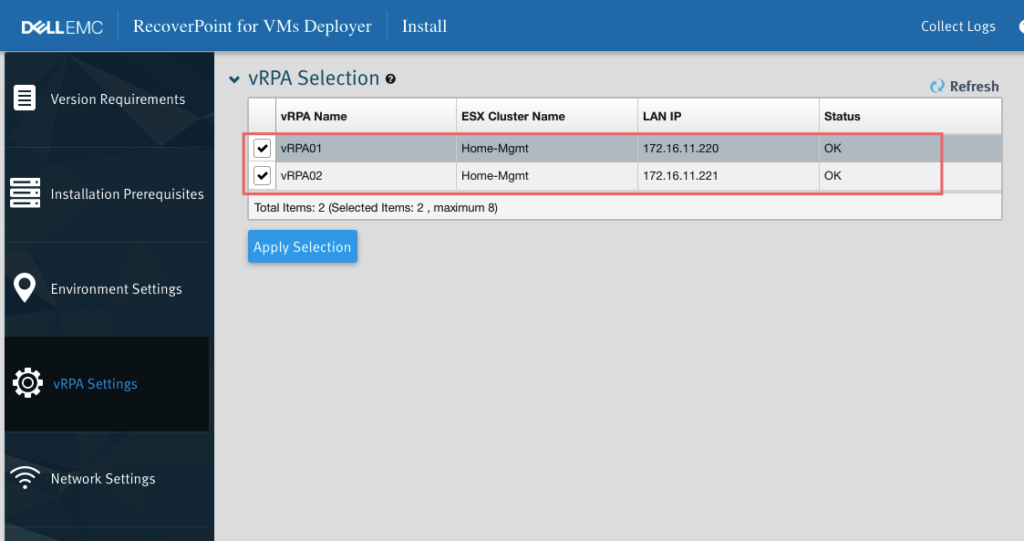
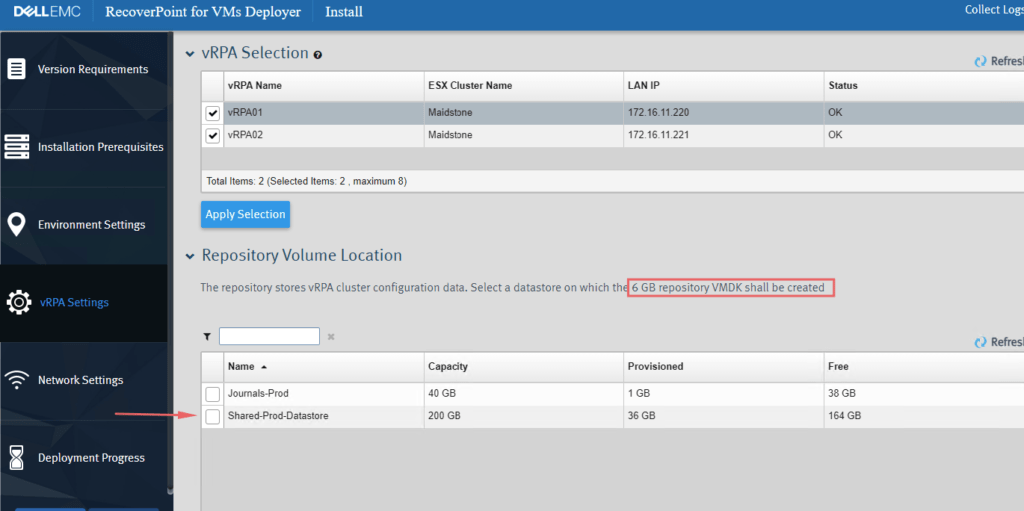
Select both vRPAs to add to the cluster and click Apply Selection.
Choose the repository to store files
We will now need to choose the way we wish to split the networking. Click Edit to specify the requested Network Adapter Configuration and we now have three options
- WAN, LAN and Data on the same network – no high availability
- WAN and LAN on same network, Data on separate network – high availability and better performance
- WAN, LAN and Data on separate networks – high availability, good traffic isolation and better performance
Specify the Port Group to use and the Cluster Management IP.
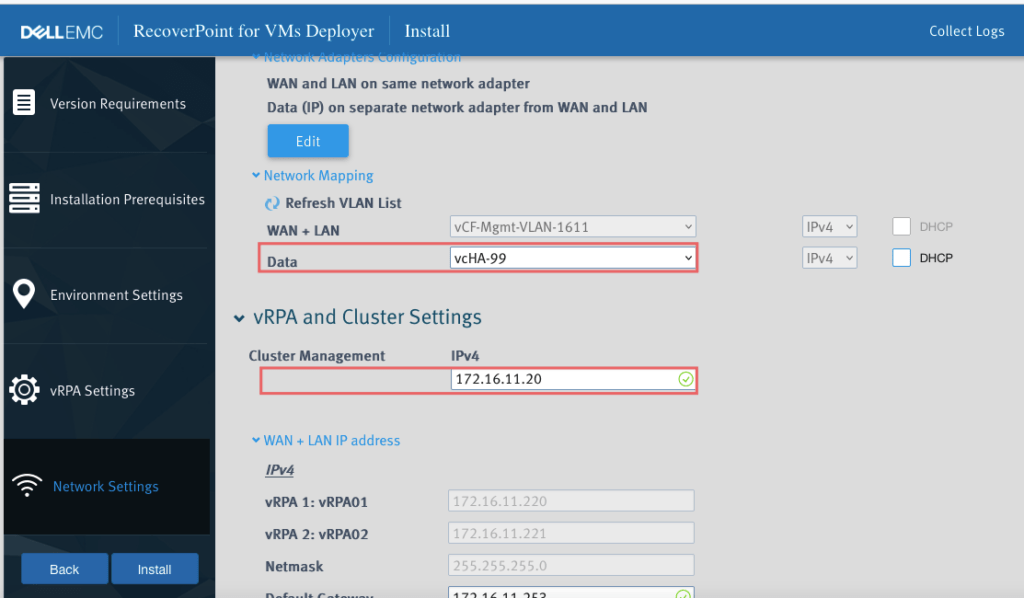
Enter the vRPAs Data and WAN IP address for the communication between the vRPAs and the ESXi hosts. Click Install to start the deployment

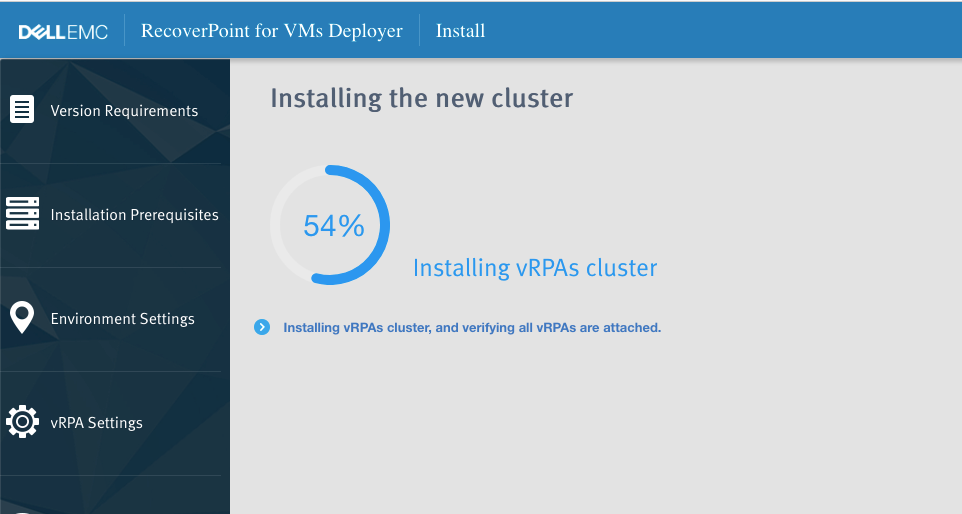
After a few minutes, the new cluster will be deployed
The installation process is now complete.
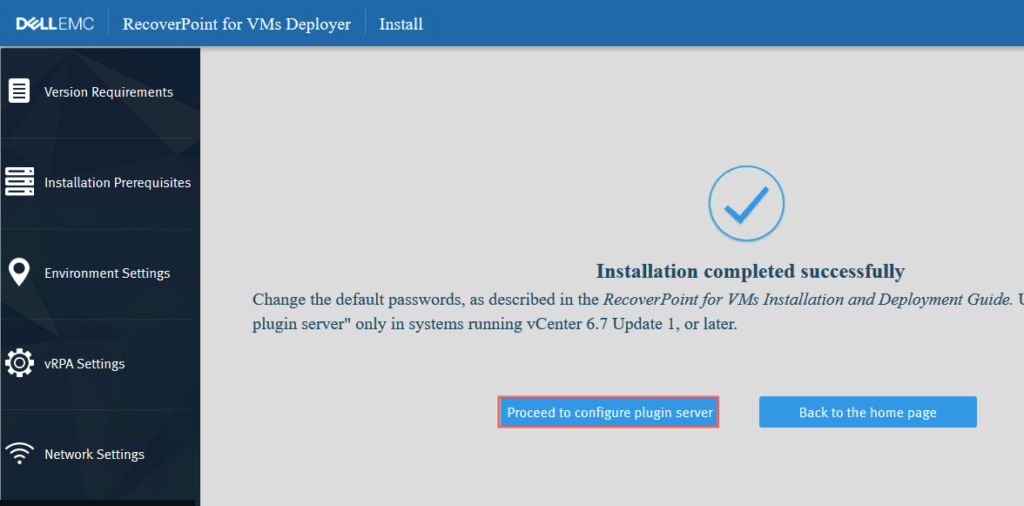
We will now provide the details of our plugin server and click configure
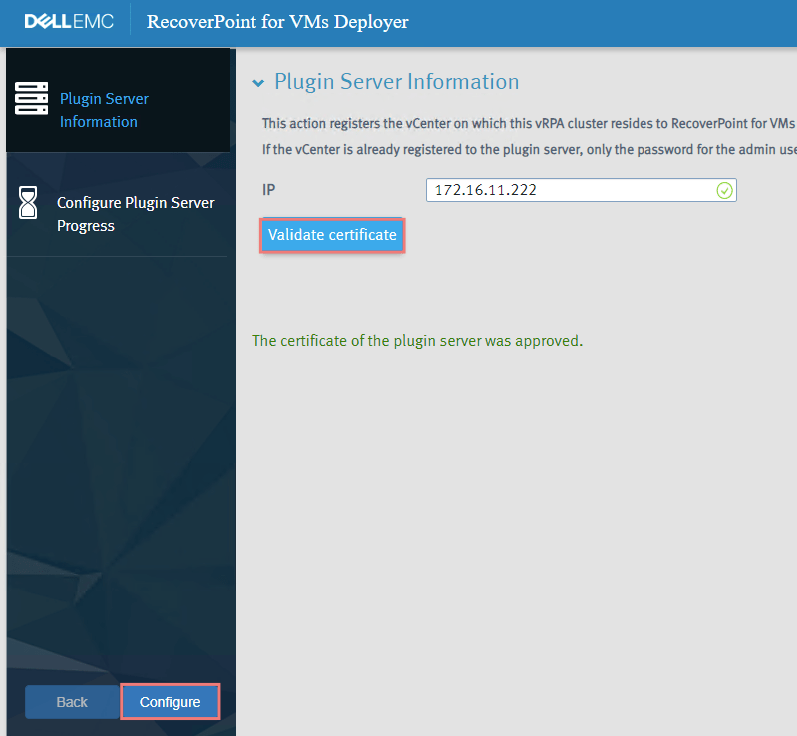
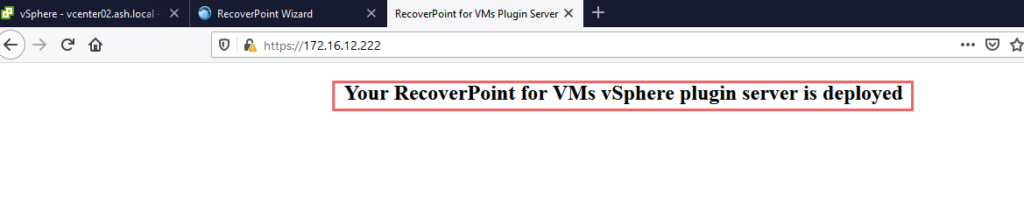
In few moments, we will see the message as our plugin server is deployed
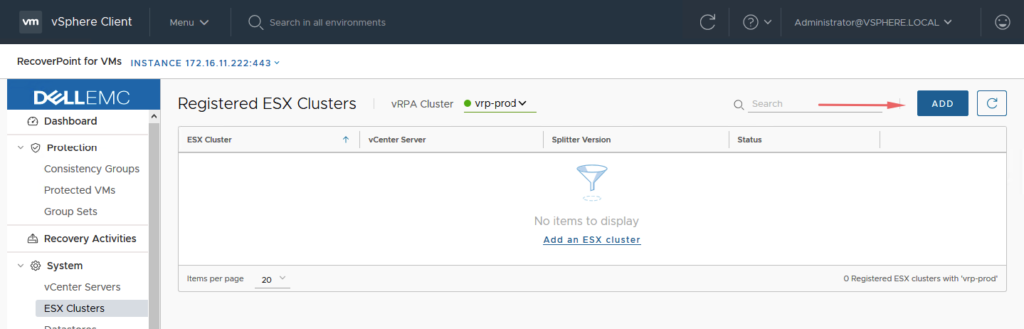
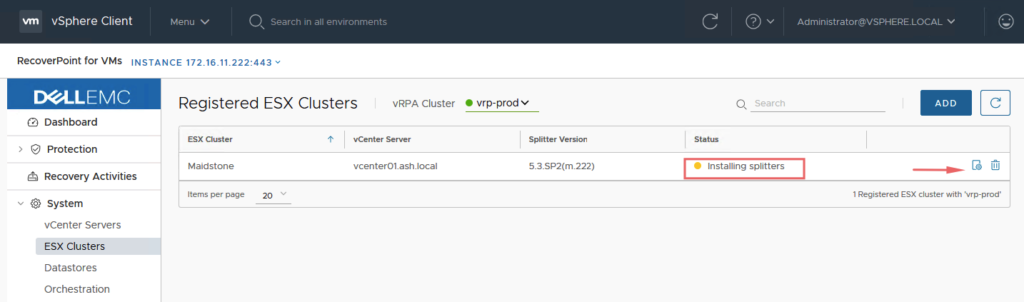
Register the ESX cluster
In order to establish communication between Splitters and vRPAs, the ESX cluster that needs to be protected needs to be registered
From the vSphere Client, select Home > RecoverPont for VMs>Administration > ESX Clusters tab and click Add.
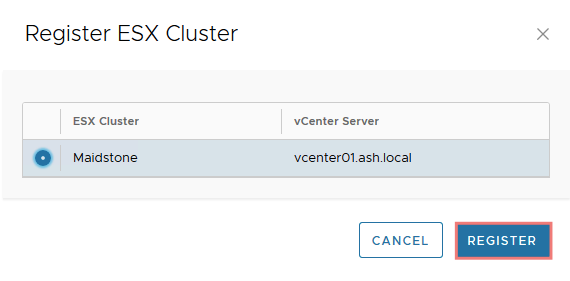
Select the ESX cluster to configure and click OK to confirm.
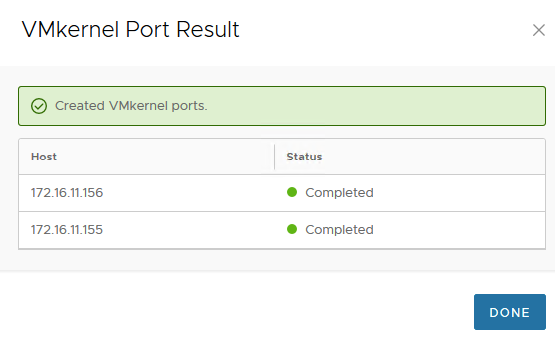
Click the Setting icon to automatically install the required VMKernel ports to hosts.
Choose the virtual switch and enter an IP pool range that will assign an IP address to the VMKernel ports. Note that we need to assign IP addresses that are on a routable subnet or on the same subnet as the vRPA data interfaces.

VMKernel ports have been created successfully.
The ESX cluster configuration is now reported as healthy.

The new VMKernel ports are being created on our ESX host

The vRPA cluster configuration is now complete.
vRPA Prod-DRAAS cluster connection
Login into prod vRPA Cluster IP
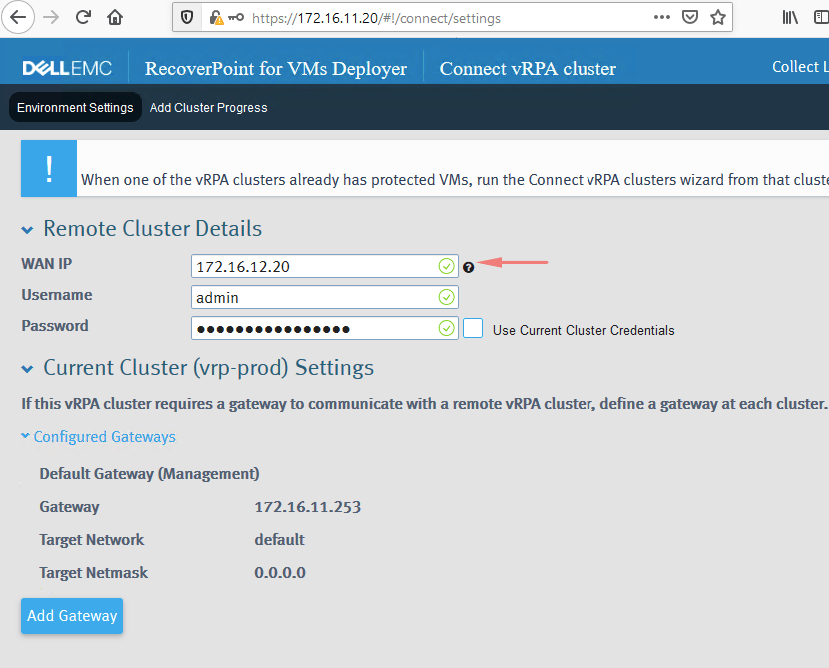
Click Connect vRPA clusters to link the prod vRPA cluster to the DRAAS vRPA cluster
Enter the WAN IP of the DRAAS vRPA cluster and the credentials of the admin account to connect.
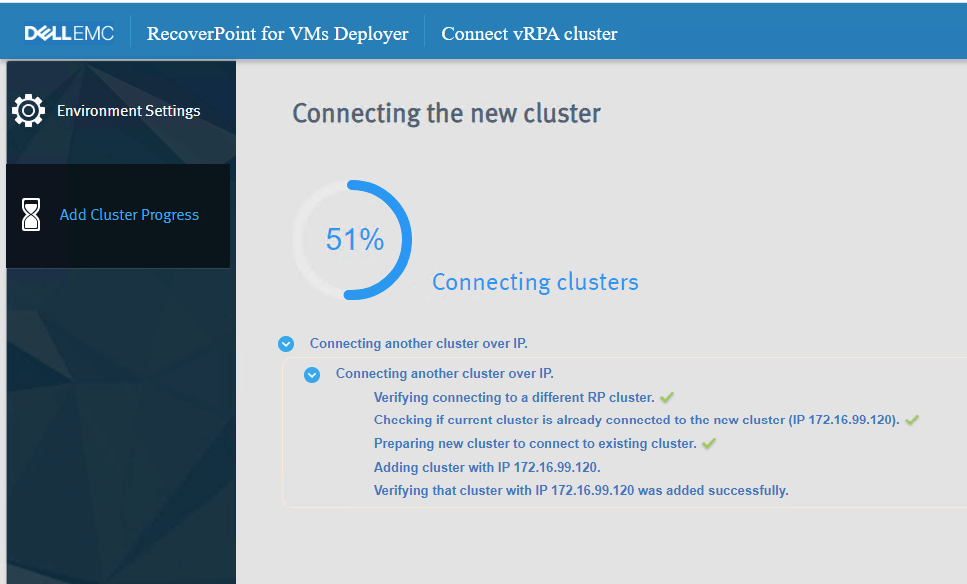
The prod vRPA is being joined to the target vRPA cluster.
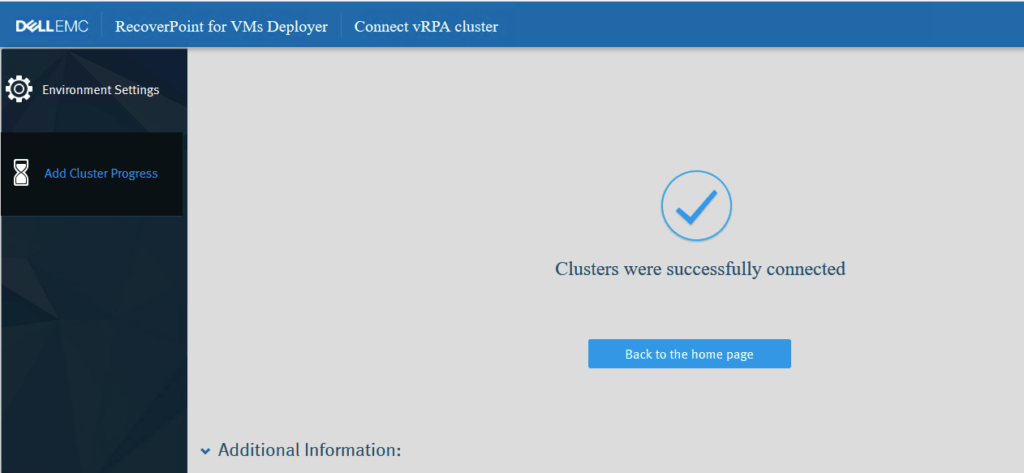
Our prod vRPA and DRAAS vRPA clusters have been connected successfully.
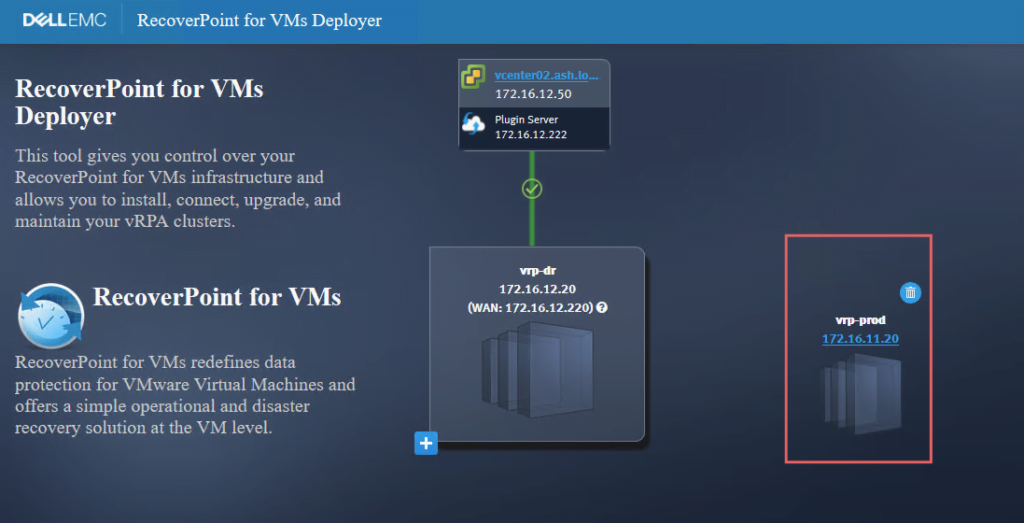
As we now login to the cluster, we can see both vRPA’s connected
The RecoverPoint infrastructure deployment has been completed.
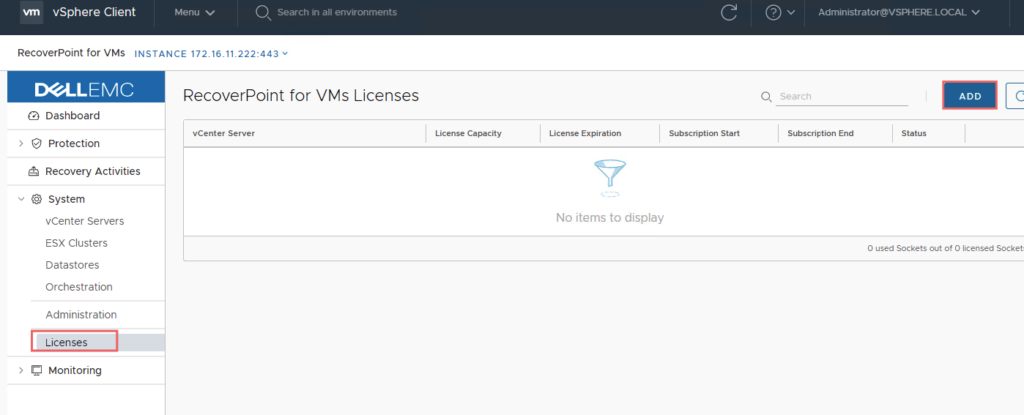
Licensing
If you wish to change the recoverpoint install, this happens under the Licensing Section of the vRPA cluster
RecoverPoint for VM can be licensed either as Socket Based or VM Based
- Socket Based – number of physical CPU on the ESXi host.
- VM Based – total count of VMs to protect