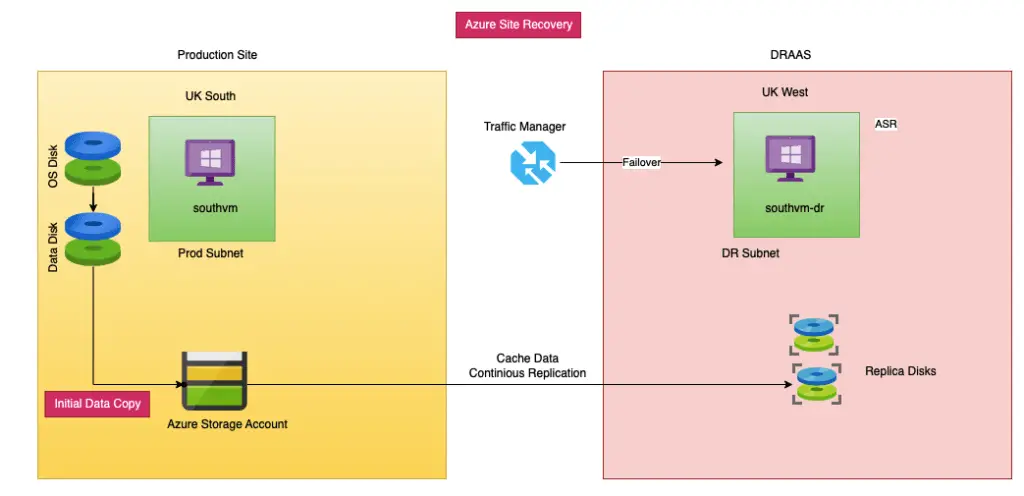
Azure Site Recovery (ASR) is a DRAAS solution built specifically for Azure workloads but can also be used for private cloud architectures offering business continuity and disaster recovery plans. ASR can also be used as a tool to migrate existing servers into Azure from an on-premises environment or migrate workloads between Azure regions. It includes application-consistent snapshots that provide a nearly continuous data replication to ensure that all of our data is in sync.
The Advantages of ASR
Let’s explore some of the critical benefits of the service.
- Native support for Azure VMs to be replicated to any regions in Azure
- If your DR VMs aren’t active then you are solely paying the ASR fee plus storage and network egress, you are not paying for any running VM’s which is the bulk of the cost in any DR environment. ASR will charge you for every protected instance, in addition to the storage cost for the replicated data. There are no compute, network infrastructure, facility rental, or software licensing fees required during ongoing protection.
- 30 sec RTO and RPO with application-level consistency
- The replicated data is stored in Azure storage, which is resilient by default. There will be a minimum of three copies of the data available in locally-redundant storage (LRS) to protect from data centre failures. For further protection, customers can choose to use geo-redundant storage (GRS) to protect from regional outages
- One-click test of your recovery plans without interrupting production workloads thus offering non-disruptive failover and DR drills
- Creation of virtual networks, availability sets and storage accounts in the DR region

Workflow of Azure Site Recovery
- As of this writing, only VM’s set to standard security type can be replicated with Azure. So change from trusted VM to standard VM security type for the instances you want to protect with ASR.
- Replication data is initially copied as snapshots to a storage account in the source region as known as a cache account and then to a target store. The reason for this is to limit the performance issues on the live VM.
We will now create a VM in our source region and ensure the Security type is set to Standard

Protecting VMs with ASR
To start using ASR, the first thing you need to do is create a recovery vault to store your recovery metadata.

Create a recovery services vault.

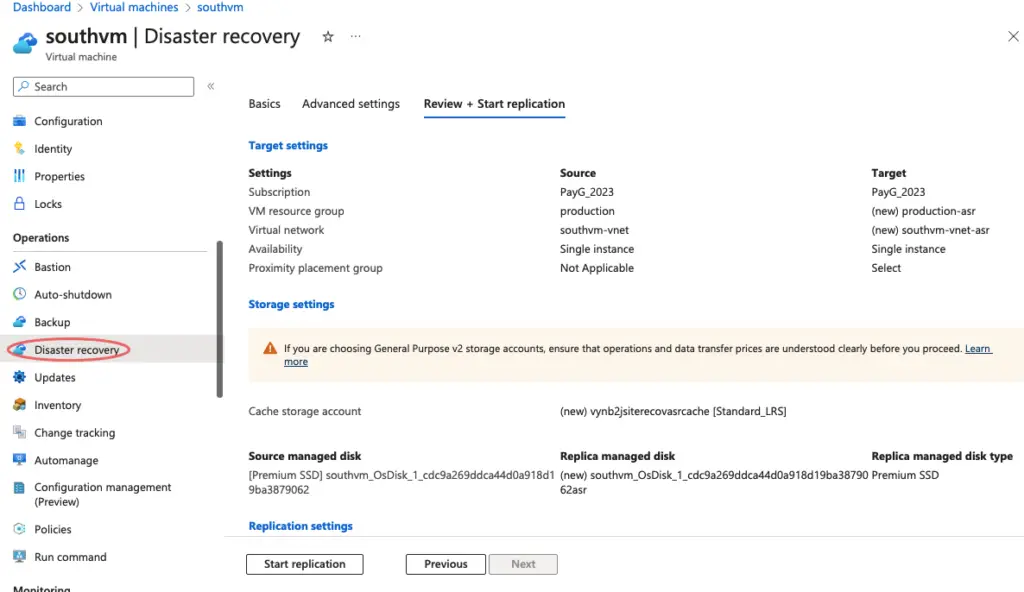
Another easy method is to do this via the Virtual machine > Disaster Recovery tab
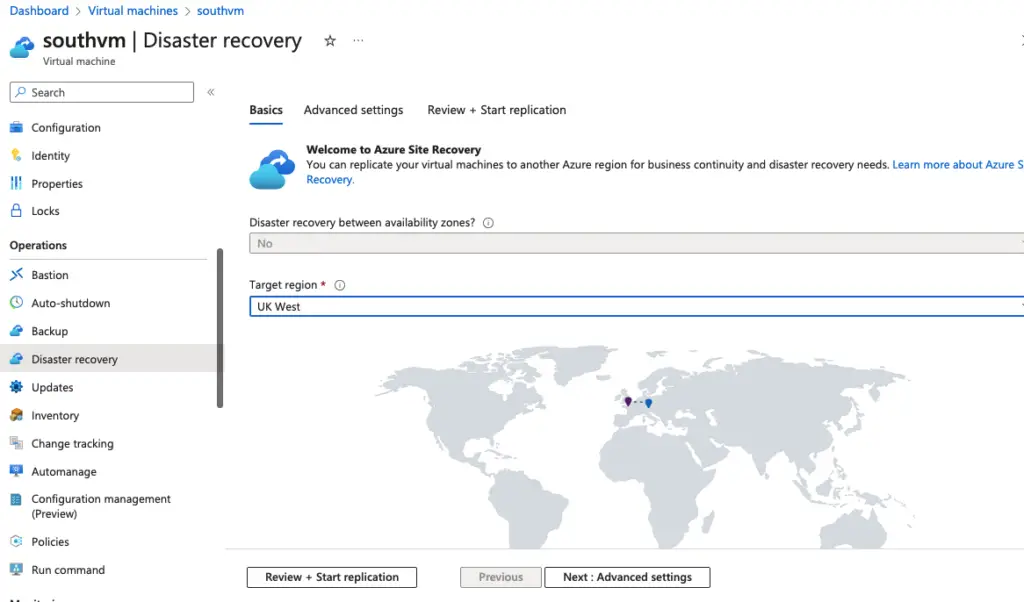
Validate all settings
Once you have created your vault you can protect your VM’s. Go into your vault and click “Enable Site Recovery”

On the next screen select “Enable replication”
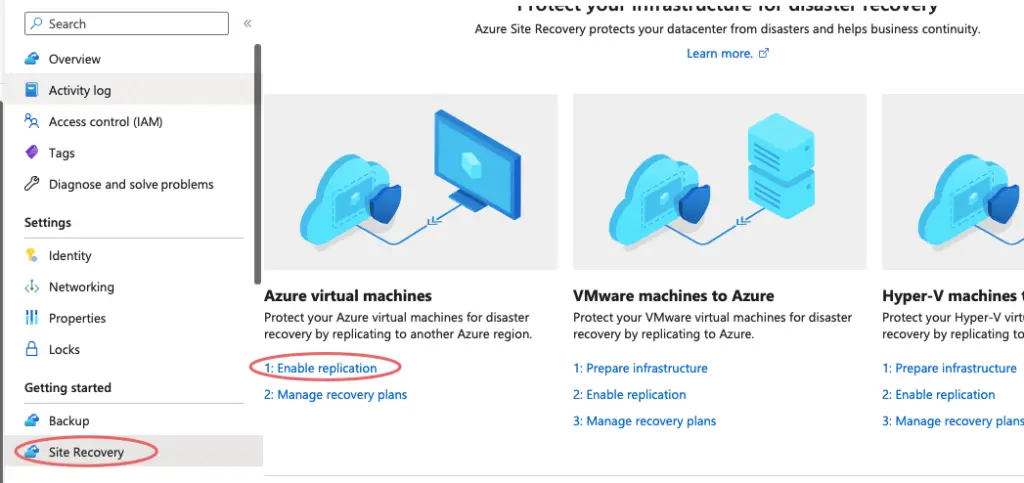
Choose the region to replicate the VM from which in this case is UK South and choose the resource group

Select the VM to “Replicate”.

The next screen will ask you to confirm the region you wish to replicate to which is UK West, this must be the same region as your ASR vault. It will also show you what resources it is going to create in the DR region to support your deployment such as virtual network etc. They will use the same name as your prod resources with -asr appended.

The next screen will ask you to confirm the replication policy you wish to use and here it will automatically go ahead and create an automation account as shown.

Consistency Groups can be created which can later group similar VM’s together.
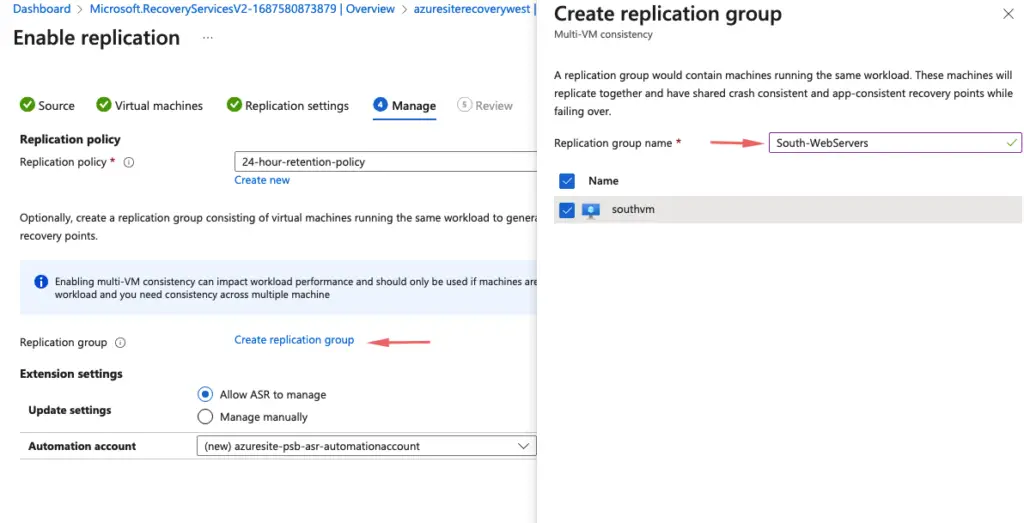
A simple consistency Group is thus created

Click Enable replication on the final screen.

Our storage accounts are automatically created when we enable replication so we don’t actually need to create a new account ahead of time.

Under Recovery Services Vault, click on Site Recovery Jobs
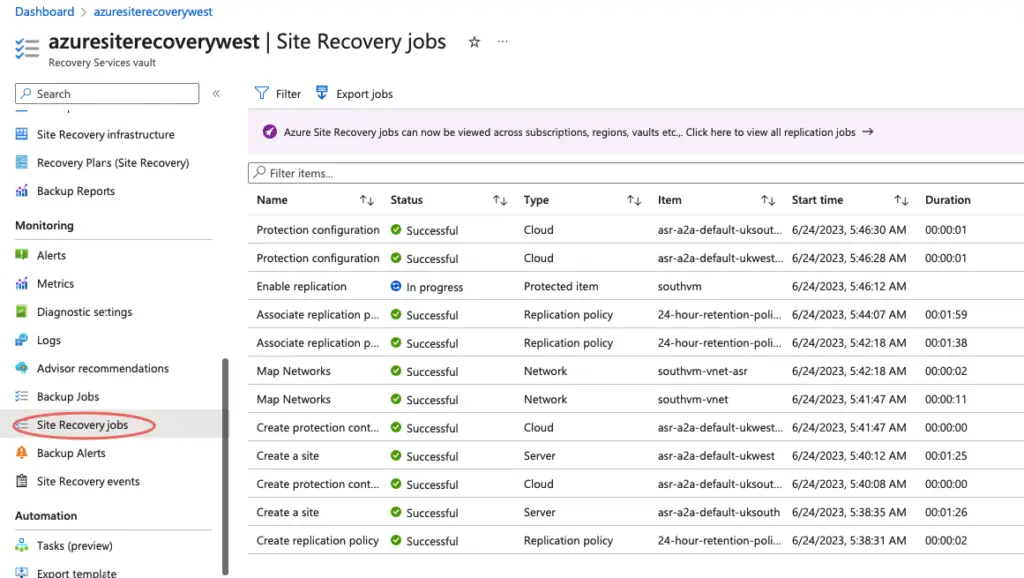
Monitor the progress under virtual machine
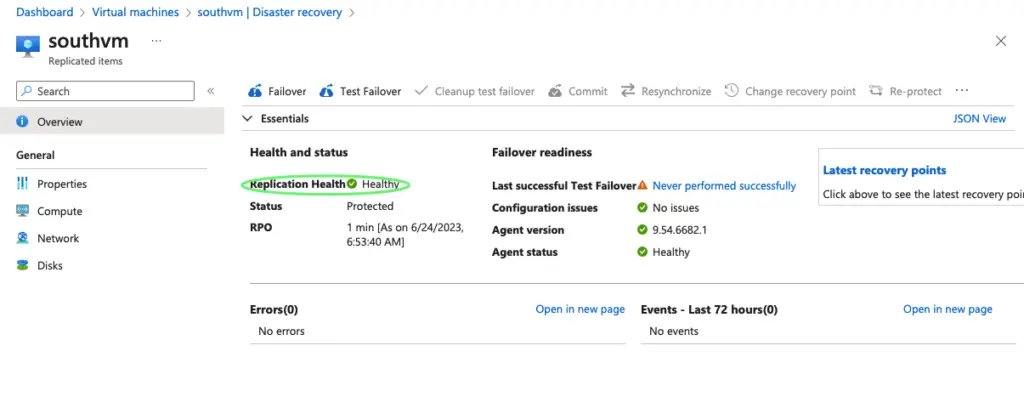
Test Failover VMs with ASR
A failover test can be invoked anytime and doesn’t need to power down the source VM. Click “Test Failover”

Choose the recovery point we require and Click “Test Failover”

Our test VM will be deployed in the DR site

Watch the progress on ASR jobs list
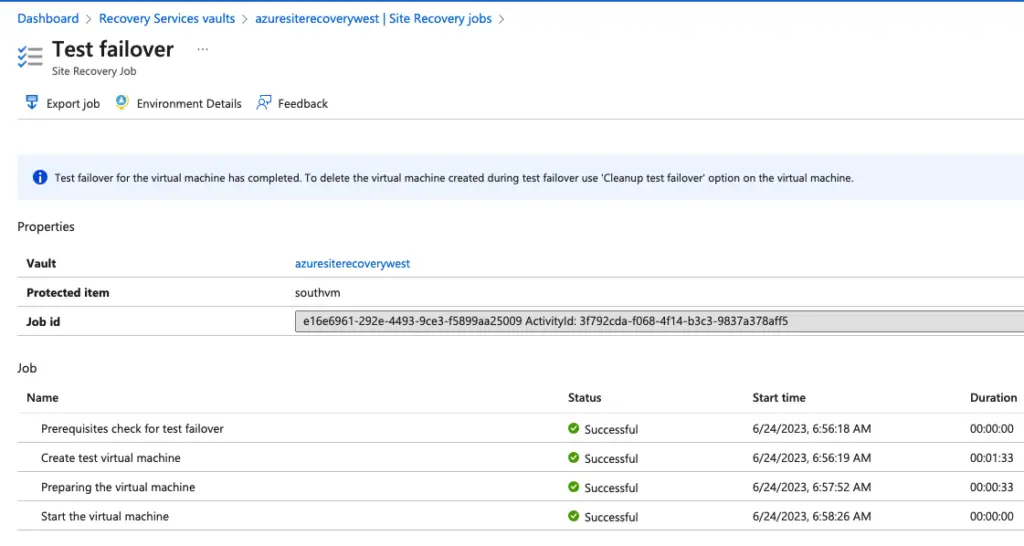
The new VM will have no IP addresss assignment and NSG on it
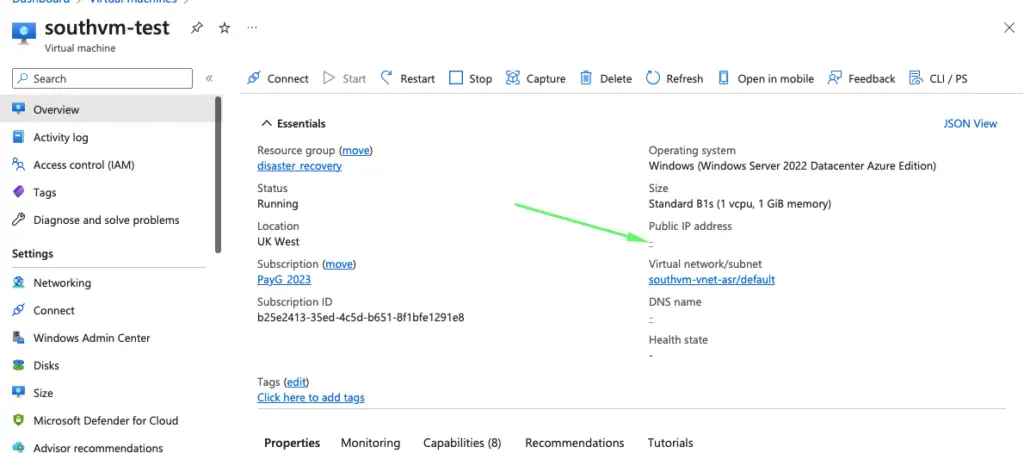
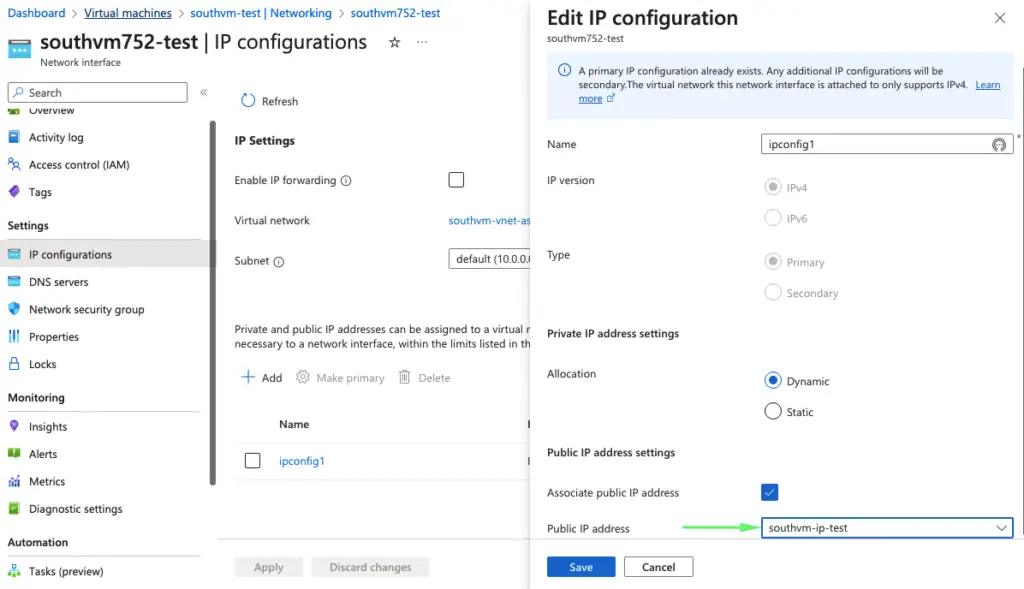
Create a new public IP assignment

Assign the Public IP to NIC card
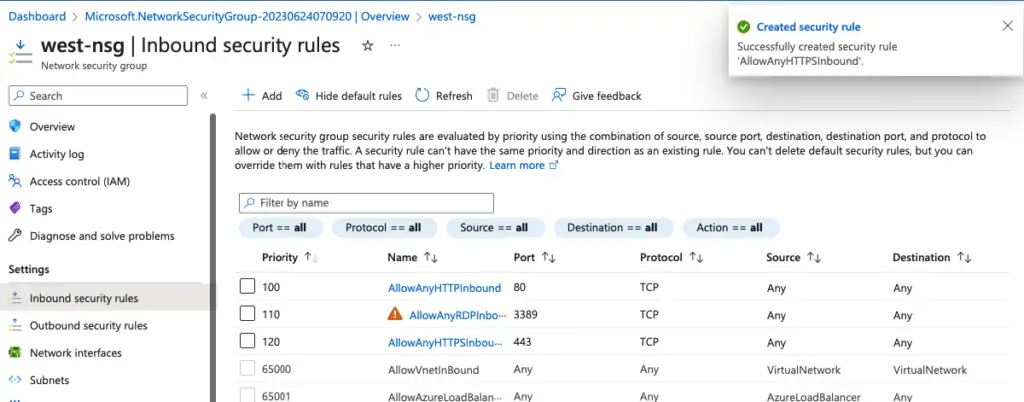
Add a new NSG

Add all Inbound rules as needed
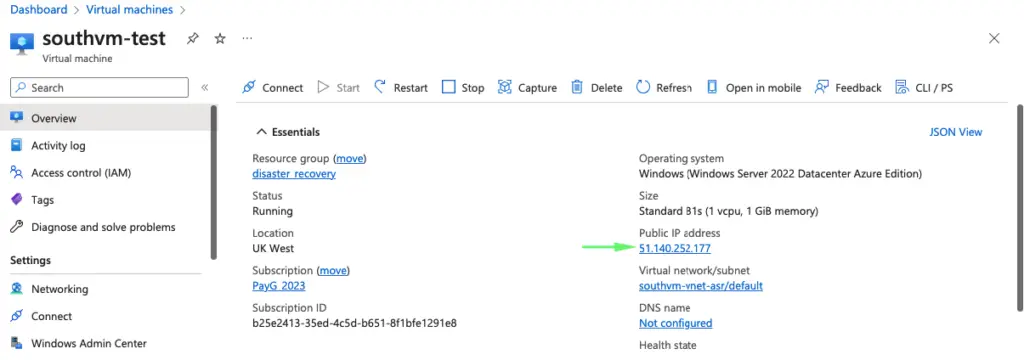
Assign the NSG to the VM

Our VM now has an IP address and will allow us to log in.
Validate if webserver works which confirms that failover was succesful.

To finish testing, choose to cleanup test failover.
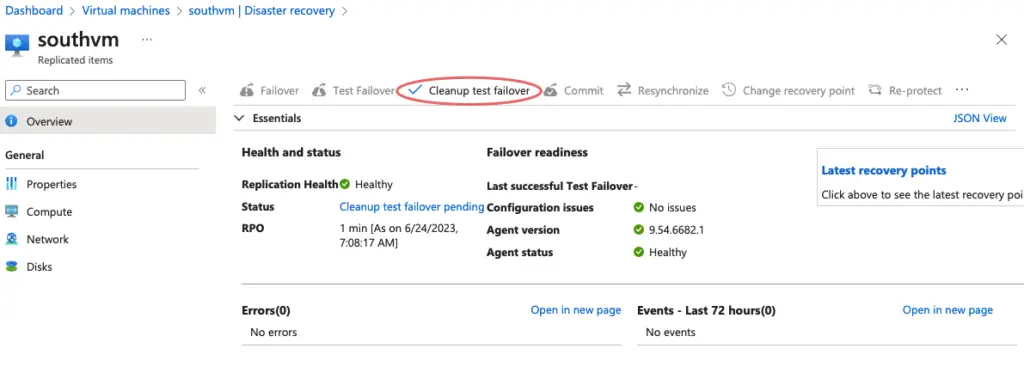
Give a description and choose to end failover

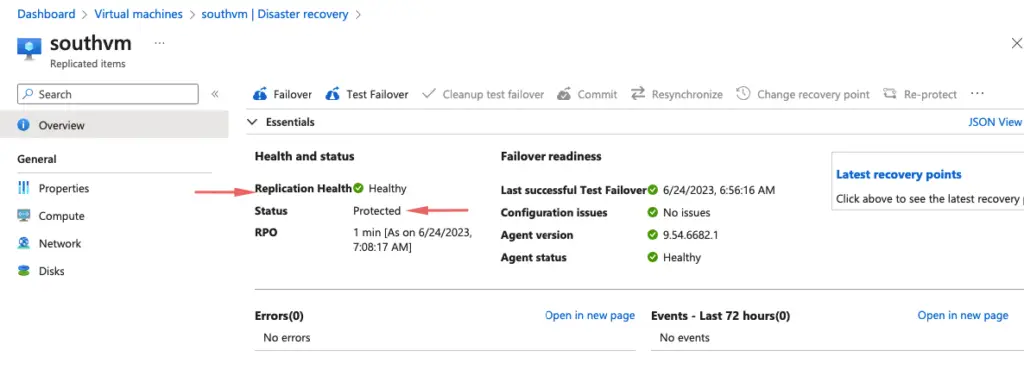
The replication state on the parent VM is now healthy.
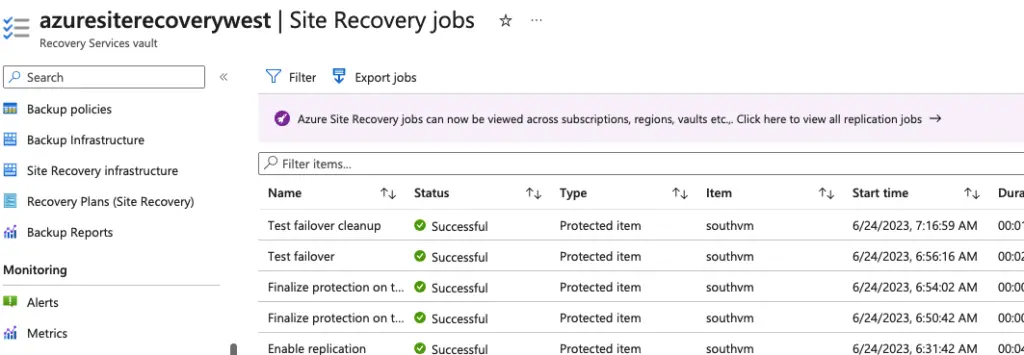
Site recovery jobs pane shows all actviity as complete
Production Failover
In production failover, we would assume the source VM is corrupt and is not usable at all. I’ve powered off the VM to simulate this demo.

Under the Disaster Recovery section, choose Failover
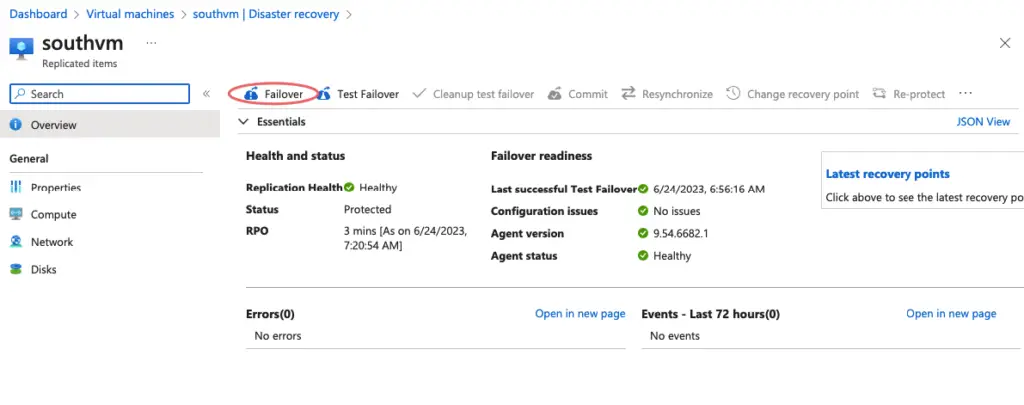
Click on failover

Wait until the process is completed
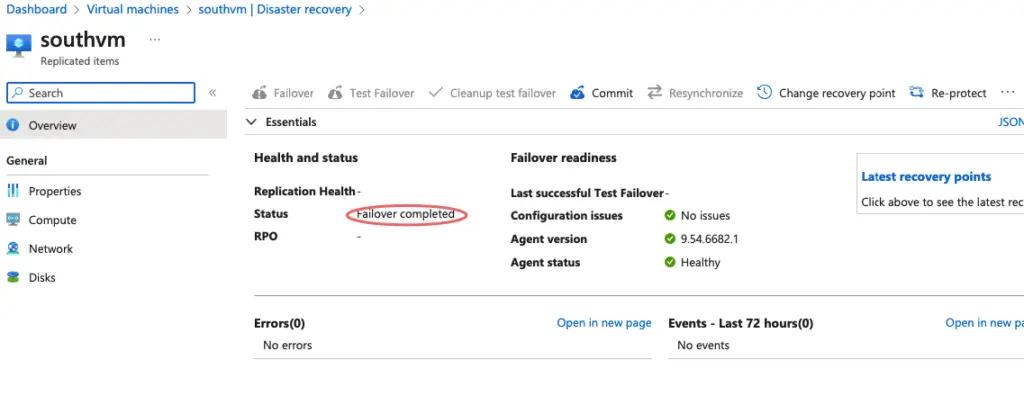
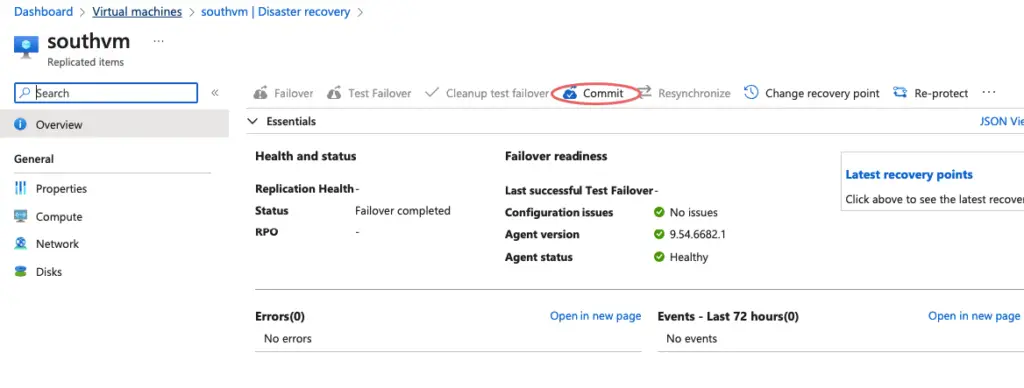
Once the failover job has been completed you can go in and test that everything is up and running. Once you are happy with this you then need to Commit the failover, by doing so this indicates that you have now failed over and are live in your DR location. Once you commit the machines previous recovery points are removed from the vault as these are no longer valid.
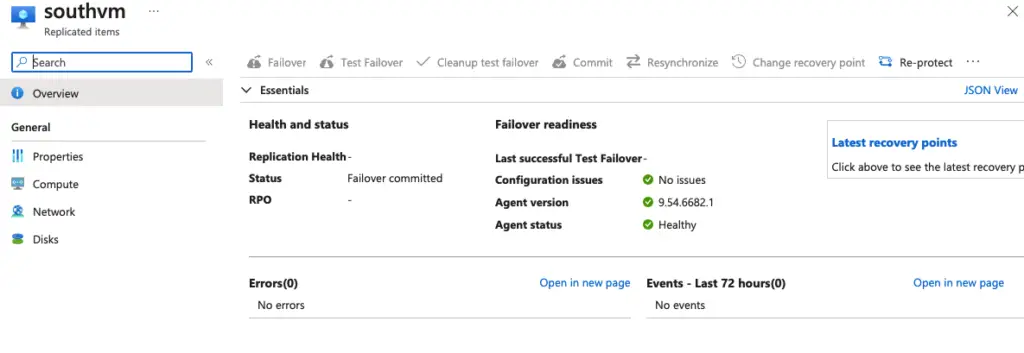
Status of the VM post-commit operation.
Status of the recovery jobs

Our VM at the DR end is now ready and we will now need to assign an IP and NSG to it as we did before.

Reprotect
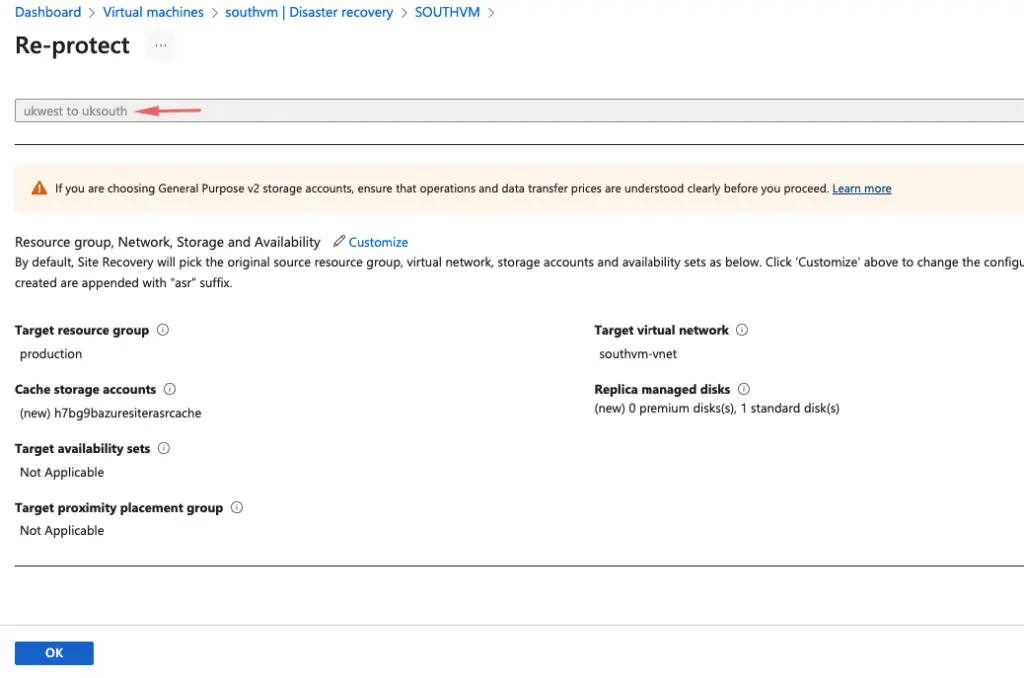
Once you have failed over to the DR region and committed, your machines are no longer protected by recovery services. You will need to go through the process to protect the machines again now they are in the new region.
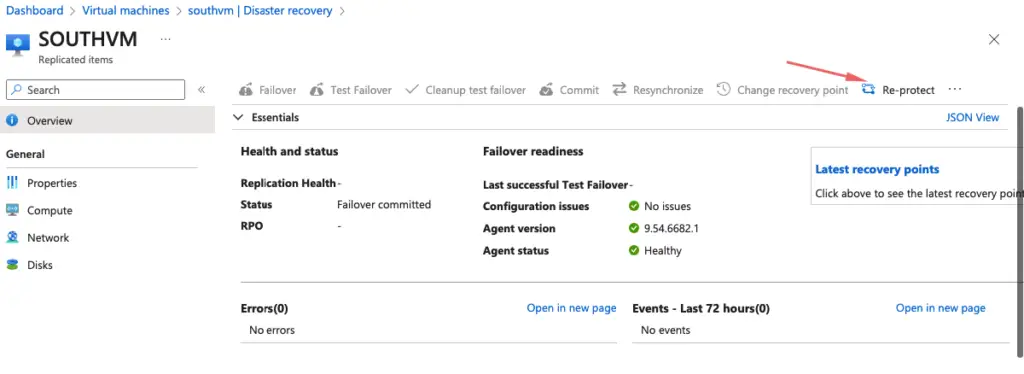
The replication direction changes from UKWest to UKSouth
That’s everything we need to know about Azure Site recovery.

